Solved: Cannot Run CHKDSK Write Protected on Windows 11/10/8/7
Windows says it cannot run CHKDSK because the volume is write protected? Come and learn how to remove write protected on hard drive for CHKDSK in Windows 11/10/8/7.
By AOMEI / Updated on June 17, 2024
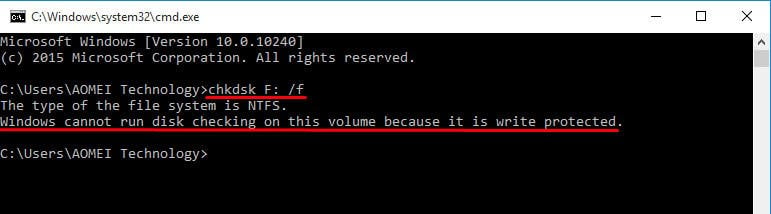
“I get a prompt that says Windows detected a hard disk error after my Windows 10 startup this morning. However, after I typed chkdsk F: /f in CMD, it says: The type of the file system is NTFS. Windows cannot run disk checking on this volume because it is write protected. What should I do to remove write protection on my external hard drive and run CHKDSK on write protected drive successfully?”
Did you come across similar issues? CHKDSK is a disk check utility provided by Windows for users to fix disk errors or startup problems. However, some problems may occur, like diskpart failed to clear disk attributes, diskpart write protected, etc. We will analyze the reasons why the chkdsk command fails to work and provide solutions.
Possible Causes for CHKDSK Write Protected
Generally speaking, write-protected status can be understood as read-only. That is to say, you can read files on write protected drive but you cannot add new files or make changes to existing data. The following are possible reasons that account for why your drive gets write-protected.
-
There is a write protection tab on your hard drive. Usually, it is produced by a manufacturer. Check your hard drive or disk enclosure. If yes, switch it to the Off-side.
-
The partition file system is corrupted or damaged due to virus infection or other unknown reasons. A bad file system may cause the data cannot be accessed.
-
The attribute of the selected drive is set as ReadOnly. The attribute may be modified unwittingly.
In a nutshell, when your volume/drive is corrupted or categorized as read-only, the error "Windows could not run a disk check on this volume because it is write-protected" will appear. After knowing why you can’t run CHKDSK on write protected drive, let’s learn how to remove the write protection with different solutions. If you have found your drive corrupted, you can directly download AOMEI Partition Assistant to fix it. Otherwise, please refer to the following step-by-step guide.
The Best Windows Disk Partition Manager and PC Optimizer
Quick fixes to remove write protected for CHKDSK in Windows 11/10/8/7
To clear the write protection and perform CHKDSK, you may need different solutions under different situations. Some workable fixes are illustrated below.
Fix CHKDSK write protected disk in CMD
According to the support of Microsoft, when you encounter the CHKDSK /f volume is write protected issue, you can try another command in CMD: chkdsk/ f / r / x. For example, chkdsk F: /f /r /x and press Enter. You can replace F with another drive letter.
However, some users report that that command does not resolve their problem. The write protection error still prompts.
![]()
If you have faced such a situation, it is suggested to try other methods shown in the next part.
Remove write protection in Diskpart
This method applies to the drive that has been set as readonly. It will clear readonly attributes.
1. Type diskpart in CMD and hit Enter. Click on Yes in the pop-up confirming dialogue.
2. In Diskpart, type the following commands in sequence, and each of them comes with an Enter.
-
list volume
-
select volume n (where n is the write-protected drive, here is 6)
-
attributes disk clear readonly
-
exit

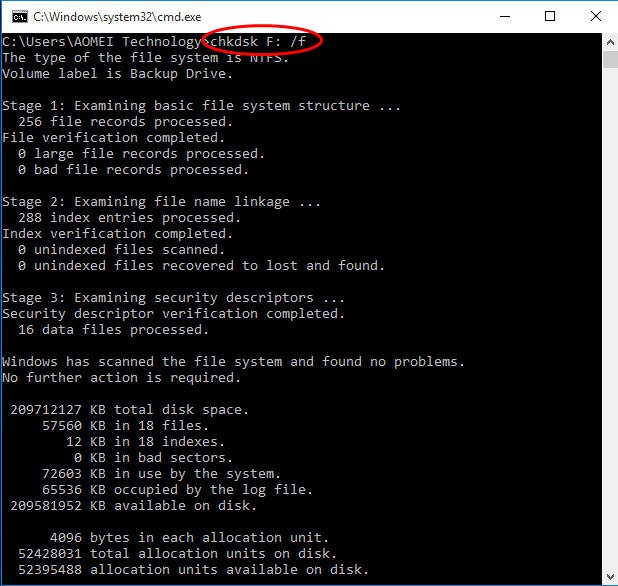
3. Go back to CMD and type CHKDSK F: /f, and you’ll find the disk checking runs smoothly.
Modify the Write Protected key in Registry Editor
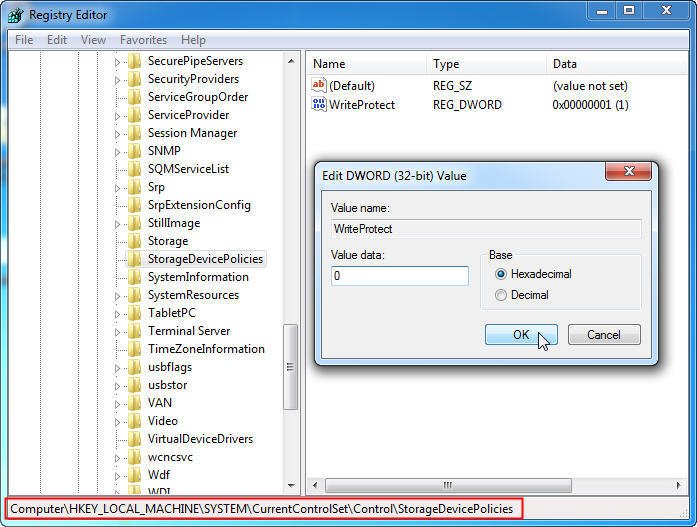
Another way to clear readonly of a drive is to modify registry. Typeregedit in Run and navigate to this path:
HKEY_LOCAL_MACHINE\SYSTEM\CurrentControlSet\Control\StorageDevicePolicies
Right-click the WriteProtected key and select Modify. Change the value from 1 to 0.
Tips: If you cannot find the StorageDevicePolicies, you can right-click the Control folder and then New > Key. Name it with WriteProtected and open it.
Remove write protected by complete formatting
If the write protection in CHKDSK is caused by a corrupted or damaged file system, you need to format it thoroughly. When formatting the drive with Device Manager or Diskpart, you may receive format write protected error.
Fortunately, you can format the write protected drive with AOMEI Partition Assistant Standard. It is free hard drive partition manager that will help you better manage internal/external/USB hard drive, USB flash drive, SD card, Pen drive, etc. To solve the CHKDSK write protected trouble in Windows 10 or Windows 11, free download and have a try.
The Best Windows Disk Partition Manager and PC Optimizer
Important: formatting will cause data loss. Think twice before you leap.
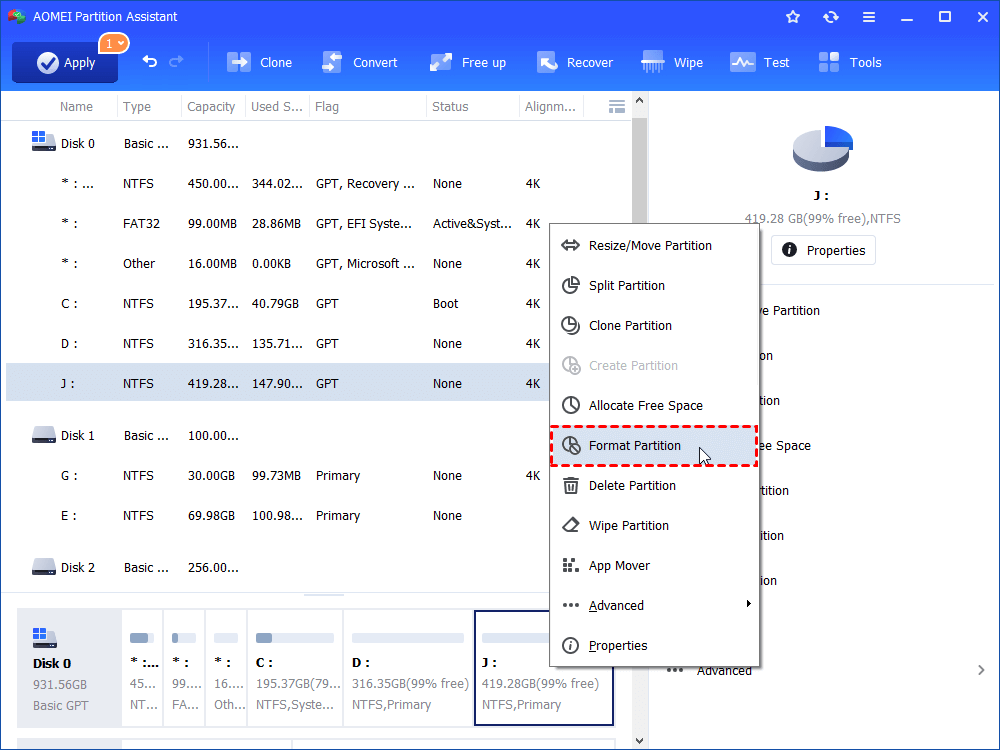
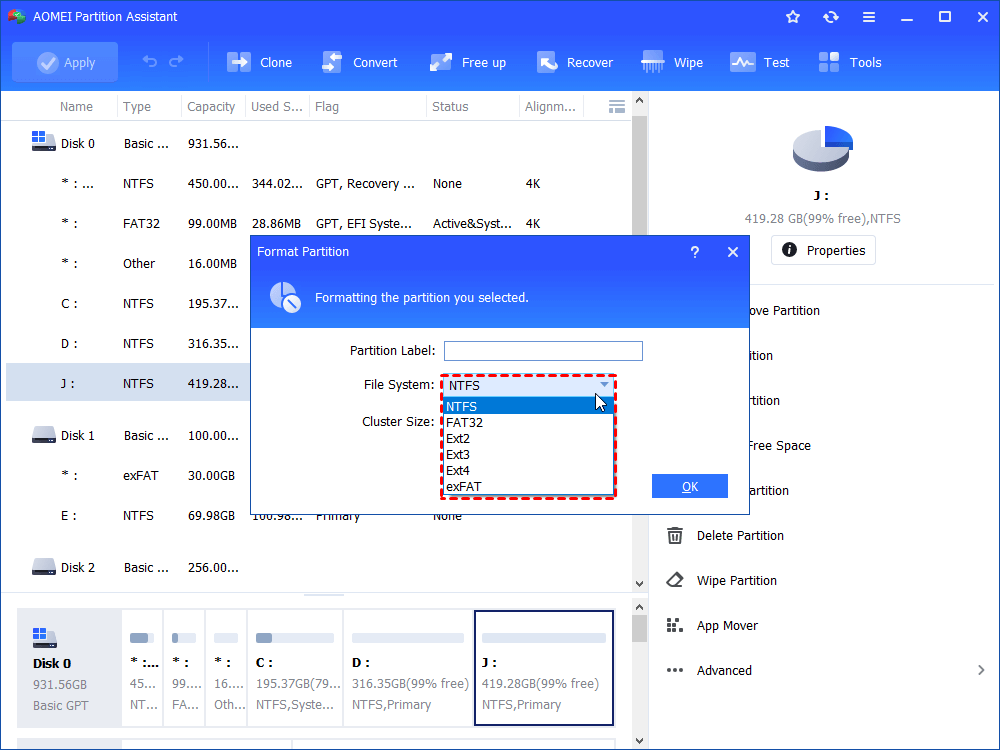
1. Install and run AOMEI Partition Assistant. Right-click the write protected partition and select Format Partition.
2. Edit the partition label, select the file system, and change cluster size if you wish to in the pop-up window.
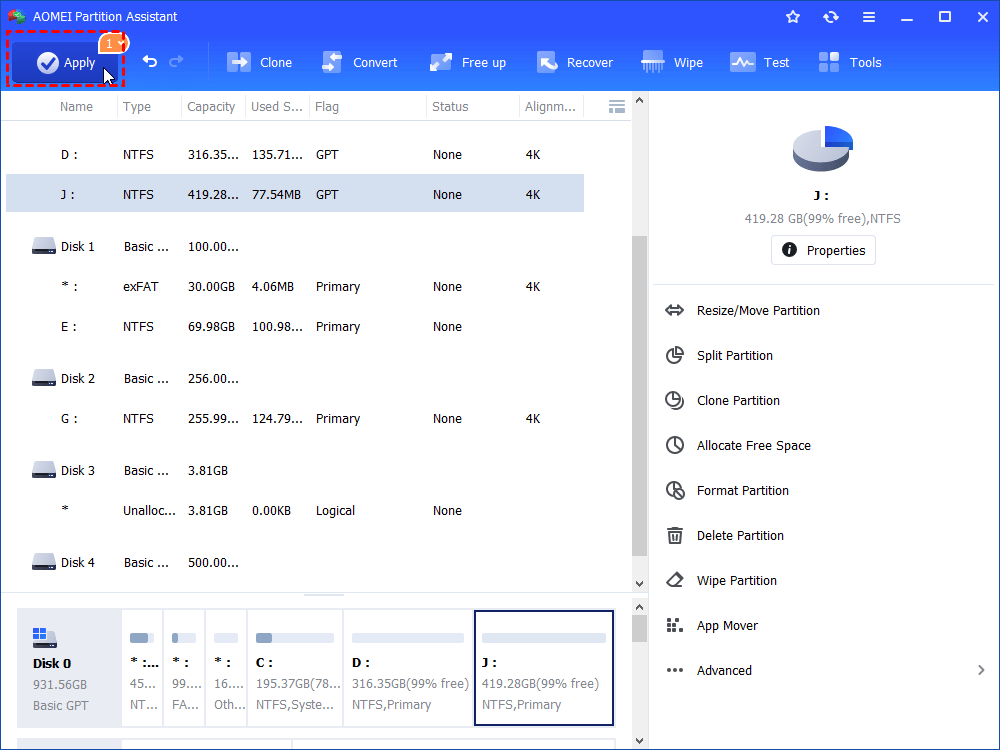
3. Click Apply and then Proceed after your confirmation.
Tips: Except for formatting the partition, you can Wipe Partition if there is no important data stored on that drive.
Run disk checking with third-party tools
To solve the “unable to CHKDSK write protected” error, you can run disk checking with another tool. The aforementioned AOMEI Partition Assistant supports performing not only partition checking but also disk checking. Let’s get to know these two features. In the first place, download AOMEI Partition Assistant.
The Best Windows Disk Partition Manager and PC Optimizer
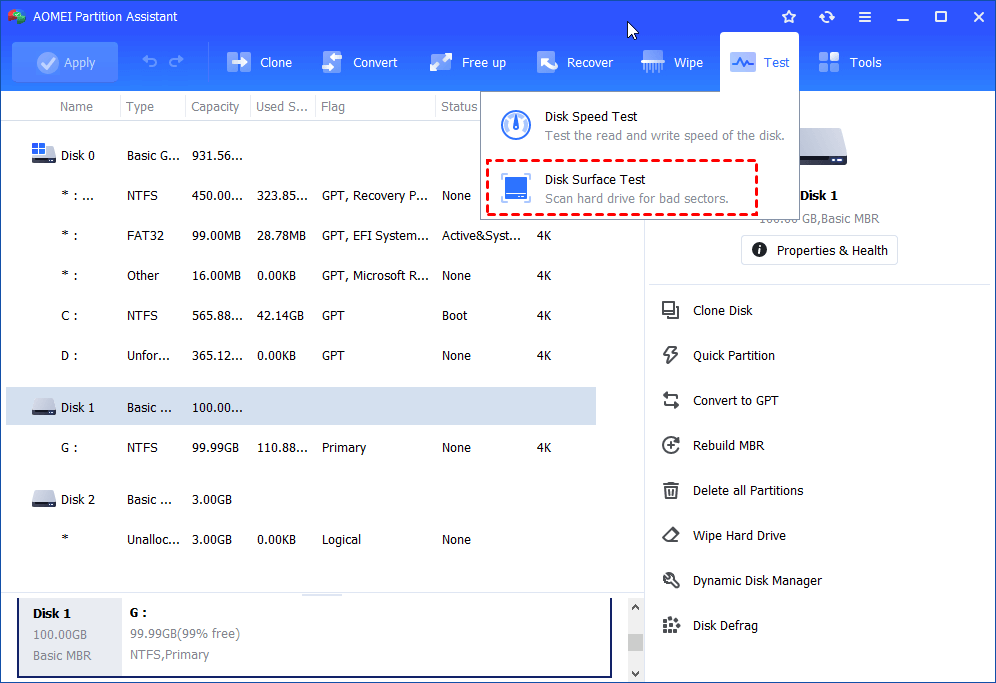
1. For partition error checking, right-click the drive and go to Advanced >Check Partition.

2. For disk bad sector checking, right-click the disk and select Surface Test.
Tips: covered methods also apply to "CHKDSK write protected USB", "CHKDSK NTFS write protected", and "unable to install Windows because the partition is write protected” issues.

