How to Use HDDErase SSD to Entirely Erase Data?
What is the correct way to use HDDErase to entirely erase data on an SSD and what should you do when this utility fails you? In this article, you’ll find the step-by-step guide with the detailed instruction and another third-party software to help you get it done.
By AOMEI / Updated on May 12, 2023
User story: How to delete everything on SSD?
Help! I wanna sell my SSD on market these days. Although I’ve deleted everything on the disk, I’m very concerned they can be retrieved in some ways. So, I tried HDDErase SSD in the hope that I can use it to make everything disappear permanently. However, although I strictly followed the instruction in TXT trying to boot my PC from the bootable USB, it kept failing me. I don’t know whether I’m doing it in the right way or whether there is any alternative to HDDErase Kingston SSD?
Overview of HDDErase
HDDErase is a DOS-based utility that safely erases (sanitizes) all data on ATA HDDs and SSDs in Intel architecture computers. It enables users to run the drive’s internal secure erase command and security erase unit based on the ATA spec by the T13 technical committee. Unlike regular deletion on PCs, the data erased by HDDErase SSD can’t be retrieved by data recovery software. So, HDDErase is a good option when you plan to sell or lend your PC to other people in case of privacy leak.
How to use HDDerase.exe to erase SSD?
In order to run the utility, you must create a floppy, recordable CD-R, or USB DOS bootable disk and then, copy the EXE file to the bootable media. Reboot the PC with bootable media and type “hdderase” at the prompt. Be sure to set the correct priority boot order in BIOS. HDDerase.exe can only be run from an actual DOS environment and not a Windows based DOS command prompt environment. Next, it’s a step-by-step guide on how to use HDDErase to fully erase an SSD drive.
1. Download HDDErase and create a bootable media by following the instruction in the TXT file.
2. Once you’ve booted into the program on the device you have it installed to, it’s most likely that you can just sit for a while for it to fully load and let the default options be accepted.
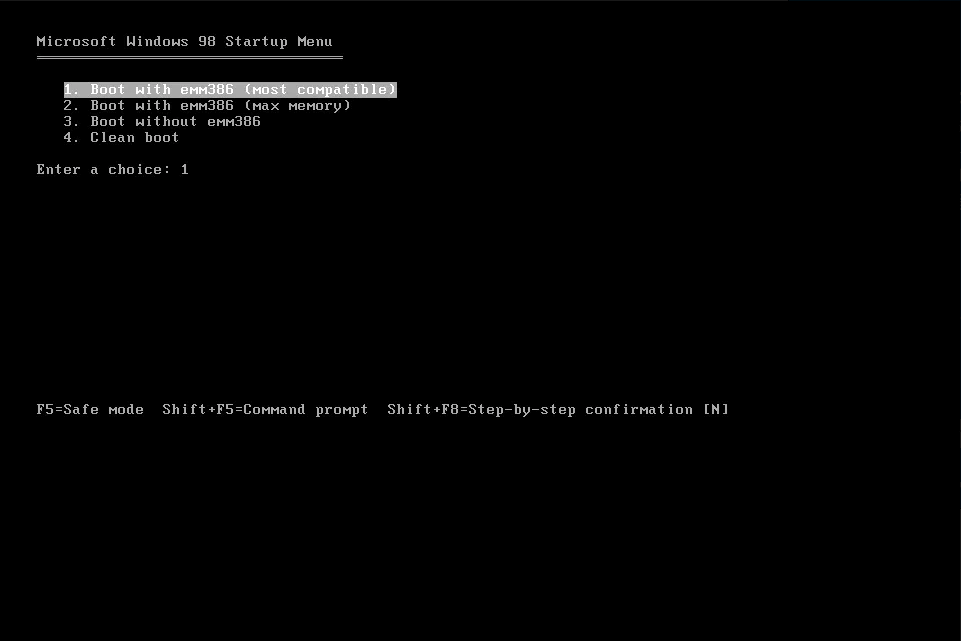
3. On Startup Menu, several lines of text will appear giving you several startup options to choose from. Just wait until it times out so that the very first option called “Boot with emm386 (most compatible)” can be chosen or you can also type “1” and hit “ENTER” to proceed. If HDDErase doesn’t boot properly, you should return to this step and select a different option among them by typing the corresponding letter.
4. More lines of text will appear and then, a prompt will ask whether you’ll use the CD or change its configuration. Also, let the screen time out.
5. Next, several more texts will appear and the disk’s drive letter will be given to you. This is the place in which you’re going to actually input the commands to use HDDErase.
Enter “HDDERASE”. If it doesn’t work, try appending the EXE file extension to it by entering “HDDERASE.EXE”.
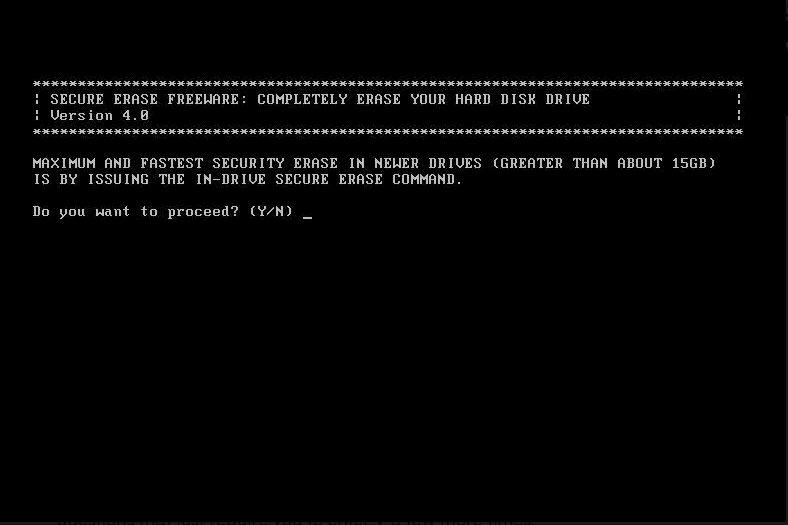
6. On the following screen, when you’re asked whether you want to proceed, enter “Y” that represents “YES” to start the wizard.
7. Hit any key to approach the next step which is just a disclaimer.
8. The wizard simply consists of some more confirmation prompts and other easy questions requiring you to enter “Y” for several more times.
9. If you find a screen about selecting the device to be erased, you’re supposed to look for an option that actually has something beside it and not the ones saying NONE. Once you find the right one, enter the letter and number next to it, for example, “P0”.
10. Type “Y” again to go to the options menu on the following screen.
11. Type “1” on the next screen. Other options are for changing active hard drive and quitting the program without erasing the hard drive.
12. Finally, to start the erasing process, enter “Y” again.
13. When completed, you’ll be asked to see the LBA sector. You can choose “N” to finish or “Y” to read the serial number and model number of the drive that was previously erased.
14. After returning to the main menu, type “E” to quit the program.
15. Remove the disk, USB, etc.
Easier way to secure erase SSD
HDDErase, indeed, is a pragmatic utility that helps its client fully erase SSD, preventing the data from being retrieved. However, since it requires command lines for execution and as you can see above, it takes 15 steps in total, this program is a little bit difficult for beginners. Moreover, some people complain that they can’t boot from the bootable media and HDDErase won’t work on drives with frozen security status either.
In this case, I’ll introduce another easier and more powerful software – AOMEI Partition Assistant Professional – to help securely erase SSD once for all. It has the same function as HDDErase SSD but more user-friendly because you needn’t perform all operations with command lines. More than this feature, the software also enables you to wipe hard drives and delete partitions with ease.
How to delete everything on SSD? Try this versatile disk manager to wipe your entire SSD thoroughly.
Note: "SSD Secure Erase" can only be used on Windows 7 computers.
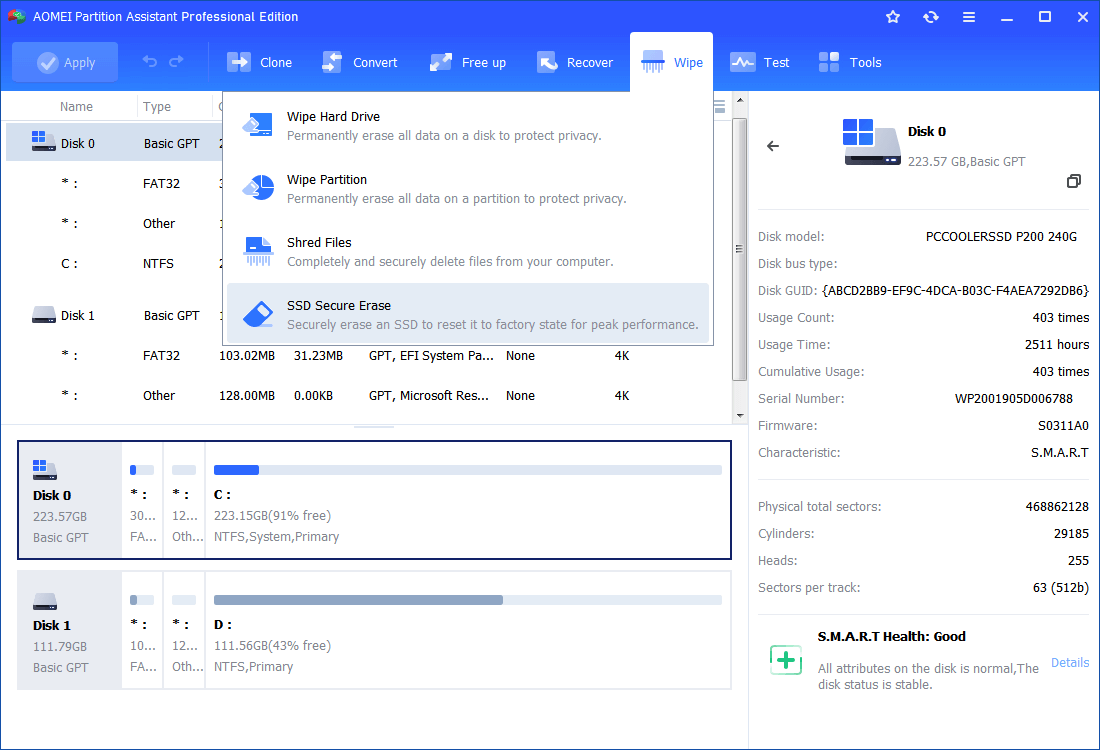
Step 1. Install and launch AOMEI Partition Assistant Professional. When all disks and partitions appear, click “Wipe” on the top side and then select “SSD Secure Erase”.
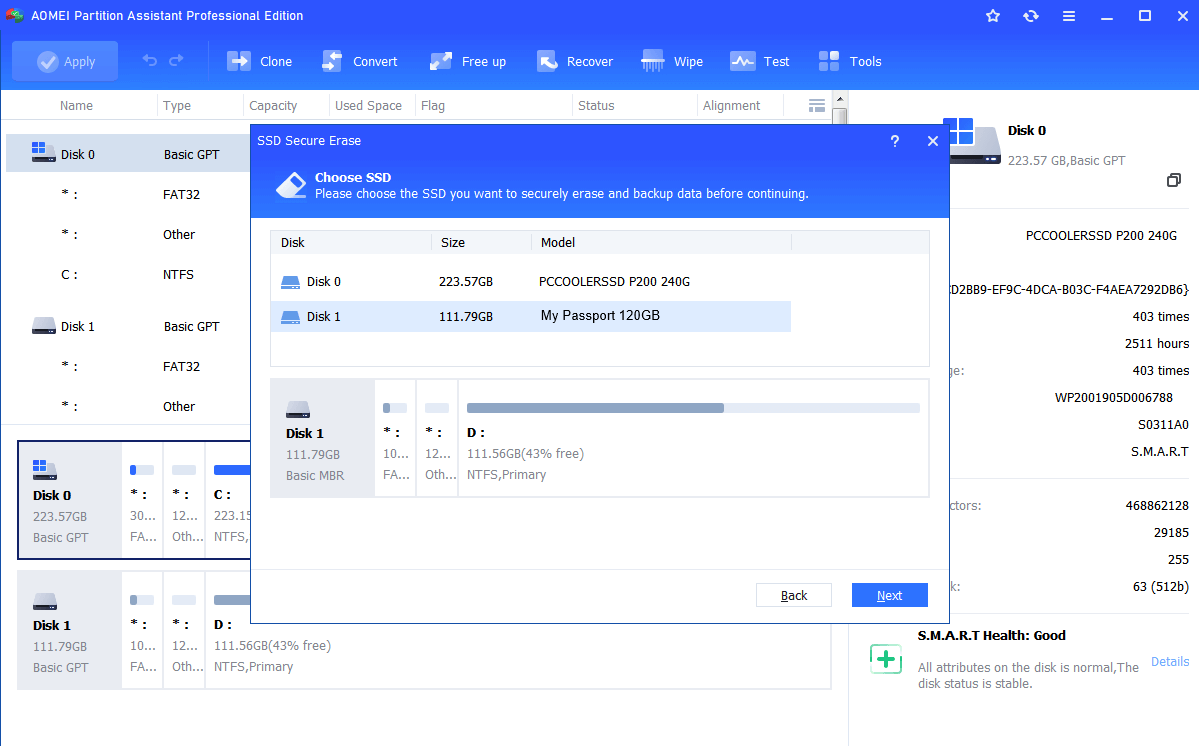
Step 2. Select the SSD disk you hope to securely erase and hit “Next”.
Step 3. If you are prompted that the SSD is in a frozen state. You need to perform a hot-swap so as to proceed.
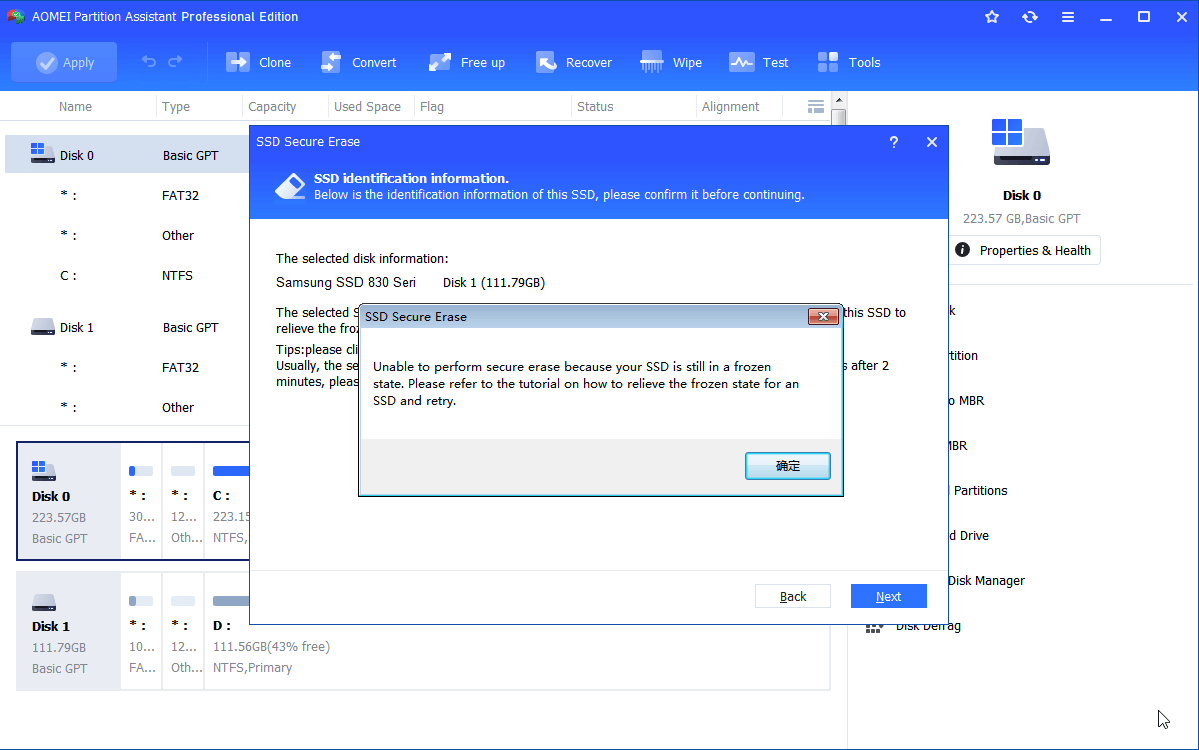
To perform a hot-swap
1. Open your PC’s case.
2. Find the target SSD.
3. Unplug the power cable from the SSD.
4. Disconnect the SATA data cable from the SSD.
5. Then, reconnect the SATA cable to the SATA port on the SSD.
6. Finally, plug the power cable back into the drive’s power connector to finish the hot swap.
Step 4. Hit “Next” to start the SSD erasing process.
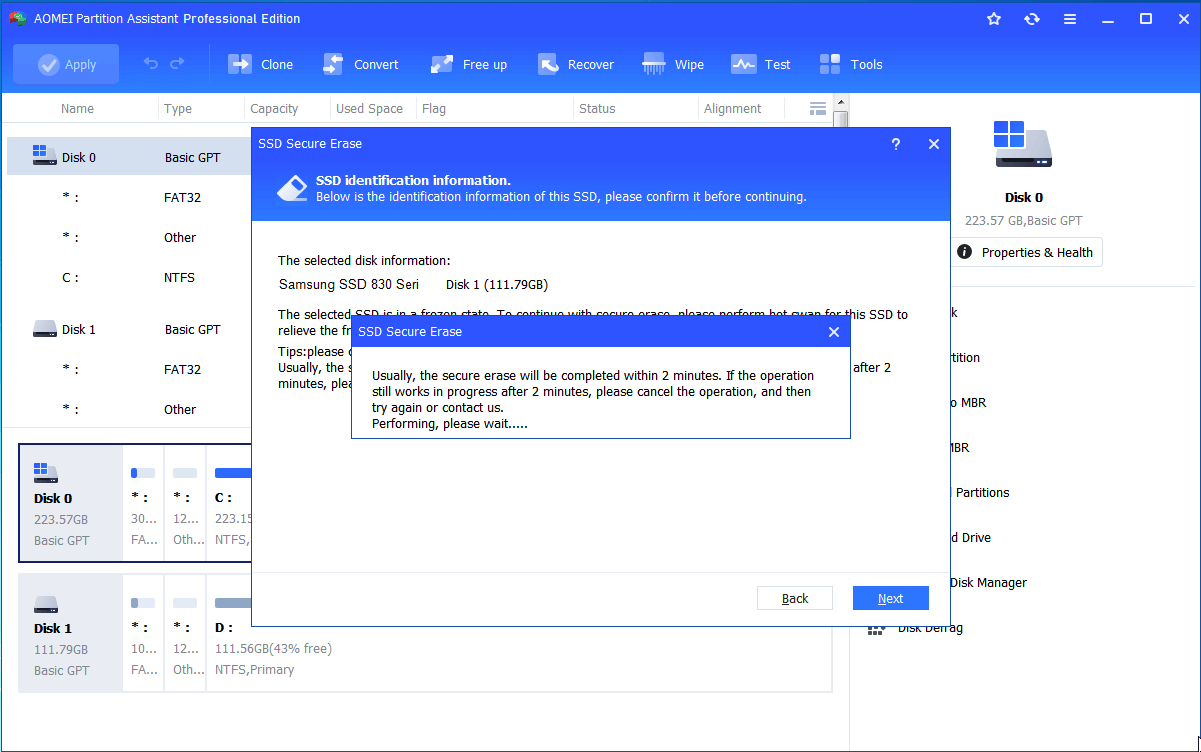
The process can be completed in a short while, so, be patient.
Conclusion
What’s the correct way to use HDDErase on SSD? In the post above, I’ve provided a step-by-step guide and as long as you strictly follow the instruction, I believe you’re able to successfully securely erase your SSD on your own. Also, in the post, another alternative was introduced, namely, AOMEI Partition Assistant Professional, which is much easier to use compared with its counterpart. To use this software on Server, you might as well try the Server edition.

