How to Move Blizzard Games to Another Drive in Windows [3 Ways]
How to move Blizzard games to another drive? If you still have no idea how to get it done, then, you’ve come to the right place. In this post, 3 basic and pragmatic ways are given to help transfer Blizzard games to another drive efficiently.
By AOMEI / Updated on November 10, 2023
Can I move Modern Warfare to another drive?
I have been playing Modern Warfare since 2020 and it's a nice game. To make the game perform even better, recently, I purchased an SSD and want to install the game on it. However, my network really sucks and it usually takes several days to download an entire game from Battle.net. So, I was wondering whether there are any ways to move Modern Warfare from the current hard drive to the SSD so that I can save time?
Why move Blizzard games to another drive (3 reasons)
Blizzard Entertainment, Inc, is an American video game developer publisher. It has its own game distribution platform Battle.net where there are many masterpieces like Warzone, World of Warcraft, and Overwatch. Millions of people from around the world download Battle.net to play Blizzard games. Most of them just need to launch the platform, begin to play, and repeat this behavior day after day. However, a few people nowadays wish to move Blizzard games to another drive, for example, from C to D, for different purposes. Why do they do that? In the following paragraphs, I listed the top 3 reasons.

1. Make full use of an SSD. Compared to traditional HDD, SSD brings higher read and write speeds and many other benefits. By installing games to an SSD, we can drastically shorten load time and bring better performance.
2. The drive where Blizzard games are installed is full. Normally, the default game install location of Blizzard is the C drive. Over time, as the games get more and more, we may suffer from the C drive full issue which can cause frequent system crashes and lead to slow speed. In this case, moving Blizzard games to another drive becomes inevitable.
3. Store games on an external hard drive. In order to carry around those Blizzard games so as to play them wherever you go, you need to transfer those games to an external device. Then, you should move the games from the current location to the external hard drive.
How to move Blizzard games to another drive?
Since we've learned why to move Blizzard games to another drive, now, it’s time to learn how. By directly copying the games to another drive, boot files may be missing and you won’t launch them successfully. So, this time, I listed the top 3 alternative ways for Blizzard game transfer.
Method 1. Change installation settings
In this way, you just need to tweak the games’ installation settings a little bit and then, you can relocate the games to another place.
1. Cut the original game folder to the desired location. In my case, I’ll move Overwatch from C:\Blizzard Games to D:\Overwatch. So, I cut the folder C:\Blizzard Games\Overwatch to D:\Overwatch.
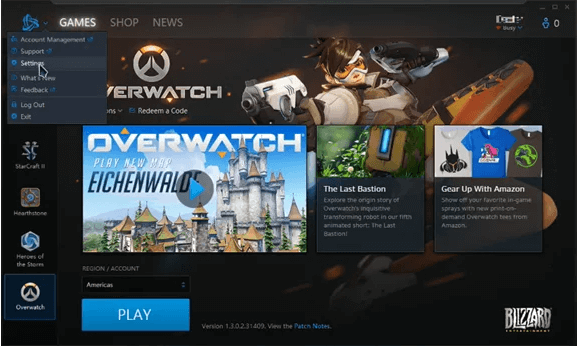
2. Launch the Battle.net client and select the game you want to transfer. Hit the Blizzard icon on the upper left and in the dropdown menu, select “Settings”.
3. Navigate to “Game Install/Update” and under “FOLDER USED FOR GAME PLAY”, click on “Use a Different Folder”.
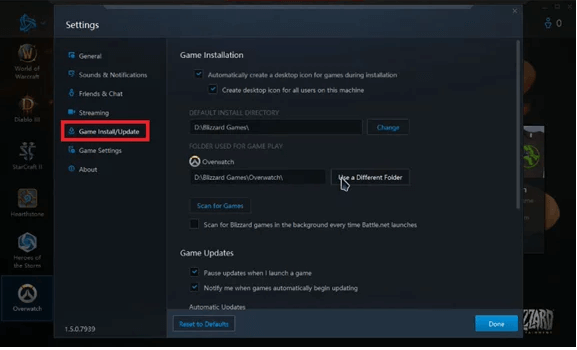
4. Then, select an existing folder or create another folder for the game in the destination drive.
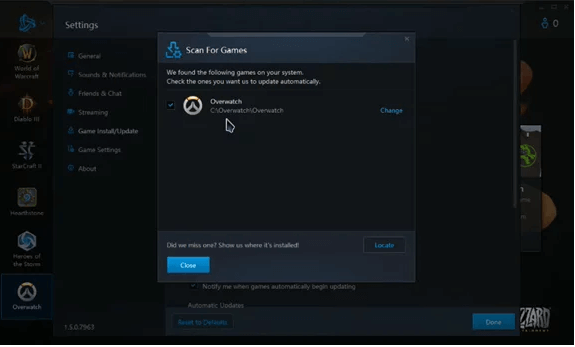
5. Click on “Scan for Games” and the folder will be scanned automatically and the found game will be displayed.
Method 2. Relocate the game folder
Similar to changing installation settings, this way allows you to relocate the game folder directly.
1. Cut the original game folder to the destination location as I do in Method 1.
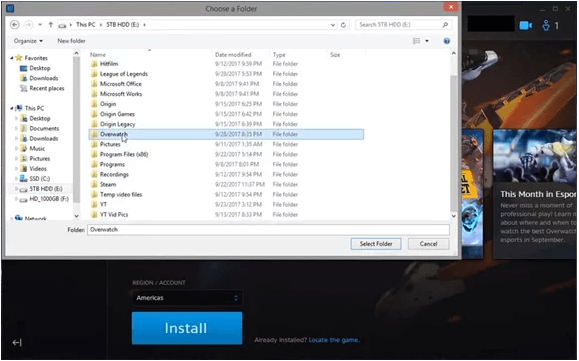
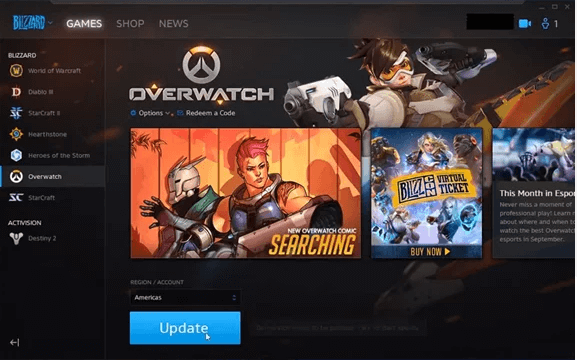
2. At the bottom of the main interface, you’ll spot the blue link “Locate the game” beside the “Install” button. Click on the link and select the new game folder.
3. Last, return to the main interface and you’ll find the install button changed to the “Update” button. Hit it to start the game transfer progress.
Method 3. Use third-party app mover to move multiple games simultaneously
If you’re careful enough, you’ll find in the 2 ways above, you can only move a single game to another drive at once. If you hope to move multiple games, you have to repeat the steps which is time-consuming. So, this time, I recommend another third-party disk management software AOMEI Partition Assistant Professional. With it, you can move multiple apps including Microsoft, OneDrive, and games from the current drive to a new drive. Also, to move the entire data from one drive or partition to another drive or partition, you can try the hard drive cloner/partition cloner to get it done without data loss.
How to transfer Blizzard games to another drive, download the demo of the best disk manager to make it quickly and securely.
Step 1. Install and launch AOMEI Partition Assistant Professional and wait until all disks and partitions are displayed on the main interface.
Step 2. Click "Free up" on the upper toolbar and then choose "App Mover".

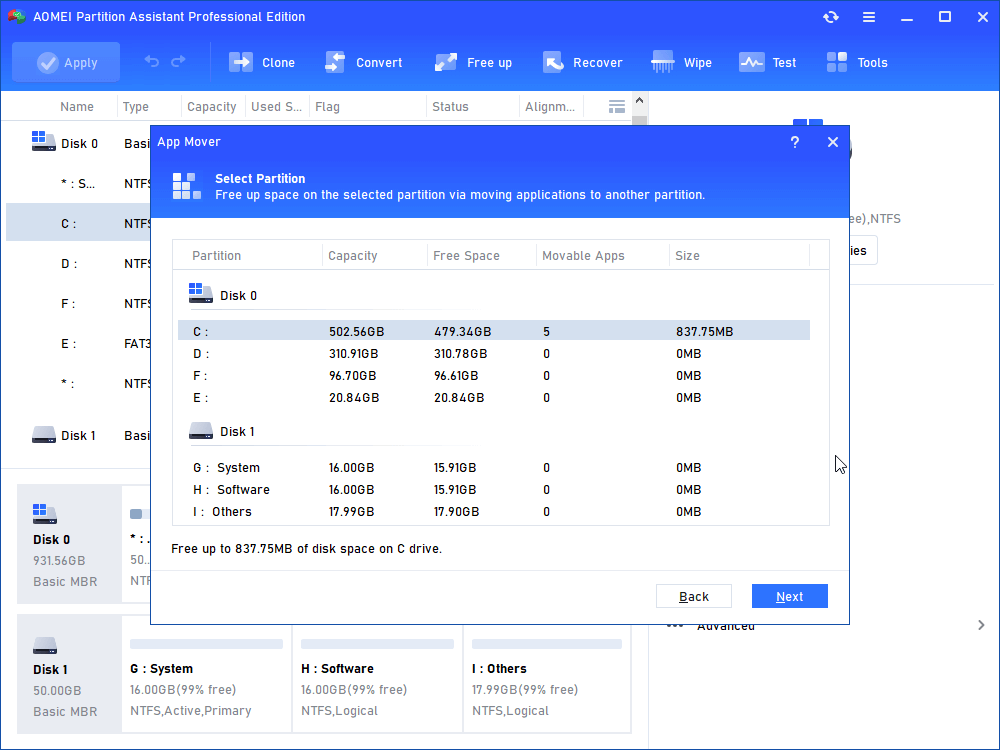
Step 3. Select the drive where the installed games are and hit “Next” to proceed.
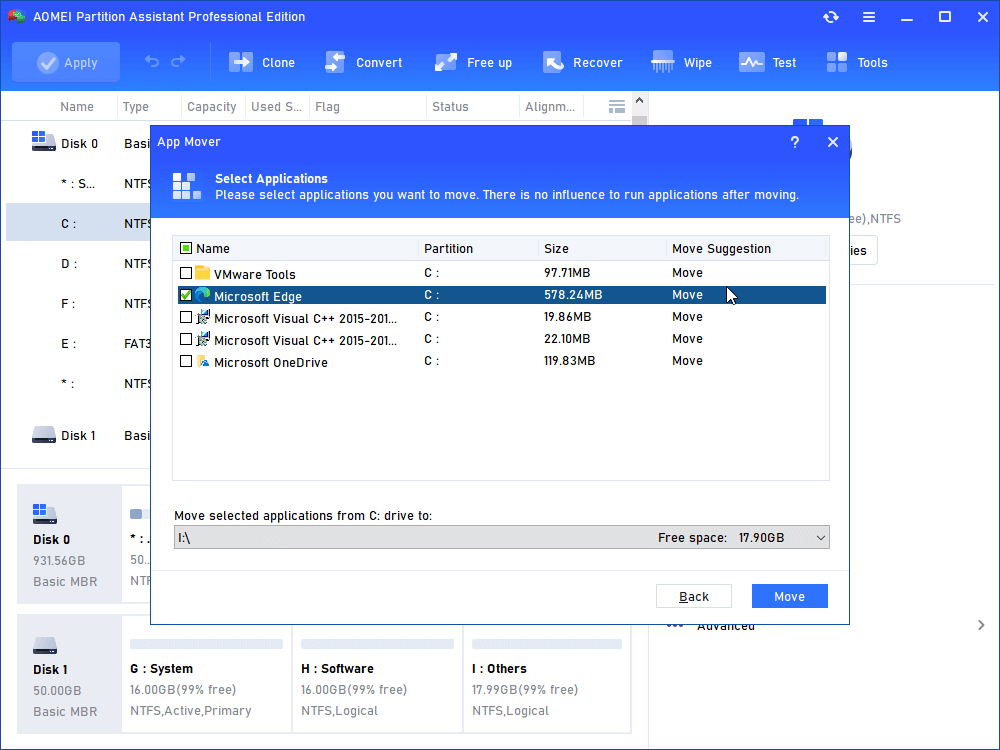
Step 4. Tick the games you want to transfer and preset the destination. After that, hit “Move”.
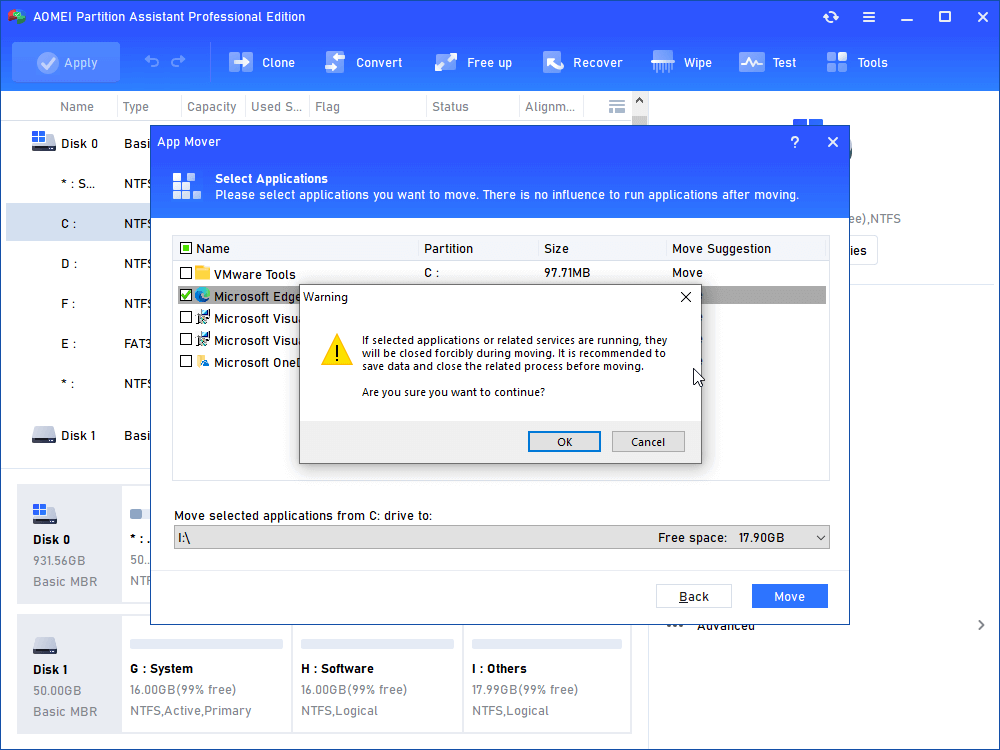
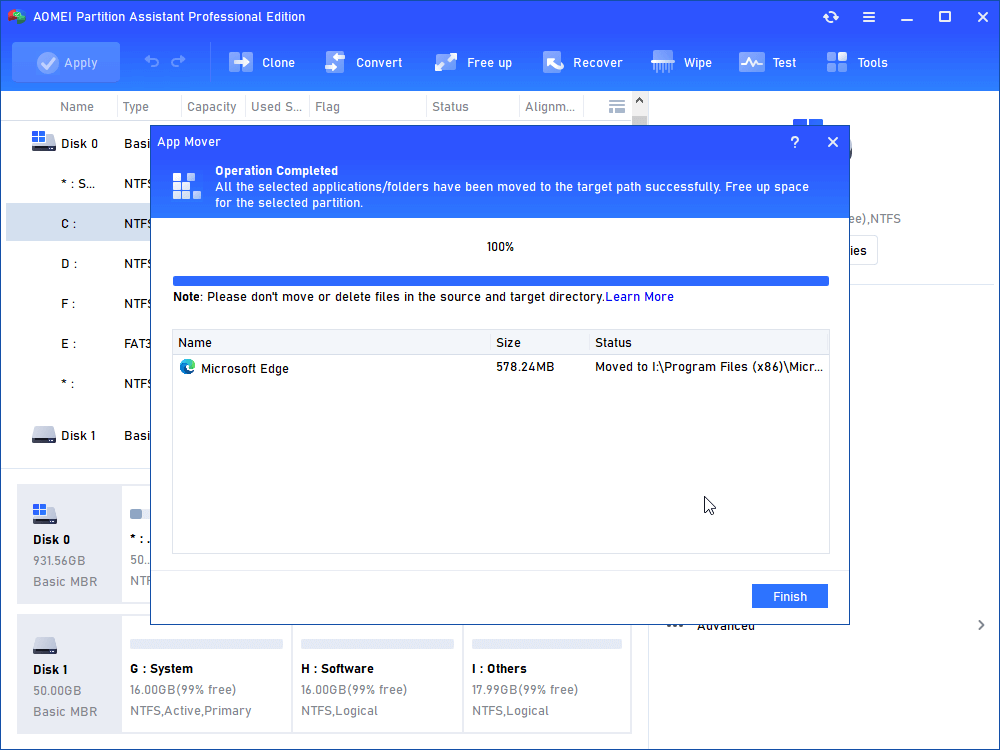
Step 5. Hit “OK” when prompted with the warning below and the game transfer should start.
Step 6. Now, navigate to the destination drive and see whether the transferred games are there.
Optional: Reinstall the game
As long as your network condition is not as bad as mine and you don’t mind a time-consuming way, you can still move Blizzard games to another drive via uninstallation and re-download. But be careful that manually changing the installation location may cause the games to fail to start.
1. Launch Battle.net, select the game you want to uninstall, click on “Options”, and hit “Uninstall Game” in the dropdown menu.
2. After the uninstallation is completed, go to the main interface, select the game again, and click on the “Install” button.
3. Change the install location and hit “Start Install”.
If there are several other games waiting to be moved, then, repeat the steps above.
Conclusion
How to move Blizzard games to another drive? In this tutorial, you learned what Blizzard and Battle.net are, why make the game transfer, and how to get it done in 3 different ways. As for me, I prefer the third way which is using third-party AOMEI Partition Assistant Professional to move multiple Blizzard games at once. It’s time-saving and user-friendly, especially if you are a novice in disk management, this software could be your best choice.
Besides moving Blizzard games, it also helps move Steam games from one drive to another, and move files from C drive to D drive. Besides, it also allows you to recover lost files with ease.To use this powerful utility on Server, please try the Server edition.

