How to Separate OS from Programs with the Easiest Disk Manager?
How to separate OS from programs for safety’s sake? If you still have no idea, this is the right place to come because this time, I will explain how to do that using versatile third-party disk management software.
By AOMEI / Updated on May 12, 2023
Scenario: Recently I bought a new laptop and found there was only a C drive on it which means the OS and programs are put in the same place. I know if I let it be, I will end up with quite a lot of trouble. So, I’m here to ask how to separate OS from programs safely?
Why separate OS from programs?
An OS (operating system) is system software managing computer hardware, software, and resources and providing common services for PC programs. The partition where there is the OS is called system partition and usually, the drive letter of it is C. Normally, other programs and apps shouldn’t be installed on the C drive because, in that way, free space on the drive gets reduced which results in many problems like system crashes and slow speed. Also, sometimes, apps on the system partition can’t be used due to insufficient storage space to store those generated files from the apps themselves.
How to separate OS files from programs in Windows?
As I mentioned above, putting the OS and apps in one partition can cause much trouble. In this case, I recommend creating an individual partition first and then, move the apps from the OS partition to this newly created partition so as to separate the OS and the programs. Follow the steps below.
Part 1. Create a new partition for programs (optional)
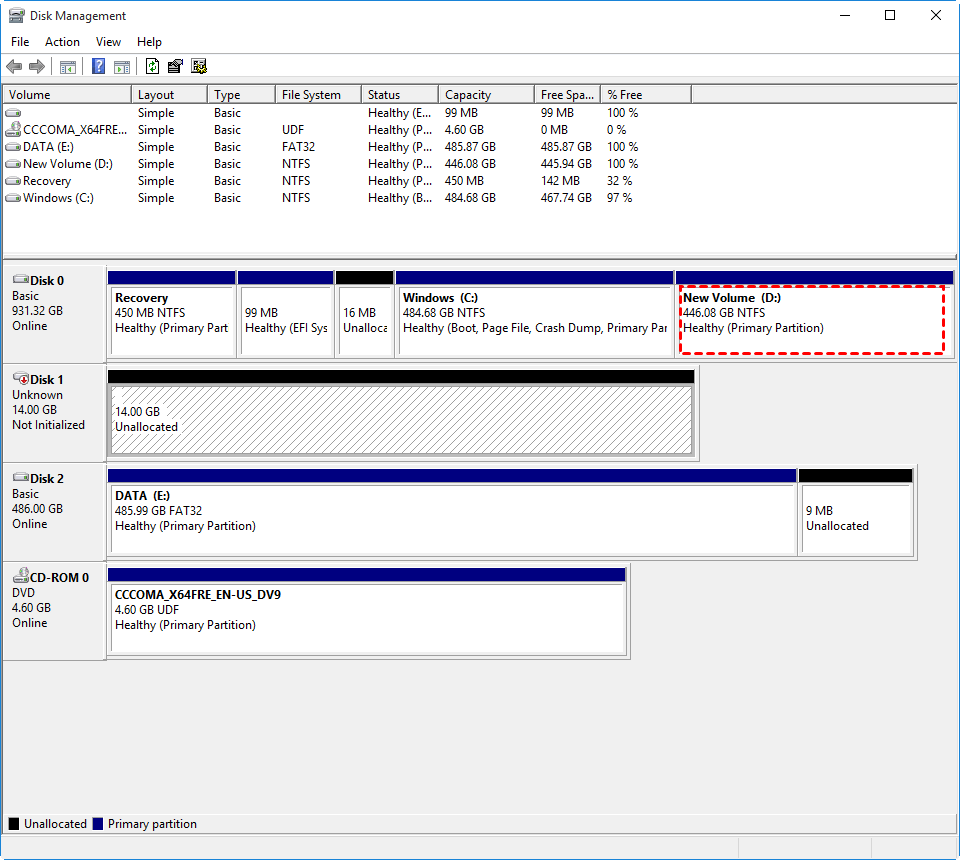
If there is only one system partition (usually the C drive) on your PC, you should create another one to store apps and programs from the system drive. Otherwise, just skip this step. To create partitions on a computer, the most straightforward way is to use Windows’ inbuilt tool – Disk Management.
1. Right-click on “This PC” on the desktop.
2. Select “Disk Management” from the left to open the window of Disk Management.
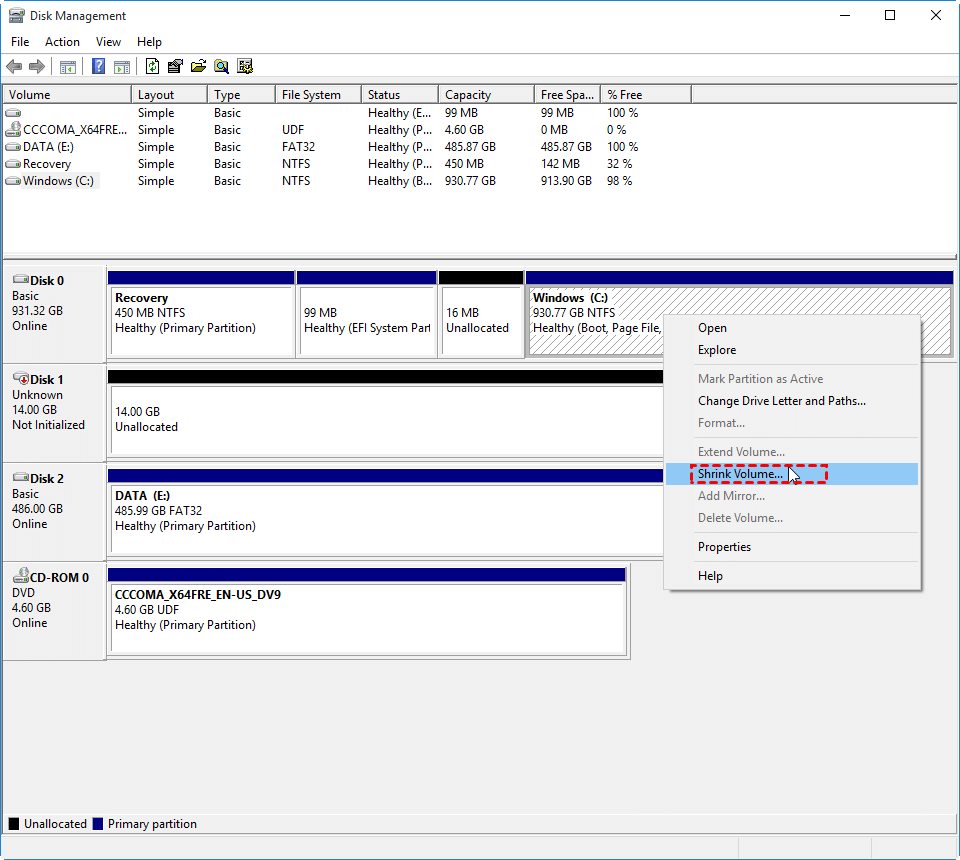
3. Right-click on the C drive and select “Shrink Volume”.
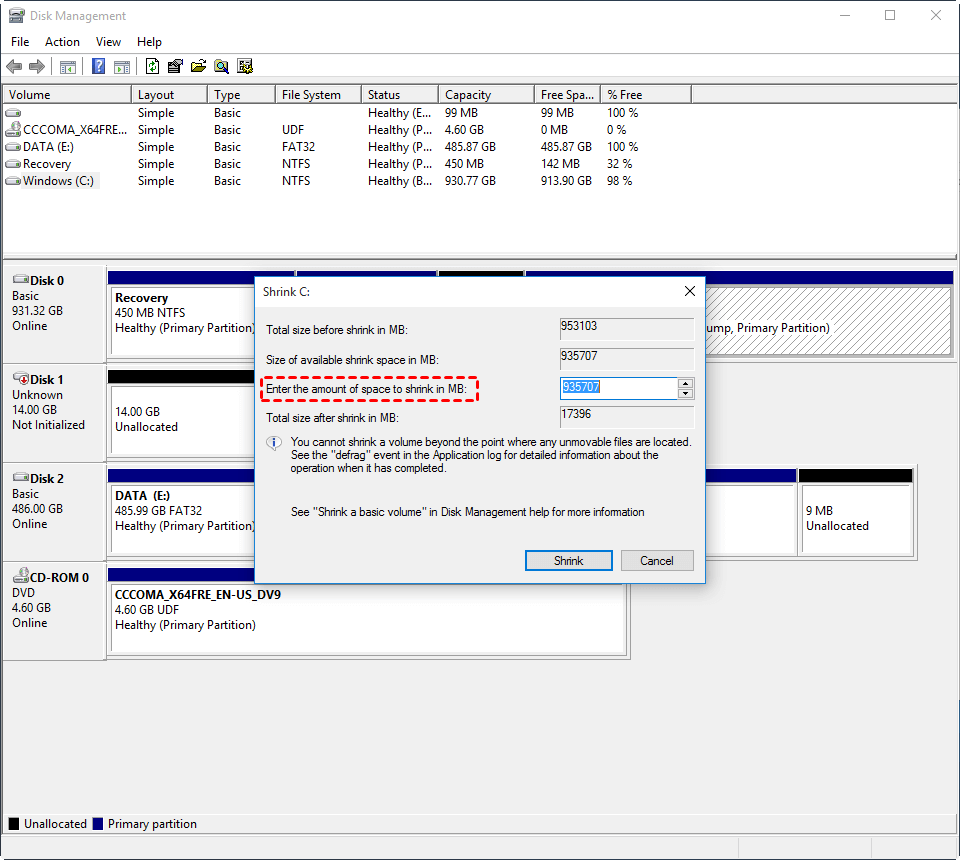
4. Enter the amount of space to shrink in MB and hit “Shrink”.
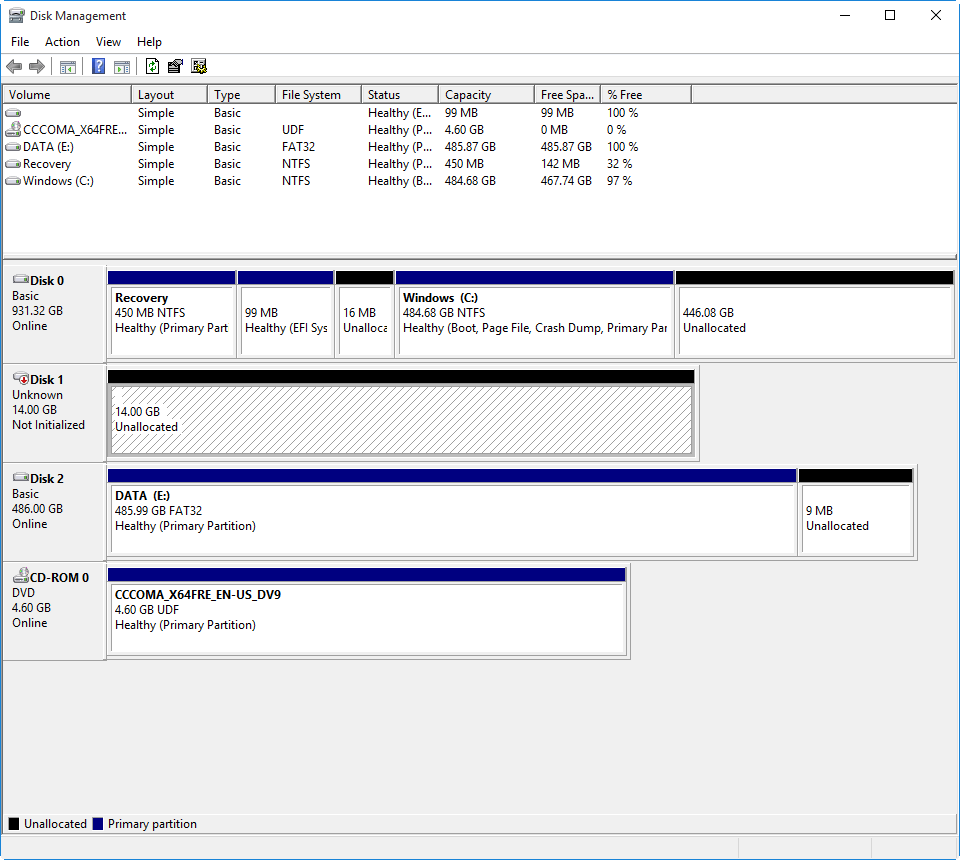
5. Now, a piece of unallocated space will appear on the right side of the C drive.
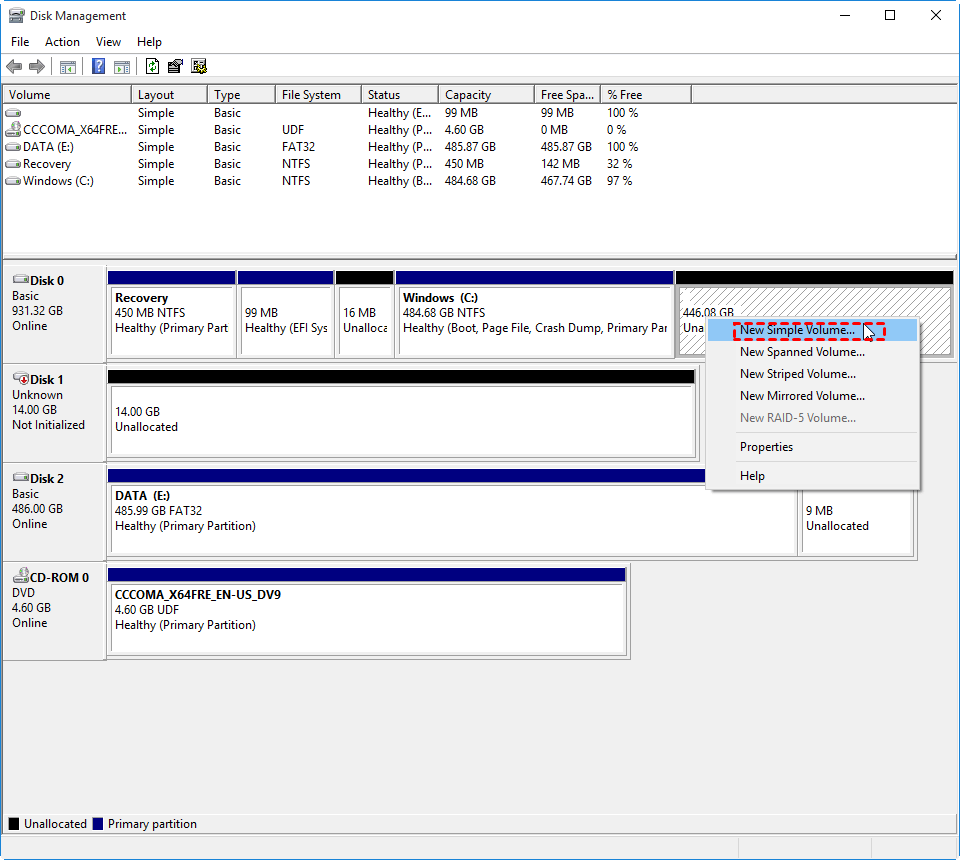
6. Right-click on the unallocated space and select “New Simple Volume”.
7. Follow the wizard until you click on “Finish”.
8. Now, the second partition is created.
Part 2. Move programs from the system partition to the new created partition
Since we've already created a new partition, it's time to transfer the apps from the OS partition to the newly created one. When you hear about moving apps from one partition to another, you may think of the “copy-paste” method. Indeed, it’s a convenient and easy way for novices and sometimes it indeed works. However, in most cases, the apps don’t work normally afterwards due to missing boot files. So, I’ll introduce an alternative reliable way to help separate OS from programs.
AOMEI Partition Assistant Professional is an all-in-one powerful disk management app. It’s able to transfer programs including Word, Excel, PowerPoint, Microsoft Edge and others that are installed by default from the system C drive to another partition within only a few clicks. In this way, you can make OS and data on separate drives so that your PC can run more smoothly. What’s more, if you want to move all the data from a partition or a hard disk to another one, you can try its features of partition clone or disk clone.
Download the demo of this software to make OS and data on separate drives.
Step 1. Install and launch AOMEI Partition Assistant Professional. Then, all hard disks and partitions will be listed on the interface.
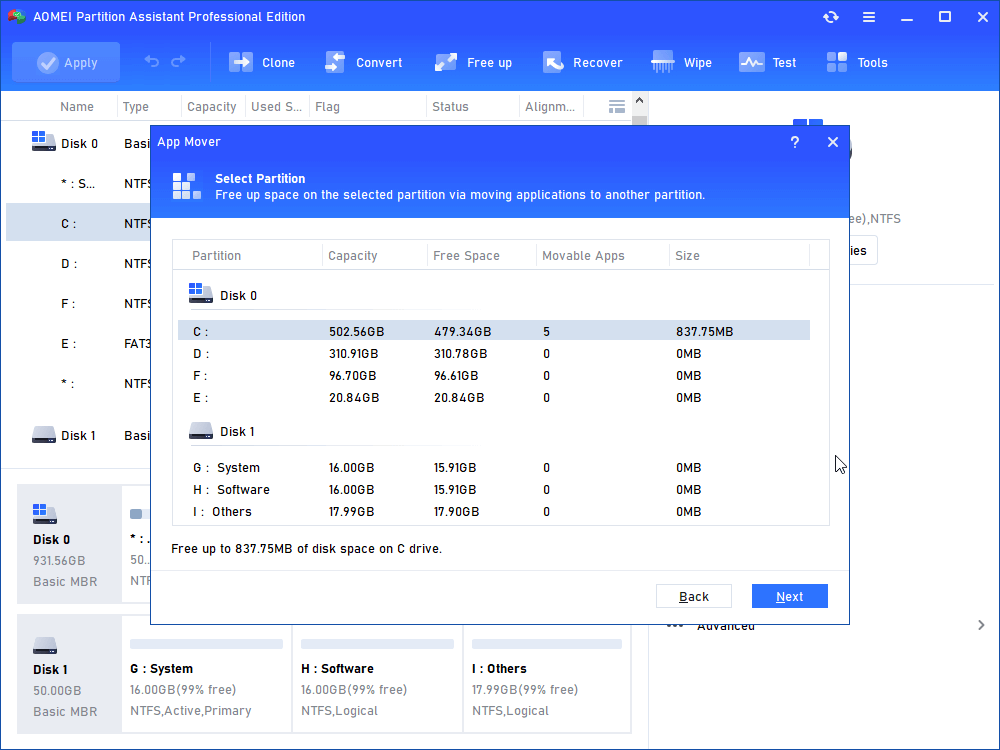
Step 2. Click “Free up” on in the top toolbar, and choose “App Mover”.

Step 3. Select the C drive and hit "Next".
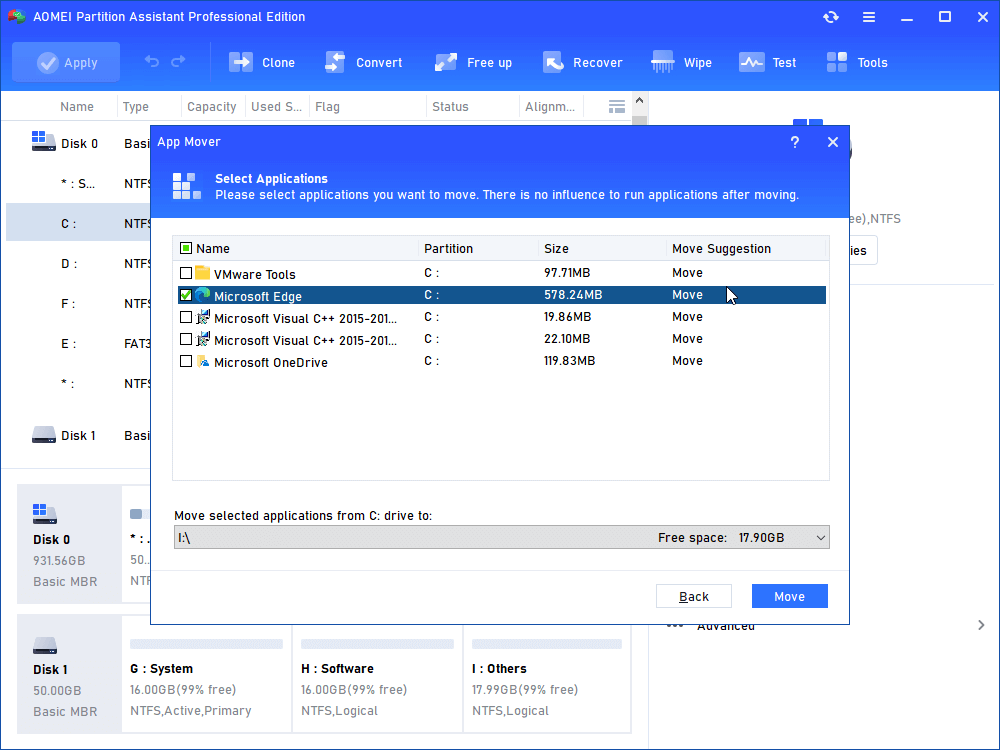
Step 4. Tick the apps and programs you want to move and preset a destination for them.
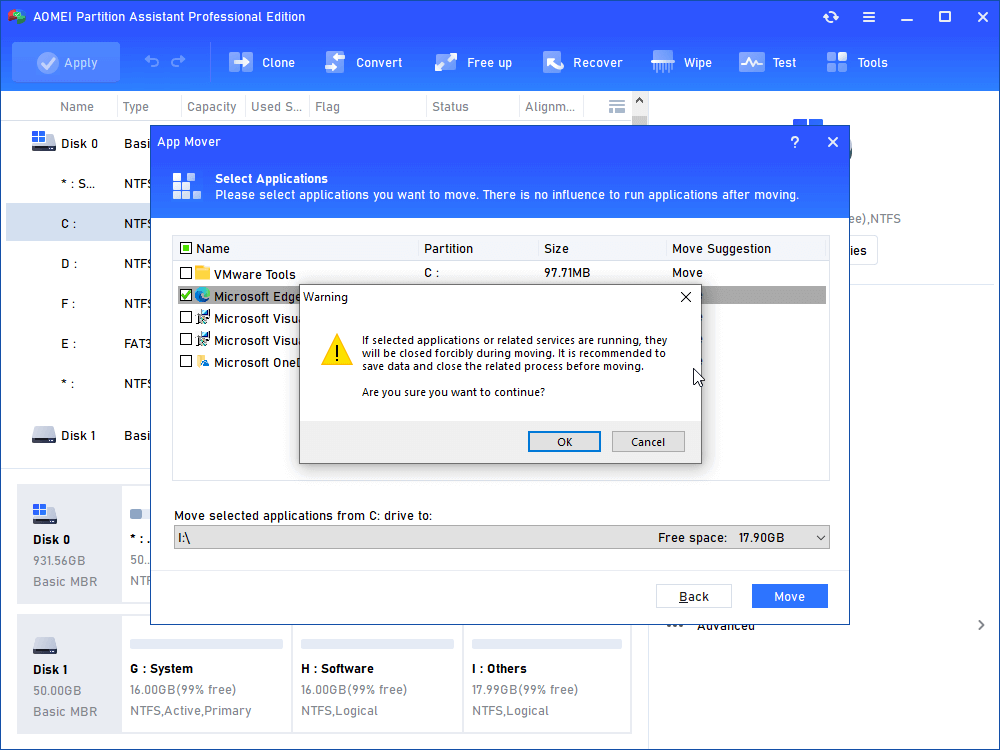
Step 5. Click on "Move" and then, "OK" to start the transfer. It may take several minutes before completed, so, be patient.
Step 6. When it's done, hit "Finish".
What if the programs don’t work after the OS and data separation?
If unluckily, after the transfer, the apps or programs don’t boot normally, you must manually restore them by sending them back where they previously were.
1. Click on “Manage/Restore APPs”.
2. Tick the problematic apps you want to restore.
3. Click on “Restore” to get started.
Wait a few minutes before it’s completed.
How to change default installation folder in Windows 10?
Generally, installed software and programs are sent to the folder of Program Files or Program Files (X86) in the system partition by default. In this case, the OS, apps, and programs are put together in the same place which causes many problems as mentioned in the beginning of this post. So, in the content below, I’ll introduce a way to change default installation folder in Windows 10.
1. Type “regedit” in the search box on the lower left of the desktop and hit “ENTER”.
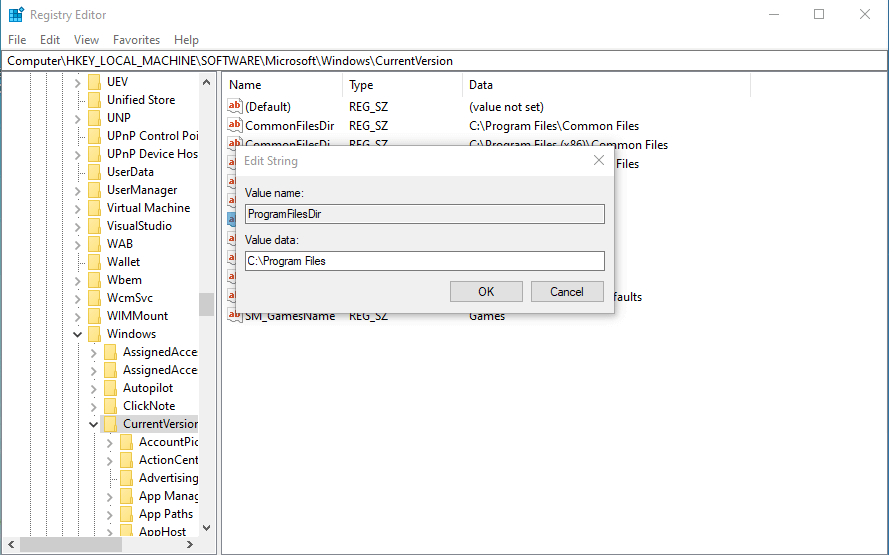
2. Follow the path “HKEY_LOCAL_MACHINE\SOFTWARE\Microsoft\Windows\CurrentVersion”.
3. Double click on “CurrentVersion”.
4. Then, on the right side, go for ProgramFilesDir from the list. If your OS is 64 bit then there will be 2 entries ProgramFilesDir and ProgramFilesDir(x86).
5. Double-click on both of them to check the entries. Change “C” to the drive letter you want and hit “OK”.
6. Restart your PC to let the changes take effect.
Conclusion
How to separate OS from programs? Instead of using the “copy-paste” method, you can still handle it easily with the help of the most versatile third-party software AOMEI Partition Assistant Professional. Since I’ve walked you through every step, I think it’s time to try it on your own. To use this software on Server computer, you should try the Server edition.

