Why C Drive Space Disappears and How to Fix It?
Are you constantly running out of space on your C drive, even though you haven’t installed anything new? Many Windows users face this frustrating issue where C drive space disappears mysteriously. But don’t worry! In this guide, we’ll explore the common causes and practical solutions to reclaim your valuable disk space.
By Hedy / Updated on February 21, 2025
Why C drive space disappears?
If your C drive space is disappearing, it could be due to several reasons. Let’s go over the most common causes, which can help you fix the problem.
1. Hidden system files and folders: Windows stores various system files that aren’t visible by default, which can take up disk space without your knowledge.
2. Temporary and junk files: Windows and applications create temporary files that accumulate over time and take up unnecessary space.
3. Page file and hibernation file (hiberfil.sys): The page file (virtual memory) and hibernation file consume gigabytes of storage, depending on your system’s RAM.
4. Windows Updates and System Restore Points: Automatic updates and restore points eat up storage gradually, making your C drive shrink unexpectedly.
5. Malware or unwanted programs: Some malware programs generate junk files or duplicate data, consuming space without your consent.
6. Large downloads and App cache: Browsers, video editing software, and games create cache files that quickly eat up disk space.
7. Duplicate files and old installations: Redundant files, old Windows installations (Windows.old), and leftover program files also contribute to the disappearing C drive space.
How to fix C drive space disappears issue?
Here’s a detailed guide on how to free up disk space on your Windows PC:
Fix 1. Check disk space usage
Before freeing up space, it’s important to check what’s taking up the most storage.
Step 1. Open Settings > System > Storage.
Step 2. Click on "Show more categories" to see a breakdown of files.

Step 3. Use Storage Sense to monitor disk usage automatically.
Fix 2. Remove temporary and junk files
Temporary files accumulate over time and take up unnecessary space. You can remove them manually:
Step 1. Press Windows + R to open the Run command.

Step 2. Type temp and click OK to view all temporary files.
Step 3. Alternatively, type %temp% and click OK to view all local temporary files.
Step 4. Select the temp files that you want to delete and press the Delete key.
Fix 3. Delete old Windows installation (Windows.old)
After a Windows upgrade, a Windows.old folder stores old system files, which can be removed:
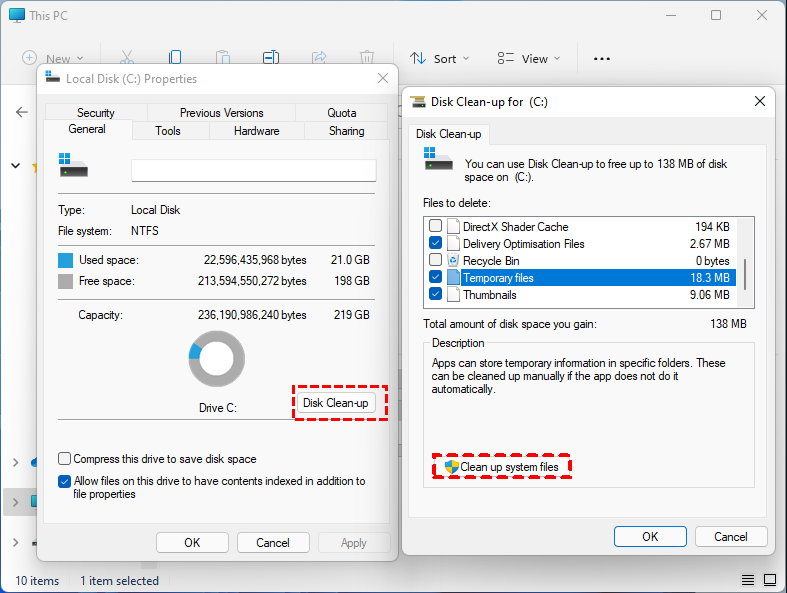
Step 1. Search for "Disk Cleanup" in the search bar, and select the Disk Cleanup app.
Step 2. In the pop-up window, select C drive where the Windows.old is often stored.
Step 2. Click "Disk Clean-up", and then click "Clean up system files".
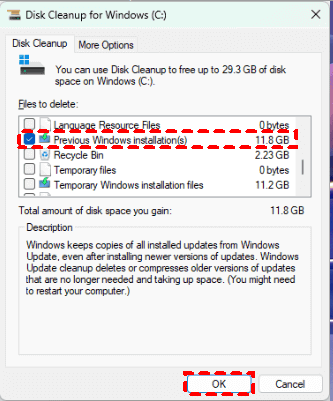
Step 3. Select "Previous Windows installation(s)" from the list of files to delete and click "OK".
Fix 4. Disable Hibernation to free up space
Hibernation saves system data to disk, which consumes storage. Disabling it can free several GBs:
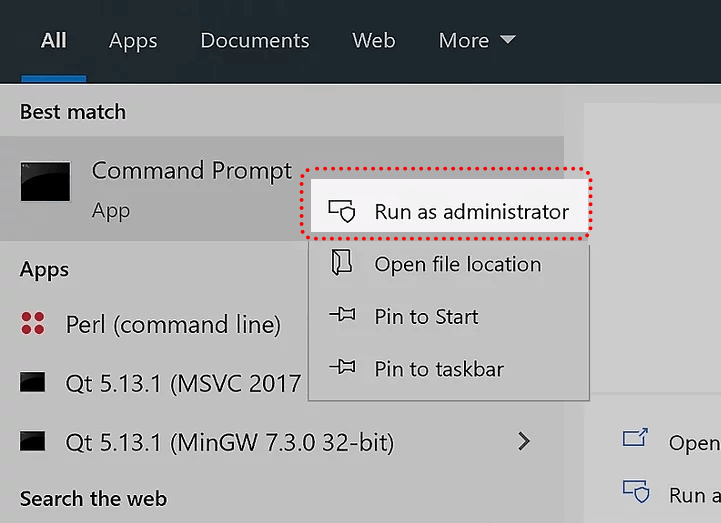
Step 1. Hit the Windows key and type "cmd" in the taskbar, and hit "Run as administrator".
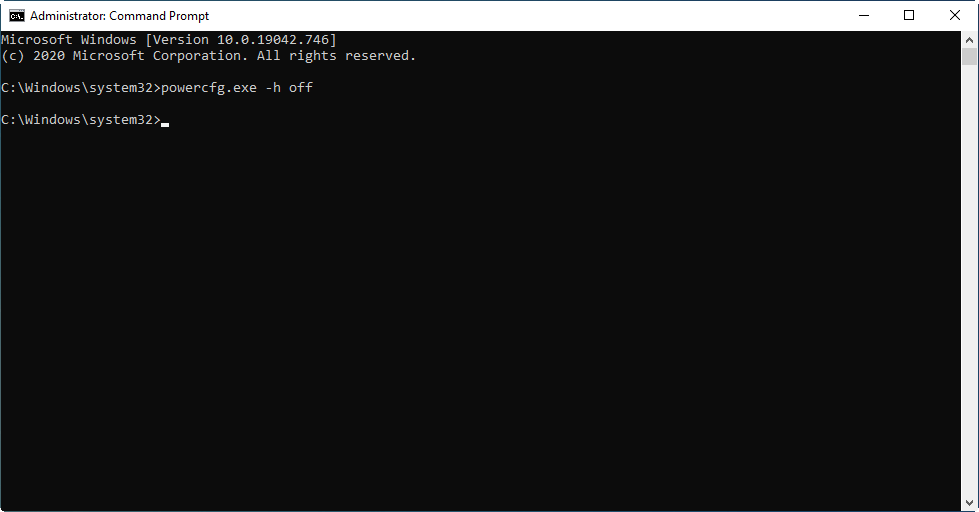
Step 2. In the command line window, type "powercfg -h off" and press "Enter". This command will disable hibernation and the hibernation file will be deleted.
Fix 5. Uninstall or move unnecessary applications
Large programs can take up space unnecessarily:
Step 1. Click the Search icon in the taskbar and type “Settings” to open the utility.
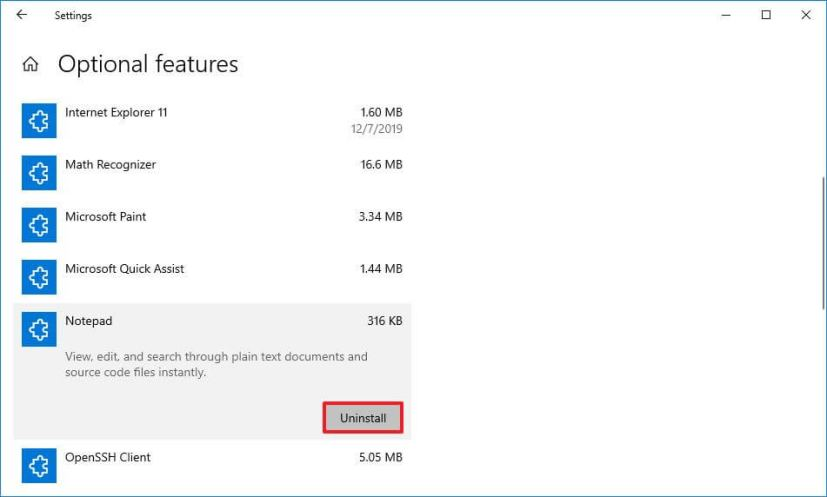
Step 2. Select “Apps” and choose “Apps & features”. Under the section, click “Optional features”.
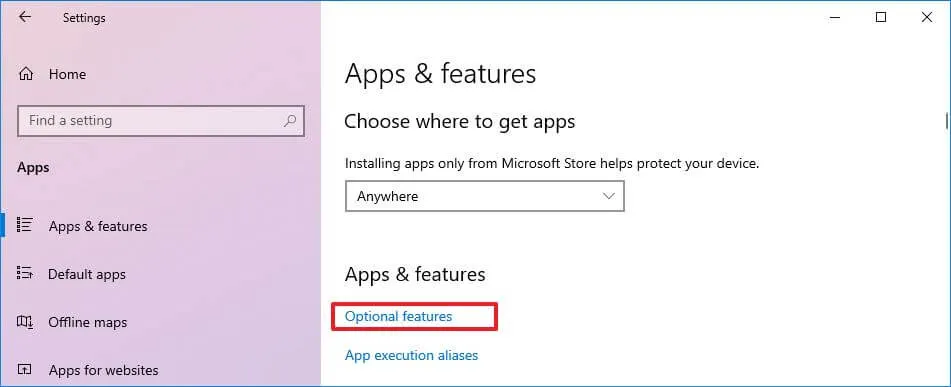
Step 3. Choose the app that you need to uninstall and click “Uninstall”.
If you're looking to uninstall apps on Windows 10 to free up storage space, there's an easier solution. Sometimes, users remove apps just to create more room, but these programs may still be useful.
Instead of uninstalling, consider using AOMEI Partition Assistant. This powerful tool includes the APP Mover feature, which allows you to move apps to a drive with more available space. This way, you can keep your valuable apps while ensuring they continue to function as expected. You can download a demo version to try it out.
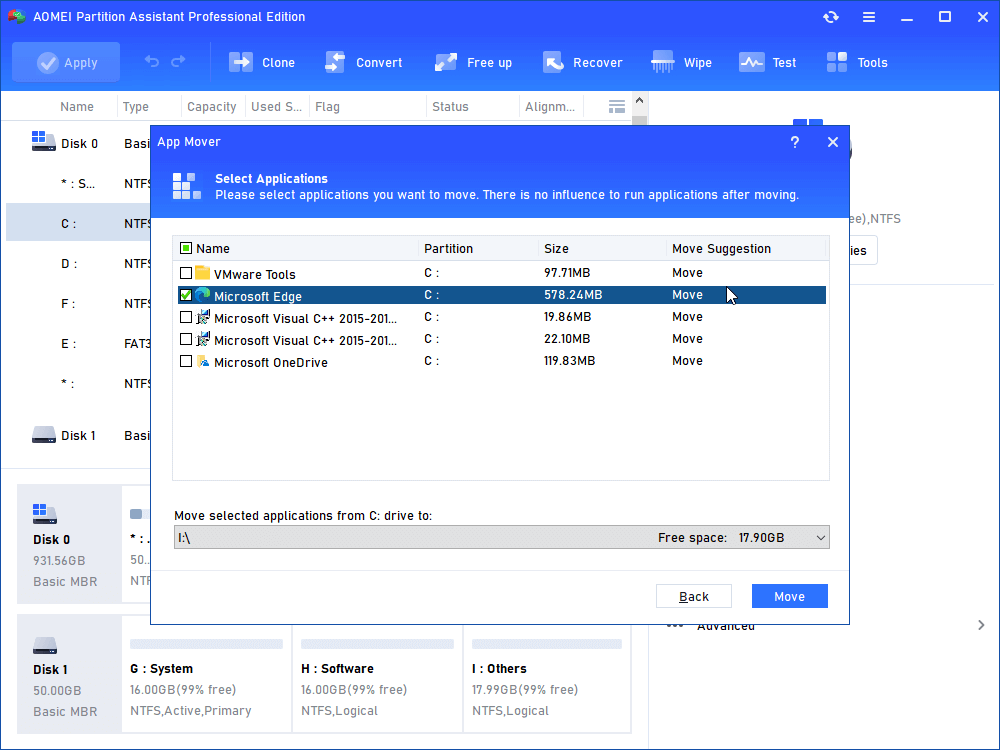
Step 1. Install and open AOMEI Partition Assistant. Click on "Free up" in the top toolbar and select "App Mover."

Step 2. From the list, pick the D drive and proceed by clicking "Next".

Step 3. You will see a list of movable applications in the D partition. Simply check the ones you wish to move, specify the destination path below, and then click "Move".
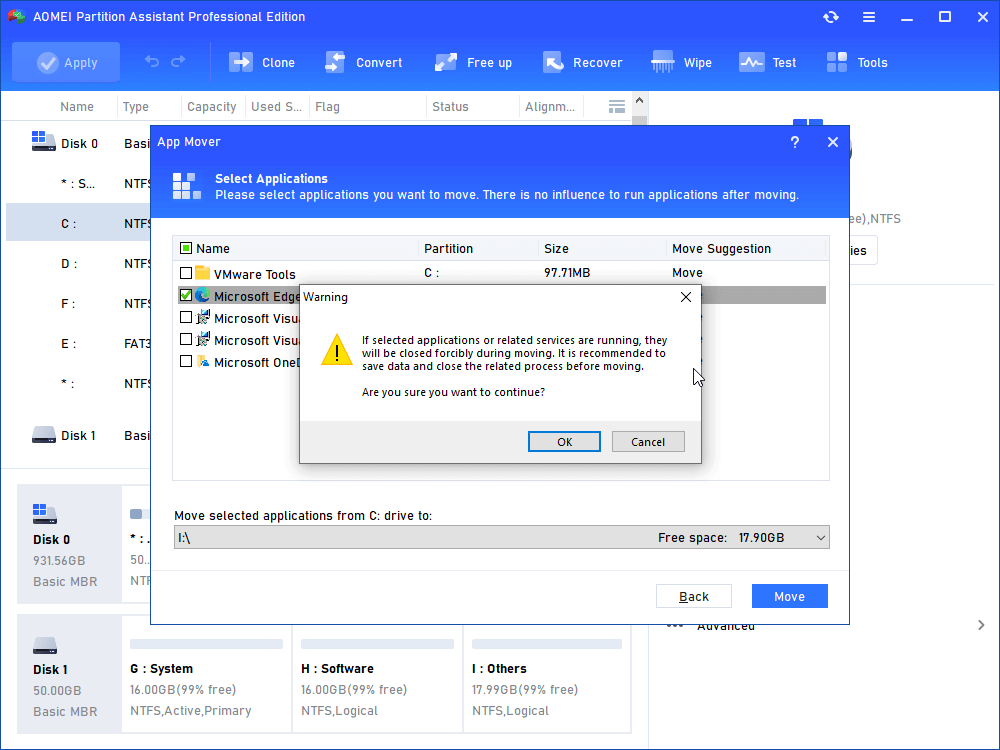
Step 4. A prompt will appear, notifying you that running applications will be closed forcefully. Click "OK" to initiate the app migration process from D to another location.
Fix 6. Use third-party cleaning tools
AOMEI Partition Assistant is an excellent all-in-one PC cleaner for Windows 10 and other versions of Windows. It efficiently scans and removes various types of junk files, such as temporary files and registry files. With this free PC cleaner for Windows 10, you can easily identify junk files and choose which ones to delete. In just a few clicks, you'll be able to clean up your computer and free up space.
In addition to cleaning, the software offers several helpful features to enhance your computer's performance, including allocating free space to the C drive from other partitions, cloning HDDs to SSDs, and more.
Option 1. PC cleaner
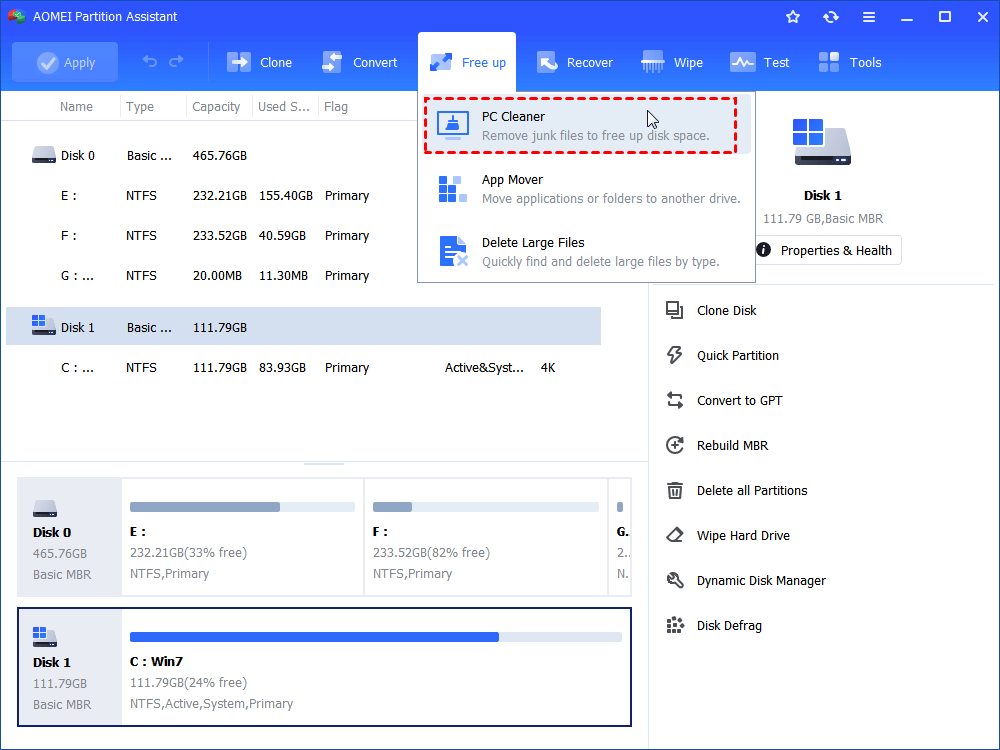
Step 1. Install and launch AOMEI Partition Assistant, and then click "Free up" > "PC Cleaner".
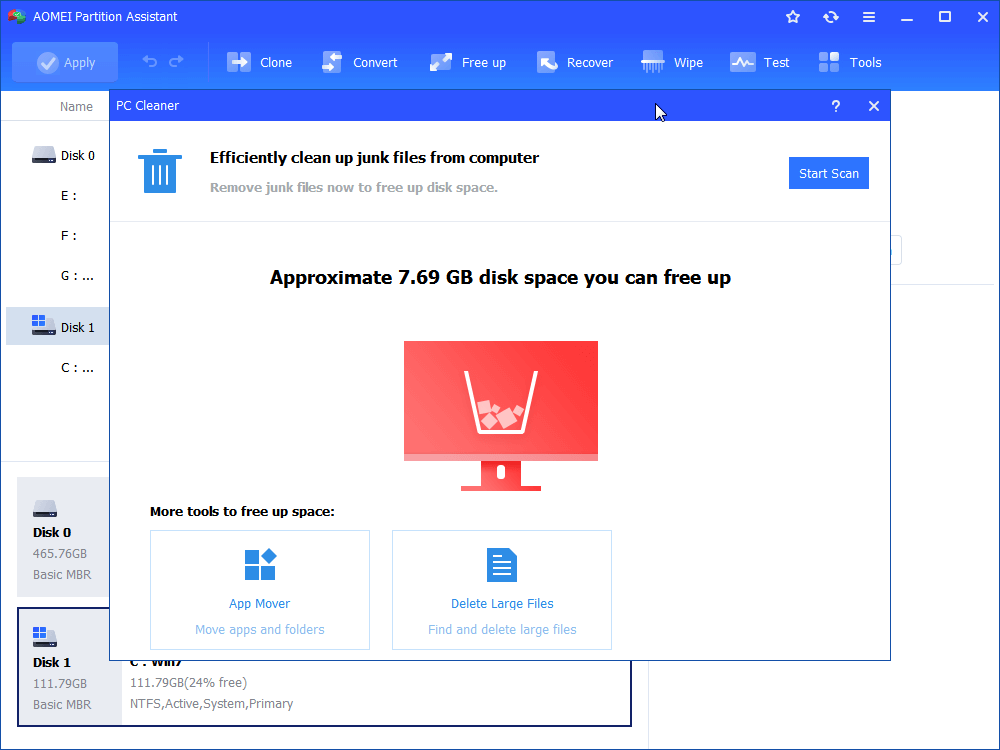
Step 2. In the pop-up window, click "Start Scan" to scan for junk files.
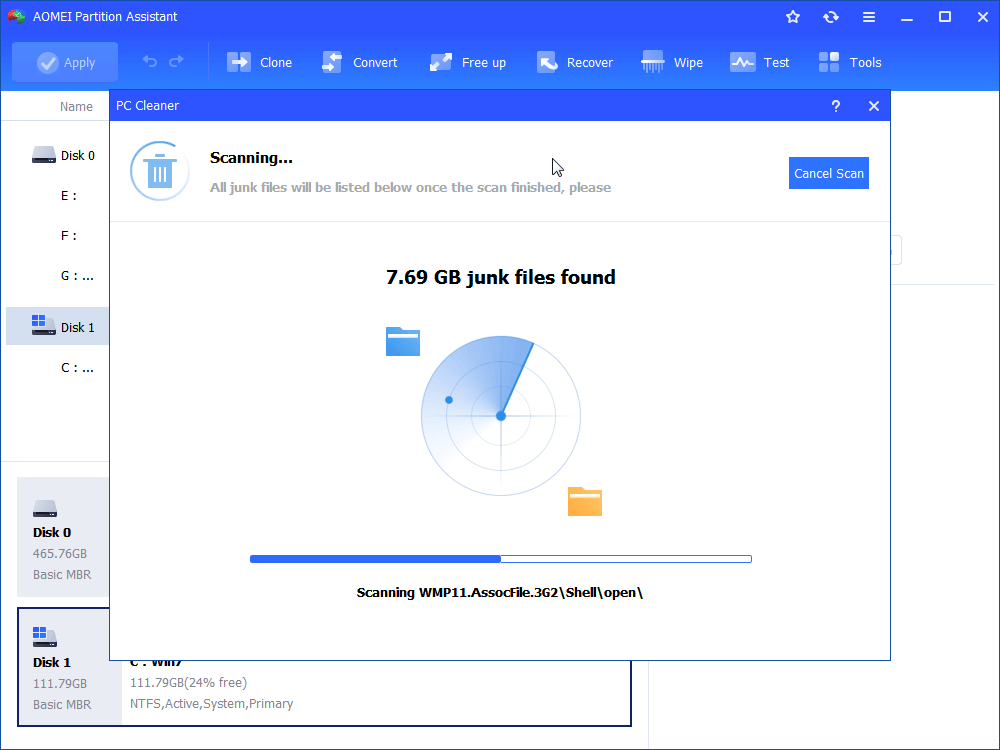
Step 3. Wait until the scanning process completes.
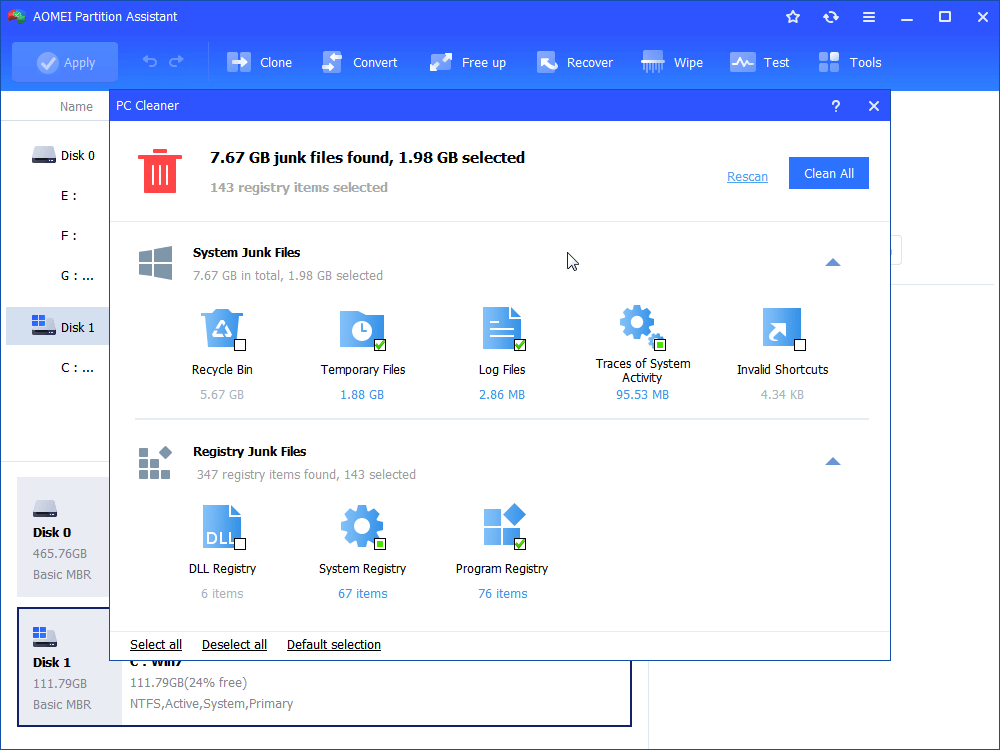
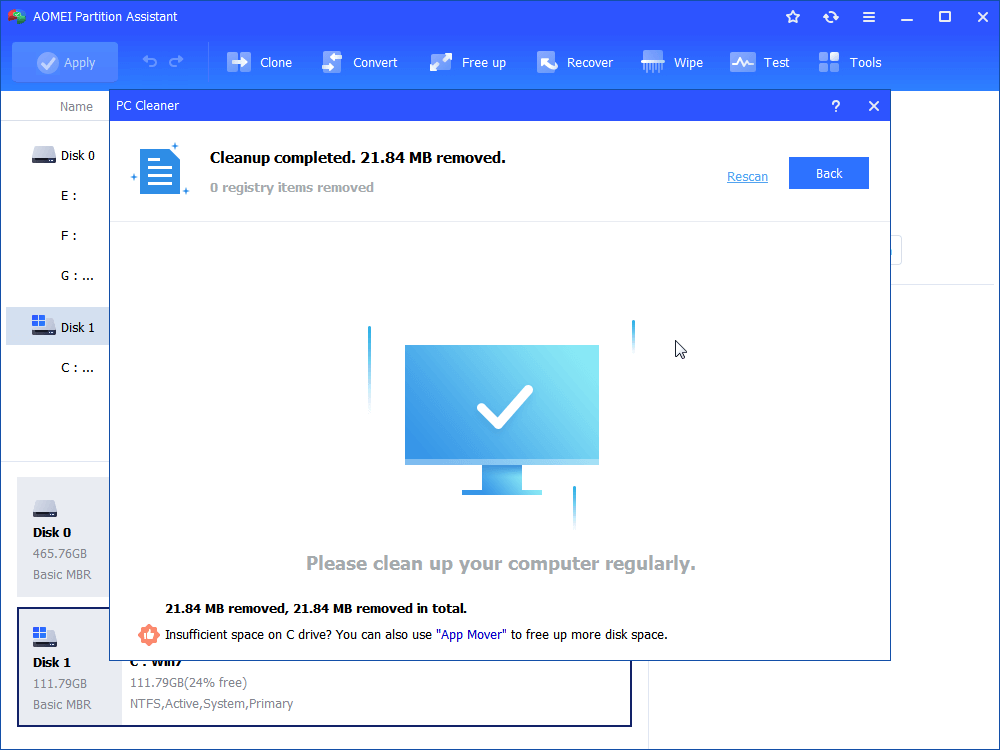
Step 4. After the scan is completed, all kinds of available junk files will be listed. Then, tick the options you want to clean, then click "Clean All" to begin the cleaning process.
Step 5. When you see a correct symbol displayed in the interface, you can click "Back" to exit the Window.
Option 2. Delete large files
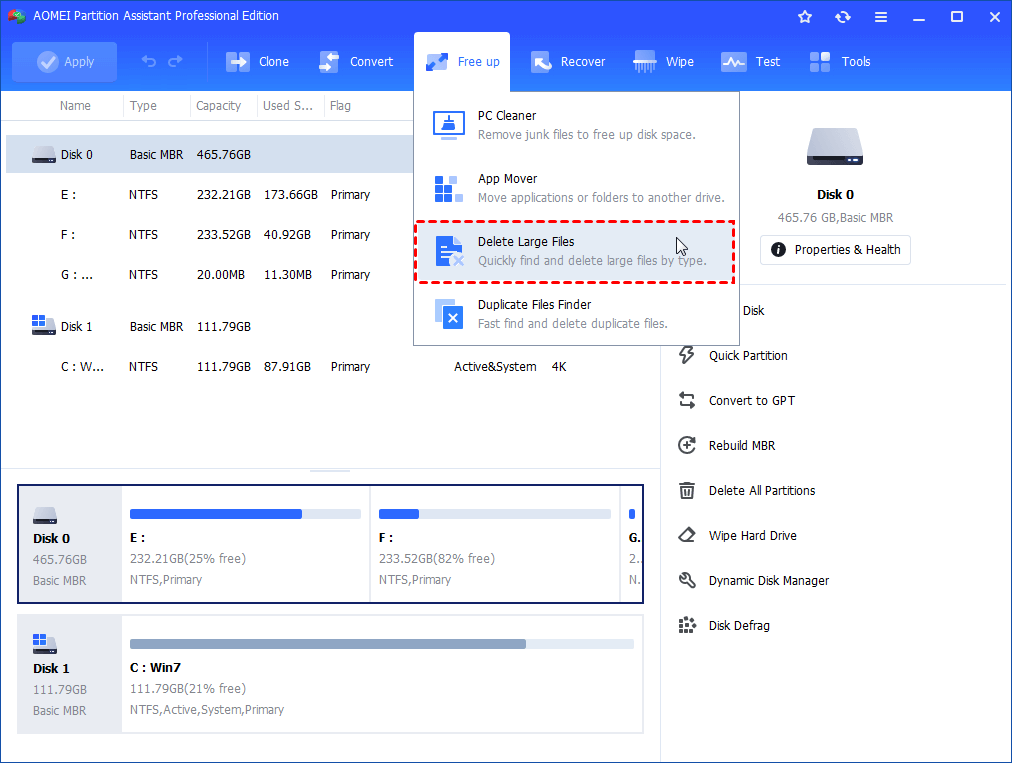
Step 1. Install and launch AOMEI Partition Assistant Professional, and then click "Free up" and "Delete Large Files".
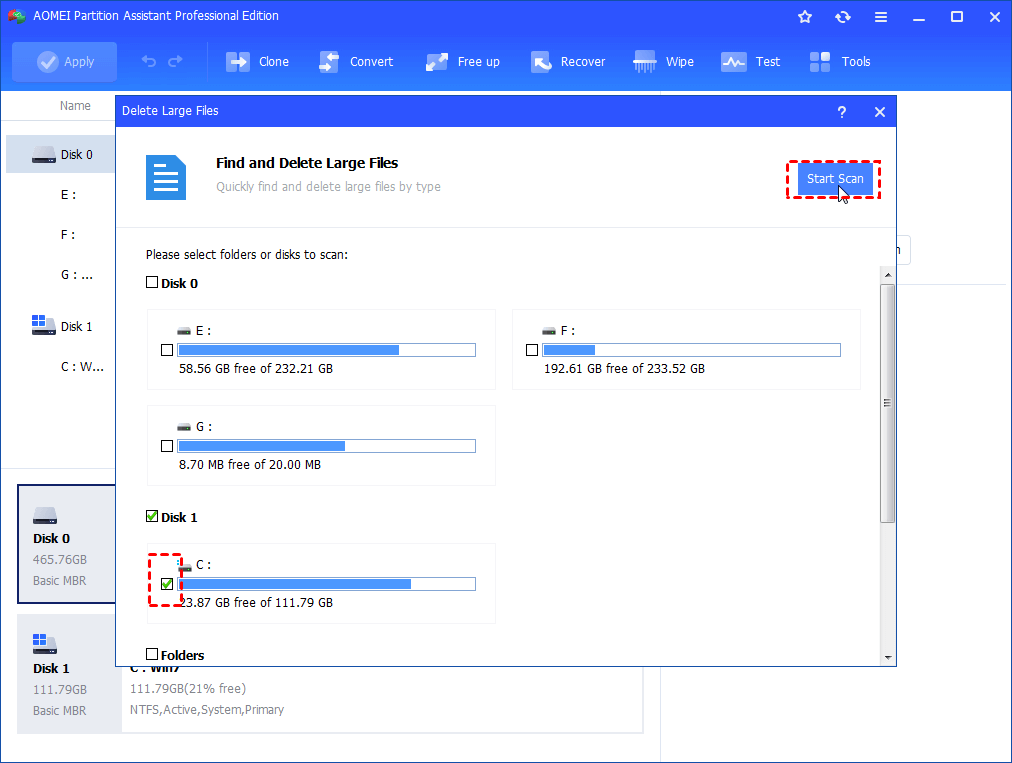
Step 2. In the pop-up window, select the partitions that you want to find and delete large files, click "Start Scan" to scan for files larger than 16MB.
Step 3. When the scan is complete, all large files found are listed. Tick the files you want to delete, and then click the "Delete" button.
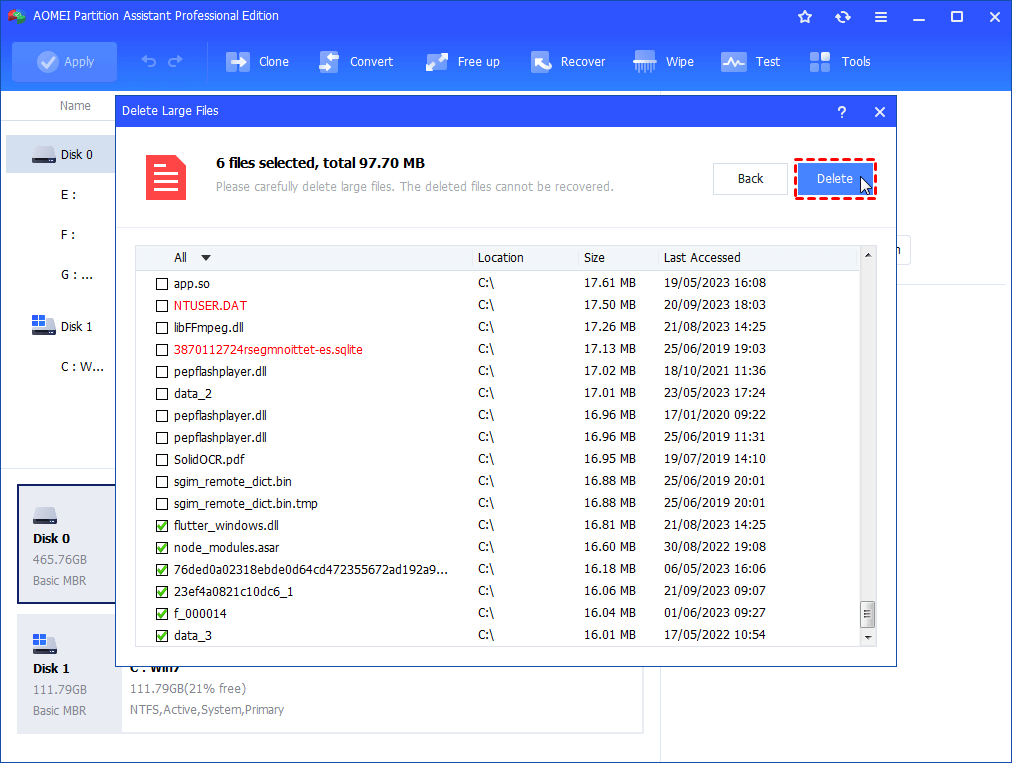
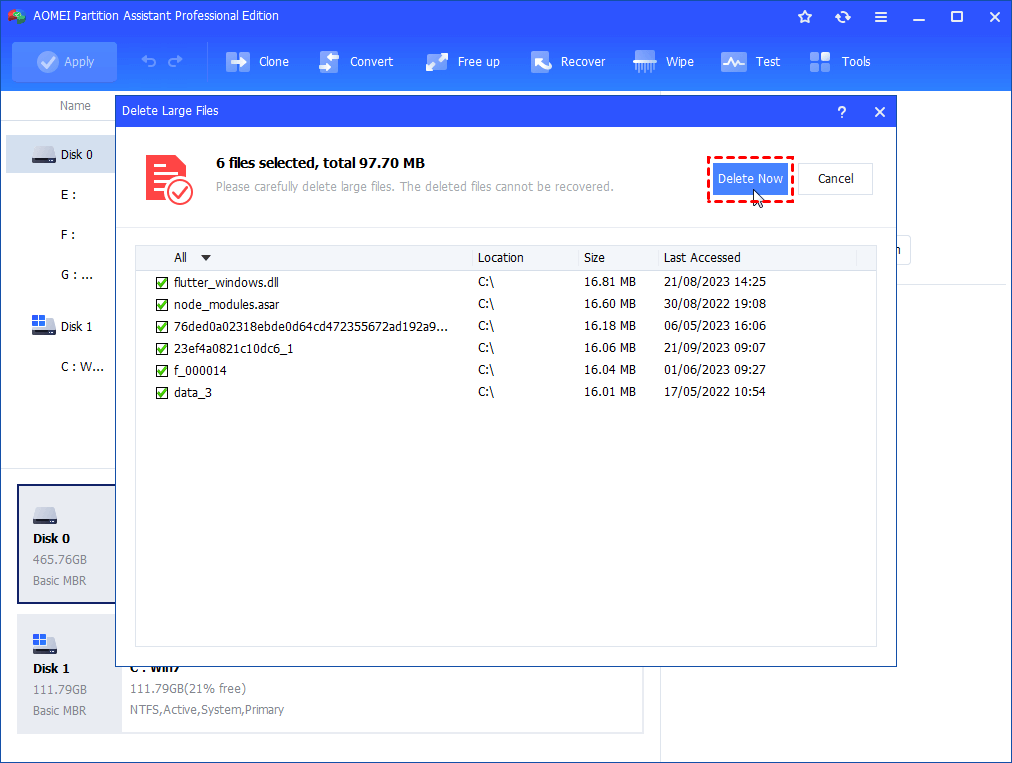
Step 4. The next window will ask you to confirm the files you have just ticked for deleting. If it’s correct, click "Delete Now" to begin the deletion process.
Conclusion
If your C drive space disappears mysteriously, don’t panic! By following these practical solutions, you can reclaim lost storage and prevent the issue from happening again. Regular maintenance, monitoring, and proper disk management are key to keeping your system optimized and running smoothly. If you encounter the issue on the Windows Server, you can resort to AOMEI Partition Assistant Server to fix it.

