How to Fix [Setup Was Unable to Use the Existing Partition]
You may receive a message “Setup was unable to use the existing partition…” during the Windows installation. This post will offer you some solutions to fix it easily.
By Lucas / Updated on May 12, 2023
Error: Setup was unable to use the existing partition…

The errors “Setup was unable to use the existing partition because the system volume does not contain the required free space” and “Setup was unable to create a new system partition or locate an existing system partition” appear when you install a Windows OS. There are three common errors during the installation. Besides these two, the other one is “The select disk has an MBR partition table…”
The last one is easy to fix, you only need to convert the disk to the proper partition style. How about the first two?
The error “Setup was unable to create a new system partition…” is due to some glitches of the existing C partition or the partition you wish to carry the system.
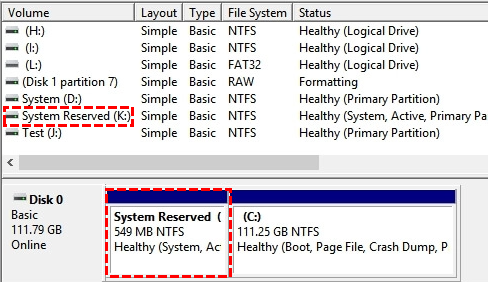
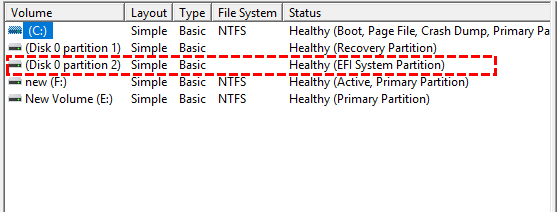
While the problem of error “Setup was unable to use the existing partition…” is the “system volume”. It refers “System Reserved” label, not the system partition. If the partition labeled “System Reserved” is full or almost full, this error will appear. In Legacy boot mode, this partition shows as “System Reserved”, and in UEFI boot mode, this partition shows as “EFI system partition”.
You need to have a clear understanding of these two errors. After you understand the problem, now, we can move to the solutions you might have a try.
Fix: Setup was unable to use the existing partition
First, please remove all your peripherals to get rid of any external reason that may cause the error.
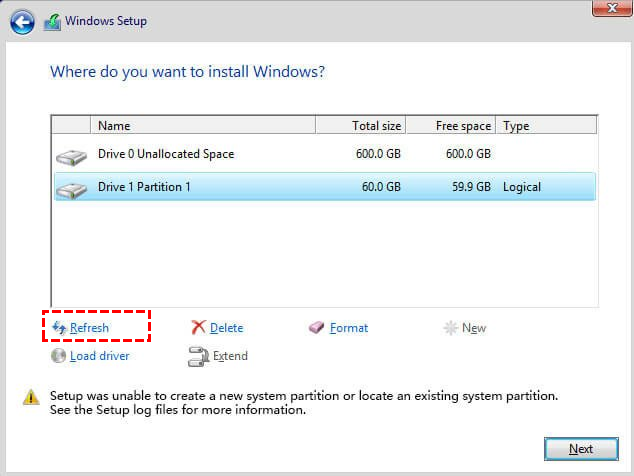
Way 1. Refresh your devices
Click “Refresh” in the Windows Setup window. Then try to install OS again.
Way 2. Format system reserved partition (EFI partition for UEFI mode)
The Setup window with the error appears has “Format” and “Delete” choices, but sometimes, they don’t work normally. Since there’s no system you can use if you meet the error during the Windows installation, you’ll make a bootable media for repair.
AOMEI Partition Assistant Professional can do this task in this situation. The “Make Bootable Media” is developed for repairing the PC when it cannot boot successfully. You need to install this tool on a workable PC, any Windows OS is fine because this tool supports all Windows PC OS (11/10/8/8.1/7/XP). And prepare a USB with at least 16GB size.
After you create a bootable USB, plug it in and boot your machine, you’ll see the interface of this tool. Then, you can go to the “Format Partition” feature to format the system reserved partition.
Step 1. Install and run AOMEI Partition Assistant on the functional PC. Connect your USB drive (or CD/DVD) and make sure it can be detected by Windows.
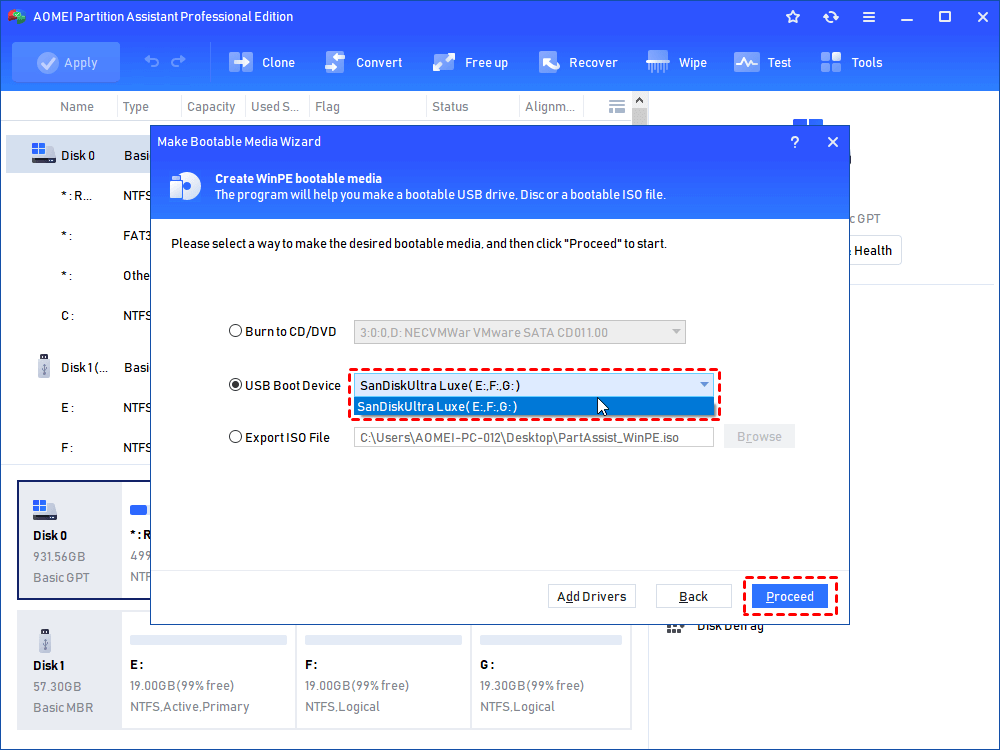
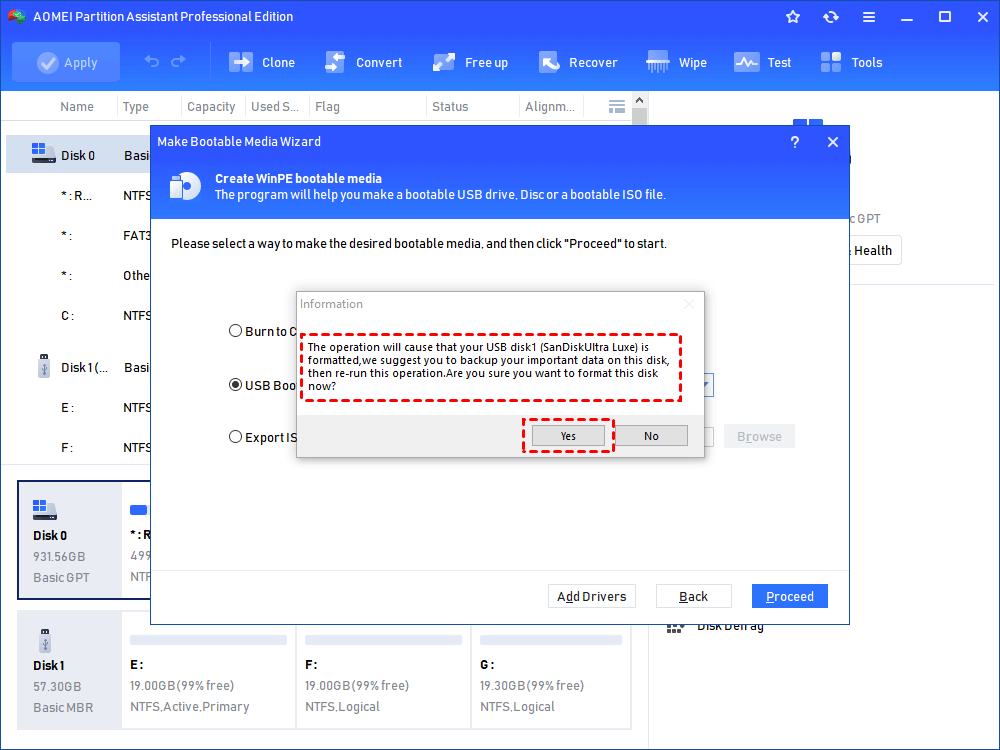
Step 2. Click on "Tools"> “Make Bootable Media” in the top Wizards pane. In the pop-out window, choose “USB Boot Device” and then follow the wizard to complete.

Step 3. Click “Yes”.
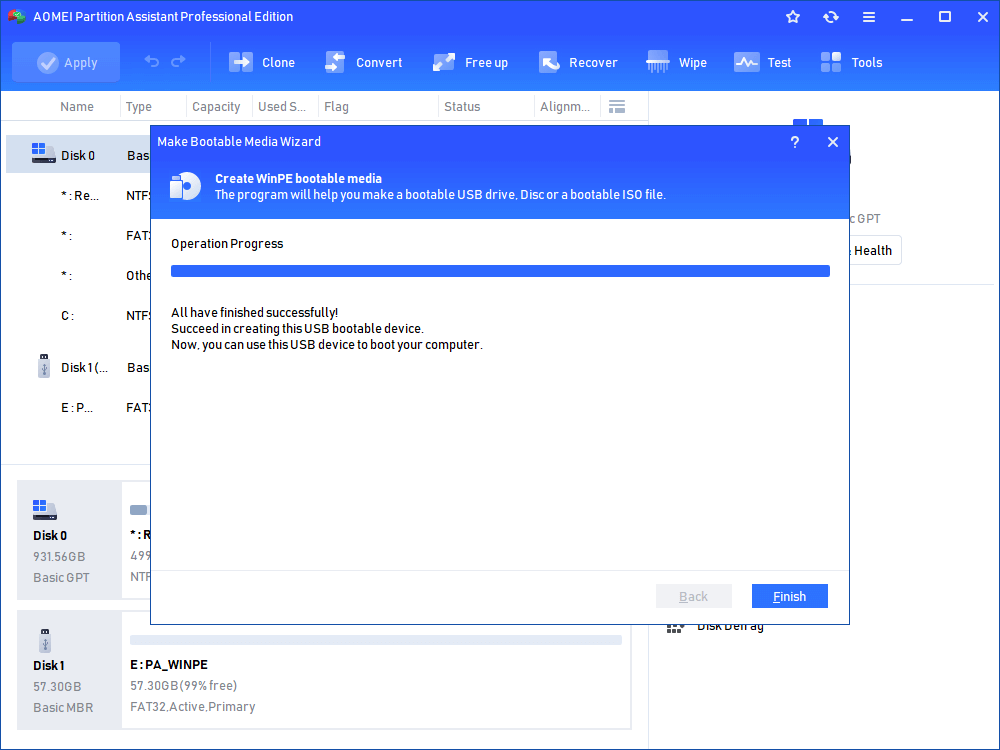
Step 4. Click “Proceed” and wait for finishing the task.
Now, plug this USB into your PC and boot from it. You need to change boot priority to the bootable media in BIOS. Then you’ll get into AOMEI Partition Assistant main interface after login. Then, we’ll start to format the system reserved partition.
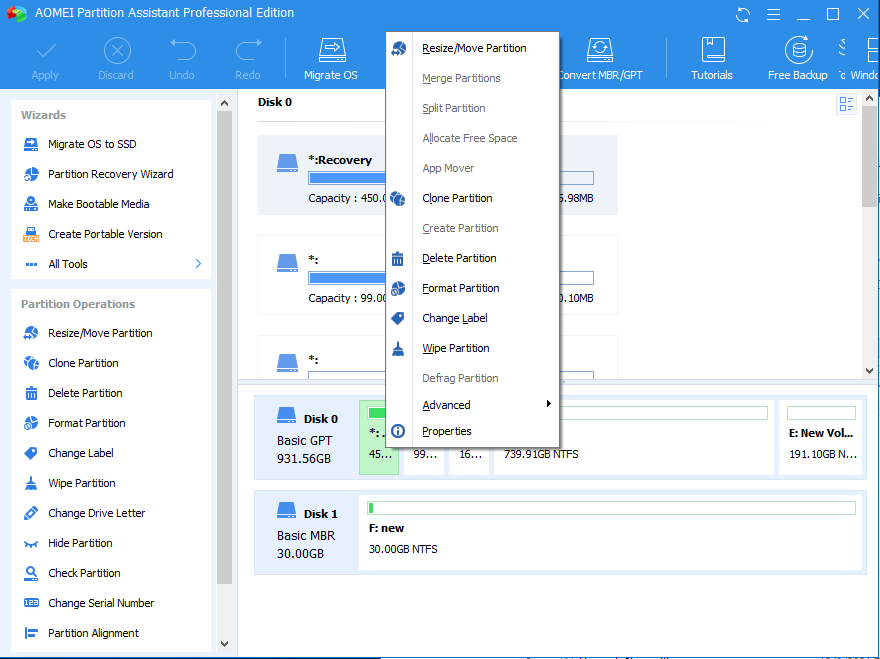
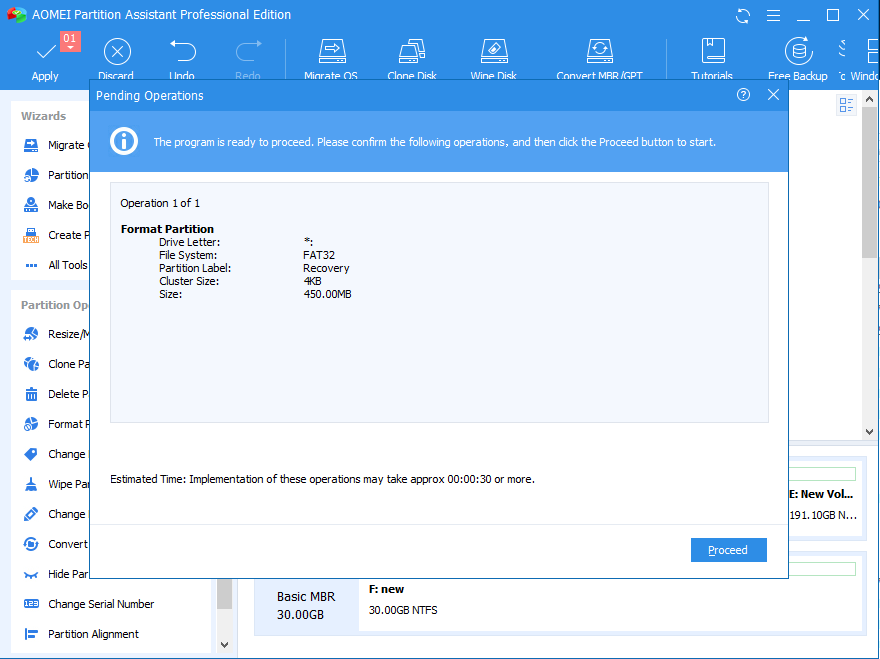
Step 1. Right-click the system reserved partition or EFI partition, and choose the “Format Partition” feature.
Step 2. Now, select a file system for this partition, System Reserved Partition should be formatted as NTFS; the EFI partition should be formatted as FAT32.
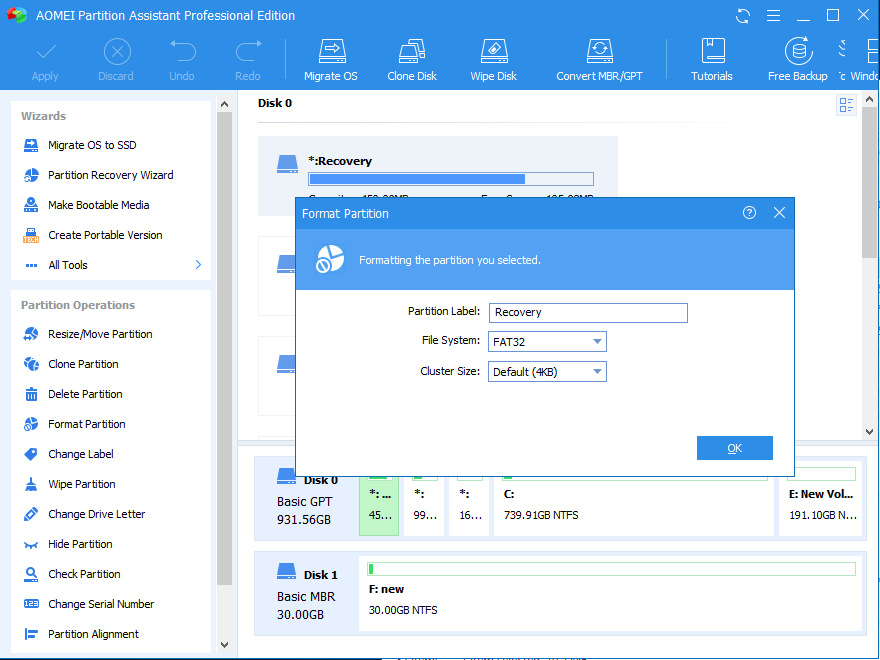
Step 3. Click “Apply” and “Proceed”, the system-reserved partition (EFI partition) will be formatted.
Then, you can install Windows OS again, and this time should be workable.
Way 3. Create a new boot partition
Step 1. Click “Repair your computer” and bring up Command Prompt.
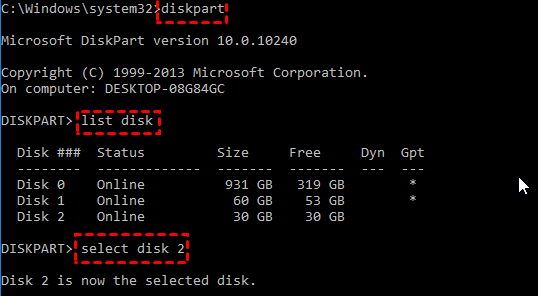
Step 2. Type “diskpart” and click “Enter”.
Step 3. In the diskpart window, type the following commands:
• list disk
• select disk x: Disk X is your destination drive
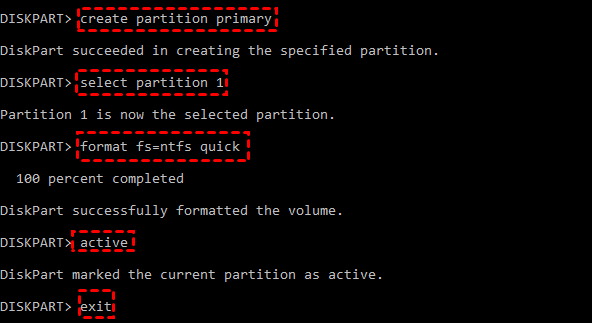
• create partition primary size
• select partition 1
• active
• format fs=ntfs quick
• assign
• exit
Step 4: Type the following commands to make the C drive bootable:
• bootsect /nt60 c:
• bootsect /nt60 c: /mbr
Now you can have a try again.
Conclusion
With the methods from this article, the error “Setup was unable to use the existing partition…” and "Setup was unable to create a new system partition or locate an existing system partition” should be solved. AOMEI Partition Assistant can help you do many things to manage your devices, such as “Migrate OS”, “Disk/Partition Clone”, “Convert to Logical/Primary”… And Server users can employ the Server Edition to organize the Server devices with secure and efficient features.

