How to Clone M.2 SATA to M.2 NVMe SSD Drive in Windows 10/8/7?
In this post, we will show you how to clone M.2 SATA to M.2 NVMe SSD drive in Windows 10/8/7. With AOMEI Partition Assistant, you can easily copy all content from M.2 SSD to M.2 SSD and make them bootable.
By AOMEI / Updated on June 6, 2024
What is (SATA/NVMe) M.2 SSD?
M.2 SATA SSD and M.2 NVMe SSD are two different types of M.2 solid-sate drives. Before we get into those two kinds of SSD, let’s see what an M.2 SSD is first. Traditionally, an SSD drive is known as the “2.5-inch drive”, which is about 2.75 inches (around 70mm) wide, 3.94 inches (around 100mm) long and 0.37 to 0.75 inch (9mm-19mm) thick.
But more laptops are designed to be skinnier and need a diminutive hard drive, so the smaller M.2 SSD (an SSD with M.2 interface) comes. The M.2 SSD is 22 millimeters (mm) wide and usually 60 mm or 80 mm long. Its card size is identified by a four or five-digit number. The first two digits are the width and the remaining numbers are the length. For instance, a 2280 card is 22mm wide and 80mm long.

M.2 SATA SSD drive is an SSD that adopts the SATA (Serial ATA) connection interface and uses the AHCI transfer protocol. The M.2 NVMe SSD uses the PCIe (Peripheral Component Interconnect Express) bus standard and NVMe transfer protocol. SATA and PCIe are two different bus standards, and they directly decide the data write/read speed of SSD drive. AHCI and NVMe are two different data transfer protocols, working as the traffic rules to regulate data transfer on SATA and PCIe interface.
Why clone M.2 SATA SSD to M.2 NVMe SSD drive?
From the above, we know the M.2 SATA SSD is different from M.2 NVMe SSD drive. Why we need to clone SATA SSD to NVMe SSD? We can find some clues from NVMe M.2 drive’s advantages over SATA drive.
-
Reduce latency significantly: This is mostly because a streamlined storage stack and NVMe requires no register read to issue a command. AHCI requires four uncachable register reads per command, which results in ~2.5µs of additional latency.
-
Lower power consumption: Its IO operations take fewer CPU cycles to execute than SATA IO operations, because of a more streamlined command set.
-
Faster data transfer speed: SATA M.2 SSD of AHCI transfer protocol is 600 MB/S while that of an NVMe M.2 SSD is up to 4GB/S.
Software to clone M.2 SATA to M.2 NVMe SSD in Windows PC
To clone M.2 SSD to M.2 SSD, a professional SSD cloning tool is required. Here we recommend AOMEI Partition Assistant Professional. This software is compatible with Windows 10/8/7 and Windows XP/Vista (all editions). It can not only clone all types of (M.2) SSD, but also copy USB flash drive, SD card, memory card, HDD or other hard drives.
As for cloning M.2 solid-state drive, they can do the following tasks for you:
● Clone larger M.2 SSD to smaller M.2 SSD as long as the destination disk has enough space to hold all data from the source disk.
● Allow you to align partitions on M.2 SSD drive during the cloning process to boost the reading and writing performance further.
● Enable you to clone bootable M.2 SSD drive and then boot from the destination M.2 SSD drive after clone.
If you want to clone SATA to NVMe in Windows Server 2019/2016/2012/2008/2003, AOMEI Partition Assistant Server can help.
Six steps to clone M.2 SATA SSD to M.2 NVMe SSD
In the following content, we will demonstrate how to clone M.2 SATA SSD to M.2 NVMe SSD in Windows 10/8/7.
Before cloning, please note:
● Back up important data on the destination SSD drive because all files inside will be deleted during the cloning process.
● Check out how many M.2 slots are available on your desktop or laptop since the steps could be different depending on the slots.
»»» If there is only one M.2 slot, you can use an NVMe to USB adapter to connect the NVMe M.2 drive to your machine.
»»» If there are two M.2 slots, you can directly install your new NVMe M.2 drive into your computer.
● The AOMEI Partition Assistant Professional comes with a Demo version for a free trial, you can download it.
Now, we can start cloning SATA M.2 SSD to NVMe M.2 SSD within 5 steps.
Step 1. Install and launch AOMEI Partition Assistant, click "Clone" in the main interface and select "Clone Disk".

Step 2. Choose the hard disk that you need to clone as the source disk and click "Next".

Step 3. Select the destination disk to store the data on the source disk, and then click "Next".

Step 4. Then, you can check the source and destination disk in the next window or change to “Sector to Sector clone”, and click the "Confirm" button to continue if there is no problem.

Here, you can also click the "Settings" button to adjust the partition size on the destination disk or tick "4k alignment" to improve the reading and writing speed of SSD if the target disk is an SSD drive.

Step 5. At last, click "Apply" and "Proceed" in the main interface to start cloning the hard drive.

Install the new M.2 NVMe SSD and boot from it
After cloning SATA to NVMe SSD successfully, you can remove the old one, install the new M.2 SSD and boot from it.
1. Remove the old M.2 SATA SSD
1.1. Unplug the power and remove the battery from your laptop.
1.2. Press and hold the power button for about 10 seconds to release any residual power.
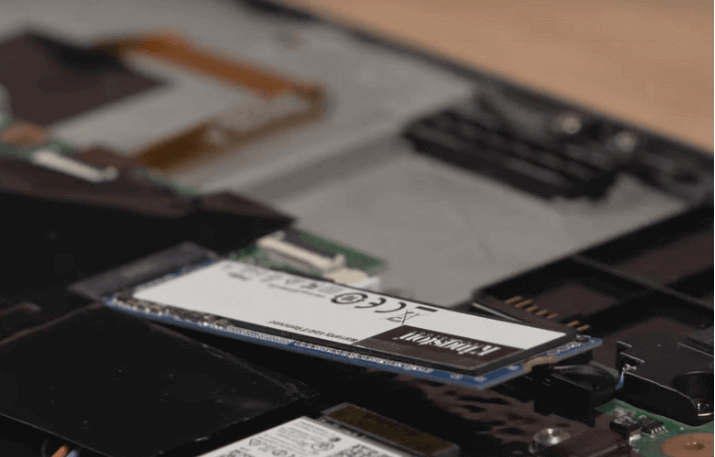
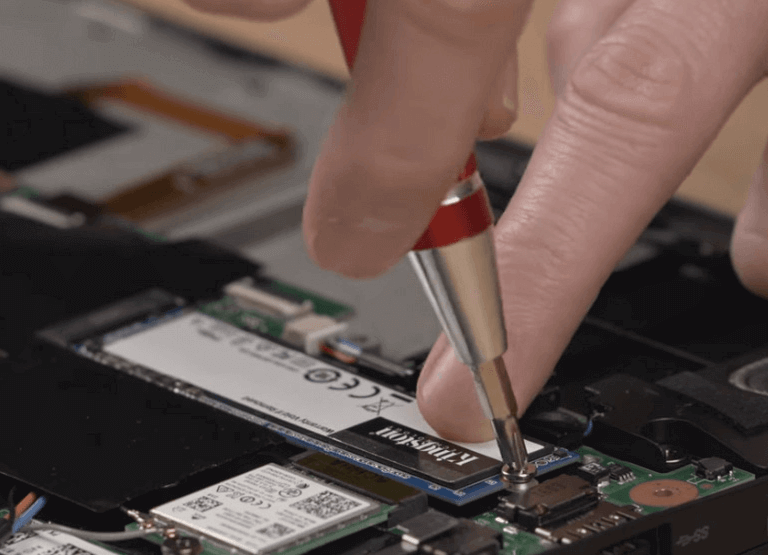
1.3. Remove the case cover and locate the M.2 SSD on the motherboard. Loosen the screw and unplug your old M.2 drive.
2. Install the new M.2 NVMe SSD
This step might have been finished if you have 2 M.2 slots on your machine. If so, please ignore this part and skip to “how to boot from M.2 SSD” section.
2.1. Install the M.2 NVMe SSD into the slot by doing the reverse of how you removed the old one.
2.2. Screw the screws to fasten the bracket.
2.3. Place the case cover and battery back onto the computer. Then connect the power.
3. Boot from the M.2 NVMe SSD
3.1. Reboot the computer and press ESC, F1, F2, F8 or F10 during the startup screen.
3.2. Choose to enter BIOS setup. Use the arrow keys to select the Boot tab.
3.3. The system devices appear in order of priority. To give the cloned M.2 SSD boot sequence priority over the hard drive, move it to the first position in the list.
3.4. Save and exit the BIOS setup utility.
Then the computer will restart with the changed settings. If the cloned SSD won’t boot, you can consider the partition style conflict, system files integrity, etc.
Final words
After reading this article, you must know how to clone M.2 SATA to M.2 NVMe SSD drive in Windows 10/8/7. Apart from the cloning function, AOMEI Partition Assistant Professional can also migrate only OS to M.2 SSD, securely erase SSD drive, copy partition to SSD/HDD and more. To install such an amazing program on unlimited PC and Servers, you can try AOMEI Partition Assistant Unlimited.

