Clone NVMe to NVme SSD in Large Size |Windows How-to Guide
To easily clone NMMe to NVMe in Windows, you just need the NVMe cloning software. This post will give you detailed steps to clone the disk in large size with one NVMe M.2 slot.
By Irene / Updated on August 9, 2024
Why clone NVMe to NVMe SSD?
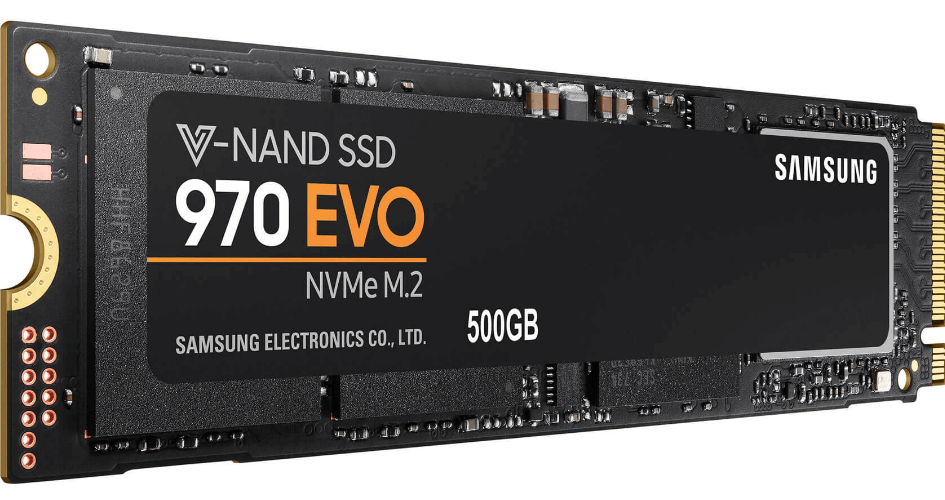
NVMe (non-volatile memory express), is an open logical device interface, specially developed for M.2 SSDs, usually attached via PCIe (PCI Express) bus. Compared with AHCI SSD, SATA SSD, and HDD, NVMe SSD has better and faster performance, lower latency, and higher I/O operations per second. That’s why more users change to NVMe drive from AHCI. For more information, refer to AHCI VS NVMe.
Cloning one NVMe SSD to another means you can get a copy of everything, covering the Windows operating system on the source drive. Normally, users need to clone NVMe drive under those 2 situations:
- To replace the current boot NVMe SSD with a new disk and don’t have to reinstall OS and other apps on the new drive from scratch.
- To back up all the data on the source NVMe drive in case of issues like system crash, data loss, or something else.
What to do before cloning NVMe SSD to NVMe SSD?
It is necessary to check out the following tips before cloning the NVMe SSD drive so as to make sure the subsequent cloning process can go on successfully.
1. Check whether the M.2 slot supports NVMe
Please ensure the M.2 slot supports the NVMe drive through the OS or motherboard manual. If it does not support it, you can not enjoy the all advantages of NVMe SSD drive. In such a case, you may need to consider upgrading your computer motherboard.

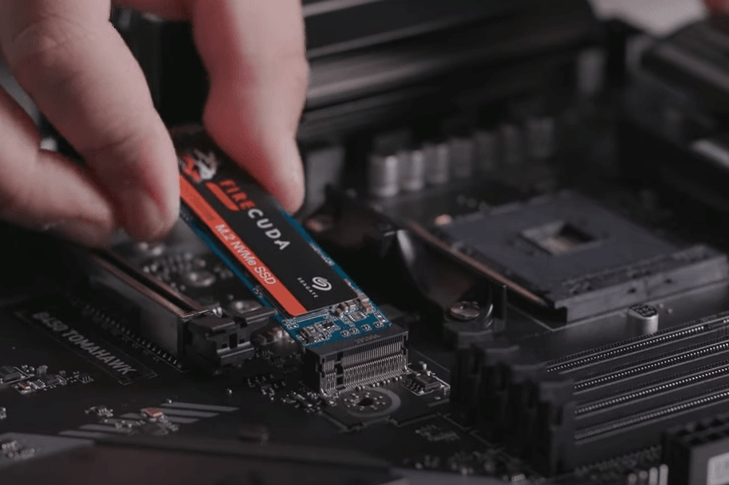
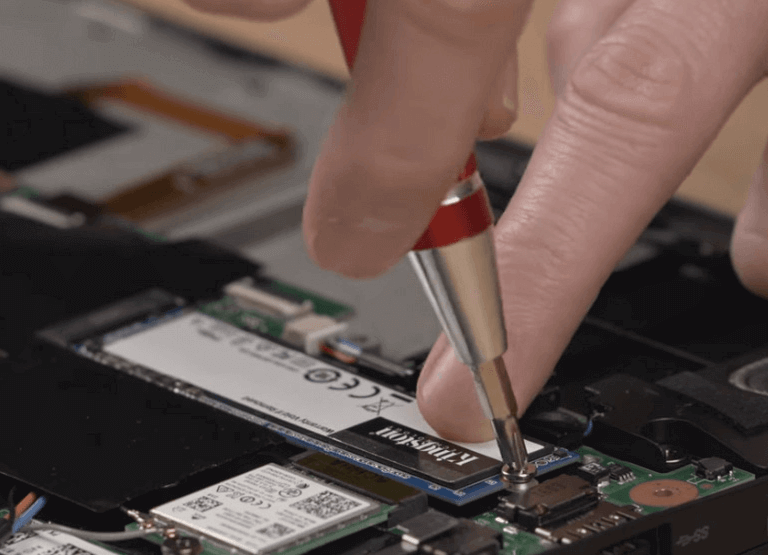
2. Install the new NVMe SSD on your PC
If the slot supports NVMe drive, next you can install the new NVMe SSD on your PC. For computers with more than one M.2 slot, you can do it with the following steps.
Step 1. Turn off the computer, remove the power plug and open the computer case.
Step 2. Locate the M.2 slot on the computer motherboard and insert the NVMe drive into the slot at about a 30 degree angle untile there is no more give.
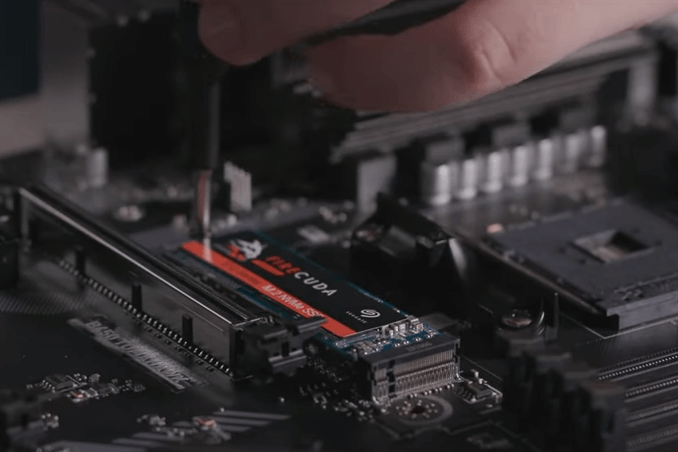
Step 3. Then, gently press down the tail of the NVMe drive towards the motherboard.
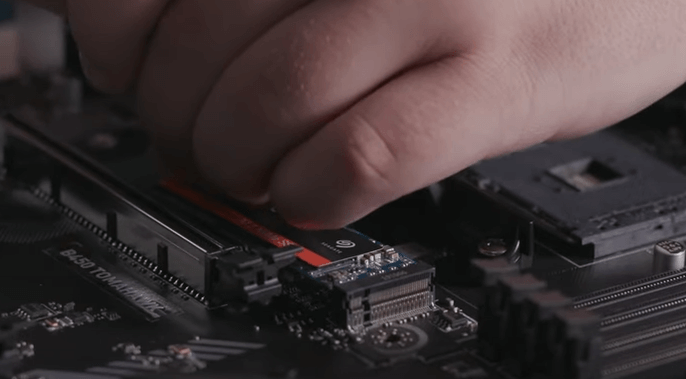
Step 4. Insert the screws and tighten it to a comfortable point. Take care not to overtighten or you will risk damage to the drive and even the motherboard.
Finally, put the case cover back on.
- ★Tip:
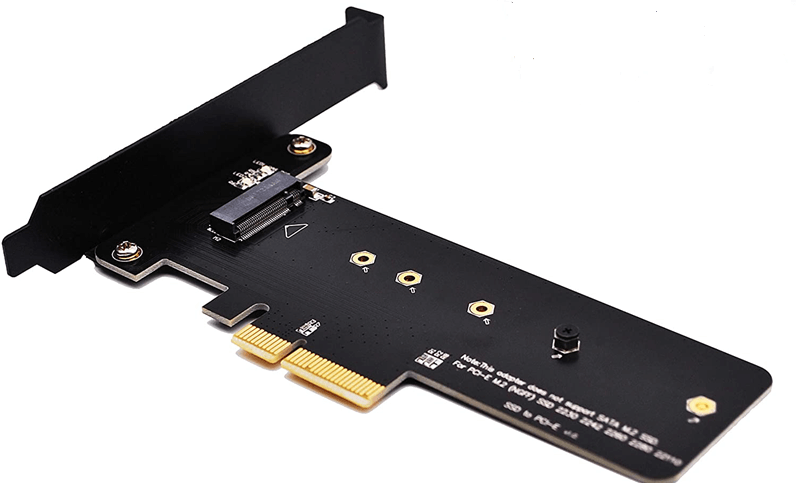
- If you are using a laptop that has only one M.2 slot, you need to use an adapter from M.2 to PCIe or M.2 to SATA for connecting the new NVMe SSD.
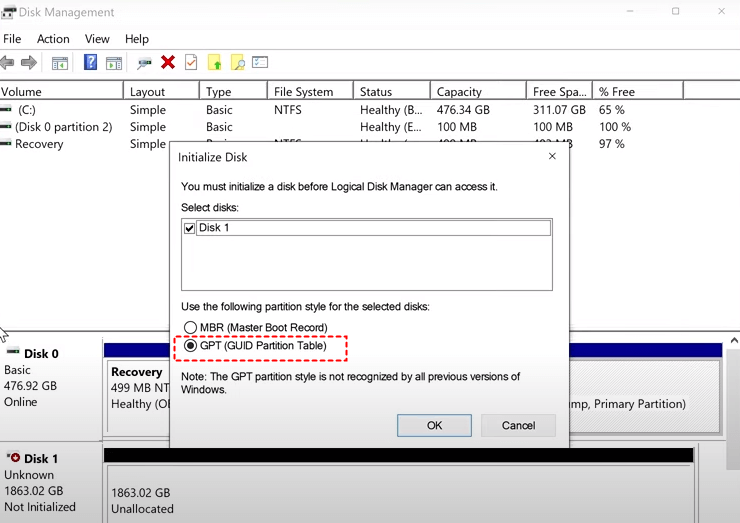
3. Intiliaze the NVMe SSD drive
After the new SSD drive has been installed correctly, you can reconnect the power cable and reboot up your computer. Then you need to intialize the SSD to GPT partition style, which can be easily done in Windows built-in Disk Management.
Clone NVMe SSD via professional NVMe cloning software
In Windows 11,10, 8, and 7, there is reliable NVMe cloning software to help you perform NVMe to NVMe SSD copy. Thus, it’s necessary to use third-party drive cloning software. Here I would like to recommend AOMEI Partition Assistant.
☞ Its “Disk Clone Wizard” enables you to complete NVMe SSD to NVMe SSD bootable clone as it won’t even miss a hidden partition, like EFI system partition in Windows.
☞ Apart from cloning to NVMe M.2 SSD, it supports cloning to SATA M.2 SSD, USB flash drive, or SD card. It can also clone a larger HDD to a smaller SSD.
☞ In the capacity demand of the destination NVMe drive, it can clone to a larger, smaller drive or a drive with the same size, if the usable space of the target drive is not smaller than the used space of the source drive.
AOMEI Partition Assistant enjoys other advanced functions, including Migrate OS to SSD, Dynamic Disk Converter, etc. in Windows 11/10/8.1/8/7. To manage disk and partition in Windows Server, you can turn to AOMEI Partition Assistant Server. Now, let’s walk through the detailed steps of NVMe to NVMe SSD copy.
PS.: It is available to download the demo version of AOMEI Partition Assistant to have a try at first.
The Best Windows Disk Partition Manager and PC Optimizer
Step 1. Install and launch AOMEI Partition Assistant, click "Clone" in the main interface and select "Clone Disk".

Step 2. Choose the hard disk that you need to clone as the source disk and click "Next".

Step 3. Select the destination disk to store the data on the source disk, and then click "Next".

Step 4. Then, you can check the source and destination disk in the next window or change to “Sector to Sector clone”, and click the "Confirm" button to continue if there is no problem.

Here, you can also click the "Settings" button to adjust the partition size on the destination disk or tick "4k alignment" to improve the reading and writing speed of SSD if the target disk is an SSD drive.

Step 5. At last, click "Apply" and "Proceed" in the main interface to start cloning the hard drive.

Follow-up work after NVMe to NVMe copy
After cloning NVMe to NVMe drive, take a look at how to boot from the new cloned NVMe SSD.
If there is one NVMe M.2 slot on the computer, you can remove the old NVME SSD drive, install the new one, and boot from it.
If your PC has more than one M.2 slot, then you can keep two NVMe SSD drives simultaneously. You need to enter BIOS to set the new NVMe drive as the prior boot device to boot. Here are the detailed steps:
Step 1. Reboot your PC and tap a functional key constantly to enter BIOS and choose "Enter setup".
Step 2. Select "Change boot order" and set the new NVMe SSD as the first boot device.

Step 3. Press "Enter" to boot from the new NVMe SSD drive.
Conclusion
This is all about how to clone NVMe to NVMe SSD. With AOMEI Partition Assistant, you can effectively replace your M.2 SSD with only one slot or clone a large disk to a small one. After the cloning process, you can also run SSD 4K Alignment to enhance its performance.

