

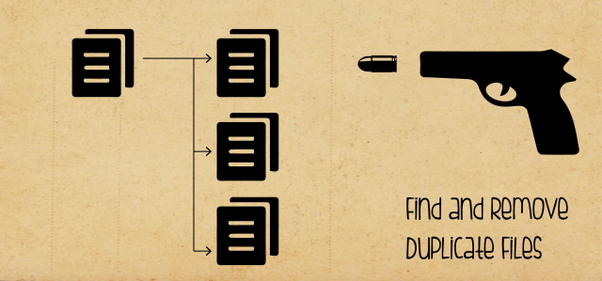
How to Check for Duplicate Files and Clear Them Safely?
To check for duplicate files, you can try Windows inbuilt tools and a powerful duplicate files checker to easily and safely remove them.
By Irene / Updated on July 8, 2025
Have you ever wondered why you have multiple copies of the same files on your computer, which eat up your storage space, even though you didn't intend to? This can happen when you sync files, make backups, rename them, download things again, or get email attachments.
But when you try to get rid of these extra files, it can be tricky. You might worry about accidentally deleting important stuff and losing your data. That's why we're here today to help you find and remove these duplicate files safely to free up space on your device.
4 ways to check for duplicate files
To efficiently identify and eliminate duplicate files, you have the option of choosing from four distinct methods. Your selection should depend on whether you are well-acquainted with the duplicate files and are willing to invest time in manually removing them. Alternatively, if your primary aim is to free up storage space, Method 4 emerges as the most effective choice.
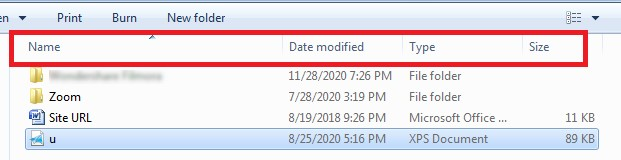
Way 1. Find duplicate files with File Explorer
You can efficiently manage duplicate files by utilizing criteria such as Name, Date Modified, Type, and Size to quickly spot identical files. However, manually sifting through the details pane of each file to identify multiple duplicates can be a tedious and time-consuming task.
Step 1: Open the folder where you think your file is located.
Step 2: Organize the files by choosing to sort them by Name, Type, or Date.
Step 3: Locate the duplicate file you wish to delete and then remove it.
Way 2. Check for duplicate files via Windows Views
Windows Explorer offers various ways to view the data stored on your system, such as Large Icons, Small Icons, Medium Icons, Extra Large Icons, List, Details, Tiles, and Content. These different views can be quite helpful in identifying duplicate files easily.
In addition, features like the preview pane and file details, including the date and time of origin, can also be valuable tools when it comes to recognizing and managing duplicate files.

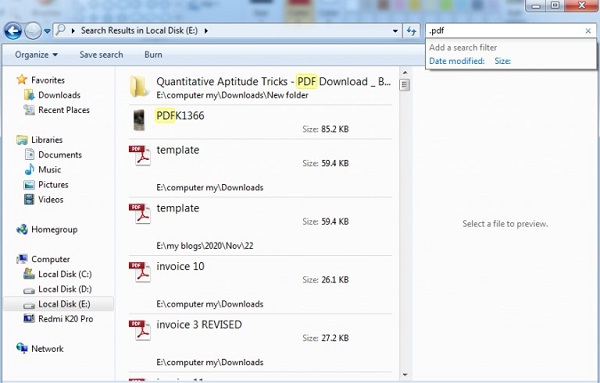
Way 3. Use Search to find duplicate files
The Search feature in Windows Explorer comes in handy when you already know the names of the files you're searching for or have specific information about them. This is especially useful when you have a clear idea of which duplicate files you want to find. You can easily locate those specific files by typing their file extension into the search bar.
Step 1. Type the name of the file you're looking for.
Step 2. Open the file within its folder, and then delete it.
Way 4. Run a duplicate files checker
If duplicate files are using up a significant amount of your storage space, trying to locate and delete them manually is not only ineffective but also extremely time-consuming. You could spend hours on it and end up freeing up very little space.
Duplicate file finders are like digital detectives. They scan your computer to find and remove extra copies of files you don't need. But some of these detective programs can be tricky to use with lots of confusing options.
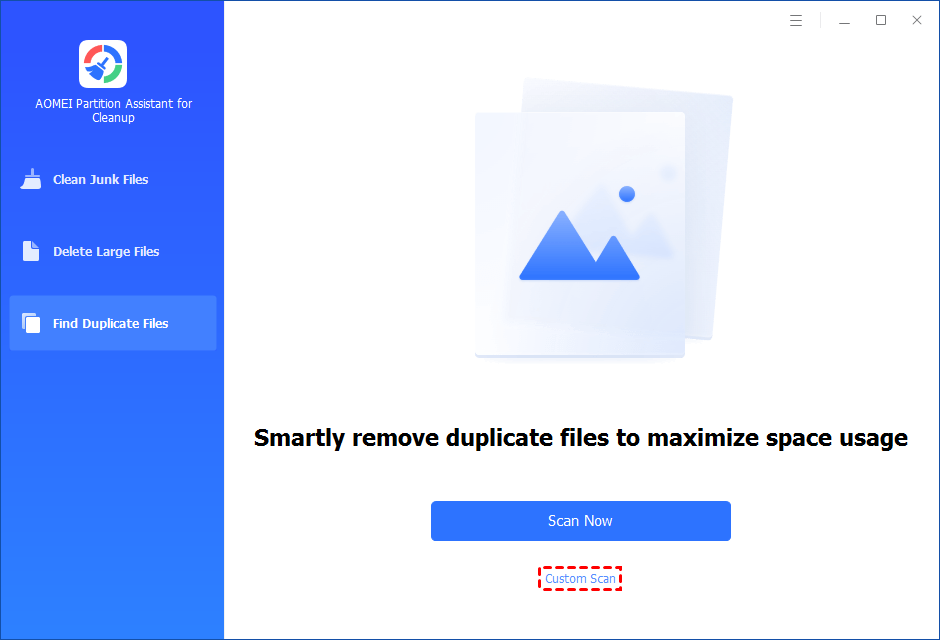
A handy file finder Delete duplicate files provided by PartitionAssistant Cleanup is different. It's super easy to use with a friendly guide. With one click, all the duplicate files will be listed. Based on your needs, you can recheck whether to delete or reserve. For data safe, once you accidentally delete any wanted file, the software also offers Recover Data function to help you get lost data back.
The Best Windows Disk Partition Manager and PC Optimizer
Step 1. Install and launch PartitionAssistant Cleanup. Click the "Find Duplicate Files" tab. You can either click "Scan Now" to start the scan of your system C: drive. Or, click "Custom Scan" to manually select paths to be scanned. (Here, we take the "Custom Scan" as an example.)
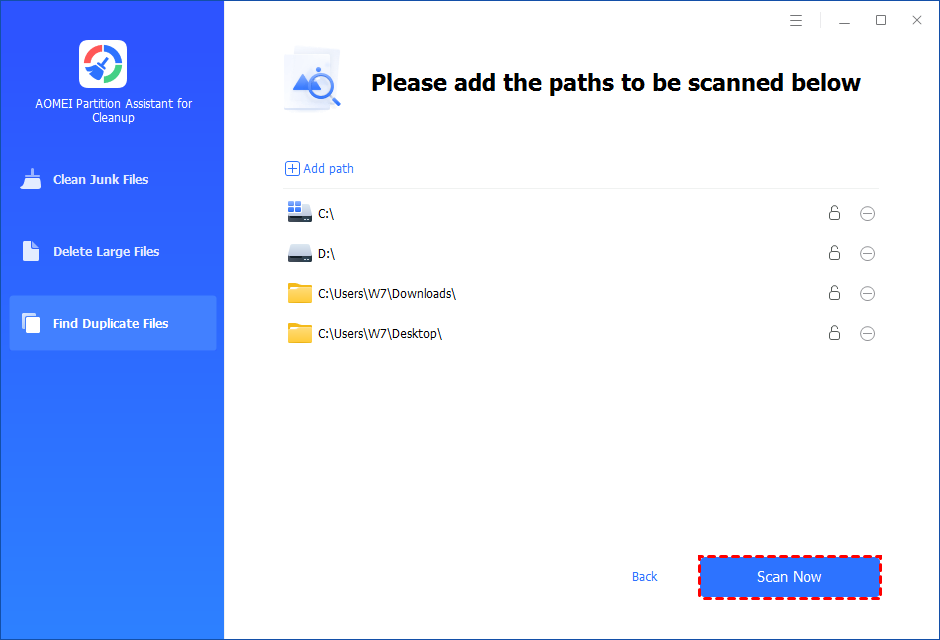
Step 2. After clicking "Custom Scan", all local and external drives on your PC will be displayed. You can also click the "Add Path" button, and then a browse folder window will pop up. So you can add more paths on this PC, like Desktop, Downloads, and other folder paths.
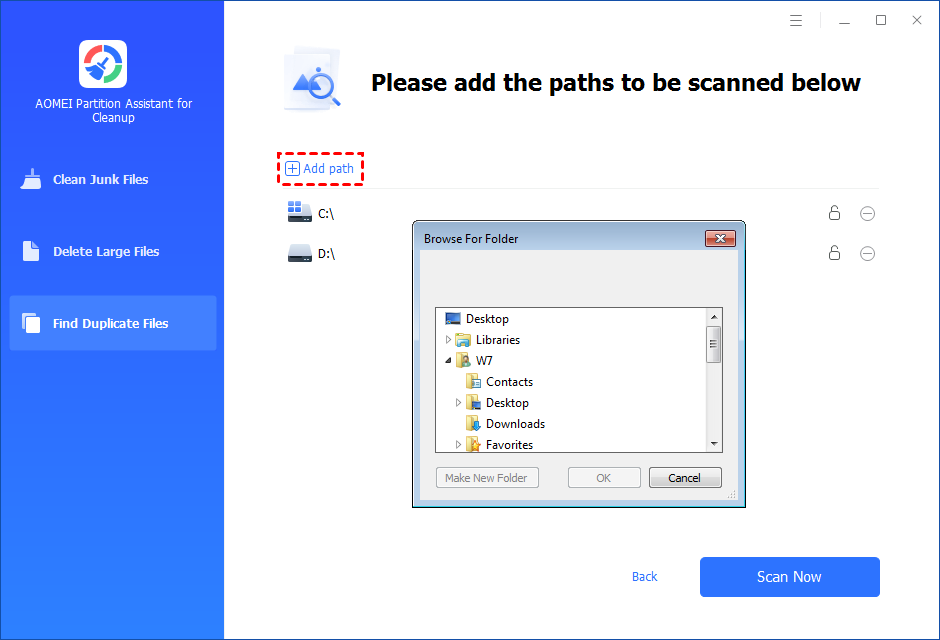
Step 3. Once necessary paths are added, you can click the "Scan Now" button to start the scan process.
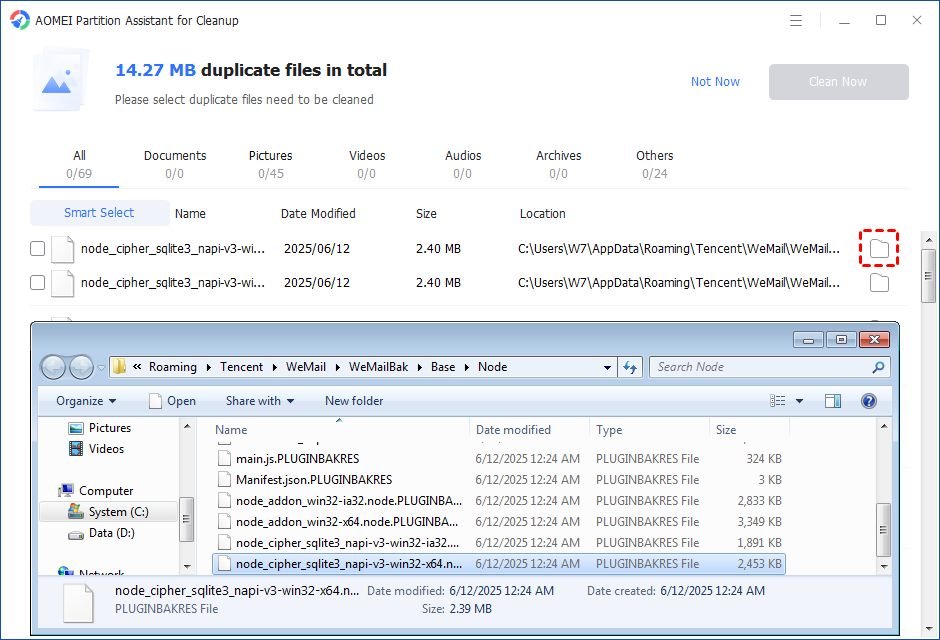
Step 4. The scan process might take time. After the scan is complete, all duplicate files will be listed. You can click the button behind to locate them.
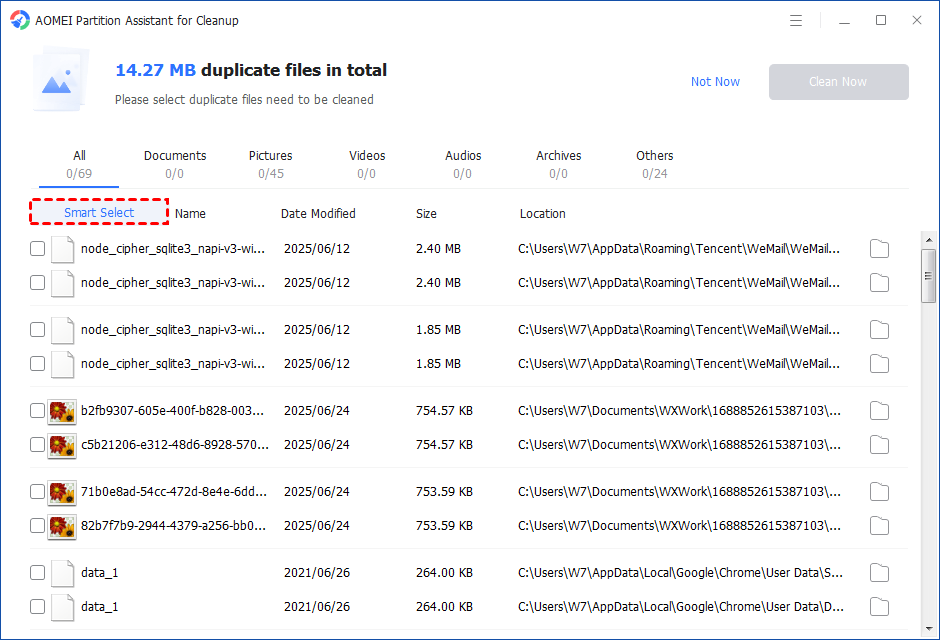
Step 5. You can either manually select duplicate files, or click the "Smart Select" button to automatically select unnecessary duplicate files to delete.
Tips: If the "Smart Select" is ticked, only the oldest duplicate file will be unticked. It means that all duplicate files except the oldest one will be ticked to delete. (The oldest file means the file that was created first. This file will not be deleted. All other duplicate files are conside red copies of the oldest file. )
If you manually select all copies of duplicate files, you will get a pop-up warning window to keep at least one copy of the duplicate files. If you indeed want to delete all copies of duplicate files, you can click "OK" so all copies of duplicate files will be selected to delete.

After unnecessary duplicate files are selected, please click the "Clean Now" button to start the deletion.

Step 6. The deletion might take time. After the process is finished, the selected files will be deleted, and you will get a cleaning completed window displaying how much data you deleted in total.

Conclusion
To check for duplicate files for drive releasing purpose, you can try the provided methods. PartitionAssistant Cleanup can help you safely and effectively find and remove duplicate files. If you want to free up more space, functions like App Mover, Delete Large files, and Allocate Free Space can also be useful.

