What Is Z Drive in Windows 10 and How to Remove It Safely?
Sometimes, there is a Z drive Windows 10 after you partition a hard drive or upgrade OS. You want to remove it but have no idea how. In this post, 5 basic ways are given to remove the Z drive for good.
By AOMEI / Updated on May 12, 2023
What is Z drive in Windows 10?
After upgrading your computer OS like upgrading Windows 7 to Windows 10 or partitioning a hard drive, there is a chance that you may find a Z drive in File Explorer which is only hundreds of MB. Then, you decide to access it to see what there is. However, when you double-click on it, a window pops up “You don’t currently have permission to access this folder”. So, you run Disk Management to check the Z drive’s details and tried deleting it from there. However, this drive doesn’t even appear in Disk Management.

What is this Windows 10 Z drive? Actually, this drive contains some system restore files and temporary files which are not harmful and give you the option of restoring back to your previous versions of Windows. And because this drive only takes up a little space, basically hundreds of MB at most, it’s usually recommended to leave it there.
How to remove Z drive in Windows 10?
Although it’s unnecessary to remove the system Z drive Windows 10, still, if you insist on removing it from your PC anyway, you can choose from the following 5 methods to get it done.
Because the Z drive can contain some system files, you are supposed to back it up first before performing the following operations.
Method 1. Use third-party freeware
When it comes to removing Z drive in Windows 10, no software is as helpful as AOMEI Partition Assistant Standard. As powerful disk manager software, it’s able to delete any partitions quickly and meanwhile, create partitions on the unallocated space that emerges after deleting or shrinking another partition. Moreover, besides these 2 mentioned features, AOMEI Partition Assistant Standard can also help you format partitions, resize partitions, and clone partitions within only a few steps.
Free download the most versatile disk management program to delete Z drive Windows 10 with more ease.
Step 1. Install and launch AOMEI Partition Assistant Standard. Then, all disks and partitions will appear on the interface.
Step 2. Right-click on the Z partition and select “Delete Partition”.

Step 3. Select “Delete Partition Quickly” and hit “OK”.
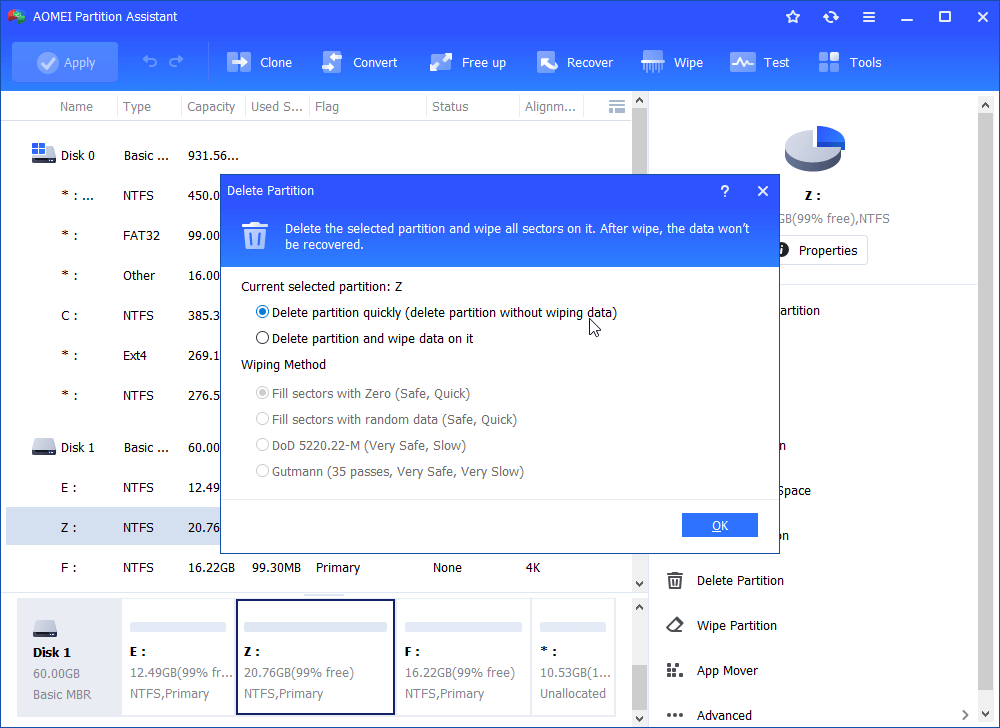
1. Delete Partition Quickly” will delete partition without wiping data and you can still restore those data with the feature of “Partition Recovery Wizard.
2. Delete partition and wipe data on it” will entirely wipe any data on the partition and the data can’t be recovered.
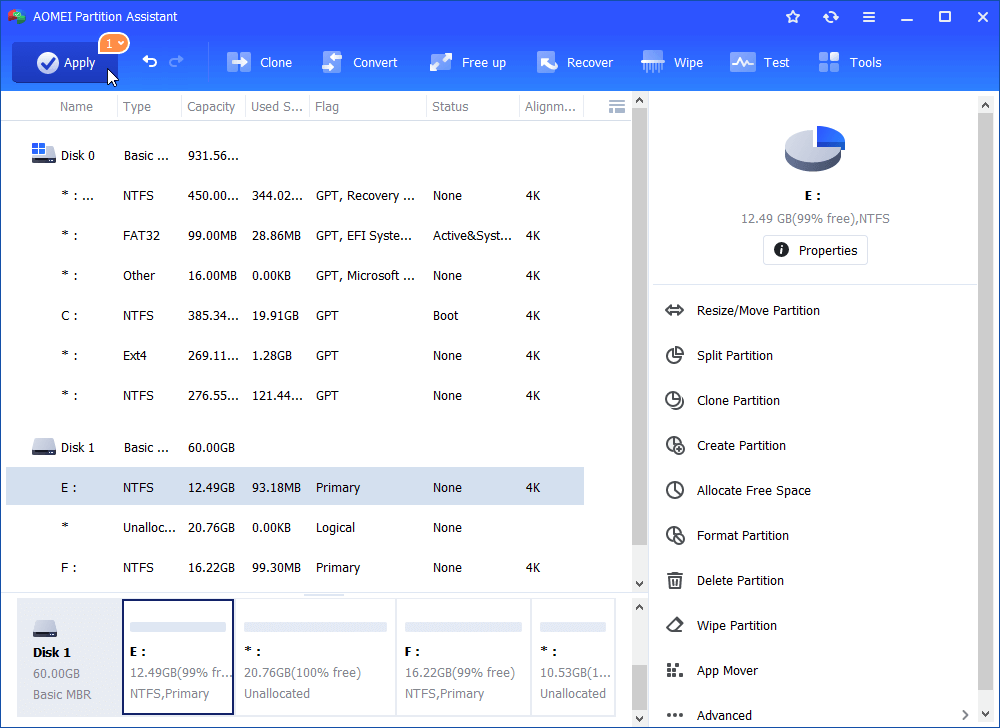
Step 4. Now, the Z partition will be deleted and a piece of unallocated space will appear when you hit “Apply”. If you don’t want to perform further operations, just hit “Apply” on the upper left to finish the Z drive deletion. If you want to merge this unallocated space into another partition, please keep reading.
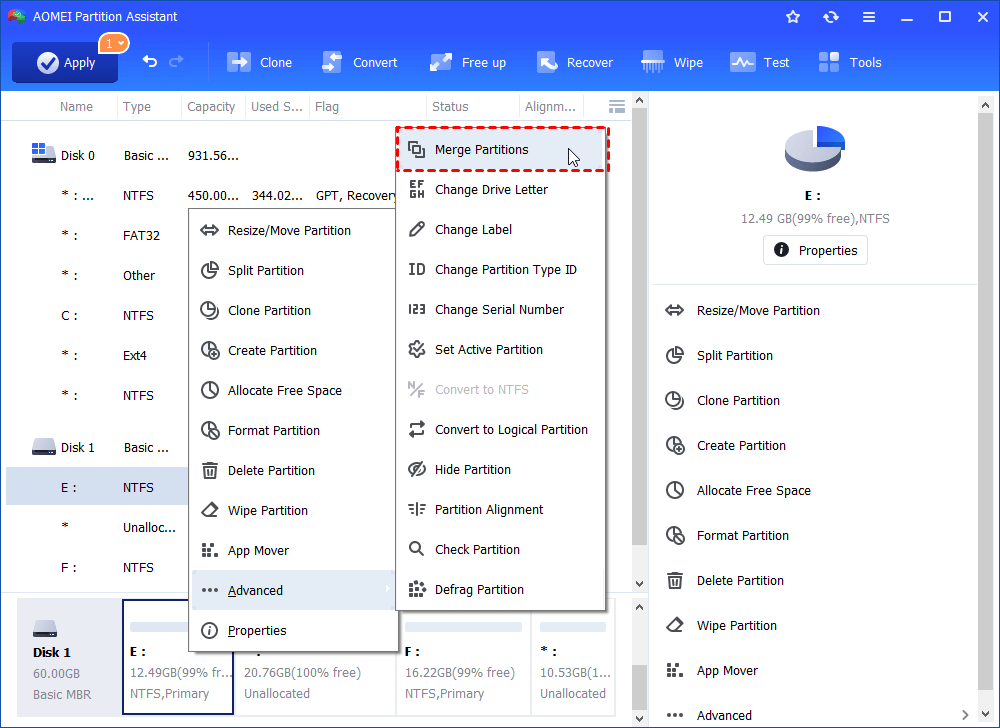
Step 5. Here, we take partition E for example. Right-click on partition E and select "Advanced" > “Merge Partitions”.
Step 6. Tick off the unallocated space and hit “OK”.
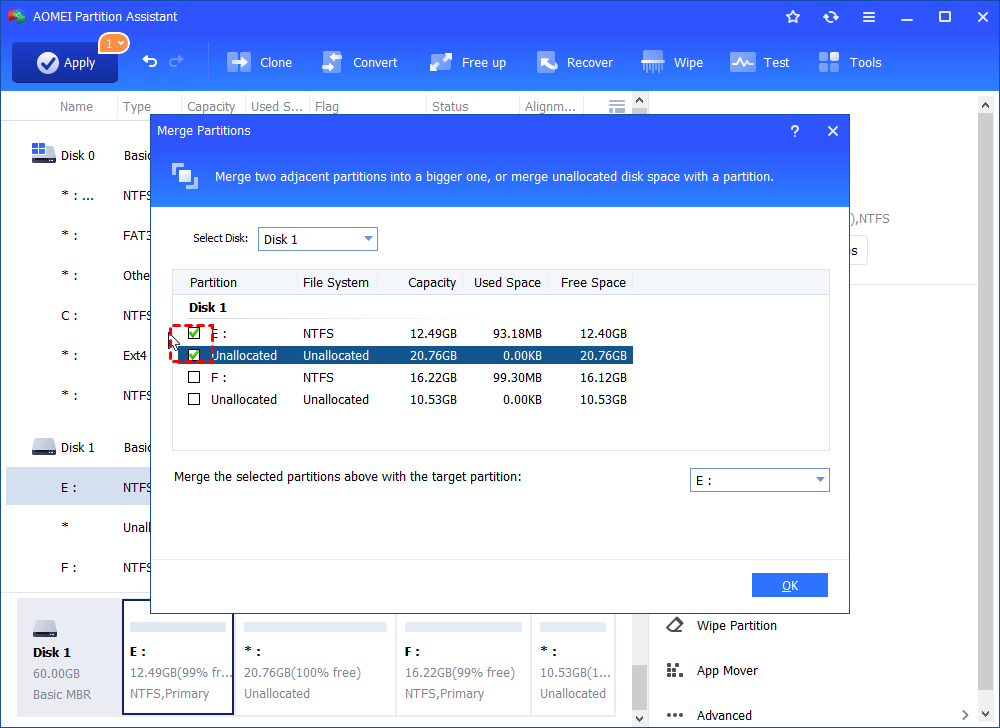
Step 7. Click on “Apply” and then, hit “Proceed” to start the merging process.
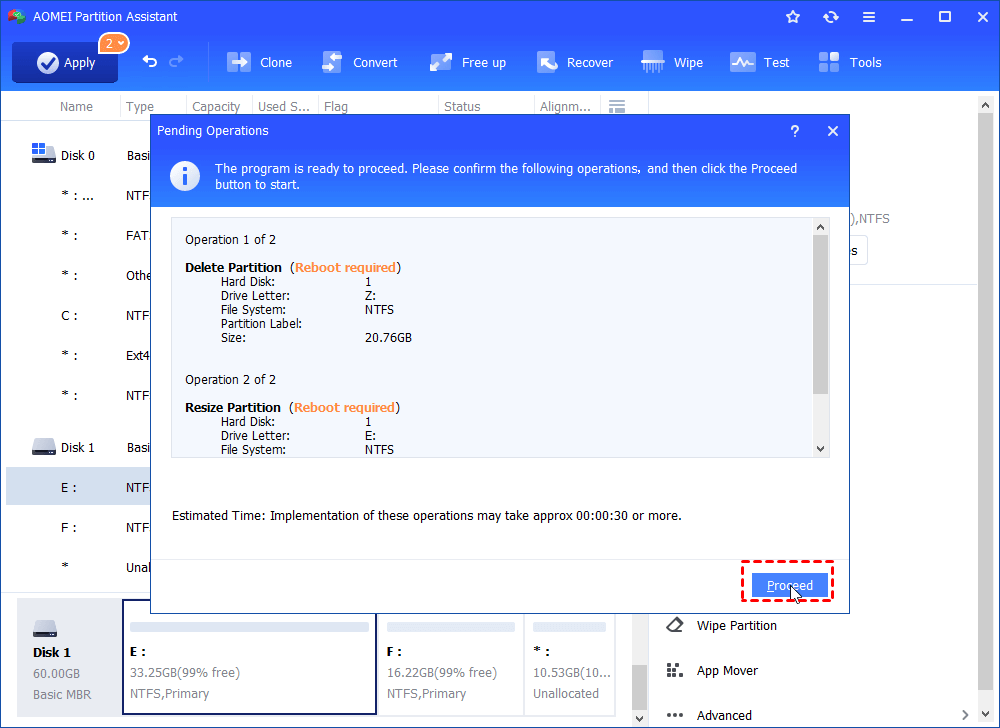
It won’t be long before it’s finished.
Method 2. Edit the registry
Some users confirmed that adding new NoDrive DWORDs (or QWORDs) to the registry could help remove drive Z in File Explorer. Before doing that, remember to preset a system restore point in advance in case of any system errors.
1. Enter “regedit” in the Run box and hit “ENTER” to bring up the Registry Editor.
2. Copy this path “HKEY_CURRENT_USER\SOFTWARE\Microsoft\Windows\CurrentVersion\Policies”. Then, paste it onto the Registry Editor’s address bar and select “Policies”.
3. Right-click on the empty space on the right side of the Registry Editor window and select “New” > QWORD(64-bit)Value” if your computer is 64-bit Windows 10.

4. Enter “NoDrives” as the name of the new QWORD or DWORD as shown directly below.
5. Double-click on NoDrives to bring up the window shown below.
6. Click on “Decimal” and enter “33554432” in the text box and hit “OK”.
7. Copy and paste path in the address bar: HKEY_CURRENT_USER\SOFTWARE\Microsoft\Windows\CurrentVersion\Explorer.
8. Select “Explorer”.

9. Then, set up a new NoDrives QWORD or DWORD.
10. Double-Click on the NoDrives DWORD or QWORD to bring up the Edit window.
11. Select “Decimal”.
12. Enter “33554432” in the text box and hit “OK”.
13. Now, reboot your PC and you’ll find the Z drive is no longer there.
Method 3. Update Windows 10
Drive Z can appear when Windows 10 updates have not been completely installed and some users also announce that updating Windows 10 can help remove the Z drive.
1. Type “updates” in the search box on the lower left of the desktop.
2. Select “Check for updates”.

3. In the popup window, hit “Check for updates” button to scan for updates.
4. After it’s done, click on “Install now” to add listed updates to Windows 10.
Method 4. Perform System Restore
If you have preset a system restore point in advance, you can also try removing Z drive Windows 10 by rolling your system back to a previous time point. In this way, your software installed after the time point will be removed and other system changes will be undone too. Here, you can learn how to perform a system restore.
1. Press “Win+R” to bring up the Run box.
2. Input “rstrui” and hit “ENTER” to open System Restore.
3. Click on “Next” and then, select a restore point before the Z drive appeared and then hit “Next” again.
4. Click on “Finish” to confirm the selected restore point.

Now, you have successfully removed the system Z drive Windows 10.
Method 5. Reinstall Windows 10
When I scanned the forum of Microsoft, I found another person who also encountered the Z drive issue. But he resolved it by reinstalling Windows 10. In the following steps, you’ll learn how to reinstall Windows 10 safely and quickly.
1. First, go to “Start” > “Settings” > “Update & security” > “Recovery”.
2. Click on “Get started” under “Reset This PC”.

3. Select a reinstalling type. Here, I recommend “Keep my files”. In this way, your Apps and settings will be removed but your personal files will be kept.

4. After the process is prepared, a popup window will say that “your Apps will be removed”. Click “Next” to proceed.
5. In “Ready to reset this PC” window, click on “Reset” to reinstall Windows 10.

Conclusion
In this article, I have explained what Z drive Windows 10 is and how to remove Z drive Windows 10 in 5 pragmatic ways. As for me, I prefer method 1 for it is easier compared with the others. If you want to try other features of this software including splitting partitions, creating partitions, and partition alignment, you’re supposed to upgrade it to Pro version.

