How to Install Windows 11 from USB without losing data?
How to install Windows 11 from USB without data loss? In this post, you’ll not only learn the right steps to get it done, but also, you’ll learn to make a portable and bootable Windows 11 USB stick so that you can carry it around.
By AOMEI / Updated on May 12, 2023
How can I install Windows 11?
“My Windows 7 PC is running dramatically slowly and meanwhile, Windows 11 has come out earlier, so, I decided to launch a Windows 11 installation. I learned that to get it done, I must prepare a USB stick, and then, there’re no more other details. So, how to install Windows 11 from USB without losing data? I’m a novice and have no experience in system installation. Can anyone help?”
How to install Windows 11 from a USB flash drive without data loss?
Windows 11 is so amazing that it deserves to be called innovation in computing. So, it becomes very imperative to answer the question “how to install Windows 11?”. Actually, the most common way is to install Windows 11 from a USB flash drive and in this way, you can avoid data loss. Before the start reading the tutorial, there’re some preparations you should do:
1) Steady network conditions.
2) Sufficient free storage space for the Windows installation.
3) A USB flash drive with at least 8GB of free space. If there’re important files on the USB stick, make a backup first for all data will be deleted in the course of the process.
Part 1. Create a Windows 11 installation media
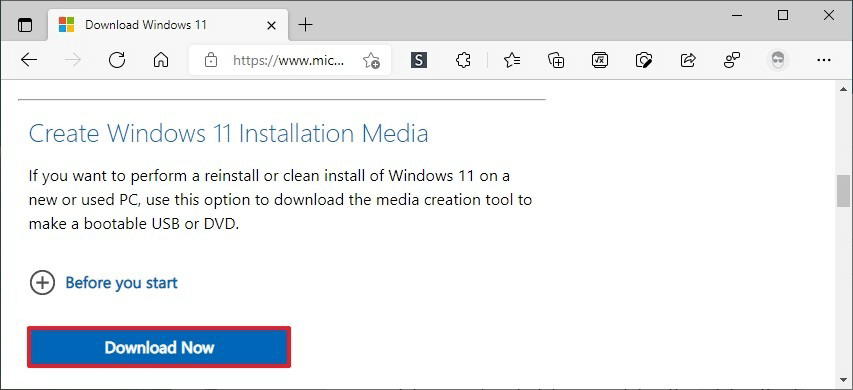
To create the installation media, you should first go to the official website of Microsoft where you can download the media creation tool.
1. Connect the USB flash drive to your PC, wait until it’s detected by the OS, and then, download the media creation tool.
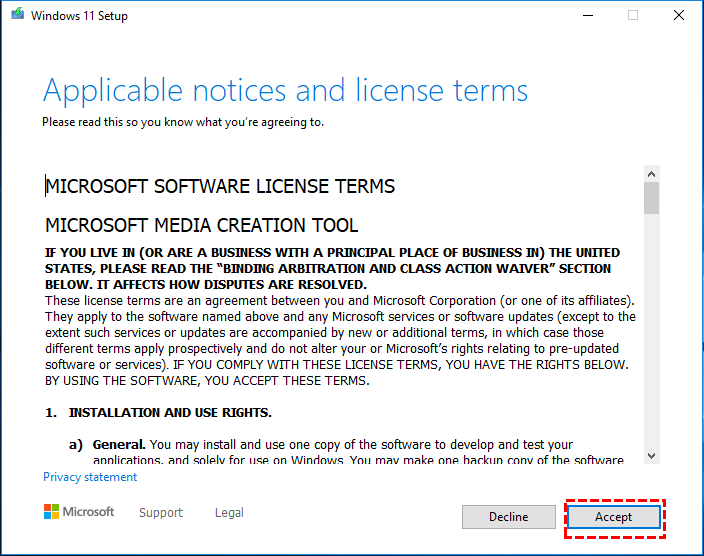
2. When the download is completed, open the exe. File.
3. Click on “Accept” at the start of the Windows 11 Setup window.
4. Select “Create installation media for another PC” and hit “Next”.
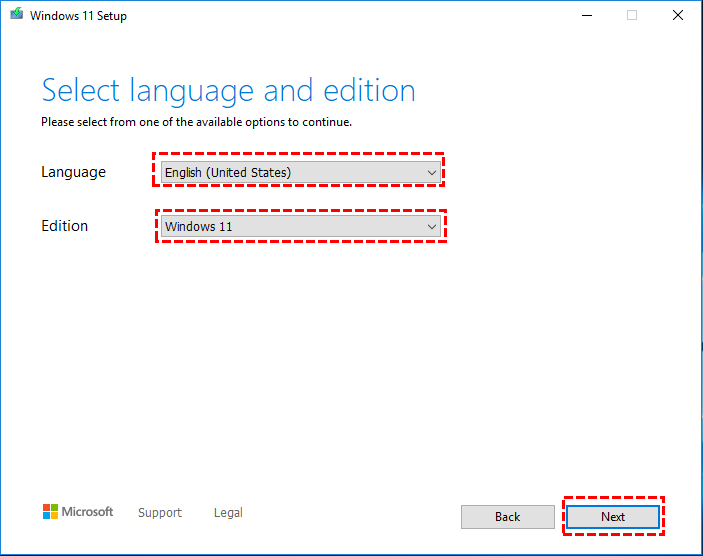
5. Select language, edition, and hit “Next”.
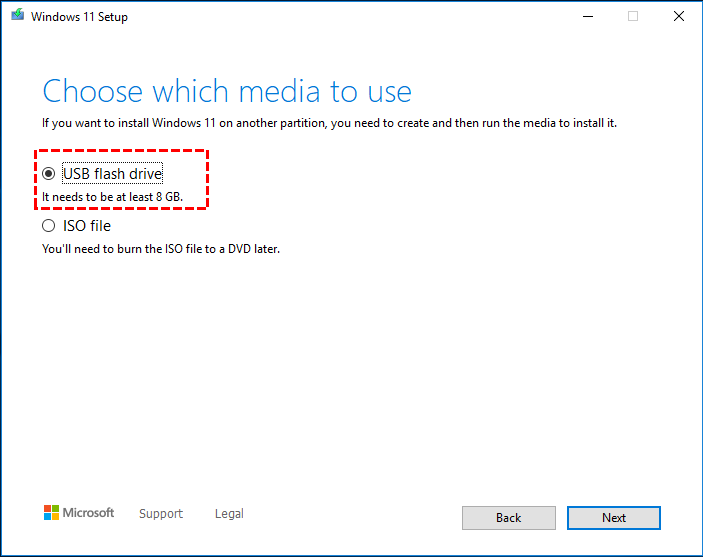
6. Choose a media you want to use. Here, we choose “USB flash drive”.
7. Select the USB flash drive and start the downloading process.
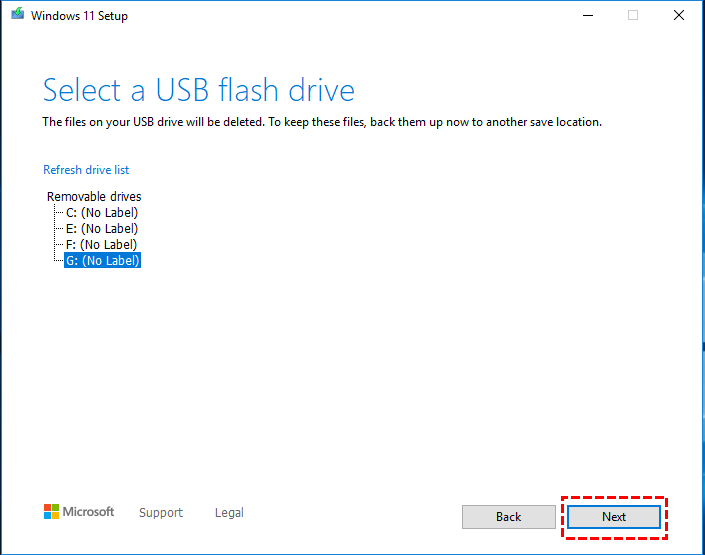
In a few minutes, a Windows 11 installation USB will be successfully created.
Part 2. Install Windows 11 from the installation USB
After the creation of the Windows 11 installation media, boot from it and then follow the onscreen guide to finish the rest steps.
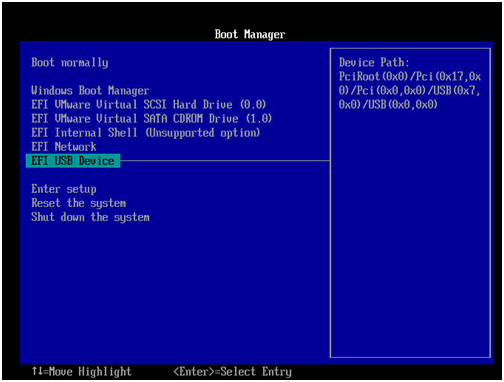
1. Plug the installation USB into your PC and reboot it. Enter BIOS and use the arrows key to place the USB to the first in the boot sequence. Hit “ENTER” to save the changes and press ESC to quit BIOS.
Note: Ways to enter BIOS could be different in terms of the type of your Windows system.
2. Power on your PC again, and this time, it will boot from the USB flash drive.
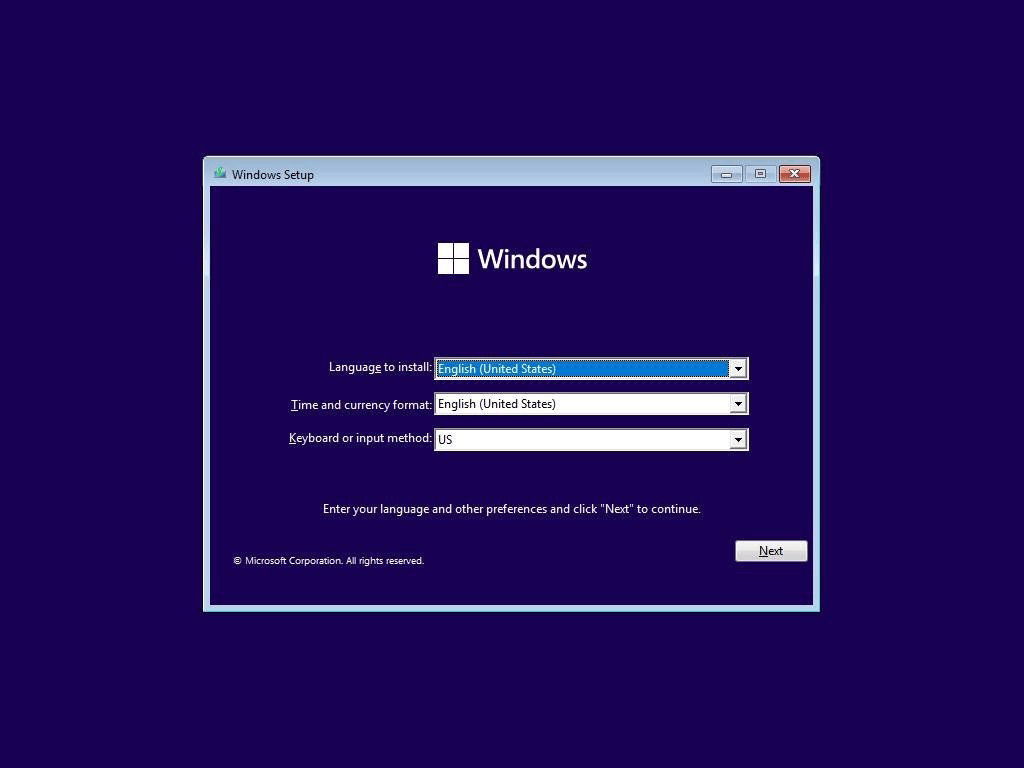
3. In a short while, the Windows 11 setup window will appear where you need to preset language, time and currency format, and input method.
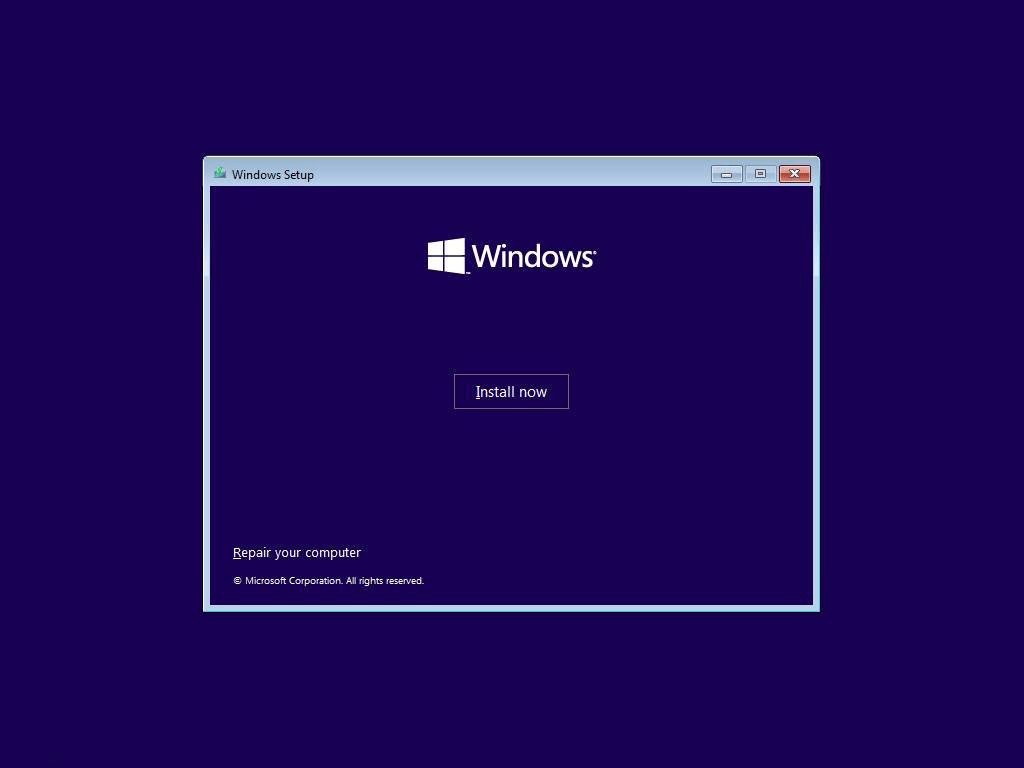
4. Click on “Install Now”.
5. Enter the product key. If you don’t have the product key, click on “I don’t have a product key”.
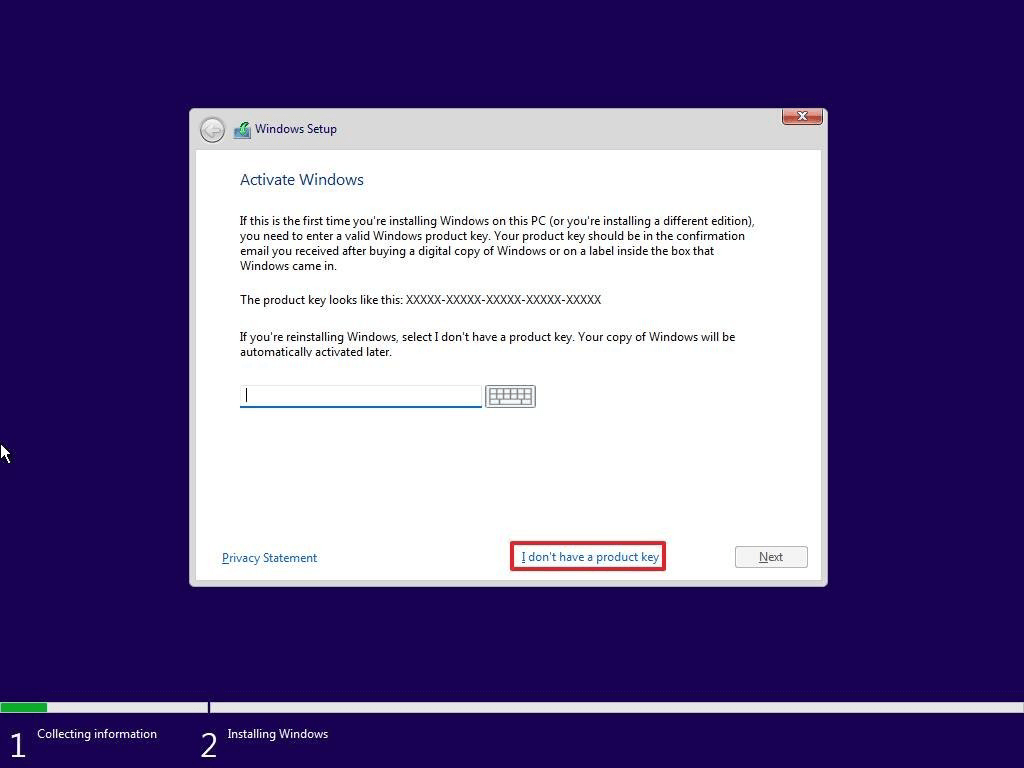
Note:
1) Without a product key, some features of Windows 11 will be limited.
2) If you can’t find the product key, you can try the Windows 11 product key finder.
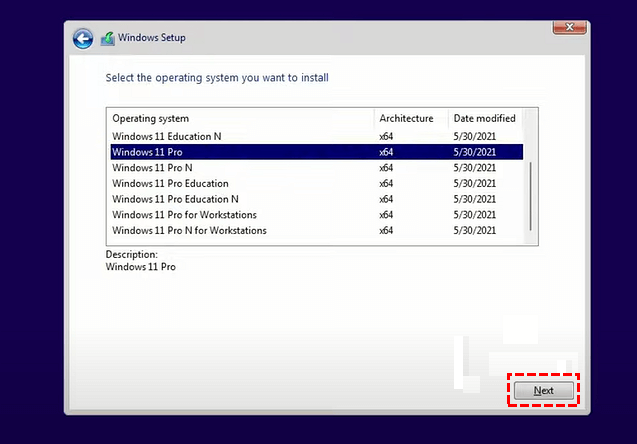
6. Select an edition you plan on installing and hit “Next”.
7. Accept the license terms and select “Upgrade: Install Windows and keep files, settings, and applications”. By selecting this option, you can preserve most of your files and apps so you won't have to redownload or reinstall them after the installation of Windows 11.

8. Select the destination for the Windows 11 installation and hit “Next”.
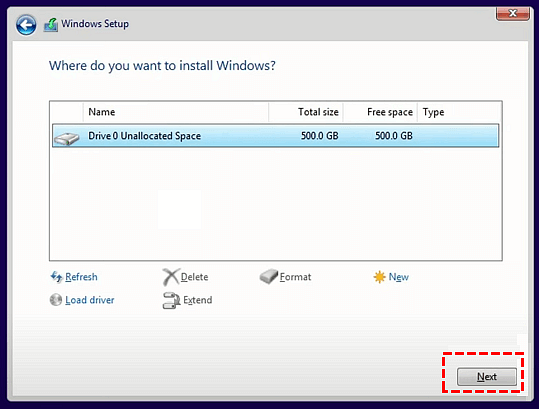
It takes minutes to hours before the installation gets completed. So, be patient.
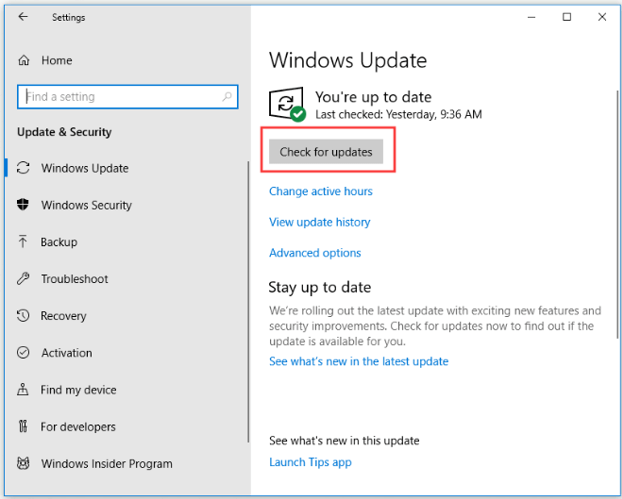
How to install Windows 11 without USB? If you’re currently running on Windows 10 instead of Windows 8, Windows 7, or earlier versions, you can directly upgrade Windows 10 to Windows 11 without data loss. Just follow the path: “Settings” > “Update & Security” > “Check for Update”.
How to create a Windows 11 to Go USB for portable use?
You may run into the error “Windows 11 installation has failed”; or sometimes, you just think the Windows 11 installation is too complex. Thus, you might as well try creating a portable Windows 11 USB stick so that you can carry it around and let any PC run on Windows 11 without installation. Here, I recommend AOMEI Partition Assistant Professional, a powerful disk management software utility. This tool allows you to perform various operations in disk management including OS migration, SSD secure erase, and of course, Windows to Go creation.
If you don’t want to install Windows 11 from a USB flash drive, you might as well try Windows 11 to Go so that you can use the OS everywhere you go. Download the demo now!
Preparations:
1. A USB flash drive larger than 13GB.
2. Download the Windows 11 ISO file.
Step 1. Plug the USB flash drive into your PC, when it’s detected, launch AOMEI Partition Assistant Professional.
Step 2. Click “Tools” on the top toolbar. Then choose “Windows To Go Creator” from the drop-down menu.

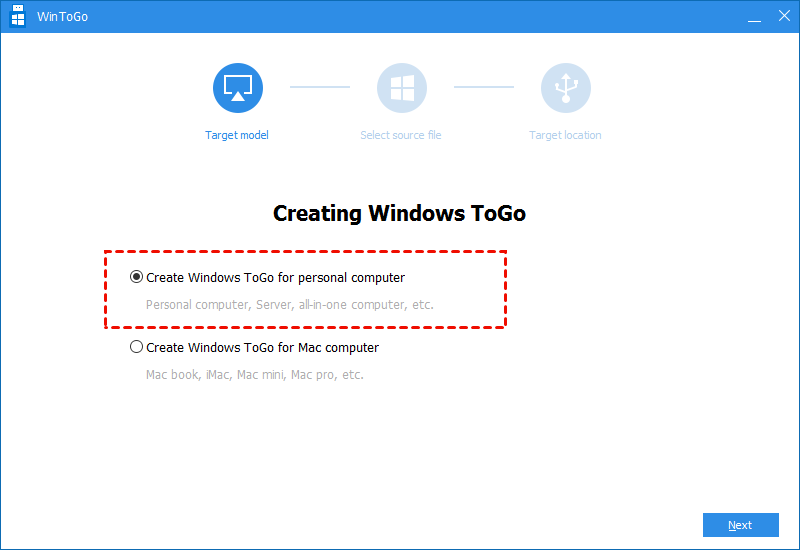
Step 3. Select the first option “Choose Windows ToGo for personal computer” and hit “Next”.
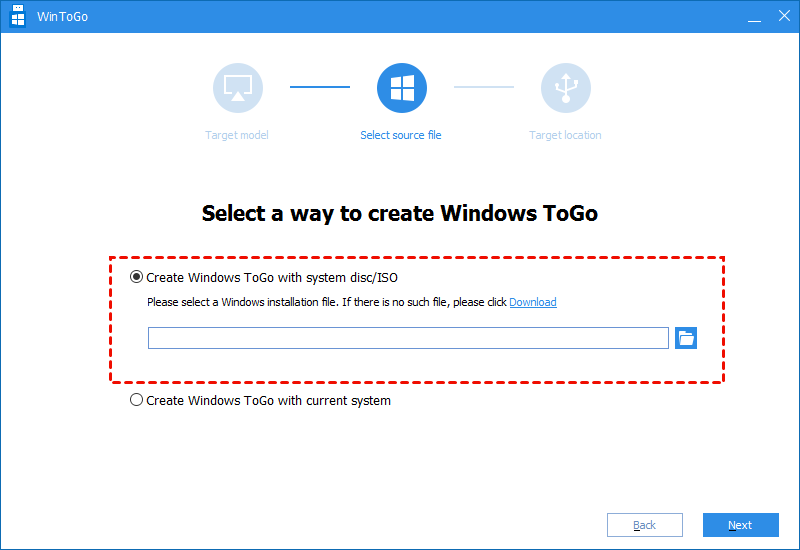
Step 4. Choose the first option “Create Windows To Go with system disc/ISO” and select the ISO file by clicking on the folder icon. Afterwards, hit “Next” to proceed.
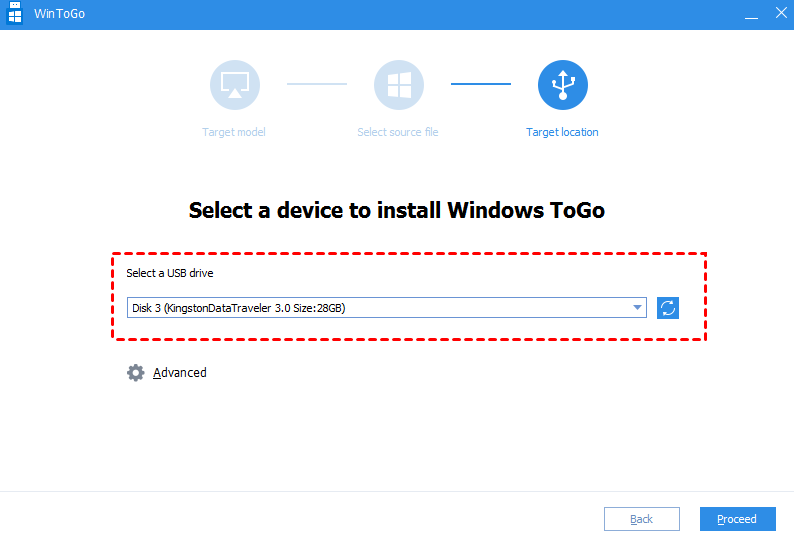
Step 5. Select your USB flash drive and click on “Proceed” to start the creation.
Conclusion
How to install Windows 11 from a USB flash drive without losing data? The process is complex but this tutorial explains it in the most explicit words. Meanwhile, you’ve also learnt to create a portable Windows 11 USB flash drive so that you can work under Windows 11 environment wherever you go. All of it can be achieved by using AOMEI Partition Assistant Professional, a powerful and user-friendly disk manager, compatible with Windows 11, 10, 8, 7, and XP. To use this AOMEI product on Servers, please try the Server edition.

