[Fixed] Windows 11 Stuck on Boot Screen
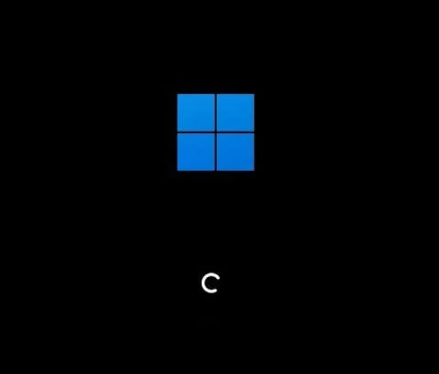
Many have reported that their Windows 11 stuck on boot screen but they’ve nothing to do. This post will show you how to solve this problem with different methods.
By Lucas / Updated on May 12, 2023
There are several probable causes for your Windows 11 stuck on the loading screen issue. You may initially notice problems with software, hardware, and other external components that cause your computer to hang and become sluggish while starting, as well as Windows' failure to launch.
A typical difficulty on a Windows PC is the boot problem. Windows 11, the new operating system, too has this issue. Windows and driver upgrades, a virus assault, or incompatible antimalware software are the most prevalent scenarios.
If you don't know how to cure this problem or are unsure what you can do without hurting the system when it occurs, stay reading, this page may assist you to solve this problem.
How to fix Windows 11 stuck on boot screen
This part will show you how to fix Windows 11 stuck on spinning dots via Windows built-in tools and via a third-party tool. Please read patiently.
▌Part 1. Use Windows built-in tools to fix Windows 11 screen stuck
Way 1. Remove all peripherals
If the restart doesn’t work, remove all your external devices and try to reboot again. These are external (wired and wireless) devices that are linked to the computer through USB, Bluetooth, SD card readers, the mouse, external keyboard, pen drivers, card readers, LAN cable, and so on.
This is perhaps the simplest and most often utilized way of resolving the black loading screen among most Windows users.
Way 2. Run automatic repair
If disconnecting all external devices does not cure the problem, use Automatic Repair. The automated repair tool is a function that Windows users may utilize to troubleshoot different computer issues, such as Windows being stuck on spinning dots during startup. You may run automated repair by doing the following:
Step 1. Power on your computer and turn off the PC once you see the Windows logo on the screen.
Step 2. Repeat this procedure several times. This will make Windows launch the Automatic Repair Screen on your system.
Then, you will see a dialogue box with the message “Windows couldn’t load correctly”.
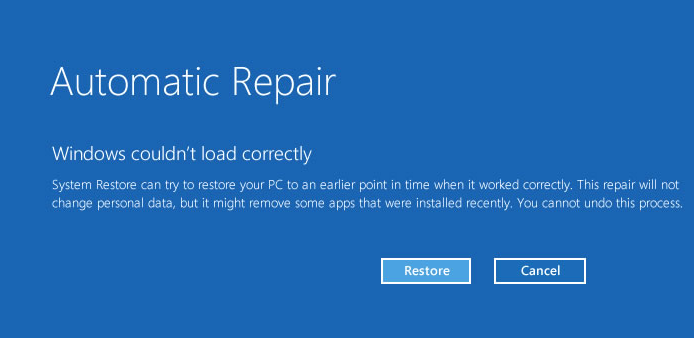
Step 3. Click “Restore”, and the Windows 11 automatic repair will be launched.
Way 3. Enter safe mode to check for updates
Step 1. Turn off your computer multiple times to enter the Windows Recovery Environment (winRE).
Step 2. Hold the Power button for some seconds until the device is turned off, and use the Power button to switch on the computer.
Step 3. Keep repeating the steps listed above until you enter the WinRE.
Step 4. Select Troubleshoot > Advanced Options > Command Prompt. Type: bcdedit /set {default} safeboot network to enter safe mode.
Step 5. Wait for OS to fully boot into Safe Mode, go to Settings > Windows Update, and click Check for updates”.
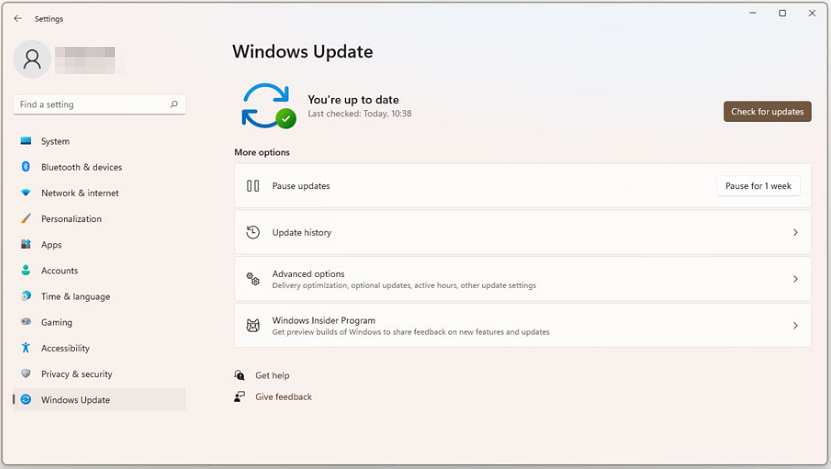
If new updates are available, Windows will automatically search for, download, and install them on your machine.
Way 4. Perform Startup Repair
The startup repair tool is intended to detect, diagnose, and correct any faults that may interfere with the overall operation of your system.
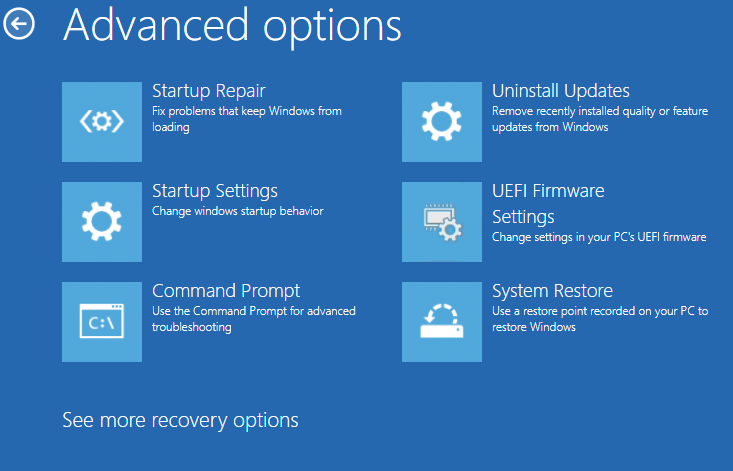
Step 1. Load into WinRE using the given methods above. Then, click on Troubleshoot > Advanced options > Startup Repair
Step 2. Select an account with admin privileges and enter your password
This will now run the Windows Startup Repair Tool which will perform a thorough scan of your system to detect and diagnose the root causes of the Windows 11 loading issue.
Way 5. Repair OS with Command Prompt
Step 1. In “Advanced Options”, choose “Command Prompt”.
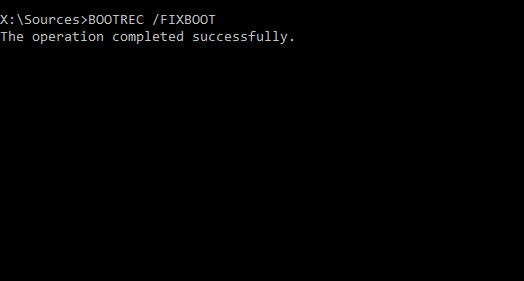
Step 2. Input the command: bootrec.exe/fixboot and press “Enter”.
Then you need to wait for the CMD to repair your system.
Way 6. Check disks via CMD
A corrupted disk might be the cause of Windows 11's bot screen. In such instances, you might try to inspect the hard disk and resolve the problems.
Step 1. Load into Windows Recovery Environment, then, click on Troubleshoot > Advanced Options > Command Prompt
Step 2. Type the following command and press Enter:
• chkdsk C: /f /r /x
• CHKDSK C:

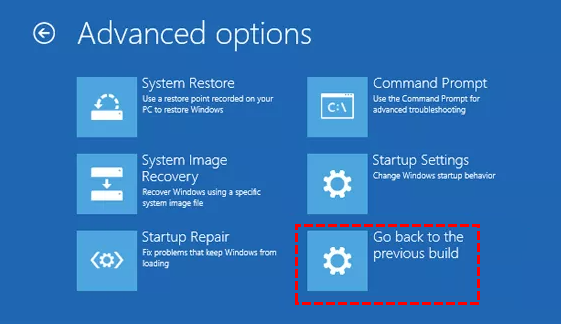
Way 7. Go back to the previous build
This method will allow your Windows 11 back to the version of the last update.
Step 1. Once you are on the sign-in screen, press down the Shift key and the Power button simultaneously.
Step 2. Select Restart.
Step 3. Click Troubleshoot >Advanced Options > Go back to the previous build.
▌Part 2. Use a third-party disk manager to fix Windows 11 stuck on boot screen
If you can’t open WinRE or you’re not familiar with CMD commands, you can try AOMEI Partition Assistant Standard, a free Windows disk and partition manager to solve the problem. This versatile tool can help you create a bootable USB for repairing, after that you can boot your PC into this software to fix the problem.
Section 1. Make a bootable USB for a repair
Step 1. On another Windows 11 PC, install and run this free disk tool, and insert your USB (at least 13GB). After your PC detects your USB, click "Tools" > "Make Bootable Media" in the top panel and click "Next" to continue.

Step 2. Choose the “USB Boot Device” option and select the prepared USB drive, and press “Proceed” to create a WinPE bootable disk for Windows 11.
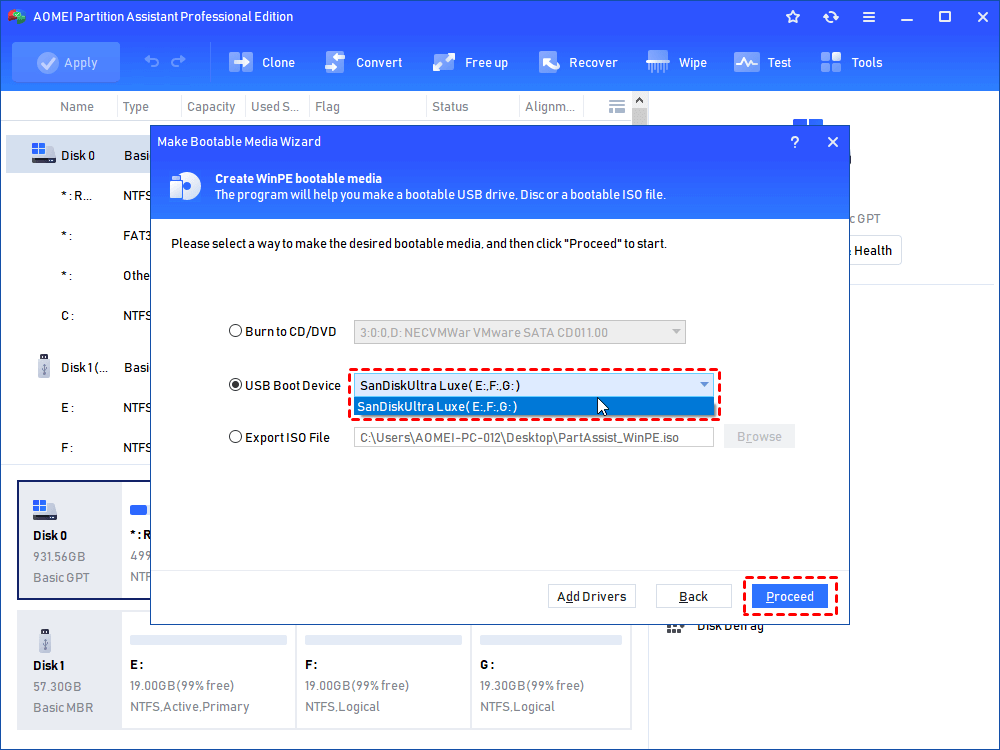
After a while, you will get a WinPE bootable USB in Windows 11. And then you could use it to troubleshoot the system failure problems
Section 2. Fix Windows 11 stuck on boot/black screen
Now, plug the USB to the PC stuck on the boot screen, and go to BIOS to change the boot device and boot from it. Then you’ll see the interface of this tool.
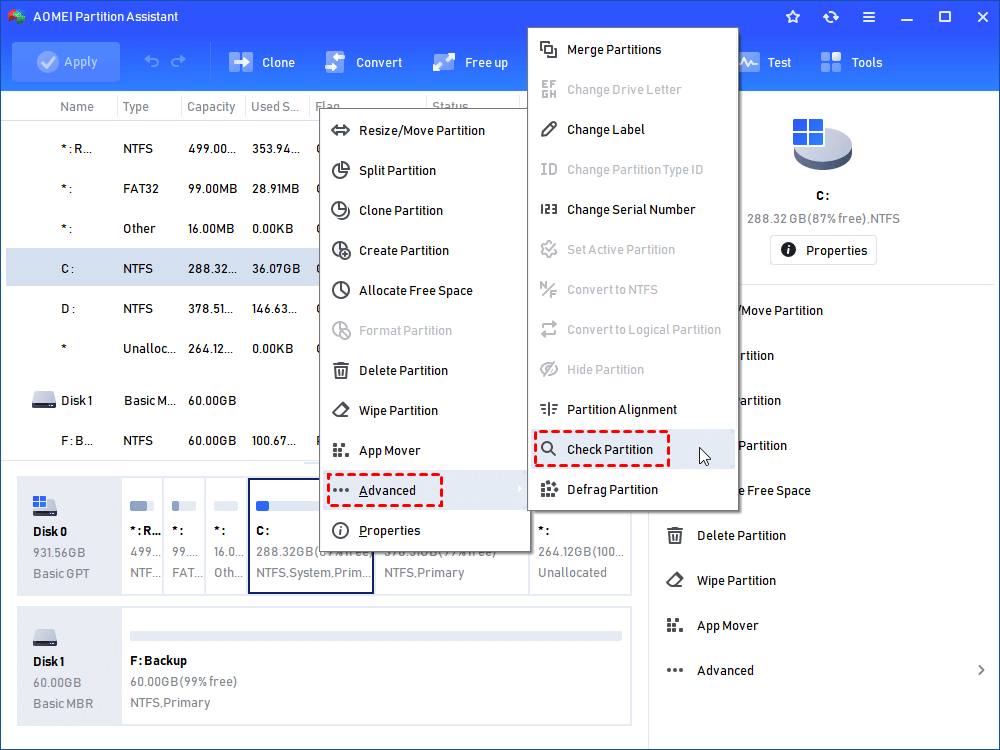
▶ Op 1. Check Partition
Step 1: Right-click on the partition which you are going to check and choose "Advanced" -> "Check Partition".
Step 2. Select the way of checking errors to perform. There are 3 options:
• Check partition for errors by using chkdsk.exe: Only find.
• Check whether there is a bad sector on the partition: Show you whether there is a bad sector on the partition.
After the selection, click "OK" to continue.

Step 3: The operation will be completed successfully in a few seconds or minutes. While it is operating, you can view how far it goes through the process on the pop-out window. Click "OK" to finish this task.
Then you can try to boot from your disk and check if the problem is solved.
▶ Op 2. Rebuild MBR
Step 1. Select the system disk which can’t boot and right-click the disk to choose "Rebuild MBR".

Step 2. Set up the type of MBR to rebuild in the "Rebuild MBR" window.
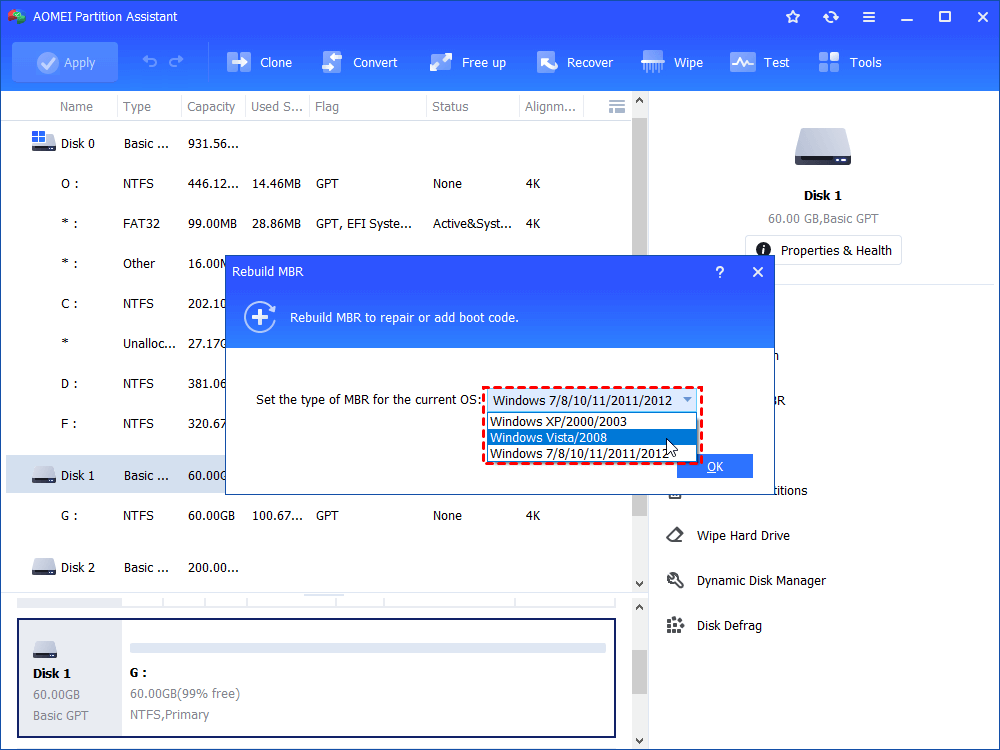
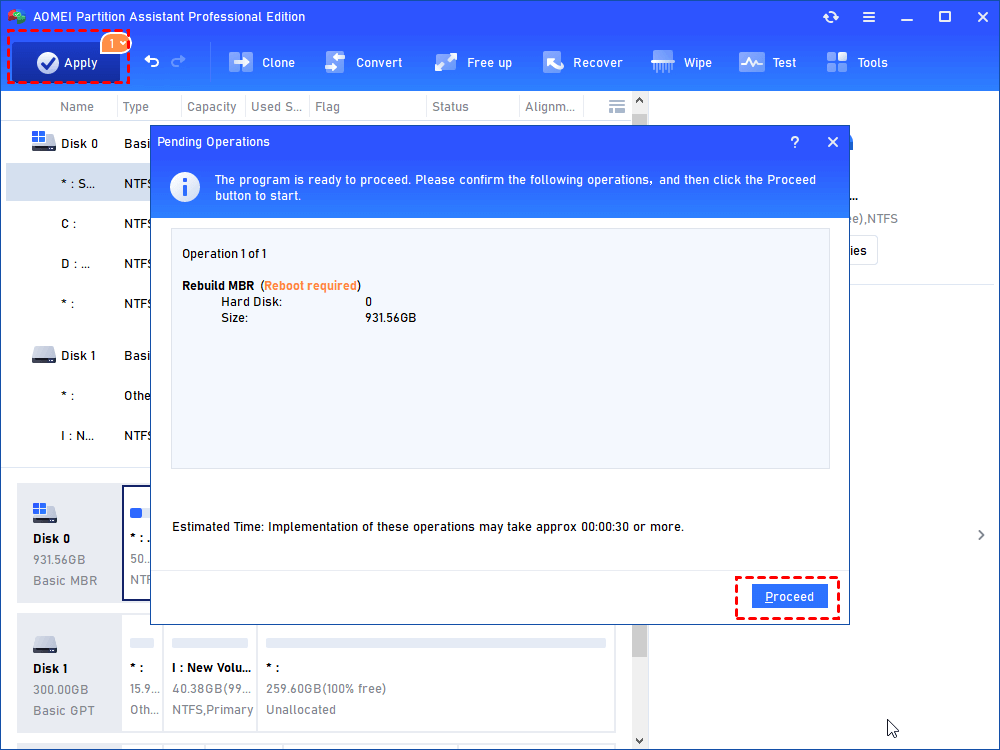
Step 3. Click "Apply" on the toolbar to commit the operation.
Then you can try to boot your OS from your disk.
Ending
These are all the ways that we can recommend to you to help you solve Windows 11 stuck on boot screen problem. Hope you can successfully fix this issue. AOMEI Partition Assistant is a practical tool for all Windows OS, it also has features like disk clone, converting to GPT/MBR without data loss, converting file system without formatting, migrating OS, and so on. What’s more, it has the Server Edition for Server users and the Unlimited Edition for companies.

