AHCI VS NVMe: Should I Upgrade to NVMe SSD?
AHCI VS NVMe, which is better? What’s the differences between them? Do I need to upgrade to NVMe SSD? If you also have these questions, it’s a nice choice to refer to this post.
Nowadays, NVMe SSD becomes more common and popular among users. Then, What are the advantages of NVMe SSD over the SSD in AHCI mode? Should I upgrade my AHCI SSD to NVMe SSD?
ACHI VS NVMe for SSD
Both AHCI, the abbreviation of Advanced Host Controller Interface, and NVME, short for Non-Volatile Memory Express are transfer protocol/interface specifications.
▪ AHCI, released in 2004, was originally designed for a mechanical hard drive. After you enable AHCI mode for SATA SSD in the motherboard, you can make full use of the advantages of SATA drive, like NCQ (Native Command Queuing), hot swapping, etc.
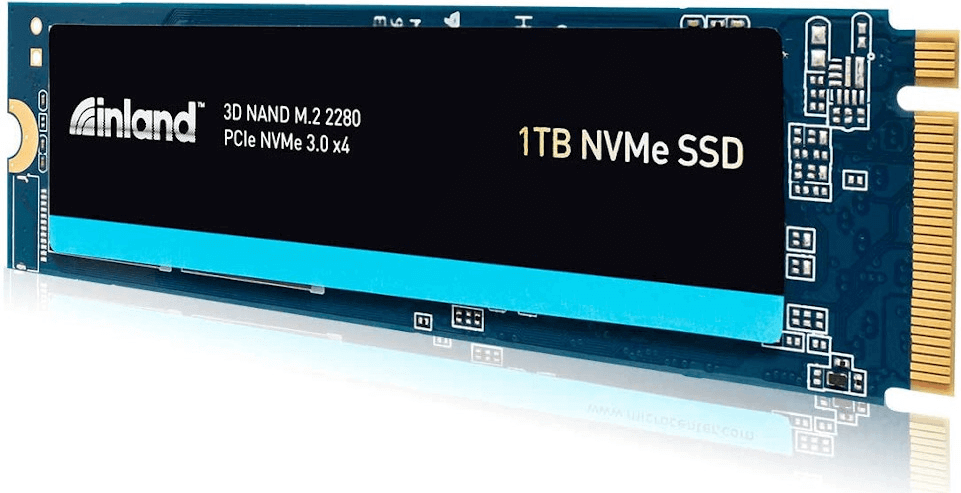
▪ NVMe, firstly introduced in 2001 by a consortium of vendors, including Intel, Samsung, SanDisk, etc. It can get the most from PCIe SSD. It is specially developed for accessing non-volatile storage media attached via PCIe bus, like PCIe SSD.
Compared with AHCI, NVME protocol enables SSD to have better read-write performance, lower latency, higher IOPS (input/output operations per second), and lower consumption. An NVMe SSD’s speed reaches up to 3500MB while the speed of other SSDs is from 200MB/s to 550 MB/s.
System and motherboard requirements for NVMe SSD
It’s obvious that NVMe SSD can deliver a better user experience than AHCI SSD. However, NVMe SSD has stricter demands for the system and motherboard.
▪ In the consumer market, an NVMe PCIe SSD usually comes with M.2 form factor and it uses PCIe 3.0 * 4 bus standard. To install an NVMe SSD drive and take full advantage of it, there should be an M.2 PCIe * 4 slot in the motherboard. Besides, the BIOS version needs to support NVMe drive.
▪ For the operating system, NVMe SSD wouldn't be recognized by all Windows operating systems. If you are running an old Windows operating system, like Windows 7, you can find out that your NVMe SSD is not detected due to lack of USB 3.0 driver or NVMe driver. In such a case, you can install NVMe driver at first.
▪ If you want to use the NVMe SSD as your boot disk, you should ensure that the motherboard support UEFI boot and the NVMe SSD is supposed to be GPT partition style.
All in all, if you are running the newest Windows, like Windows 10, Windows Server 2019, and have the latest motherboard, there is no need to worry about the compatibility for NVMe SSD. If not, check out your motherboard and OS before upgrading to NVMe SSD.
Upgrade to NVMe SSD without Windows & apps reinstallation
After deciding to replace your current SATA SSD that supports only AHCI protocol with an M.2 NVMe SSD, it’s time to consider the apps & data saved on the original SSD. If you want to keep the same content on NVMe SSD, it’s not a bad choice to clone SATA SSD to NVMe PCIe SSD under a great disk cloning software, AOMEI Partition Assistant Professional.
▶ It has two disk cloning methods: Clone Disk Quickly and Sector-by-Sector Clone, enabling you to clone SATA SSD/ HDD to smaller NVMe SSD or clone disk with bad sector to another one.
▶ It offers Migrate OS to SSD Wizard as well, enabling you to clone only OS-related partitions to NVMe SSD with secure boot, which takes less time.
▶ And it can automatically make 4K partition alignment for SSD to improve its performance.
Now, refer to the detailed steps below on how to perform disk clone without OS & app reinstallation.
PS.: You can free download its demo version to have a try!
Step 1. Install and launch AOMEI Partition Assistant, click "Clone" in the main interface and select "Clone Disk".
Step 2. Choose the hard disk that you need to clone as the source disk and click "Next".
Step 3. Select the destination disk to store the data on the source disk, and then click "Next".
Step 4. Then, you can check the source and destination disk in the next window or change to “Sector to Sector clone”, and click the "Confirm" button to continue if there is no problem.
Here, you can also click the "Settings" button to adjust the partition size on the destination disk or tick "4k alignment" to improve the reading and writing speed of SSD if the target disk is an SSD drive.
Step 5. At last, click "Apply" and "Proceed" in the main interface to start cloning the hard drive.
Step 6. After the process completes, reboot your computer, enter BIOS to set the NVMe drive as the first boot device.
Notes:
▪ This software allows you to clone HDD to HDD, clone SSD to HDD, clone USB flash drive, and clone SD card as well.
▪ AOMEI Partition Assistant Professional is compatible with Windows 10/8.1/8/7; if you are a Windows Server user, please employ AOMEI Partition Assistant Server.


