How to Upgrade C Drive on Windows 10 and 11 Easily
In this article, you can know the reasons and detailed methods to perform it.
By AOMEI / Updated on February 26, 2025
Why need to upgrade C drive on Windows 10 and 11?
Generally speaking, Windows 10/11 users will want to upgrade the C drive for the following reasons:
▶ For faster speed: As we all know, SSD has advantages in stability, speed, temperature, etc. So in order to obtain better performance, some users want to upgrade the C drive to SSD.
▶ For more space: As the data stored in the C drive increases, the free space will become less and less. Over time, you will receive a low disk space warning. Therefore, users want to know how to upgrade the C drive storage to a larger HDD or SSD.
Due to many reasons, many users are looking for an easy and efficient way on how to upgrade C drive on Windows 10 and 11. In order to make the C drive have more space or run faster, please read the following carefully.
A professional tool to upgrade C drive on Windows 10 and 11
How to upgrade C drive on Windows 10 and 11 easily? Here, you can try AOMEI Partition Assistant Professional, a third-party software specially designed for disk management and data security.
With a few clicks, its "Disk Clone Wizard" feature will clone the entire disk to HDD/SSD; and the "Migrate OS to SSD" can just clone the system-related data. After cloning, you can successfully boot from the destination drive with detailed guidance.
With this powerful software, you can also:
• The "Quick Clone Disk" method helps you clone the old drive to a smaller SSD, because only the used space on the hard drive is cloned.
• If the PC you want to clone fails to boot, you can clone the hard drive from boot.
• In addition to clone the whole hard disk, you're also allowed to clone any single partition on the target disk.
Below we will introduce how to upgrade the C drive using the "Disk Clone Wizard" function with vivid guidance.
How to upgrade C drive on Windows 11 easily and safely
It's necessary for some users to know how to upgrade the C drive, here we'll provide you with detailed instructions.
│Before you do
Before your migration, you should pay attention to the following things and do some preparation:
✍ Connect the HDD/SSD to PC: If your computer is a desktop, you can install the HDD/SSD directly. If your computer is a laptop, you must prepare an external SATA to USB adapter in advance to securely connect the new hard drive and the laptop.
✍ Adjust the partition style: The partition style must be compatible with boot mode (UEFI and Legacy BIOS). To avoid changing the boot mode after cloning, you’d better make the partition style of the HDD/SSD consistent with the partition style of the source disk. So, please convert the SSD to GPT or MBR (if necessary).
✍ Check the space of the destination drive: The free space of the destination must be larger than the current OS partition, or the migration will fail.
│Upgrade C drive by cloning OS to a new drive
After completing the preparations, please follow the steps below to learn how to upgrade your C drive on Windows 10 and 11:
Step 1. Install and open AOMEI Partition Assistant Professional, click "Clone" in the main interface, and select "Clone Disk".

Step 2. Choose the hard disk that you need to clone as the source disk and click "Next".

Step 3. Select the destination disk to store the data on the source disk, and then click "Next".

Step 4. Then, you can check the source and destination disk in the next window or change to "Sector to Sector clone", and click the "Confirm" button to continue if there is no problem.

Here, you can also click the "Settings" button to adjust the partition size on the destination disk or tick "4k alignment" to Optimize the performance of SSD if the target disk is an SSD drive.

Step 5. After returning to the main interface, check the pending operation and click "Apply" and "Proceed" to commit the operation.

Tip: If you want to switch Windows to a smaller drive, the "Clone without resizing partitions" button will be greyed out.
│How to boot from the new HDD/SSD after cloning
If you don't know what to do next after cloning your hard drive to another drive, don't worry, read the following carefully.
Step 1. Restart your computer, when you see the Windows logo, repeatedly press F1/F2/F3/F5/Esc to enter the BIOS setup.
Step 2. Select "Change boot order" to set the new drive as the boot drive.

Step 3. Press "F10" to save the new set.
If your new drive is an SSD, after successfully booting from it, you can use partition alignment to speed up your computer. Besides, you can also wipe the old system drive as a data disk, the detailed steps are as follows:
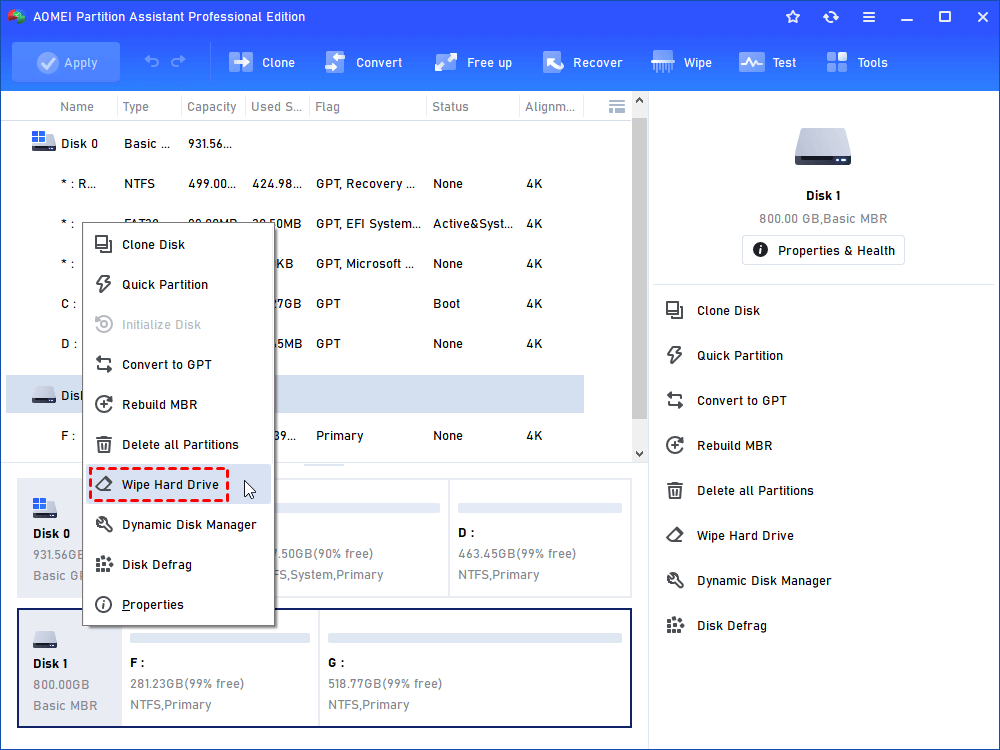
Step 1. Open AOMEI Partition Assistant Professional, right-click the old system drive you decide to wipe and click "Wipe Hard Drive".
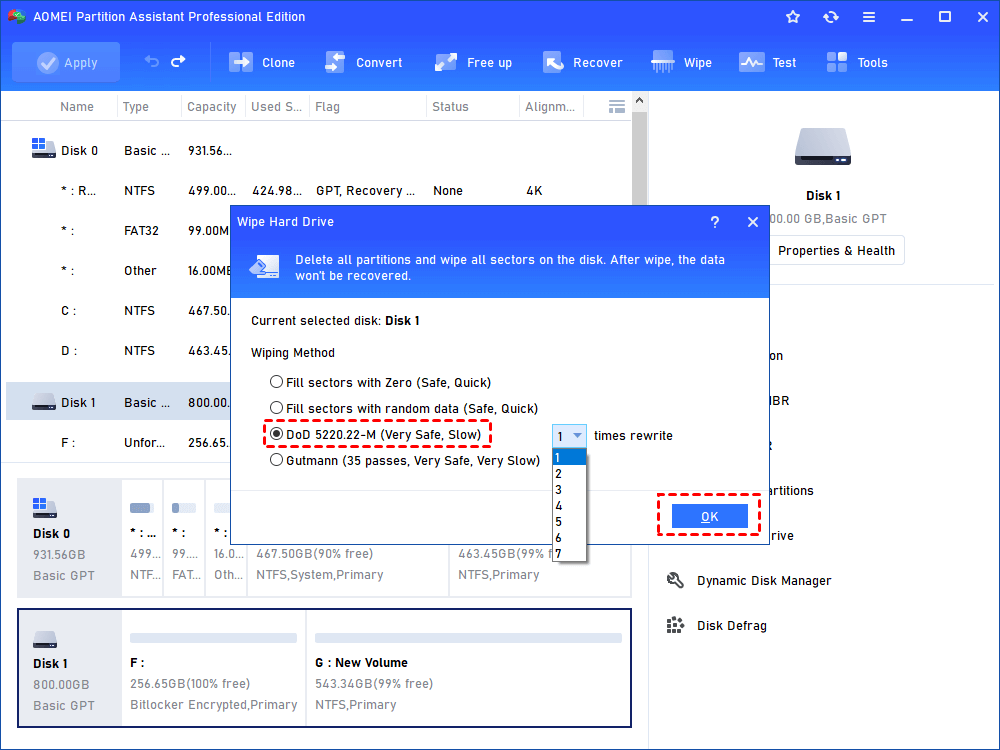
Step 2. Select "DoD 5220.22-M" and set the times to rewrite it.
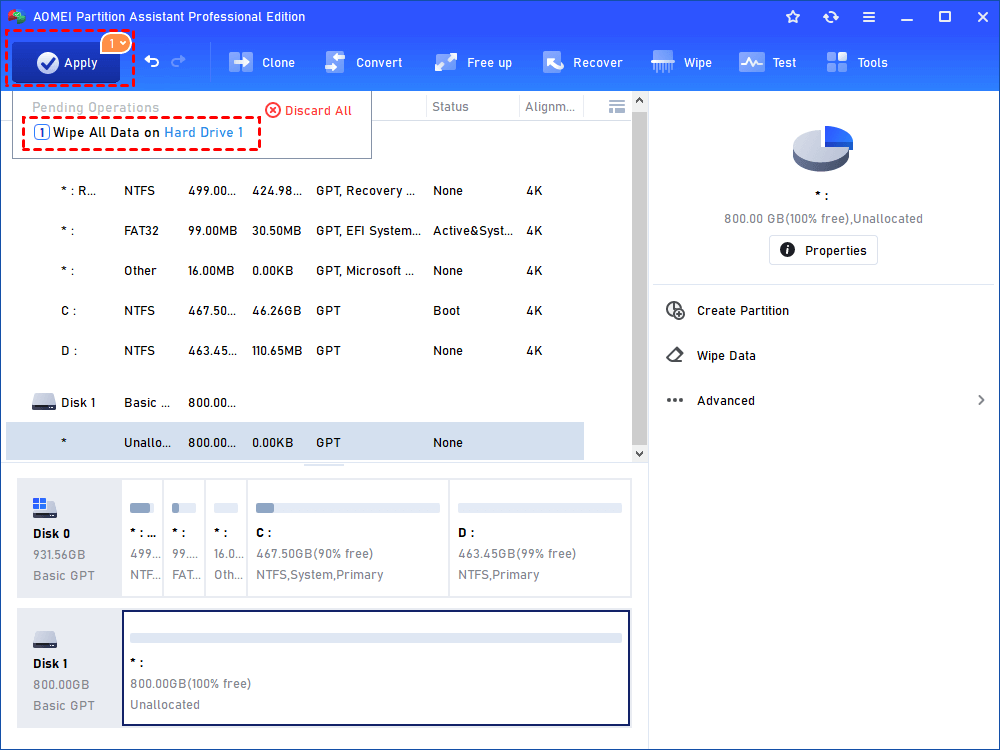
Step 3. Click "Apply" to complete the operation.
To sum up
“How to upgrade C drive on Windows 10 and 11?” is the concern of many Windows users. Fortunately, AOMEI Partition Assistant Professional gives a satisfactory answer. Of course, in addition to the two functions mentioned above, it also includes other powerful functions such as Allocate free space, Move App-related Cache, etc. You can turn to the Server Edition if you want to upgrade C drive on Windows Server.

