[Stepwise] How to Do PS4 Storage Upgrade Quickly and Easily
Doing PS4 storage upgrade is a wise decision to fully enjoy this gaming console. This post provides step-by-step guidance to assist you easily make PS4 hard drive replacement.
By Irene / Updated on June 12, 2024
Should I do PS4 storage upgrade?
The PS4, Sony's fourth-generation gaming console, follows in the footsteps of the PS3 and offers a captivating gaming experience, including immersive VR and motion-sensing games. However, if you're looking to enjoy a wide range of excellent games on your PS4, storage space is worth noting.
The standard PS4 and the slimmer PS4 model both come equipped with 500GB of storage, while the beefed-up PS4 Pro boasts a generous 1TB, which may seem like a lot at first glance. Nevertheless, it's worth noting that a few hefty games can quickly consume your available hard drive space.
As games get bigger, like GTA5 taking up 80GB and typical AAA titles needing 60GB to 100GB, along with regular updates for bug fixes, performance boosts, and new content, your PS4's storage can quickly fill up.
Over time, it's not uncommon to encounter the dreaded "Not enough free system memory" message on your PS4 screen. So, if you are a gaming enthusiast or a long-time PS4 user, it is advisable to consider a PS4 storage upgrade.
How to upgrade PS4 Storage in 2 ways?
In most cases, upgrading storage on PS4 often refers to change a smaller hard drive to a bigger one. And in this part, we will share the specific steps for you.
Way 1. Manually make PS4 hard drive replacement
The usual method involves taking out the old hard drive and putting in a new one. But before doing that, you should save all your data, set up the PS4 software on the new drive, and then bring back your games. It might seem a little tricky, and you'll need a couple of USB drives. After that, to get more storage on PS4 is easy—all you need is a screwdriver.
- Before you do, please prepare:
- PS4 full-size system
- Phillips screwdriver
- A computer connected to the Internet
- External storage device with at least 1GB of free space
- Officially supported replacement 1TB hard drive. Only the 2.5-inch internal type (9.5mm or slimmer)* and Serial ATA (Parallel ATA is not supported) internal hard drives are officially supported with the PS4 system.
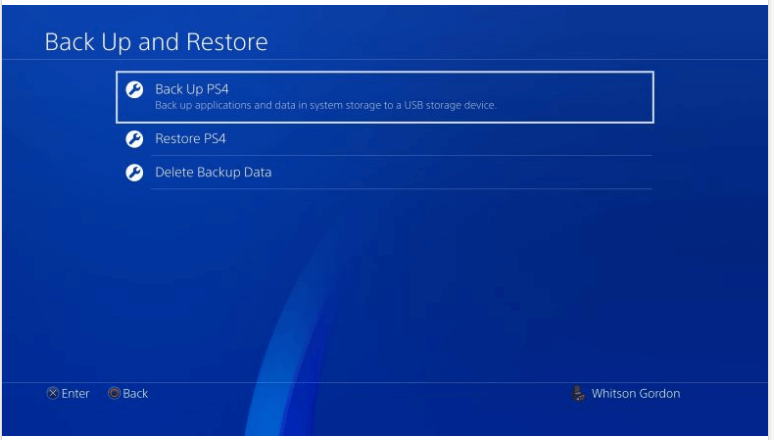
Step 1. Insert an empty USB drive to your PS4 game console and head to “Settings” >”System” > “Back Up and Restore” in the home screen. Select the “Back Up PS4” option to selectivly back up what you need.
Step 2. Once the backup is done, please go to “Power” > “Power Options” > “Turn Off PS4” to shut down your PS4 completely. Wait for the light until it stops blinking and unplug the power cable.
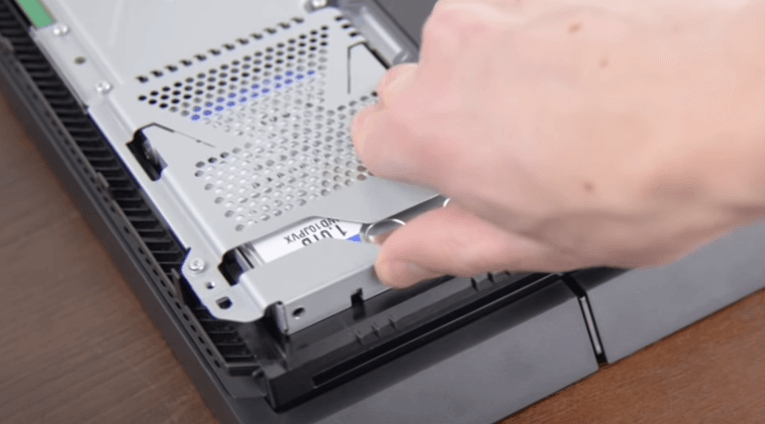
Step 3. Turn the PS4 console around and look for the hard drive cover to the right of the ports. Find the notch on the side and use your finder to swing it open.
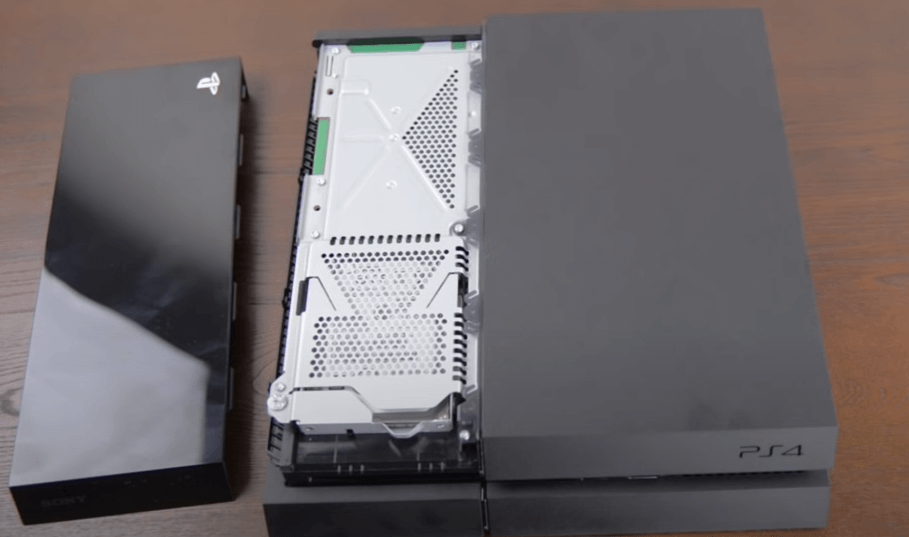
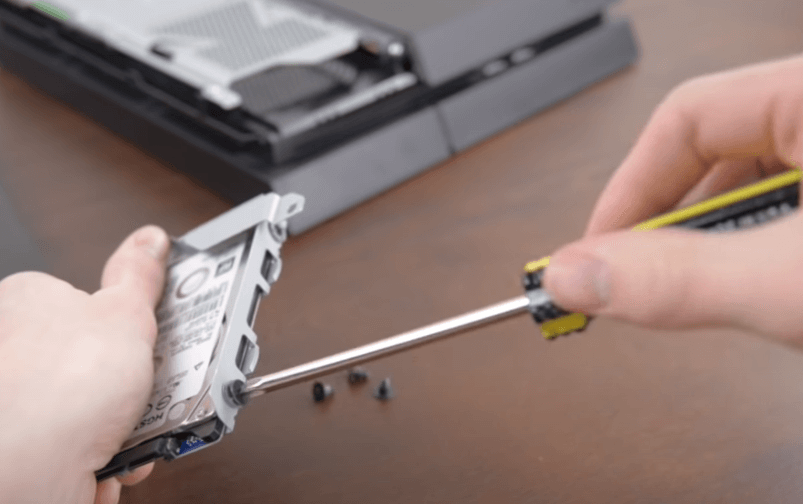
Step 4. Unscrew the screws and then pull the hard drive cage toward you. And remove screws holding the old drive in place and replace it with the 1TB hard drive.
Step 5. Insert another USB drive (not the one used to back up PS4 data in the first step) to your computer. Format the USB to FAT32 file system to make sure it is compatile with PS4. Then create a folder on the drive named PS4 and inside the PS4 folder create another folder named UPDATE.
Step 6. Visit the PS4 System Software Update site, download and install the system update files in the UPDATE folder you just created in the PS4 folder.
Step 7. Eject the USB flash drive with system update and plug into your PS4 USB port. Press and hold the power button until you hear the second beep. Then you can get into Safe Mode.
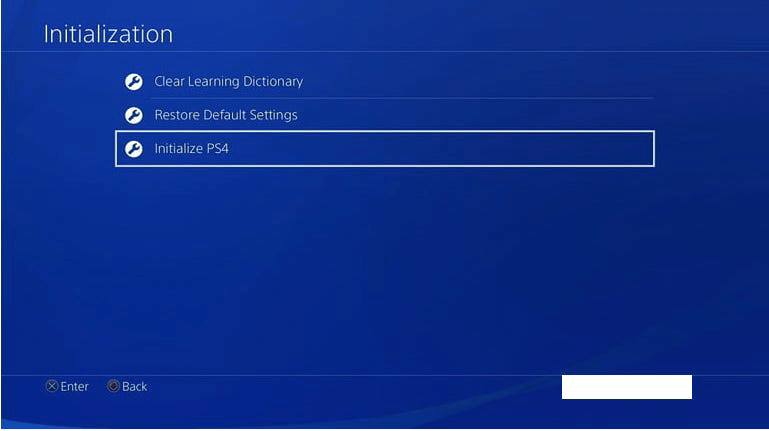
Step 8. Choose “Initialize PS4”, and press “X” button on the console .
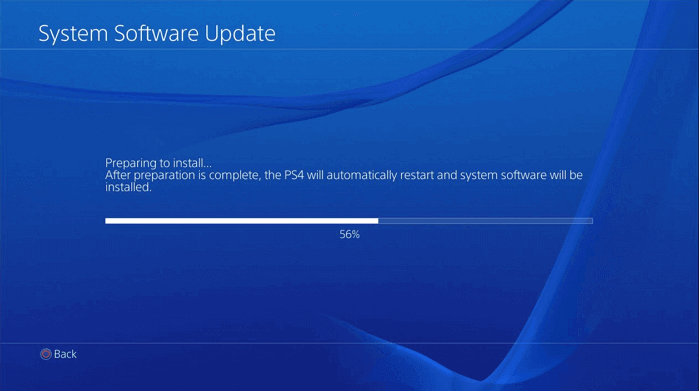
Step 9. Press “OK” and choose “Next” to install the PS4 update files on your PS4. Once done, read the System Software License Agreement, select "Accept", and press the "X" button. The system software will start to install onto the PS4.
Step 10. After the update is completed, the PS4 will restart. Then, press the PlayStation button on your controller and log into your PS4 account.
Step 11. Insert the USB drive with backup and go to “Settings” > “System” > “Back Up and Restore” > “Restore PS4”.
Way 2. Quickly and easily do PS4 storage upgrade
Backup and restore might be a time-consuming process. Is there any way that can skip these tedious steps? Yes, there is! Choosing AOMEI Partition Assistant Professional allows you effectively and easily do PS4 storage upgrade as much as possible.
It introduces a feature called "Clone Disk," which enables you to clone all data, including the operating system, programs, games, and more, can boot and load successfully after cloning. This way, all your games can be moved to the new disk and function normally as they did on the old one. Thus, you can save as much time as possible and enjoy the larger drive without needing to reinstall anything.
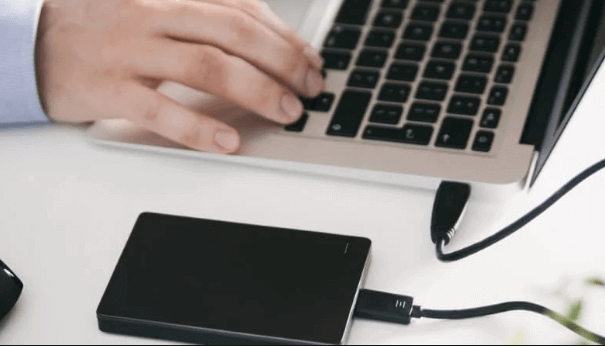
Remove the smaller hard drive from your PS4 as the first method instructed. Then, connect both the smaller and larger hard drives to your Windows computer using a USB cable, making sure both are recognized by your computer's operating system.
Step 1. Install and launch AOMEI Partition Assistant, click "Clone" in the main interface and select "Clone Disk".

Step 2. Choose the hard disk that you need to clone as the source disk and click "Next".

Step 3. Select the destination disk to store the data on the source disk, and then click "Next".

Step 4. Then, you can check the source and destination disk in the next window or change to “Sector to Sector clone”, and click the "Confirm" button to continue if there is no problem.

Here, you can also click the "Settings" button to adjust the partition size on the destination disk or tick "4k alignment" to improve the reading and writing speed of SSD if the target disk is an SSD drive.

Step 5. At last, click "Apply" and "Proceed" in the main interface to start cloning the hard drive.

Once the clone process is finished, you can install the new hard drive into your PS4 game console to replace the old small hard drive.
Summary
With the shared 2 methods, it is easy to do PS4 storage upgrade. If you want to quickly enjoy the new drive, AOMEI Partition Assistant can help you a lot. This is a multifunctional assistant. You can also rely on it to extend drive space, manage partitions, and fix computer issues. For Windows Server users, kindly please turn to the Server Edition.

