5 Free Ways to Remove Write Protection from USB/Pen Drive
If you get an error message when using USB: "The disk is write protected". Please refer to this post to learn how to remove write protection from a USB drive in Windows 11, 10, 8, and 7.
By AOMEI / Updated on June 13, 2024
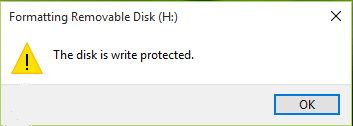
Sometimes, when you need to format the USB or write data on the USB, you will get the error message: The disk is write protected. What is write protection? Please watch the following part. Usually, this means you can only read the data that are already stored on the USB, but you can't delete or modify them. Write protection (also called read-only) can be physical or virtual. Write-protected USB can prevent writing new data or changing old data.
So is there any way to remove write protection from USB in Windows 111/10? Don't worry, this article aims to provide free ways to remove write protection from USB.
How to remove write protection from USB drive effectively
If you are unable to remove write protection from USB drive, please read this article patiently. The following will introduce you 5 safe and effective methods to remove write protection from USB sticks in Windows 11,10, 8, and 7, including a professional third-party write protected USB format tool.
| Methods | Efficiency | Difficulty |
| 💡Check write protection switch | High - USB flash drives have a physical switch, please make sure the lock switch is slid up to unlock position. | ⭐ |
| 🔒Diskpart | Medium - You can type in some commands to clear readonly. | ⭐⭐⭐ |
| 💻Disable write protection through Registry | Medium - Edit the DWORD Value in the registry to disable write protection. | ⭐⭐ |
| 📸Turn off BitLocker | Medium - Turning off BitLocker removes write protection from the USB. | ⭐⭐ |
| 🚀Try write protected USB format tool | High - If the file system is corrupted, the USB can be formatted to remove the write protection. | ⭐ |
If you want to fix the problem quickly, I highly recommend you jump straight to method 5 and use the AOMEI Partition Assistant. This tool can deal directly with write-protected hard disks and offers more features to repair the file system. Download this partition manager for free:
The Best Windows Disk Partition Manager and PC Optimizer
▶ Method 1. Check physical write protection switch(if available)
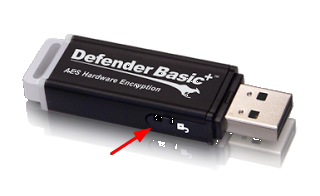
Some USB flash drives have a physical switch that allows you to lock or unlock write protection. The location of a switch on a USB flash drive will be different. Make sure the lock switch is slid up to unlock position. You will not be able to transfer files to the USB drive if it is locked.
If the write protection switch on your USB drive is off, and you still get the error message or there is no physical switch on your USB drive, please skip to Method 2.
▶ Method 2. Clear read-only attributes with DiskPart utility
In this part, we will introduce how to remove write protection on USB without switch. Diskpart is a command-line tool built into Windows that you can use to remove write protection from USB. Please refer to the following steps to remove write protection using CMD:
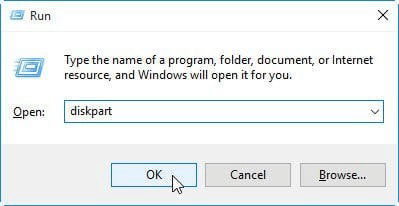
Step 1. Press "Windows + R". In the pop-up Run dialog box, type "diskpart" and hit Enter to open the DiskPart Command Prompt.
Step 2. Type the following commands one by one and hit Enter after each:
● list disk - all of the disks connected to the computer will be displayed, including internal hard drives.
● select disk n - where n is the number of USB flash drive. You can use the Size column to identify which one it is.
● attributes disk clear readonly - change your USB's properties so that it is no longer read-only.
![]()
Step 3. Close the DiskPart Command Prompt and re-plug your USB flash drive to check if the write protection error is resolved. If not, please try the next step.
▶ Method 3. Disable write protection by editing the registry
If you are familiar with computer knowledge, you can use other Windows built-in write protection removal tools, such as Registry Editor. Follow the steps on how to remove write protection from USB Windows 11/10:
Step 1. Press "Windows + R" on your keyboard. In the pop-up Run dialog box, type "regedit" and hit Enter to open the Registry Editor.

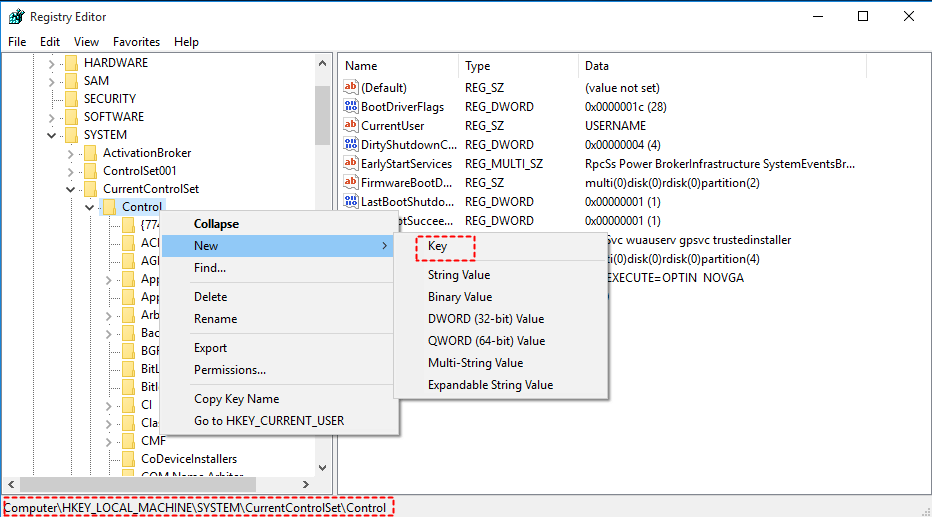
Step 2. Expand the entries on the left-hand pane to navigate to the following path:
HKEY_LOCAL_MACHINE\SYSTEM\CurrentControlSet\Control
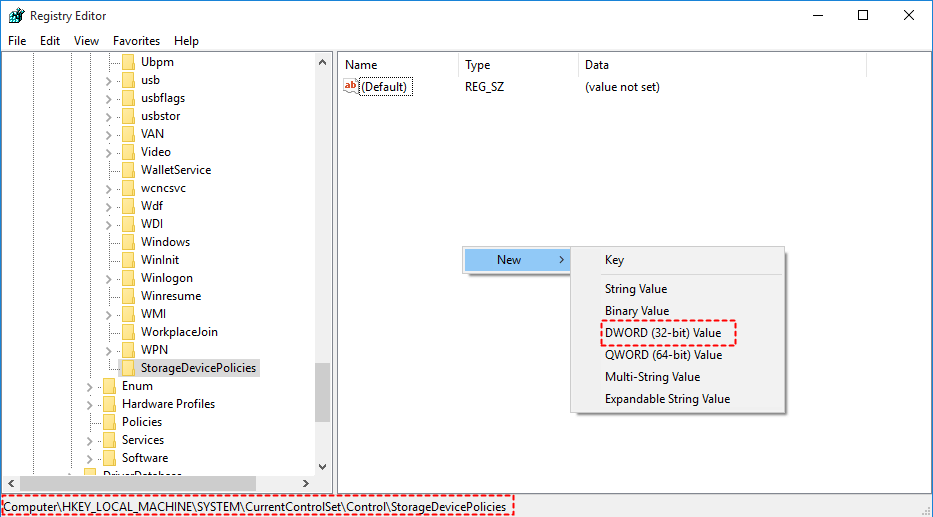
Step 3. Right-click the Control (folder) key, select New, and click on Key. Name the new key StorageDevicePolicies.
Step 4. Select the newly created key, and right-click on the white space at the right-hand pane. Select New, and click on DWORD (32-bit) Value. Name the new DWORD WriteProtect.
Step 5. Double-click the newly created DWORD and change its value from 1 to 0. Click “OK” to apply the change.
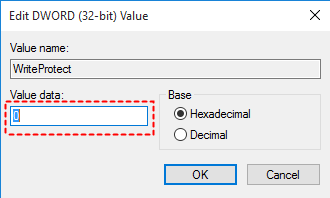
Tips: 1 means “Yes, write protect my USB storage devices.” Conversely, 0 means “No, don’t write protect my USB storage devices.”
Step 6. Close Registry Editor and restart your computer.
▶ Method 4. Turn off BitLocker to remove write protection from USB
If your USB has BitLocker enabled, it uses its encryption to protect your files. To turn off BitLocker on a USB stick, you must have a password or recovery key. If you don't have any options, you must reformat the pen drive.
Here are the detailed steps to unlock a write-protected BitLocker USB on Windows 10/11 PC:
Step 1. Open “File Explorer” and look for the storage device you have in mind. If the icon has a padlock, BitLocker is enabled for the device.
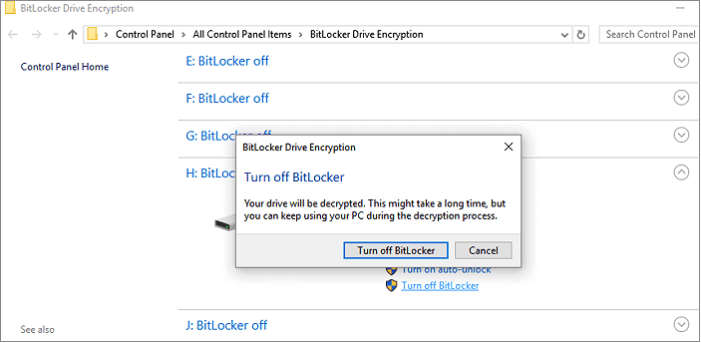
Step 2. Right-click on the icon and go to “Manage BitLocker.” This step takes you to the BitLocker Drive Encryption window, where a list of all storage units and their encryption status is displayed.
Step 3. All you need to do now is click on the protected USB drive and select “Turn off BitLocker.” Enter the password or select other options and choose to enter the recovery key. The status shows that the device is getting decrypted and, upon completion, the BitLocker is turned off.
After you’ve disabled BitLocker, try to copy something on the USB stick again and see if the problem is resolved.
▶ Method 5. Format write-protected USB with AOMEI Partition Assistant
If you've tried all the steps above and still can't remove write protection from USB drive, the reason might be corrupted file system. And you need to use a more advanced tool. To settle it, you can try to format the write-protected USB drive.
AOMEI Partition Assistant is a powerful partition manager software and disk management tool for Windows 11/10 computers. It supports all types of disk, including SSD, HDD, USB flash drive, Pen Drive, etc. With a simple and clean interface, you can format write-protection USB easily and quickly.
The Best Windows Disk Partition Manager and PC Optimizer
Note: Formatting a USB will delete all data on it. Please make sure that you backup all the data from USB drive to your computer.
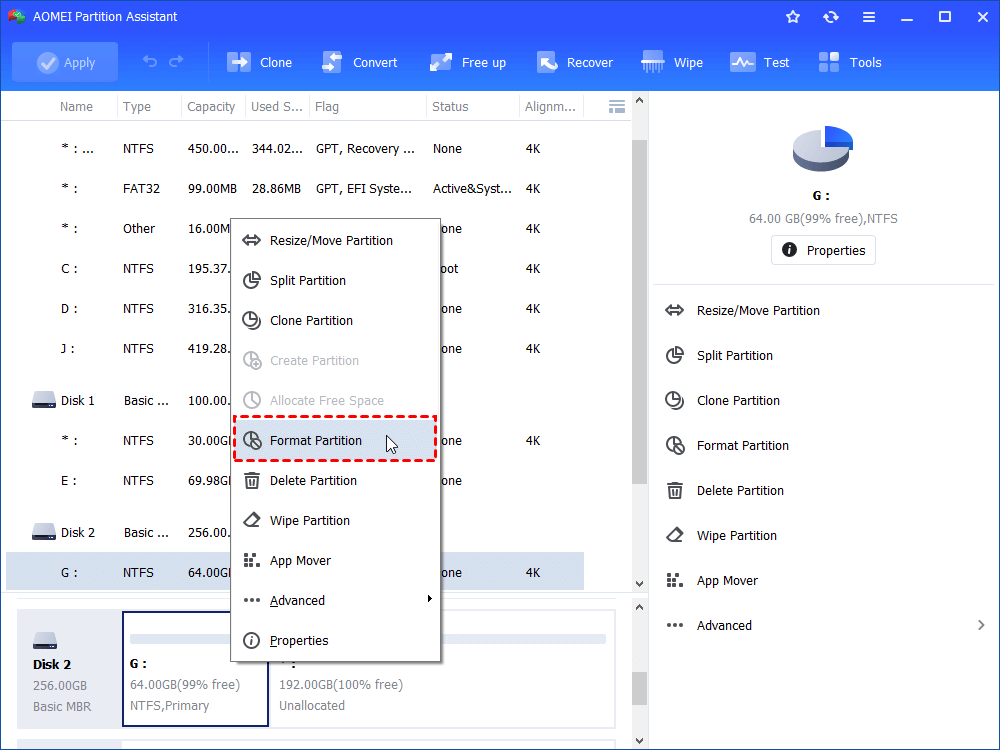
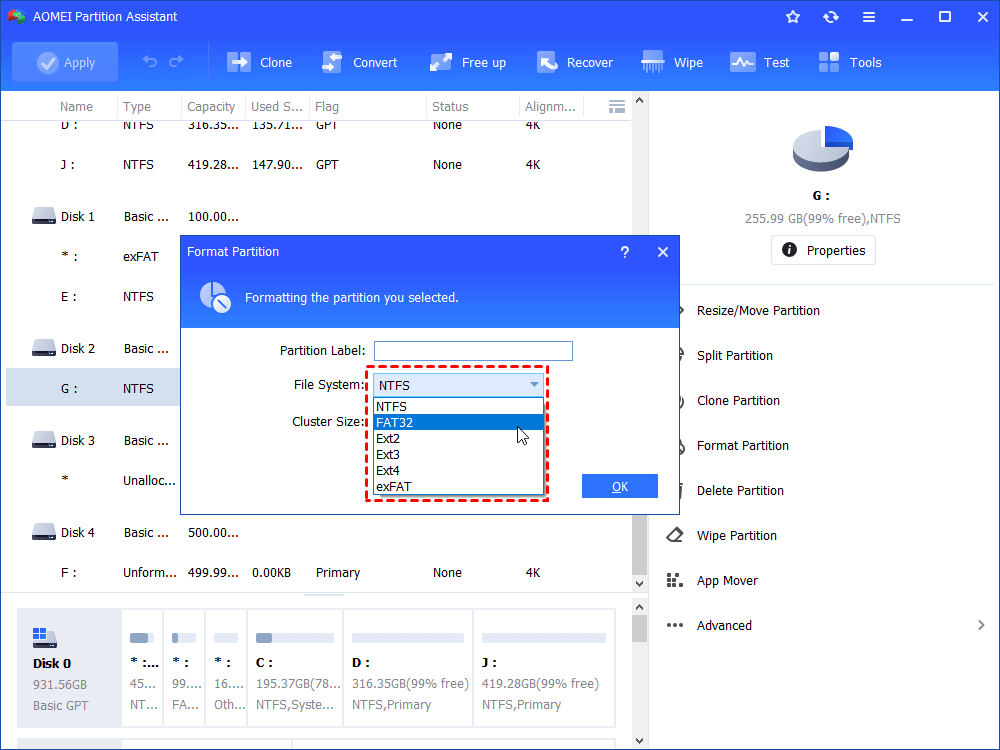
Step 1. Download, install, and launch AOMEI Partition Assistant. Right-click on the USB partition and select "Format Partition".
Step 2. In the pop-up window, you can name the USB drive by editing "Partition Label" and changing the file system. By default, a USB drive is formatted as FAT32, which ensures cross-platform compatibility. However, FAT32 limits a single file size up to 4 GB. If you would like to store larger files on your USB flash drive, you should format it to NTFS. And then, click "OK" to continue.
Step 3. Your USB has not been formatted yet. To save the change, you need to click "Apply".
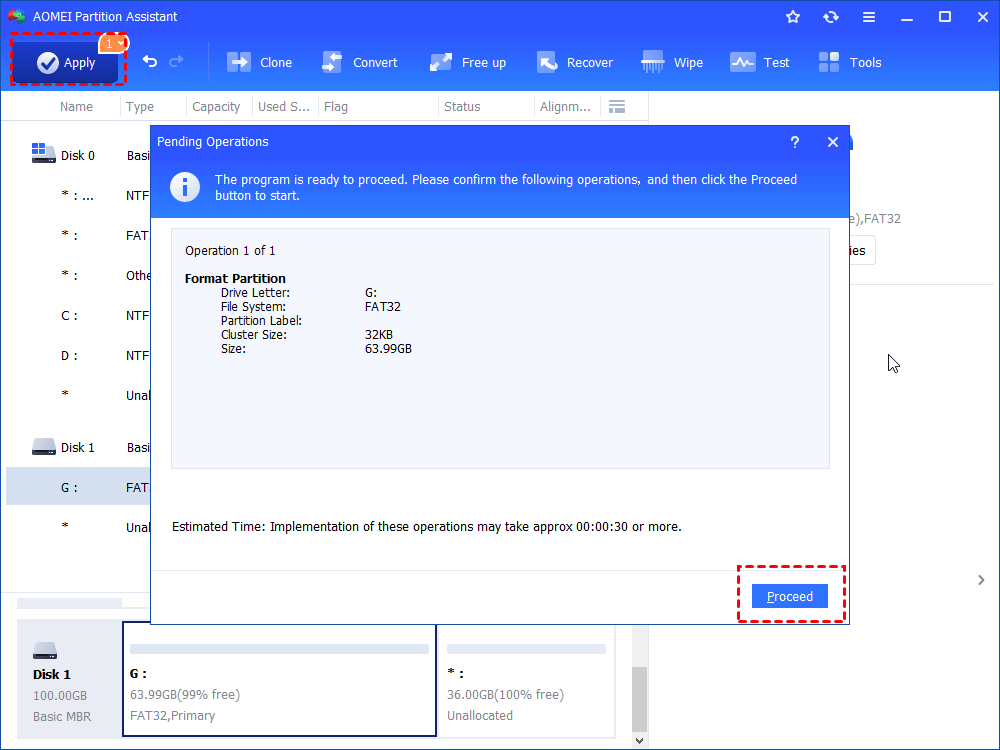
The formatting progress shouldn't take too much time. Of course, the more data on the USB, the more time the formatting will take. If there is no physical damage or bad sectors with the USB drive, it will be formatted, cleaned, and writable.
Since the reasons for write protection in USB/pen drive are different, some steps may fail to remove write protection from USB drives. If so, please skip the step to try the next step.
Conclusion
Don't worry when you meet "the disk is write protected." This is the whole process of removing write protection from USB. The solutions are also suitable to remove write protection from SD card. If you want to remove write protection from USB with AOMEI Partition Assistant on Windows Server, please upgrade to Server Edition. In addition, AOMEI Partition Assistant also offers more advanced features, such as migrating OS to SSD, cloning system disk, recovering lost partitions, converting dynamic disk into basic, etc.

