[Fixed] Windows 10 File Explorer Does Not Show CD Drive
Windows 10 File Explorer does not show CD drive? In this post, you can learn how to fix CD drive not showing up in several ways and how to recover lost data on your CD drive.
By Lucas / Updated on March 10, 2025
If you’ve ever inserted a CD or DVD into your computer only to find that your CD drive is not showing up in Windows 10 File Explorer, you’re not alone. This frustrating issue can prevent you from accessing important data or media. Whether your CD drive not showing up is due to driver issues, hardware problems, or system errors, this guide will help you troubleshoot and resolve the problem.
Why Windows 10 File Explorer Does Not Show CD Drive?
Before diving into solutions, it’s important to understand why your CD drive is not showing up in Windows 10 File Explorer. Here are some common causes:
1. Outdated or Corrupted Drivers
Drivers are essential for your operating system to communicate with hardware devices like CD drives. If the drivers are outdated or corrupted, your CD drive may not be recognized.
2. Hardware Issues
Loose cables, a faulty CD drive, or a damaged motherboard connection can prevent your CD drive from appearing in File Explorer.
3. Windows Updates
Sometimes, Windows updates can cause compatibility issues with hardware devices, including CD drives.
4. Disabled Drive in Device Manager
If your CD drive is disabled in Device Manager, it won’t show up in File Explorer.
5. Registry Errors
Incorrect registry settings can cause Windows to fail to detect your CD drive.
How to Fix CD Drive Not Showing Up in Windows
To fix CD drive not showing up in Windows, we prepare several solutions for you. You can try them one by one to find the working way.
Way 1. Show Hidden (Unhide) CD/DVD Devices in Windows
Have you attempted to reveal the hidden device in Windows 10? Occasionally, the Windows 10 update will perform a reset, thereby reverting certain configurations to a previous state. Initially, attempt to reveal the CD/DVD device if your disc is not appearing as expected.
Navigate to This PC -> Manage -> Device Manager -> View -> Show hidden devices.

Way 2. Uninstall IDE ATA/ ATAPI Controllers
Step 1. In the Device Manager, locate the DVD/CD-ROM drives and IDE ATA/ATAPI controllers items. Right-click on each entry present under both "DVD/CD-ROM drives" and "IDE ATA/ATAPI controllers" sections one by one and select Uninstall.
Step 2. Right-click again these items and select "Scan for hardware change" this time.
Step 3. Reboot your computer after these changes.
Way 3. Run Hardware and Devices Troubleshooter
Step 1. Open Control Panel by typing and selecting it via Windows Search.
Step 2. View by Large icons and select Troubleshooting.
Step 3 Click the Hardware and Sound link and select Configure a device.
Step 4. Follow the on-screen instructions to complete.
Way 4. Delete Corrupted Registry Keys
Your system's registry keys are of paramount importance. Corrupted entries may be the root cause of certain hardware issues. If you are unable to locate the CD/DVD device, you may want to investigate the possibility of a corrupted registry key. However, any issues that arise during the registry editing procedure will result in severe consequences. Consequently, it is advisable to back up the registry key and your system before initiating the subsequent procedures.
✨ Back Up Registry:
Press Win + R and type regedit in the Run dialog window. Press Enter to start Registry Editor. Click on the File menu and select Export. The Export Registry File window will appear. You should choose a location to store the backup, give the file a name, and click Save.
Now to delete Corrupted Registry Keys, you can follow the steps:
Step 1. Press Win + R to open the Run window.
Step 2. Type regedit in it and hit Enter.
Step 3. Navigate to HKEY_LOCAL_MACHINE > SYSTEM > CurrentControlSet > Control > Class.
Step 4. Select {4d36e965-e325-11ce-bfc1-08002be10318}.
Step 5. Look for UpperFilters and LowerFilters in the right panel.
Step 6. Right-click on then and choose Delete.
Step 7. Close the Registry Editor and restart your PC.
Way 5. Create New Registry Subkey
If you are unable to locate the UpperFilters or LowerFilters value in the right panel of last way, you may attempt this approach.
Step 1. Press Win + R to open the Run window.
Step 2. Input regedit and click Enter to open the Registry Editor.
Step 3. Navigate to HKEY_LOCAL_MACHINE > SYSTEM > CurrentControlSet > Services.
Step 4. Select and right-click on atapi.
Step 5. Select New > Key in the context menu.
Step 6. Rename it as Controller0.
Step 7. Right-click on the new Controller0 key.
Step 8. Choose New > DWORD (32-bit) Value from the menu.
Step 9. Rename it as EnumDevice1.
Step 10. Right-click on EnumDevice1 and select Modify.
Step 11. Type 1 into the Value data box and click OK to save changes.
Step 12. Close the Registry Editor and restart your PC.
Way 6. Use Command Prompt
Step 1. Press Win + R to open the Run window.
Step 2. Type cmd and press Shift + Ctrl + Enter to run as administrator.
Step 3. Copy this command and paste it into the Command Prompt window:
reg.exe add “HKLM\System\CurrentControlSet\Services\atapi\Controller0” /f /v EnumDevice1 /t REG_DWORD /d 0x00000001
Please pay attention to the space in this command.
Step 4. Press Enter on the keyboard and wait a second.
How Can You Recover Lost Data from CD Drive?
We recommend that you scan the data on your CD/DVD after you have attempted the methods as mentioned above to resolve the issue. The resolution of this issue may result in the loss of your data. If your data is lost on the disk, it is advisable to retrieve it immediately to prevent overwriting.
The most effective free data recovery software, PartitionAssistant Recovery, can recover data from various data storage devices, including external and internal hard drives, CD/DVD drives, and memory cards. Additionally, it enables the scanning of numerous locations. For example, you can scan the desktop, Recycle Bin, or the selected folder to reduce the scan duration, or you can scan the entire drive to retrieve all of your files simultaneously.
Step 1. Install and launch PartitionAssistant Recovery. Choose the exact partition or disk where your data lost and click Scan.

Step 2. Then, the recovery tool start to scan and search. lt will execute the “Quickly Scan" first to find your deleted data fast, and then execute the “Deep Scan" for searching other lost data.

Step 3. Once the scan is completed, all deleted files, recycle bins and other missing files will be displayed. Please select the file you would like to recover and then click "Recover".

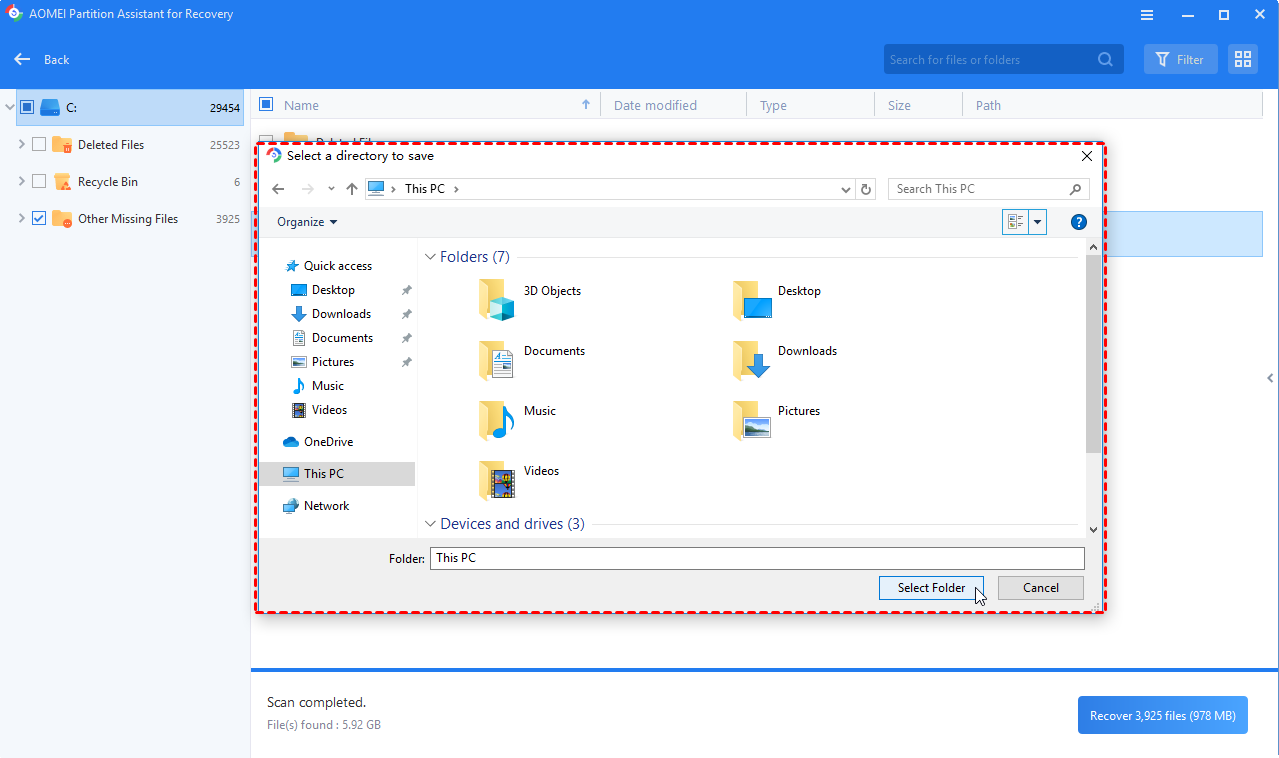
Step 4. Then, select a folder path to save your recovered files.
Step 5. Wait patiently for this process of recovering ends.
Conclusion
A CD drive not showing up in Windows 10 File Explorer can be a frustrating issue, but it’s often fixable with the right troubleshooting steps. By checking physical connections, updating drivers, and using tools like PartitionAssistant Recovery, you can resolve the problem and recover your lost data. Regular maintenance and updates can help prevent similar issues in the future.

