

How to Delete Duplicate Files on External Hard Drive
Over time, a lot of duplicate files piles up on the external hard drive. But don’t worry, in this article, we’ll guide you through the stepwise tutorial on how to find and delete duplicate files on external hard drive.
By Hedy / Updated on July 10, 2025
Why need to delete duplicate files on external hard drive?
Duplicate files often appear unintentionally when you save copies of files in different drives or folders on your computer. Eliminating these duplicates is critical for several reasons:
Simplified files: The presence of duplicate files complicates the identification of original files. Removing duplicates simplifies the process of searching for specific files, making it faster and more efficient.
Optimize space: Duplicate files take up extra space on your external hard drive. Prompt removal of these duplicates frees up valuable drive space, optimizing storage capacity.
Improves drive performance: The presence of duplicate files may affect the overall performance of your external hard drive. Removing these duplicates helps improve drive performance.
Essentially, the accumulation of duplicate files not only wastes disk space but also affects drive performance. Therefore, taking steps to eliminate duplicate files is crucial to improving free drive space and overall operating efficiency.
How to delete duplicate files on external hard drive?
Usually, duplicate files create redundant and space-consuming clutter that needs to be deleted to reclaim valuable storage space on your external hard drive. Here, we provide two simple methods to effectively clean unwanted duplicate files on your external hard drive to help free up storage space.
Way 1. Remove duplicate files on external drive in File Explorer
For Windows users, the process of manually browsing and searching for individual files in File Explorer provides an easy way to identify duplicate files on an external hard drive. If you wish to delete these files manually without using a duplicate file finder, you can use Windows File Explorer software to perform this process.
While this method may not be the most practical for large hard drives, it can still work if the outlined process is followed closely.
Step 1. Connect your external hard drive to your computer and launch File Explorer by pressing the "Windows" + "E" keys on your keyboard.
Step 2. Navigate to the target external drive.
Step 3. Organize files by name, date, or size. Compare files side by side to detect duplicates.
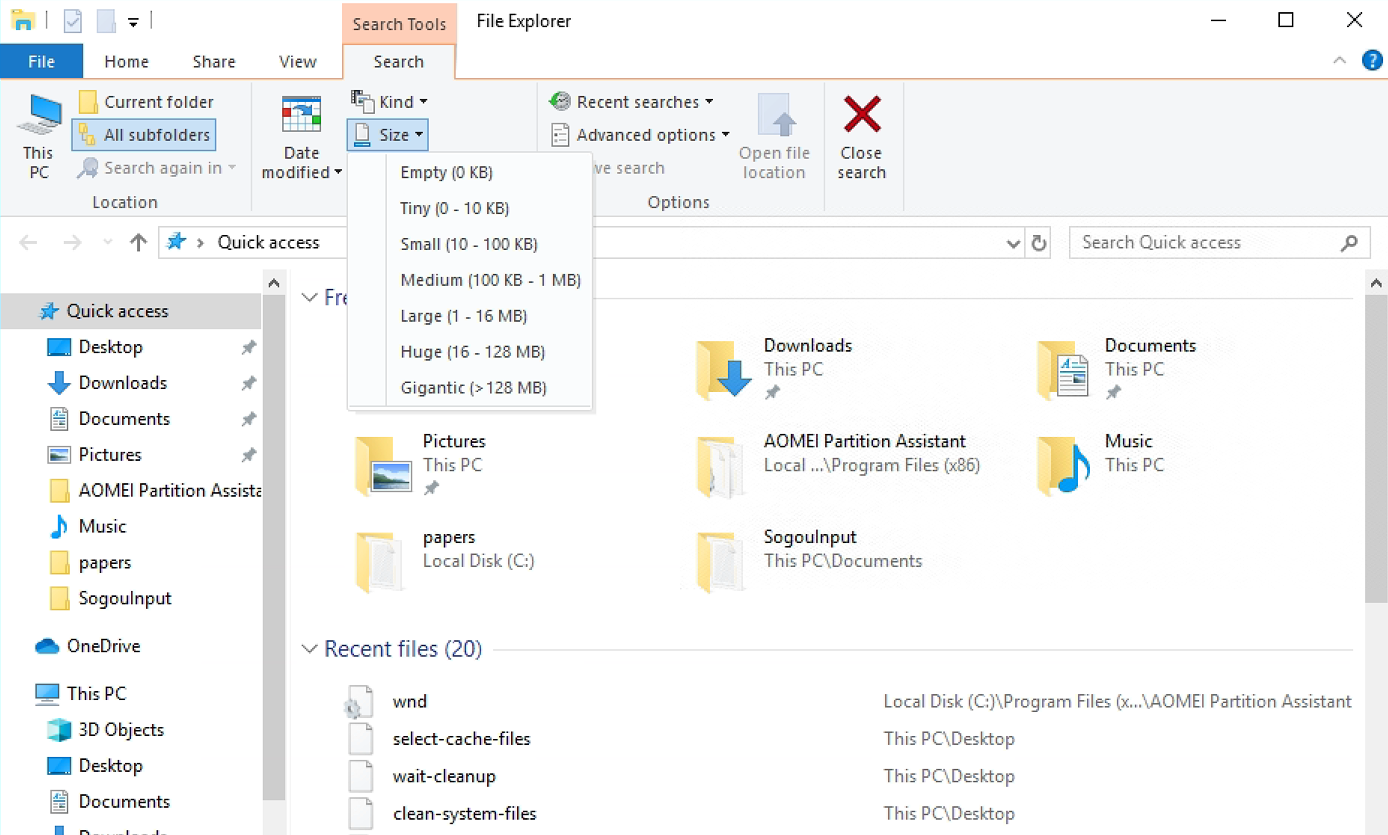
This manual method involves searching for similar files by checking file names, allowing users to identify and remove duplicates without having to rely on dedicated duplicate file-finding tools.
Way 2. Delete duplicate files on external drive with duplicate file finder
When you come across a large number of duplicate files on your external hard drive, the tedious task of finding and deleting them individually can become overwhelming. To simplify this process, you can use a fast and professional duplicate file finder such as PartitionAssistant Cleanup to automatically identify duplicate files without the need to search folders manually.
This powerful tool efficiently locates and organizes duplicate files across multiple drives and folders. It can accommodate various file types, including photos, videos, music, documents, and archives, but excludes certain key file types such as .dll, .lib, .sys, etc. Now, let's take advantage of the features of PartitionAssistant Cleanup to easily find and delete duplicate files on external hard drive.
Free Up Disk Space To Keep Your PC Running Smoothly and Efficiently
Step 1. Install and launch PartitionAssistant Cleanup. Click the "Find Duplicate Files" tab.
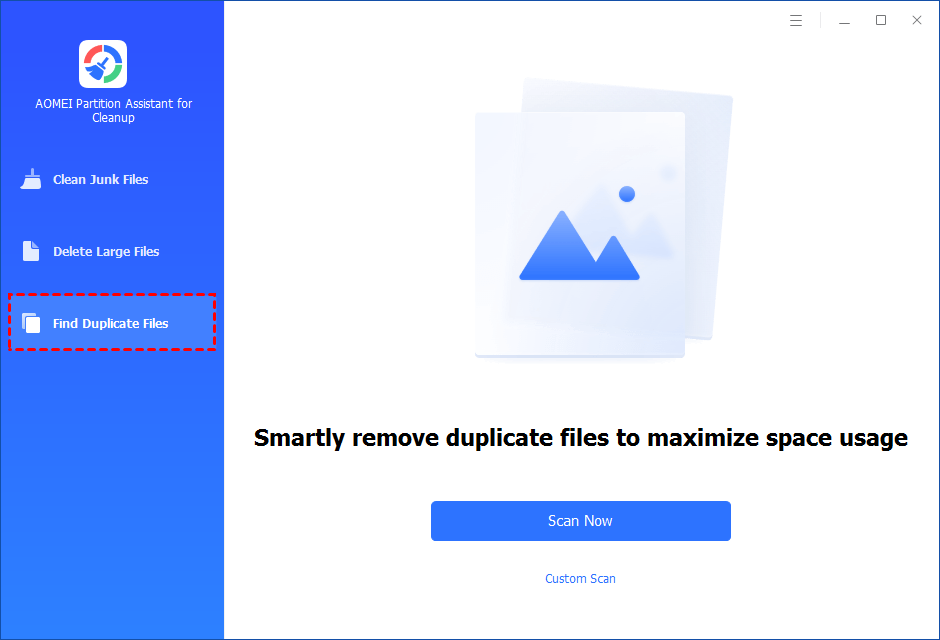
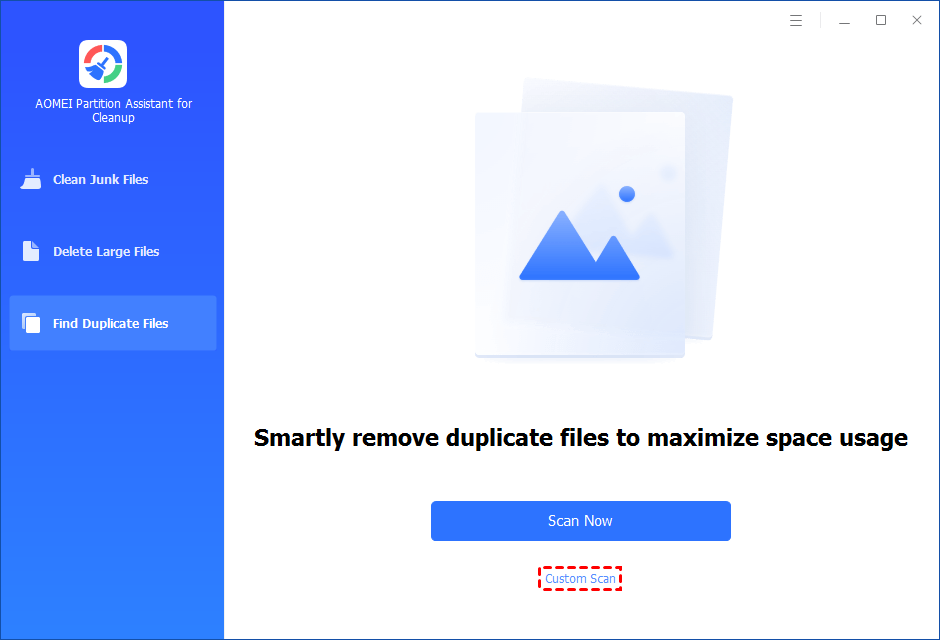
Step 2. You can either click "Scan Now" to start the scan of your system C: drive. Or, click "Custom Scan" to manually select paths to be scanned. (Here, we take the "Custom Scan" as an example.)
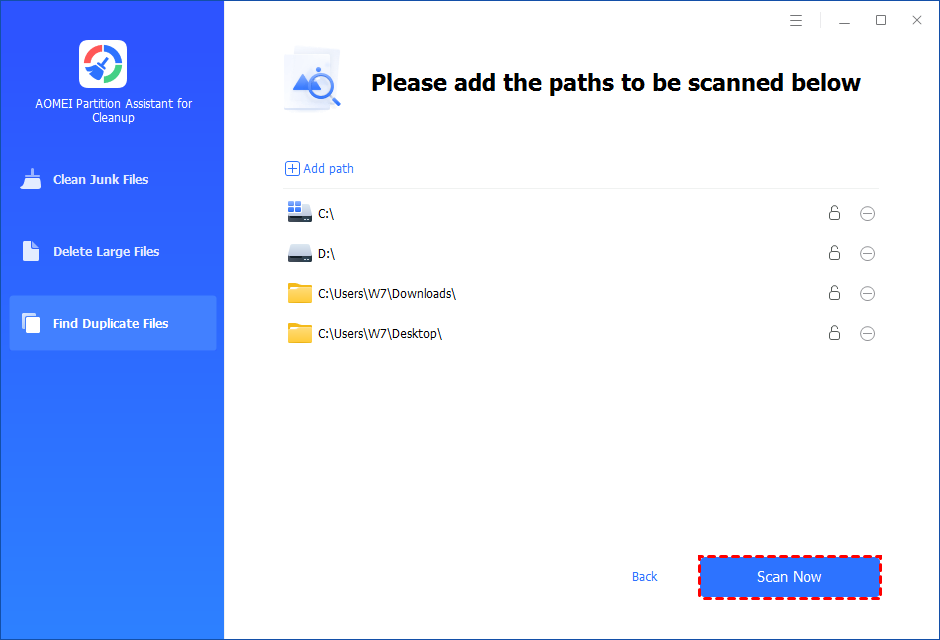
Step 3. After clicking "Custom Scan", all local and external drives on your PC will be displayed. You can also click the "Add Path" button, and then a browse folder window will pop up. So you can add more paths on this PC, like Desktop, Downloads, and other folder paths.
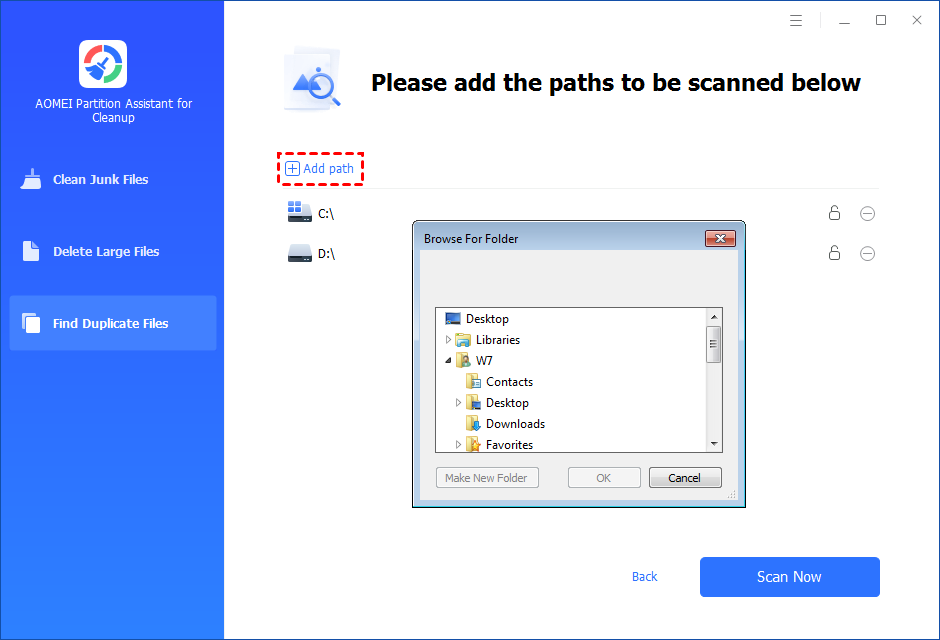
Step 4. Once necessary paths are added, you can click the "Scan Now" button to start the scan process.
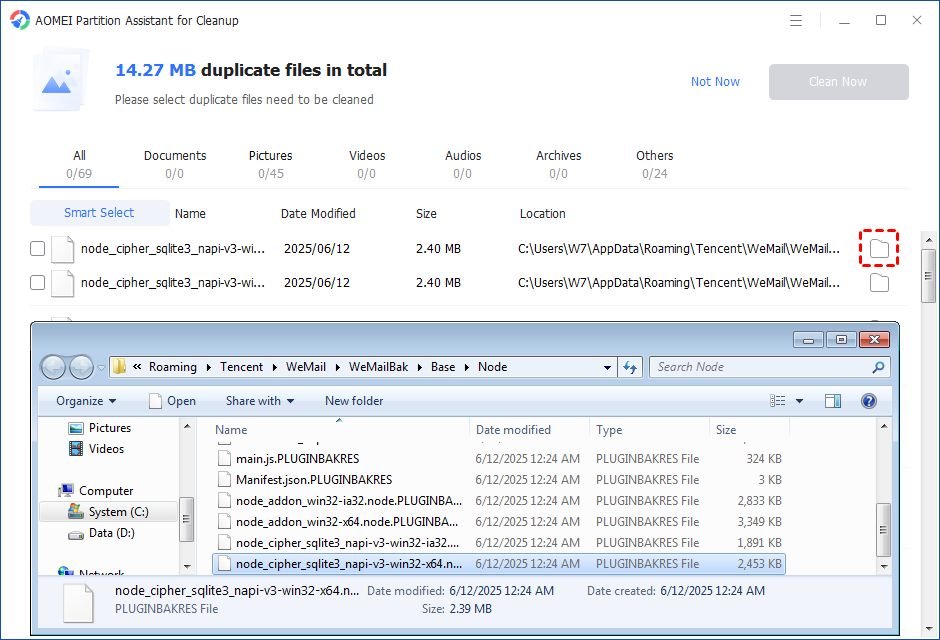
The scan process might take time. After the scan is complete, all duplicate files will be listed. You can click the button behind to locate them.
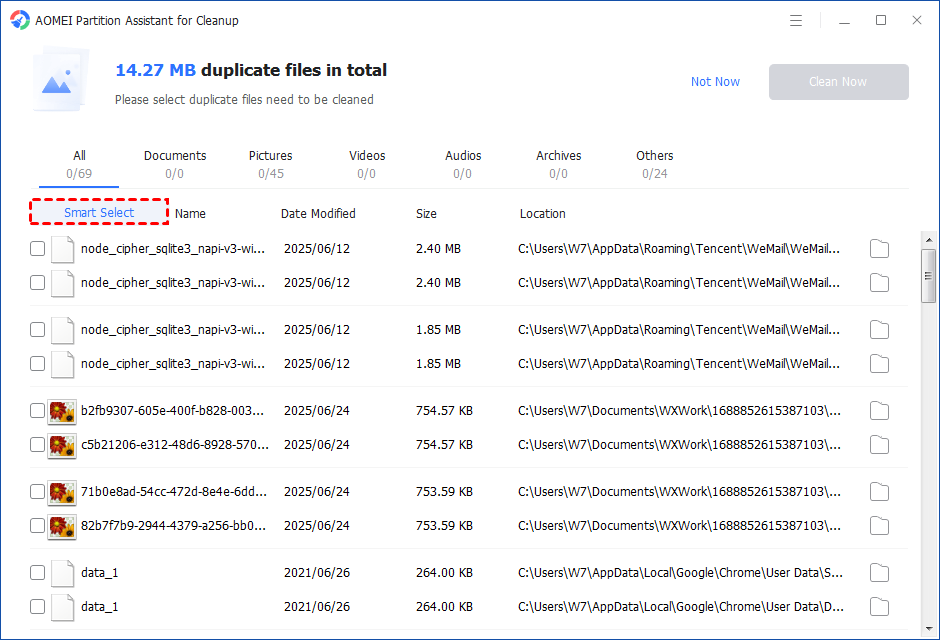
You can either manually select duplicate files, or click the "Smart Select" button to automatically select unnecessary duplicate files to delete.
Tips: If the "Smart Select" is ticked, only the oldest duplicate file will be unticked. It means that all duplicate files except the oldest one will be ticked to delete. (The oldest file means the file that was created first. This file will not be deleted. All other duplicate files are considered copies of the oldest file. )
If you manually select all copies of duplicate files, you will get a pop-up warning window to keep at least one copy of the duplicate files. If you indeed want to delete all copies of duplicate files, you can click "OK" so all copies of duplicate files will be selected to delete.

After unnecessary duplicate files are selected, please click the "Clean Now" button to start the deletion.

Step 5. The deletion might take time. After the process is finished, the selected files will be deleted, and you will get a cleaning completed window displaying how much data you deleted in total.

Conclusion
For the need to identify and delete duplicate files on external hard drive, PartitionAssistant Cleanup stands out as the best solution. This versatile tool does more than just manage duplicate files. It excels at freeing up disk space and provides additional features such as cleaning junk files, deleting large files, and more.

