

Windows 11 Duplicate File Finder: Free Up Space Easily
Your Windows 11 may become slow because of lots of duplicate files on the hard drive. In this post, you will get a reliable Windows 11 duplicate file finder that can help you find and remove these files easily.
By Hedy / Updated on July 10, 2025
A duplicate file is essentially an identical copy of another file, sharing the exact same data but differentiated by a file name or location path. The creation of duplicate files can be attributed to several factors. Duplication may occur, for example, when files are copied and pasted without eliminating the original files, or when the same application is inadvertently installed in multiple directory locations.
Regardless of their origin, duplicate files are an inconvenience and needlessly take up valuable space on your hard drive. Over time, it certainly brings a slow computer. However, when your files and folders are scattered across multiple drives and locations, manually identifying and removing duplicate files can become a daunting task.
What is the easiest way to find duplicate files in Windows 11?
In Windows 11, there are multiple ways to find out those annoying duplicate files. Here we list the top ways:
◤ Built-in tools: Windows 11 offers built-in tools like PowerShell and Command Prompt that are expert at detecting duplicate files.
◤ Third-party software: Many third-party Windows 11 duplicate file finder applications are specifically tailored for the task of locating duplicate files on your computer. Just make sure you get the program from trusted sources.
◤ Sorting: Within the confines of File Explorer, you can efficiently organize your files based on criteria such as name, size, and more. This helps quickly identify any duplicate entries.
◤ File Explorer: You can use File Explorer's View feature to carefully scan through your folders, identifying and eliminating any duplicate files that may be lurking within them.
By comparison, the easiest way is to use a Windows 11 duplicate file finder which can search your duplicate files across all the hard drives. A qualified file finder would automatically scan through your Windows 11 for redundant files without letting you find them one by one.
What is the best Windows 11 duplicate file finder?
To choose a duplicate file finder Windows 11, you should consider these factors:
✔ Comprehensive file type scanning: The software you choose should be able to scan a wide range of file types, including images, video, audio, documents, and more, ensuring all duplicates are identified.
✔ Compatibility: A qualified duplicate file finder would not only be limited to the internal hard drive, but it also extends its functionality to the external hard drive.
✔ Advanced search algorithm: The file finder with this feature can compare file names to detect duplicate files quickly and accurately.
✔ Image similarity detection: In addition to finding different file types, Windows 11 duplicate file finder should also be good at looking for similar images.
✔ Data security: The chosen third-party software must ensure the safety of your other data, avoiding any data loss of other files and folders.
Among all the duplicate file finders, PartitionAssistant Cleanup that can meet all the above requirements would be the best choice. It can easily find duplicate files not only in Windows 11 but also in Windows 10/8/7, as well as Windows Servers.
Below is a full guide on how to find duplicate files in Windows 11/10/8/7 and how to delete them. Download the demo version to have a try:
Free Up Disk Space To Keep Your PC Running Smoothly and Efficiently
Step 1. Install and launch PartitionAssistant Cleanup. Click the "Find Duplicate Files" tab.
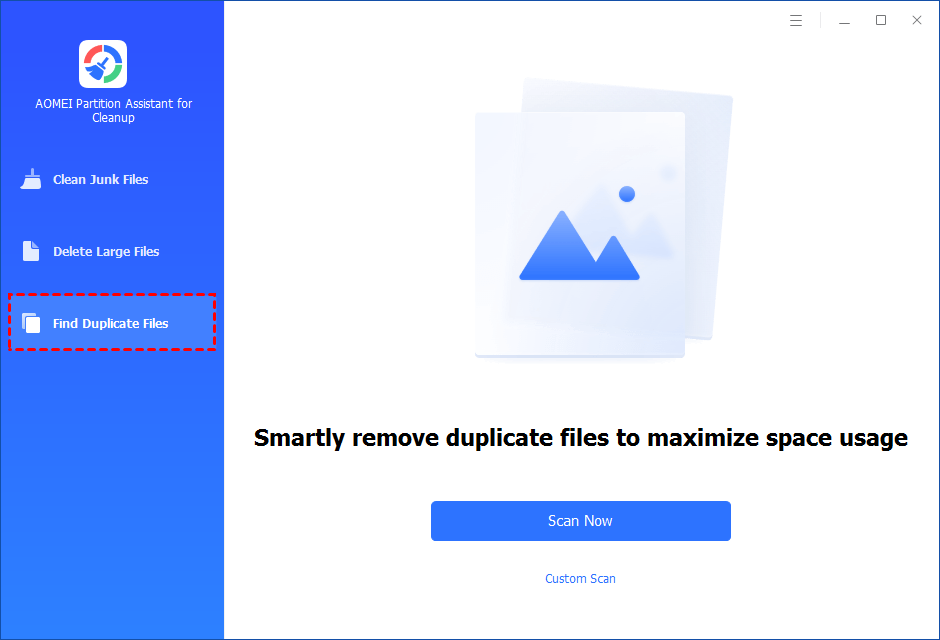
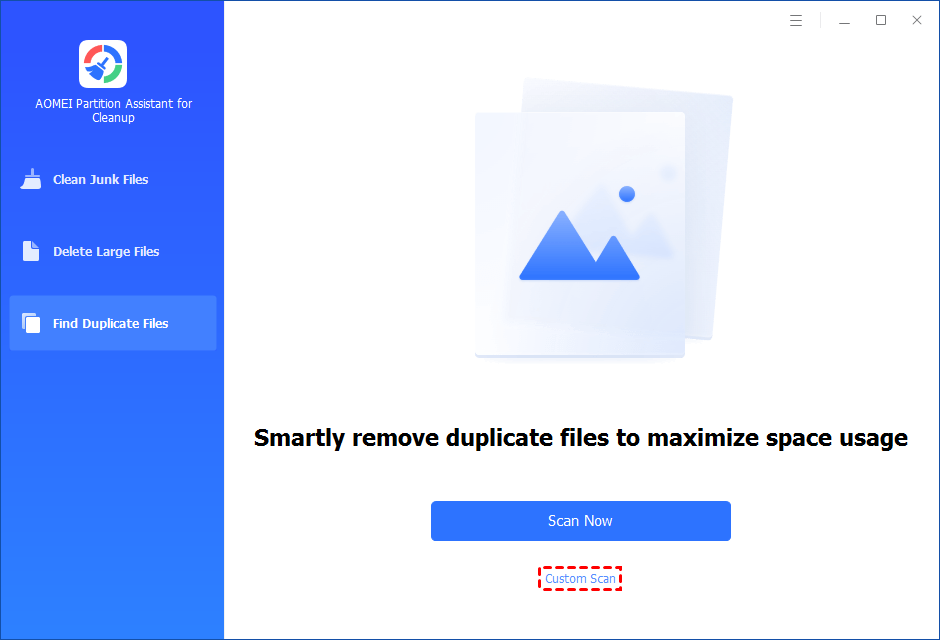
Step 2. You can either click "Scan Now" to start the scan of your system C: drive. Or, click "Custom Scan" to manually select paths to be scanned. (Here, we take the "Custom Scan" as an example.)
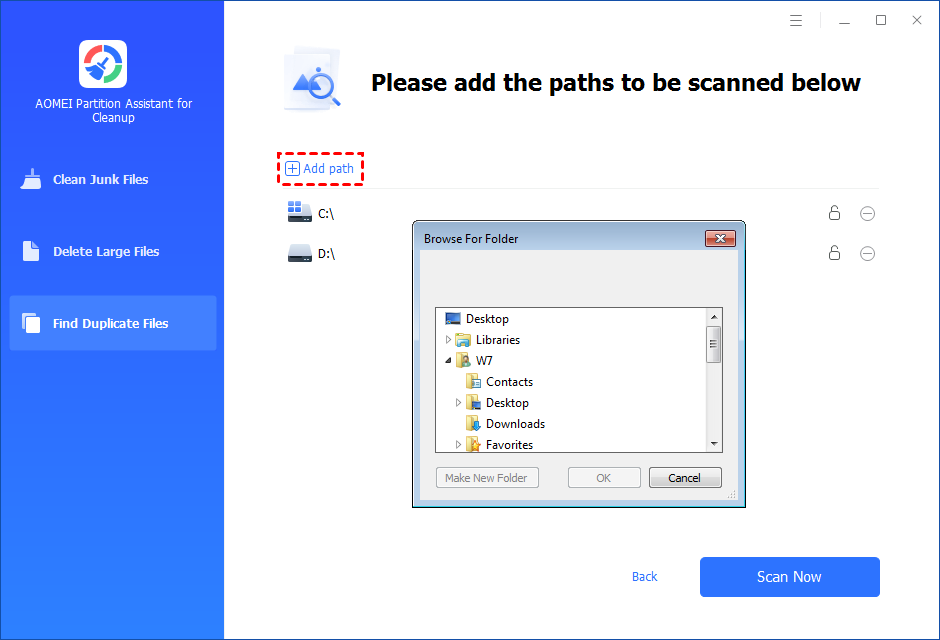
Step 3. After clicking "Custom Scan", all local and external drives on your PC will be displayed. You can also click the "Add Path" button, and then a browse folder window will pop up. So you can add more paths on this PC, like Desktop, Downloads, and other folder paths.
Step 4. Once necessary paths are added, you can click the "Scan Now" button to start the scan process.
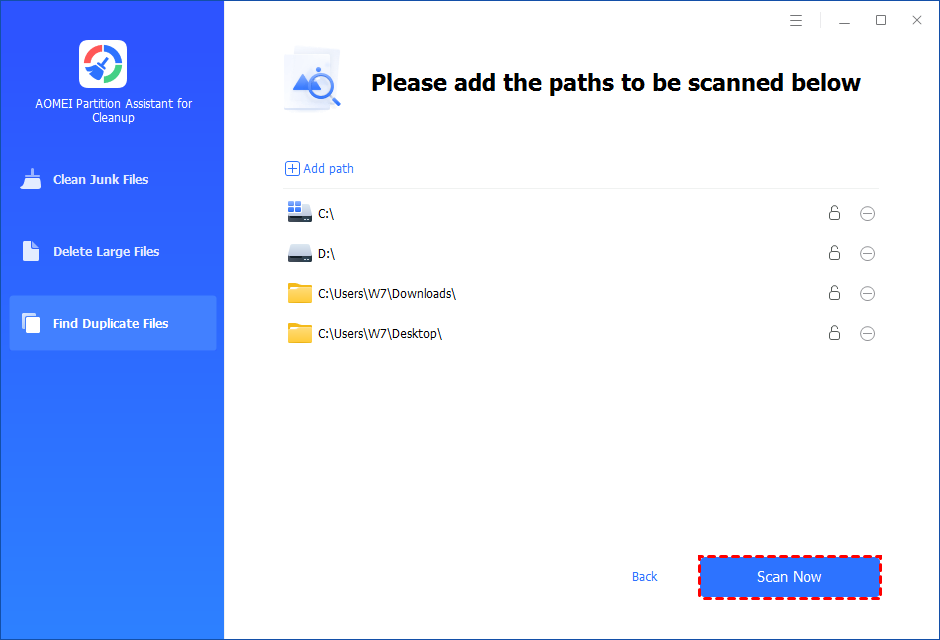
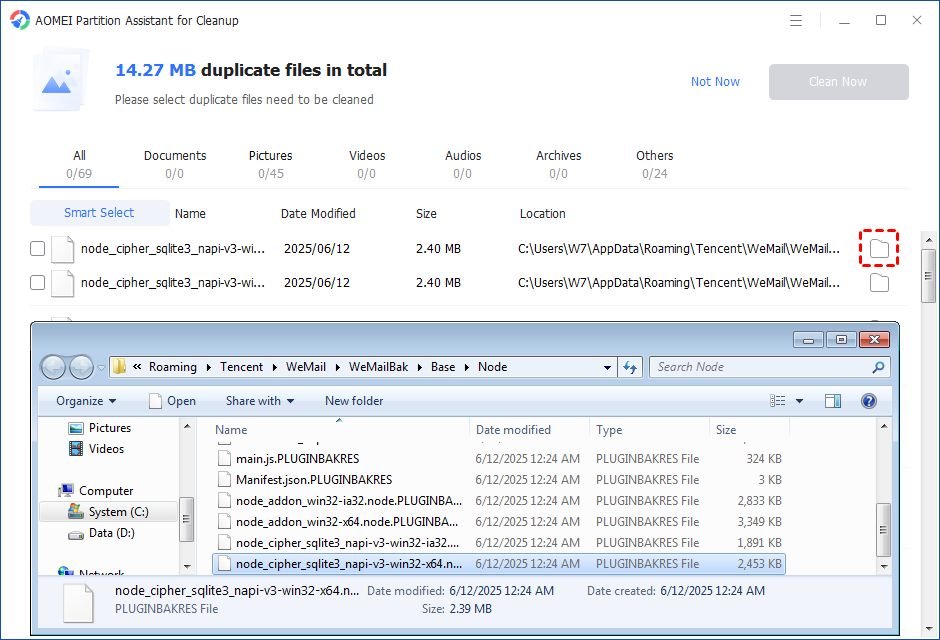
The scan process might take time. After the scan is complete, all duplicate files will be listed. You can click the button behind to locate them.
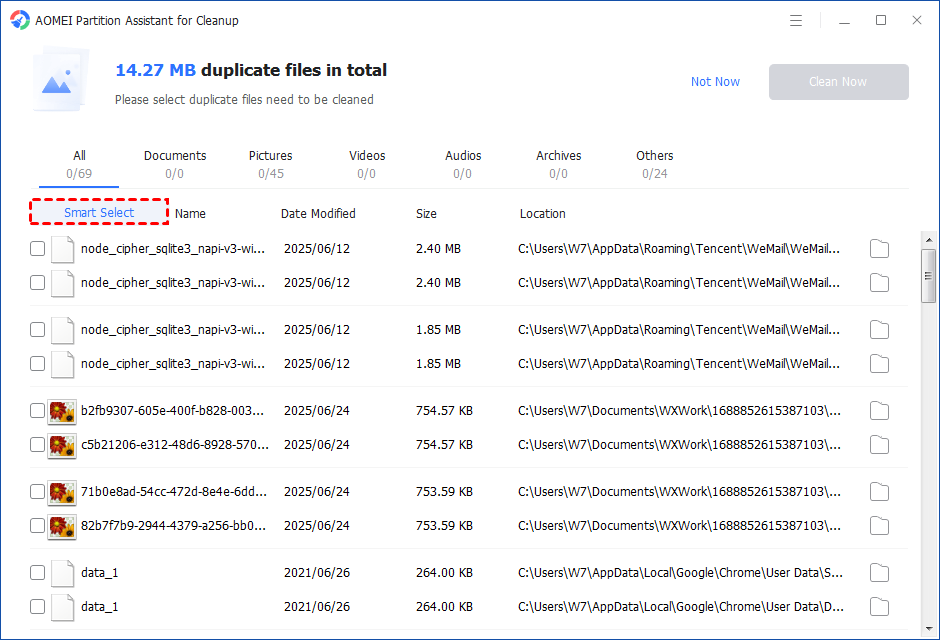
You can either manually select duplicate files, or click the "Smart Select" button to automatically select unnecessary duplicate files to delete.
Tips: If the "Smart Select" is ticked, only the oldest duplicate file will be unticked. It means that all duplicate files except the oldest one will be ticked to delete. (The oldest file means the file that was created first. This file will not be deleted. All other duplicate files are considered copies of the oldest file. )
If you manually select all copies of duplicate files, you will get a pop-up warning window to keep at least one copy of the duplicate files. If you indeed want to delete all copies of duplicate files, you can click "OK" so all copies of duplicate files will be selected to delete.

After unnecessary duplicate files are selected, please click the "Clean Now" button to start the deletion.

Step 5. The deletion might take time. After the process is finished, the selected files will be deleted, and you will get a cleaning completed window displaying how much data you deleted in total.

Conclusion
Windows 11 duplicate file finder is a program to find and eliminate duplicate files across the hard drive on your PC. This post has covered a powerful tool named PartitionAssistant Cleanup that can easily find duplicate files Windows 11 and delete them without any effort.

