

How to Delete Hibernation File on Windows 10
Do you know how to delete hibernation file on Windows 10? In this article, we will discuss 2 ways to do it. In addition, a more useful PC cleaner will be mentioned to optimize PC more effective.
By AOMEI / Updated on July 9, 2025
Can I delete hibernation file on Windows 10?
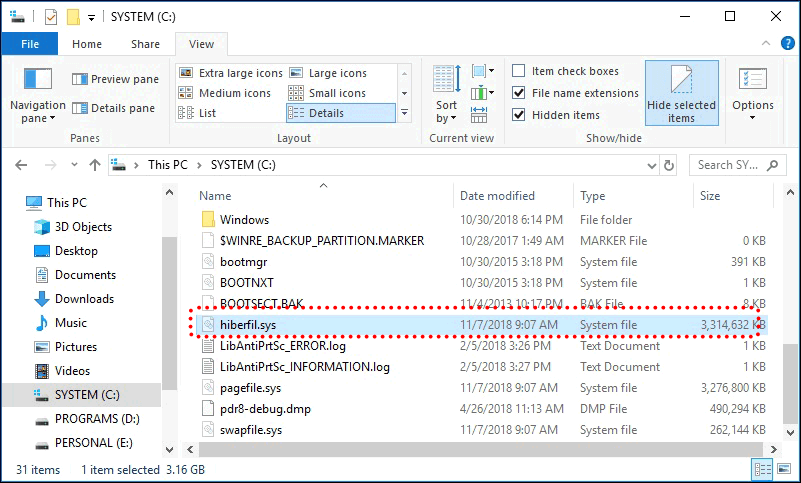
All of a sudden, my hard disk space has fallen from 5GB to 1GB. I have already deleted all files I can, but with little success. The hard disk diagnostic test reveals that there is a hiberfil.sys file of 2.3 GB. I never hibernate my PC - I always shut it down. Can I delete hibernation file on Windows 10? If yes, how to do it?
- Question from Microsoft Community
Hibernation file refers to files that Windows OS creates on your PC when it goes into hibernation mode. Unlike sleep mode (saved files in RAM), hibernation mode stores the current user configuration (such as programs, files, and folders) to your hard disk, allowing you to immediately restore the computer to the state you left off.
However, because the hibernation file occupies a relatively large space in the PC, many users will consider deleting the hibernation file when encountering problems such as the C drive is full and insufficient space on the PC.
If you simply delete the hibernation file located in the C drive, Windows will automatically recreate it. Thus, you need to master the methods on how to delete hibernation file on Windows 10 totally.
Two methods to delete hibernate file on Windows 10?
To help you completely remove hibernate file on Windows 10 and free up PC space, we'll provide you with two methods below.
│Method 1. Use CMD to delete hibernation file
Firstly, you can delete hibernation file with CMD. CMD is a Windows built-in tool, which is famous for effectively solving various disk problems, such as formatting partitions, resizing partitions, etc. Follow the steps below to delete hibernation files in Windows 10.
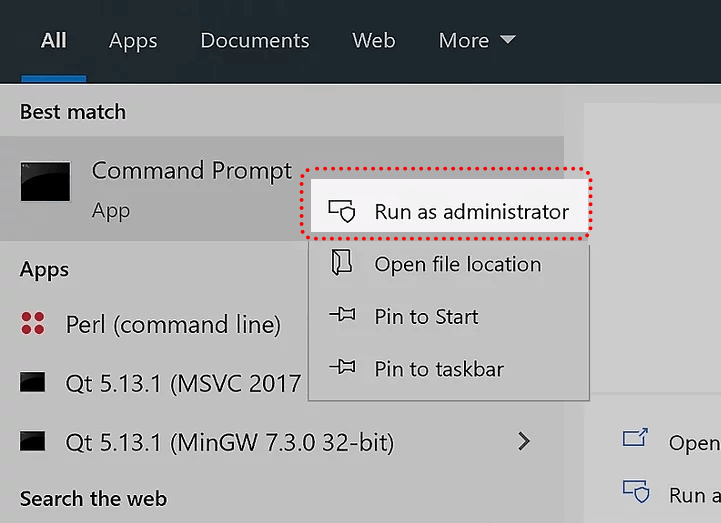
Step 1. Hit the Windows key and type "cmd" in the taskbar, hit "Run as administrator".
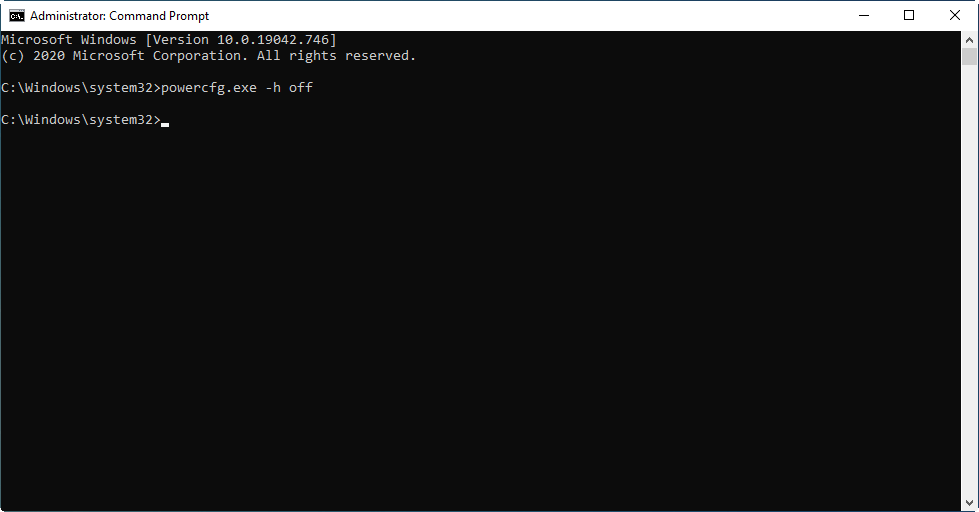
Step 2. In the command line window, type "powercfg -h off" and press "Enter". This command will disable hibernation and the hibernation file will be deleted.
│Method 2. Delete hibernation file via System Settings
Windows setting is another good way to help you solve how to delete hibernation file on Windows 10.
Step 1. In Windows Settings, click "System" and "Power & Sleep" in turn, then click "Additional Power Settings".

Step 2. On the left side of the new interface, click "Choose what the power buttons do" and then click "Change settings that are currently unavailable" in the pop-up settings. Uncheck the hibernate option and select "Save Changes".

Although deleting the hibernation file can free up some PC space to some extent, if you want to quickly restore it to the state you left off, you shouldn’t off disabling hibernation and deleting the hibernation file. There're some better methods to releasing your PC space.
How to free up space without deleting the hibernation file
Still struggling with how to delete hibernation file on Windows 10? If you want to free up computer space, you can try a powerful alternative - PartitionAssistant Cleanup.
This computer cleaning expert has created a Free up space column for you:
♥ PC Cleaner function can thoroughly scan and delete all junk files in the computer.
♥ Delete Large File function can safely filter and delete large files larger than 16MB in the computer.
♥ App Mover function can easily migrate applications to another drive without reinstalling.
In addition, you can also enjoy many popular functions, such as wipe hard drive, format partition, rebuild MBR, convert data disk between MBR and GPT, etc.
Let’s see how it replace deleting hibernation file on Windows 10.
The Best Windows Disk Partition Manager and PC Optimizer
Step 1. Install and launch PartitionAssistant Cleanup. Click the "Clean Junk Files" tab.

Step 2. Click the "Scan Now" button to start the process of scanning junk files.

Step 3. After the scan process is finished. All system junk files (including recycle bin files, temporary files, log files, invalid shortcuts, and so on) and registry junk files (including DLL registry, system registry, and program registry) will be displayed.

Step 4. You can also click the button behind to view the junk files details.

Step 5. And, you can click the button behind to locate the file.

Step 6. By default, the program will select some junk files to clean up, for example, temporary files, log files, and so on. You can also manually check to select more or uncheck to deselect fewer listed junk files. Or, click "Select All" to select all junk files to clean up if you need to clean up all.
After selecting junk files that are not needed anymore, you can click the "Clean Now"button to start the cleanup.

Step 7. The process of the cleanup might take time, and the selected files will be cleaned up. After the process is finished, you will get a cleanup completed window displaying how many files you have cleaned and not yet cleaned.

│Extended reading: How to free up more space
If you want to free up more space after deleting all junk files. PartitionAssistant Cleanup also offers "Delete Large Files" function to efficiently delete some large files from your computer.
Step 1. Install and launch PartitionAssistant Cleanup. Click the "Delete Large Files" tab.
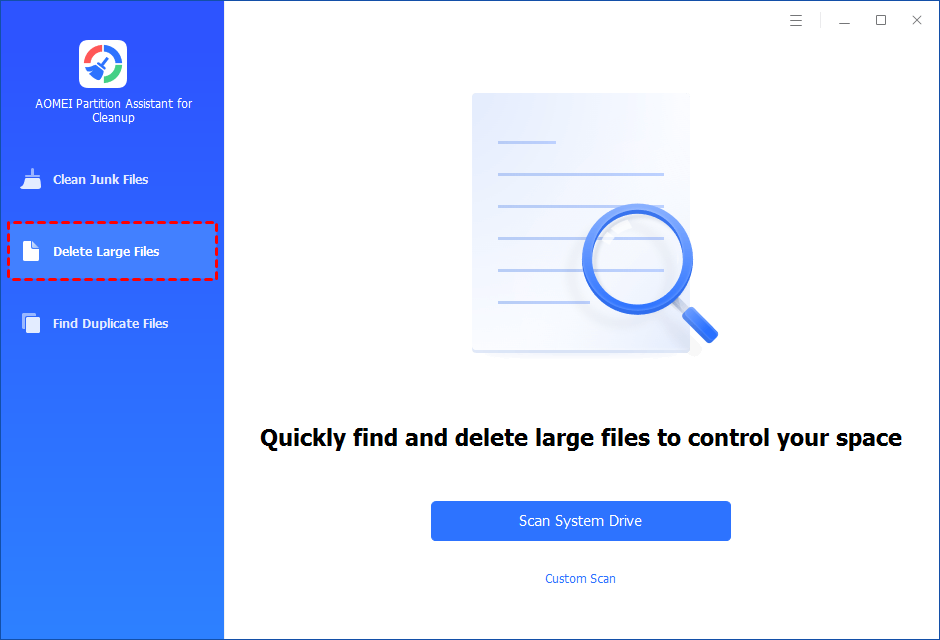
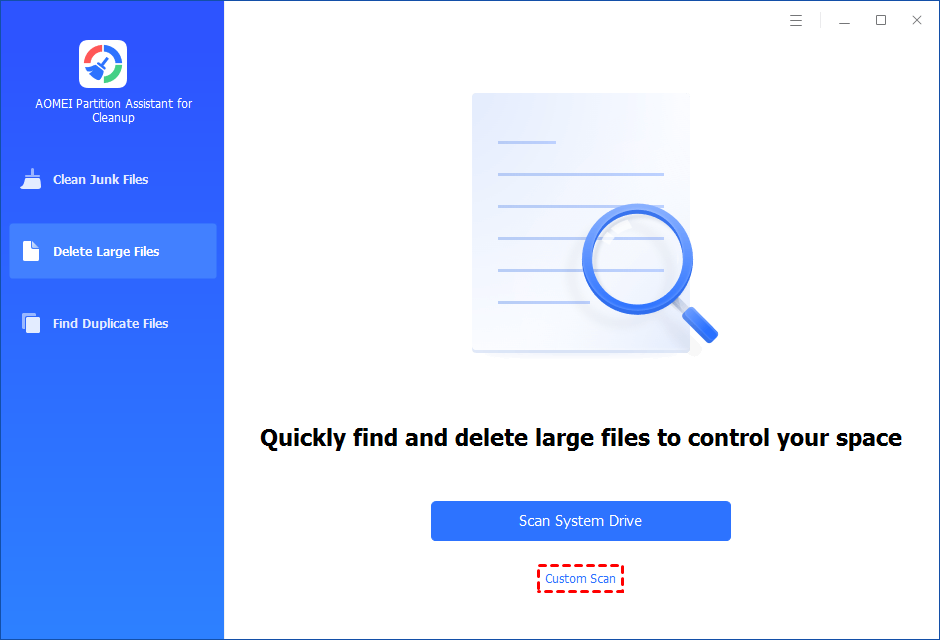
Step 2. You can either click "Scan System Drive" to start the scan of your system C: drive. Or, click "Custom Scan" to manually select paths to be scanned. (Here, we take the "Custom Scan" as an example.)
Step 3. After clicking "Custom Scan", all local and external drives on your PC and the common Desktop, Documents, and Downloads paths will be displayed. You can manually select paths to be scanned. Once necessary paths are added, you can click the "Scan Now" button to start the scan process.

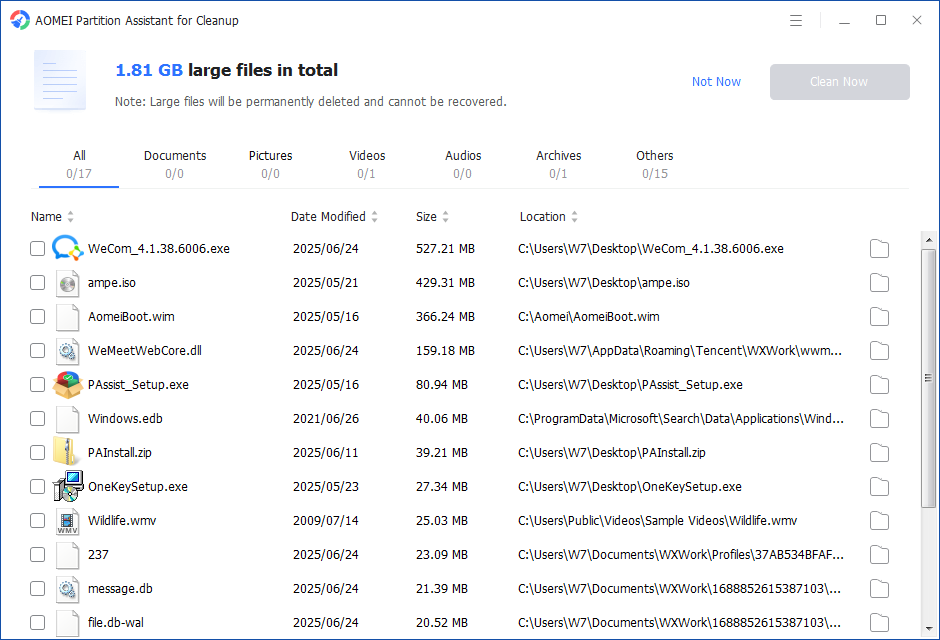
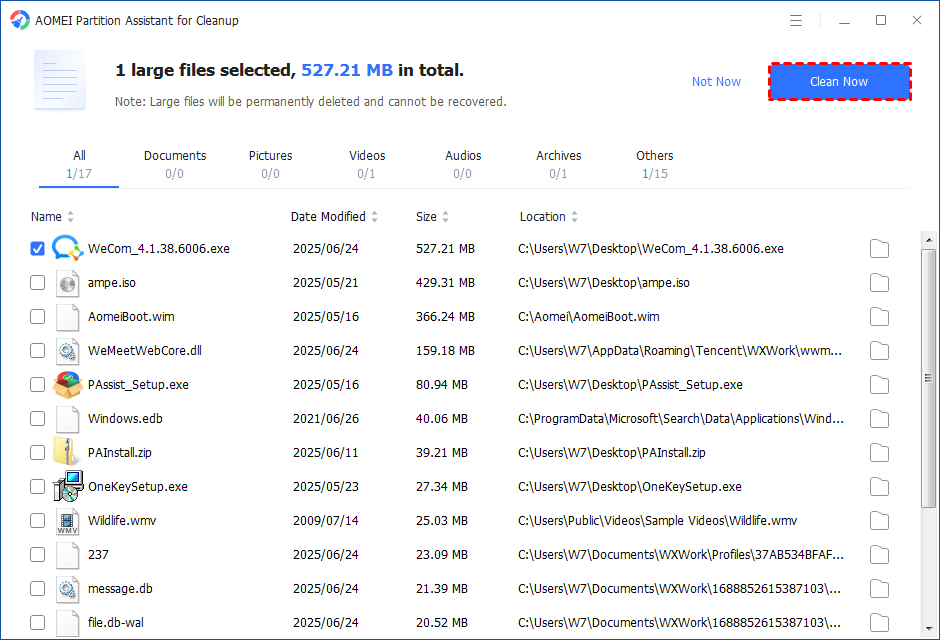
Step 4. The scan process might take time. After the scan is complete, all large files found will be listed.
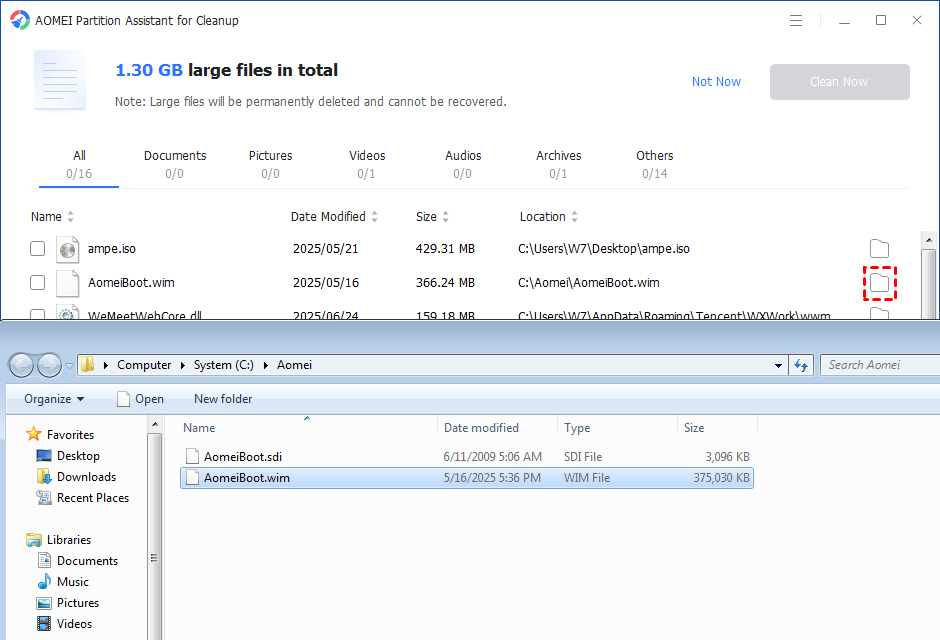
Step 5. You can also check the large files and click the button behind to locate them.
Step 6. Tick the files you want to delete, and then click the "Clean Now" button to start the deletion.
Step 7. The deletion might take time. After the process is finished, the selected files will be deleted, and you will get a cleaning completed window displaying how much data you deleted in total.
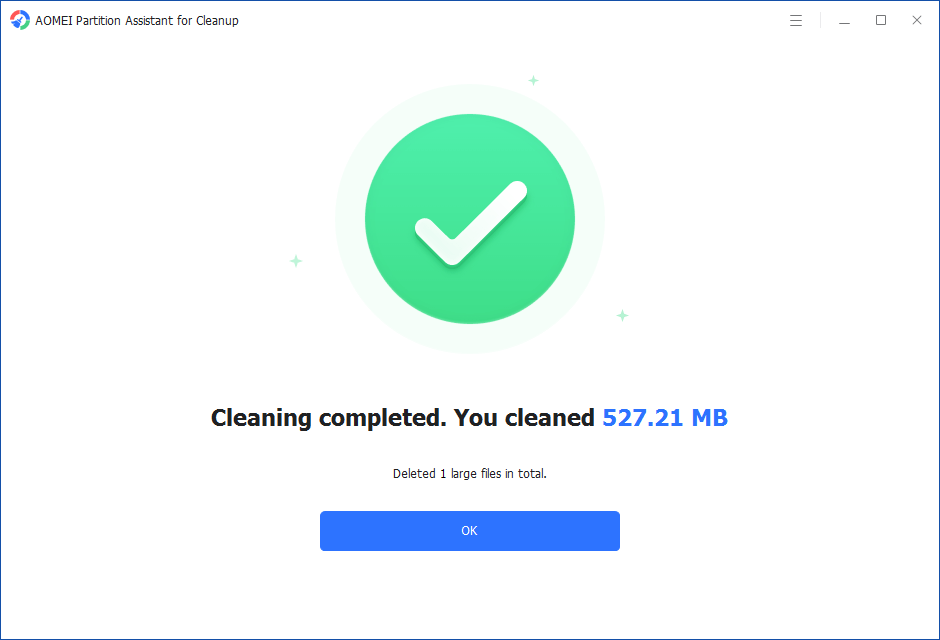
Step 5. Just for a while, the large files will be deleted successfully, and then you will see a warm notification suggesting you clean up your PC regularly.
PS.: There are many features you can try to manage your PC after upgrading to AOMEI Partition Assistant, including migrating OS to SSD, allocating free space, converting system disk between MBR and GPT, converting dynamic disk to basic, etc.
Conclusion
In this tutorial, we shard two methods on how to delete hibernation file on Windows 10. Besides, we recommend a reliable and powerful alternative PartitionAssistant Cleanup to free up space.
By the way, You can also free up your PC on Windows Server, the trick is to switch to the Server Edition; in addition, the Unlimited Version, which allows simultaneous use by multiple people, is also available.
FAQs about how to delete hibernation file Windows 10
How do I check the size of the hibernation file on my Windows 10 computer?
Open Command Prompt as an administrator and type: 'powercfg /hibernate /size'. This command will display the current size of the hibernation file.
Can I re-enable hibernation after deleting the hibernation file?
Yes, you can re-enable hibernation by opening Command Prompt as an administrator and typing: 'powercfg /hibernate on'.
Will deleting the hibernation file affect my system's performance?
Deleting the hibernation file should not noticeably affect your system's performance. However, if you frequently use hibernation, you may experience a slightly longer startup time when re-enabling the feature.
Is it recommended to delete the hibernation file on a regular basis?
It is not necessary to delete the hibernation file regularly. It's typically done as a one-time action to reclaim disk space, especially if you don't use the hibernation feature frequently.

