How to Create a Windows 10 Bootable USB – Step-by-Step Guide
Learn to craft a Windows 10 bootable USB effortlessly with our concise tutorial. Discover tools and tips to get your PC boot-ready fast.
By Irene / Updated on April 10, 2024
Windows 10 is a well-known operating system that has a lot of functions and features that people love. As you know, the Windows 10 ISO files are necessary to set up new computers with Windows 10, install new operating systems, or do hard tests. This detailed guide will show you how to easily handle downloading ISO files for Windows 10. It includes simple tips and tricks that will help you get the best results faster.

Step-by-step Guidance on Windows 10 ISO File Downloads
Creating a bootable USB drive for Windows 10 is a useful process if you need to install or reinstall Windows 10 on a computer. The process involves using a tool to transfer the Windows installation files to a USB drive, which then can be used to boot and install Windows on any compatible computer. Here’s a step-by-step guide on how to create a Windows 10 bootable USB:
Requirements:
- A USB flash drive: At least 8GB in size, though 16GB or larger is recommended to ensure enough space for future updates.
- Windows 10 ISO file: This is a disk image file that contains the entire contents of the Windows 10 installation media. You can download the Windows 10 ISO file directly from Microsoft's website.
- A software tool to create the bootable drive: Microsoft's Media Creation Tool is the most straightforward option for downloading the ISO and creating a bootable USB on Windows systems. For users on other operating systems or preferring an alternative, AOMEI Partition Assistant is a popular choice.
Steps to Create a Bootable USB Drive with the Media Creation Tool:
-
Download the Media Creation Tool From the Official Microsoft Website.
-
Run the Media Creation Tool and Accept the Terms and Conditions
-
Choose the Creation Type
-
Select Language, Edition, and Architecture
-
Choose Media to Use and Download and Create Windows 10 Bootable USB
Steps to Create a Bootable USB Drive with AOMEI Partition Assistant:
What You Need
- AOMEI Partition Assistant installed on your PC.
- A USB drive (at least 8 GB, 16GB is better).
- Windows 10 ISO file.
The Best Windows Disk Partition Manager and PC Optimizer
Steps to Create a Bootable USB
- Open AOMEI Partition Assistant: Start the program on your computer.
- Insert Your USB Drive: Make sure it’s empty or backed up, as it will be formatted.
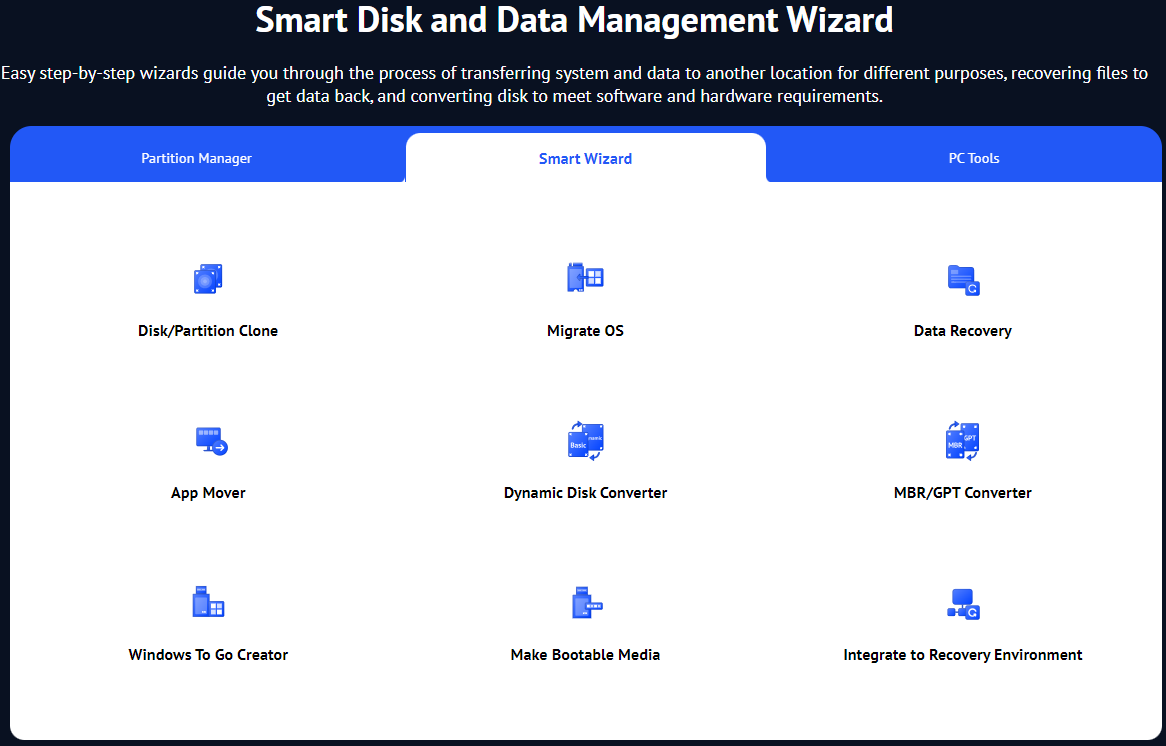
- Launch 'Windows To Go Creator': Find this option in the main interface and click it.
- Select 'Create Windows To Go with system disc/ISO': Click “Next.”
- Choose Your ISO File: Click “Browse” to locate and select your Windows 10 ISO file.
- Select Your USB Drive: Make sure you choose the correct drive from the list.
- Start the Process: Click “Proceed” and confirm that you understand all data on the USB will be erased.
- Wait for Completion: The process will take a while. Once done, you'll see a notification that tells you the Windows 10 bootable USB has been sucessfuly created.
Using the Bootable USB
- Insert the USB into the PC where you want to install Windows.
- Restart the PC and enter BIOS/UEFI settings (usually by pressing F2, Del, or Esc at startup).
- Set the USB as the primary boot device, save the settings, and exit.
- Follow on-screen instructions to install Windows 10.
Tips for Faster Downloads
In order to download Windows 10 ISO files faster, consider the following expert advice:
- Use a Stable Internet Connection: Downloads will go more quickly if your internet connection is steady and fast.
- Download During Off-Peak Hours: Download Windows 10 ISO files during off-peak hours to avoid network congestion and slow download speeds.
- Use Download Managers: Consider using download manager software to optimize download speeds and manage large file transfers efficiently.
- Leverage Torrents (with Caution): In some cases, downloading Windows 10
Further Reading: How to use AOMEI Partition Assistant on Your Windows 10 PC
Choosing AOMEI Partition Assistant after installing Windows 10 from an ISO file is important as it has important disk management and optimization features and files not included in the Windows 10 operating system. Here are some of the most popular features that users recommend:
• Drive Management: Offers easy disk management tools for separating, merging, formatting, splitting, scaling, and merging partitions.
• Data Protection: The software allows you to copy the entire disk for easy disk upgrading or do partition recovery to restore any lost important data.
• System Optimization: It helps increase system performance and speed by running 4K Alignment, organizing partitions,or providing practical functions to extend C drive space without formatting, which can considerable enhance overall computer using experience.
• Compatibility: AOMEI software can be compatible with almost all Windows OS versions and works with various storage devices such as SSD hard drives, USB and RAID systems. •Easy to use: Its simple designs and instructions make it easy for both novice and experienced users.
You can free download it and try to organize you Windows 10 first. If you want to experience more advanced features like creating a Windows To Go USB to enjoy Windows 11 without limitations, move installed apps to another drive, or others, you can choose the AOMEI Partition Assistant Professional edition.
Here we shared some other useful functions for you as you may need to customized demands:
Conclusion
Anyone who wants to get the most out of Windows 10 must learn how to make a Windows 10 bootable USB. By choosing the appropriate version and language, knowing the significance of ISO files, and utilizing expert downloading advice, users may ensure a simple installation while expediting the download process.
FAQs
-
What is AOMEI Partition Assistant?
- AOMEI Partition Assistant lets users create bootable USB devices, resize partitions, clone disks, and more.
-
Do I need to purchase AOMEI Partition Assistant to create a bootable USB?
- AOMEI Partition Assistant Standard (free) can generate a bootable USB device. However, sophisticated functions may require Professional.
-
Can I use any USB drive to create a bootable Windows 10 USB?
- Yes, any USB drive with at least 8GB and decent condition can be used. Before formatting the USB device, back up your data.
-
How long does it take to create a bootable USB with Windows 10 using AOMEI Partition Assistant?
- The time it takes can vary based on the speed of your USB drive and computer. Typically, it can take anywhere from 15 minutes to an hour.
-
Can I use the bootable USB created with AOMEI Partition Assistant on different computers?
- Yes, a bootable USB made using AOMEI Partition Assistant may install Windows 10 on any compatible machine, making it versatile for multiple device setups.

