Toshiba SSD Secure Erase Utility: Recover Lost Performance
Best Toshiba SSD secure erase utility you can rely on to recover lost performance and prolong its lifespan. Step-by-step secure erasing guide is provided for Windows.
By Lucas / Updated on May 12, 2023
Why Toshiba SSD Secure Erase is Important?
Nowadays, more and more SSDs are implied to people’s computers as replacements of traditional hard drives, so do Toshiba SSDs. Toshiba SSDs bring many conveniences like shorter boot up time and faster reading and writing speed to their users.
However, after using SSD for a couple of years, it can be easily found that its performance has reduced. For example, the system startup time becomes longer. Secure erase could be counted as one of best solutions to recover the lost performance. In another situation, when you want to resell or give the SSD to others, it is important to clean all personal and sensitive information on that disk. Secure Erase works with ATA command line, which can help prevent your data recovered from unintended access.
As we know, SSD stores data in a different way to HDD, and you can only wipe data on sector level. If you format SSD, all content on SSD actually haven’t been erased. Before SSD writes data to a section, it will scan all pages of the sector, then erase detected data, then modify and then write information. The more data stored, the longer writing time will be. A Secure Erase will write zero to every sector and in that way, aforementioned writing loop will be saved. Naturally, you’ll get faster speed and more writing times on SSD. That is how you recover SSD’s performance and prolong SSD lifespan.
What Toshiba SSD Secure Erase Utility Should You Choose?
With so many SSD secure erasing tools on the market, which one should be the most suitable? Generally speaking, we can take built-in erasing program and third-party erasing software into consideration since most PC operating systems don’t offer this service. Let’s see what you’ve got for Toshiba SSD.
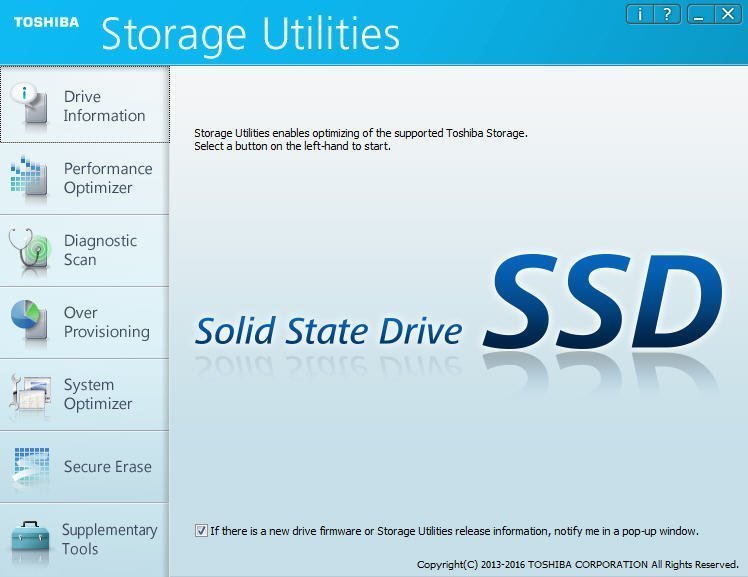
Built-in Storage Utilities for Toshiba Q Series SSDs
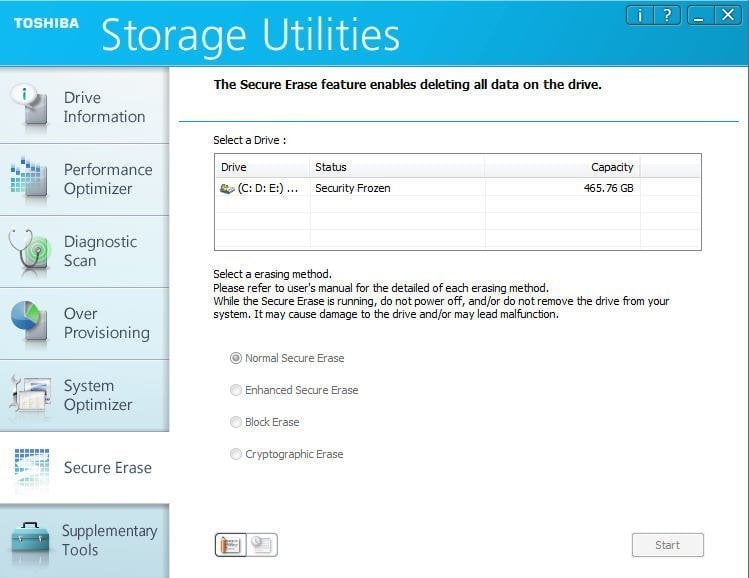
Like many other SSD manufactures, Toshiba also provides dedicated manage software for its Q Series and Q300 Pro SSDs. Storage Utilities has “Secure Erase” option in its menu to deleting all data on Toshiba SSD. Storage Utilities gives four options as erasing methods, Normal Secure Erase, Enhanced Secure Erase, Block Erase and Cryptographic Erase. For general data wiping on Toshiba SSD, the first method is enough. If you want to erase all data without any possibility to recover, choose the third one.
Well, the steps of operating Storage Utilities are also simple. To ensure Toshiba SSD is not the boot drive, you need to first create a bootable Linux media with Supplementary Tools and then boot to that device. Then, launch Storage Utilities and find Secure Erase in the left side. Next, select a Drive you are about to erase and select erasing method at the same time. Finally, click onStart and wait for the erasing progress to be completed.
Note: after erasing selected Toshiba SSD, you’ll lose all content.Backup important files if you need to. Installed system on that SSD will be wiped as well. So please make sure you’ve understood what you’re doing.
Easier Erase Utilities for All Toshiba SSDs
As we know, Toshiba has more than Q Series SSDs. For example, they have PX Series SSD for Enterprise users and XG5 Series as Client SSDs. So you may need another SSD erasing tool for all Toshiba Series SSDs. What’s more, Storage Utilities is reported cannot be selected (grayed out) when proceeding erasing method in Secure Erase menu sometimes. Besides, Storage Utilities supports only disk formatted with NTFS. That is to say, you cannot use it on FAT32 formatted disk.
If you’re facing the same issues, why not try this easy SSD secure erase software, AOMEI Partition Assistant Professional.
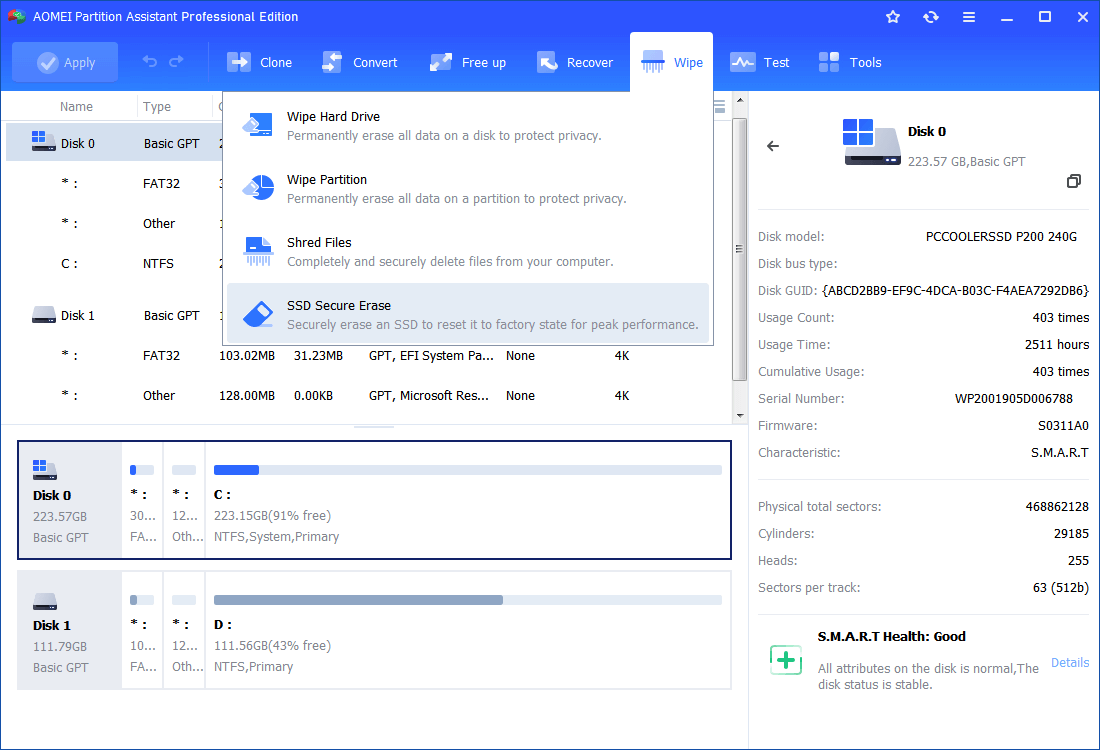
AOMEI Partition Assistant Professional is a disk and partition manager that designs for Windows PC OS. The “SSD Secure Erase Wizard” will walk you through Toshiba SSD erasing process, and even a computer novice can do a great job. This software also employs ATA Command Line to wiping all data. What different is it simplifies all complicated operations in graphical interface. Go on and have a look.
How to Secure Erase Toshiba SSD Step by Step in Windows 7?
Step 1. Connect Toshiba your SSD to a Windows 7 computer via SATA port (since SSD Secure Erase is only workable in Windows at present). Install and run AOMEI Partition Assistant Professional.
Step 2. Install and run AOMEI Partition Assistant Professional. Click “Wipe” on in the top toolbar, and choose “SSD Secure Erase”.
Step 3. Select Toshiba SSD to secure erase from given list.

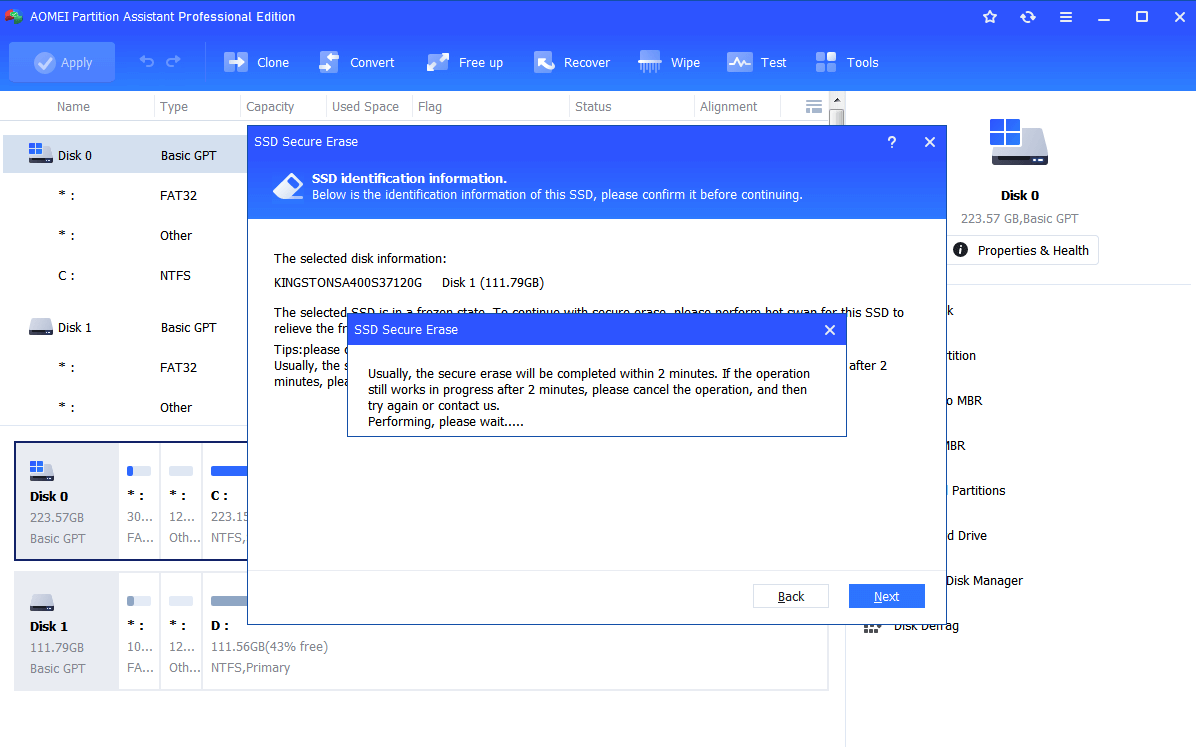
Step 4. It may prompt that Toshiba SSD is in frozen state. Don’t worry. You can do a Hot Swap* to unfreeze it.
*Perform a Hot Swap:
1. Open computer case cover, or back cover or hard shell on laptop.
2. Find the selected SSD and unplug the power cable off SSD.
3. Unplug SSD’s SATA cable.
4. Reconnect the SATA cable to the SATA or IDE port.
5. Reconnect the power cable to the power port. Close the cover.
After the hot swap, you’ll get option to erase the disk. Then, wait for the process finishes.
- ★Tips:
- Wiping operation will erase all data on selected hard disk or partition. Please perform a cloud backup or local backup in advance.
- To erase Toshiba SSD with Windows 10 or Windows 8 installed, you can uninstall the SSD and connect it to a Windows 7 computer and then do same operations. This also applies to Toshiba SSD on laptop.
- AOMEI Partition Assistant can be used as Toshiba OCZ SSD secure erase tool as well.
- Do not erase your Toshiba SSD too frequently because normal file deletion can be realized by SSD TRIM.
- To wipe data on Toshiba HDD, you can try “Wipe Hard Drive” feature of this software.
Conclusion
It is quite easy to do Toshiba SSD secure erase as long as you find the right utility. Apart from erasing Toshiba SSD, AOMEI Partition Assistant can maintain your SSD pretty well. For instance, you can repartition your Toshiba SSD or migrate OS drive only to SSD so that you can use SSD for OS and HDD for storage.

