How to Use Disk Management on Windows 11 to Extend Volume
Want to use Disk Management on Windows 11 to extend volume? In this article, you can improve your skill to extend volume with Disk Management under a detailed guidance. If the Extend Volume button is greyed out, don’t worry, an alternative method will be shared.
By AOMEI / Updated on May 12, 2023
What is Disk Management?
Disk Management is a Windows built-in tool that enables users to manage disks and the partitions associated with those disks on a computer. It has a graphical interface, and is functionally the same as the command-line utility Diskpart: you can format/extend/shrink/delete volumes, convert basic disk to dynamic, convert MBR to GPT, etc.
Why need to extend volume on Windows 11?
Windows 11 is an operating system developed by Microsoft and released on October 5, 2021. Windows 11 focuses more on improving users’ work efficiency in a changeable experience: its system is smooth, its desktop settings are simple and beautiful, and system settings have been optimized and upgraded.
However, after upgrading to Windows 11, as the data increases, the free space on the drive becomes less, especially on the C drive. When you are running out of disk space, you may receive a low disk space warning, then your computer will slow down and even crash. Even if you delete all unnecessary files, the effect is not noticeable. In this case, you can try using Disk Management on Windows 11 to extend volume to increase free space.
How can I extend volume via Disk Management on Windows 11
How to use Disk Management to extend partition? We will take C drive as an example. If there is adjacent unallocated space next to C drive, you can directly follow the steps below.
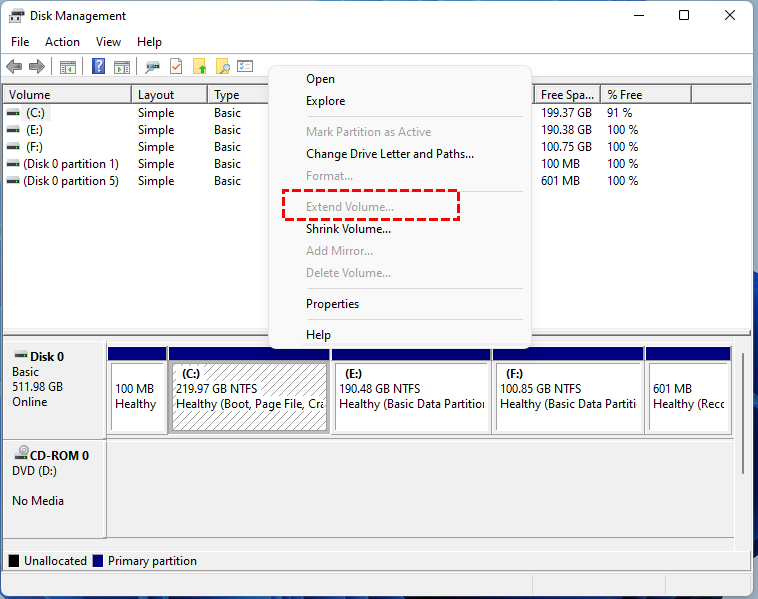
Step 1. Press "Windows+R" and type "diskmgmt.msc".
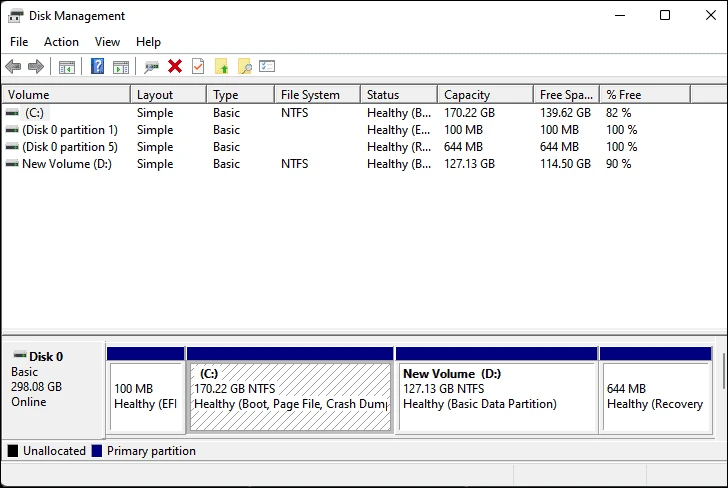
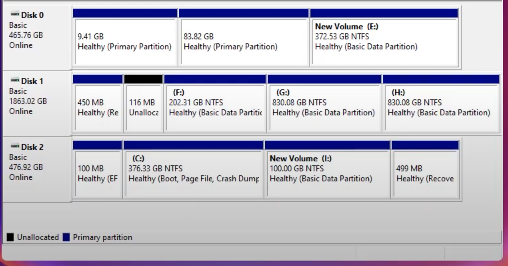
Step 2. As shown in the picture, there’s an adjacent unallocated space next to C drive.
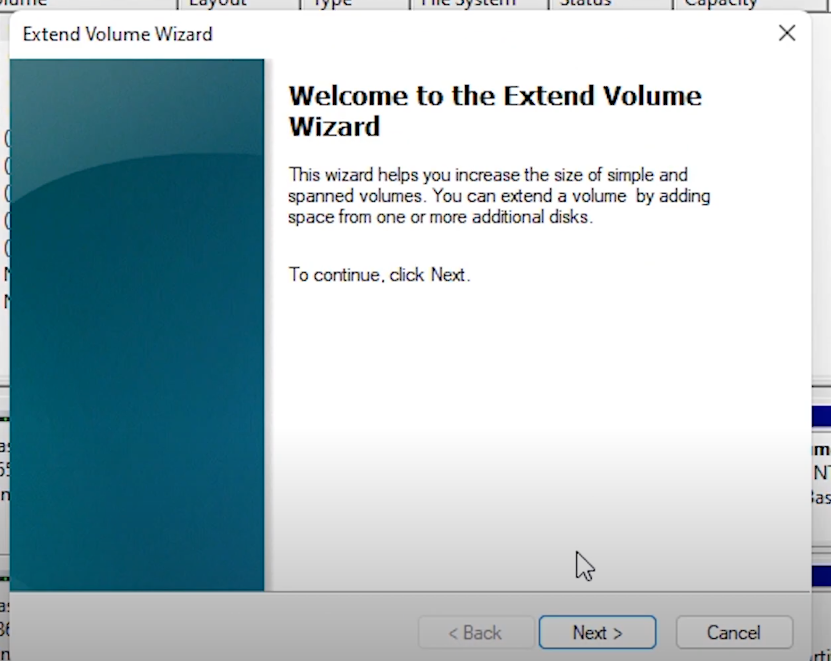
Step 3. Right-click the C drive and click "Extend Volume". The "Extend Volume Wizard" will pop up and you need to click "Next".
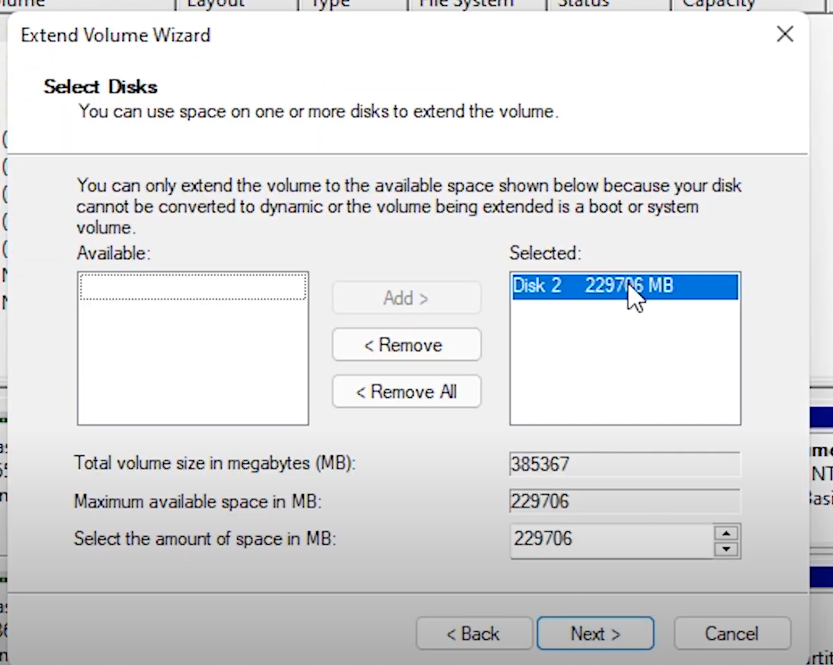
Step 4. Select the correct disk and click "Next".
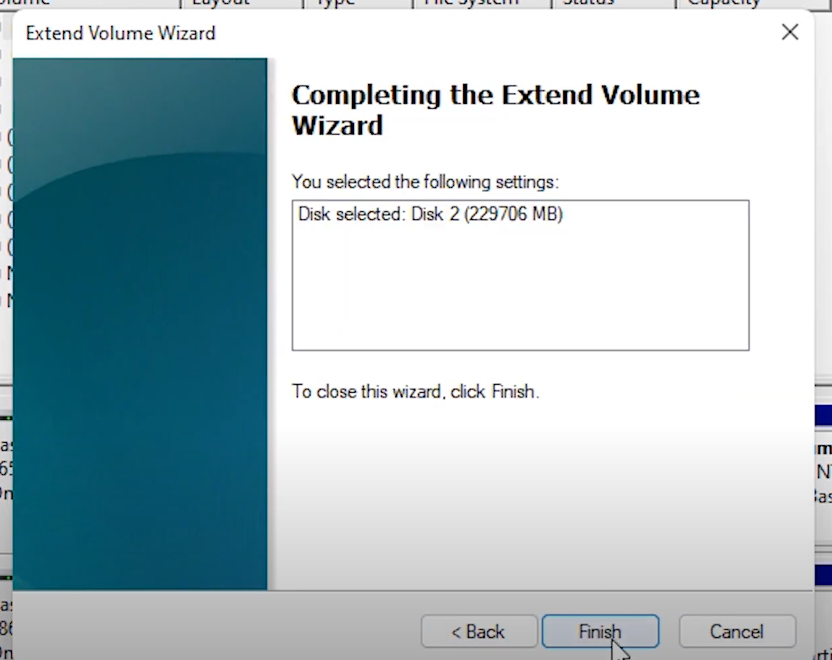
Step 5. Click "Finish" to complete the entire operation.
Step 6. You will find than the C dive has been extended in the interface.
Warning! Extend Volume is greyed out in Disk Management
Disk Management seems to be a pretty good utility to extend a partition. However, it sometimes fails because "Extend Volume" is grayed out. The reasons for this situation are as follows:
✦ There's no adjacent unallocated space next to the target partition.
✦ Even if there is unallocated space next to the target partition, it cannot be extended if the target partition is not NFTS or RAW.
│Solution 1: Delete partition in advance
If there’s no adjacent unallocated space next to the C drive, you need to clean the adjacent drive in advance. But before the operation, in order to prevent the loss of important data, please make a data backup.
Step 1. Press "Windows+R" and input "diskmgmt.msc" to open Disk Management.
Step 2. Right-click the D drive and click "Delete Volume". You can see a warning, click "Yes".
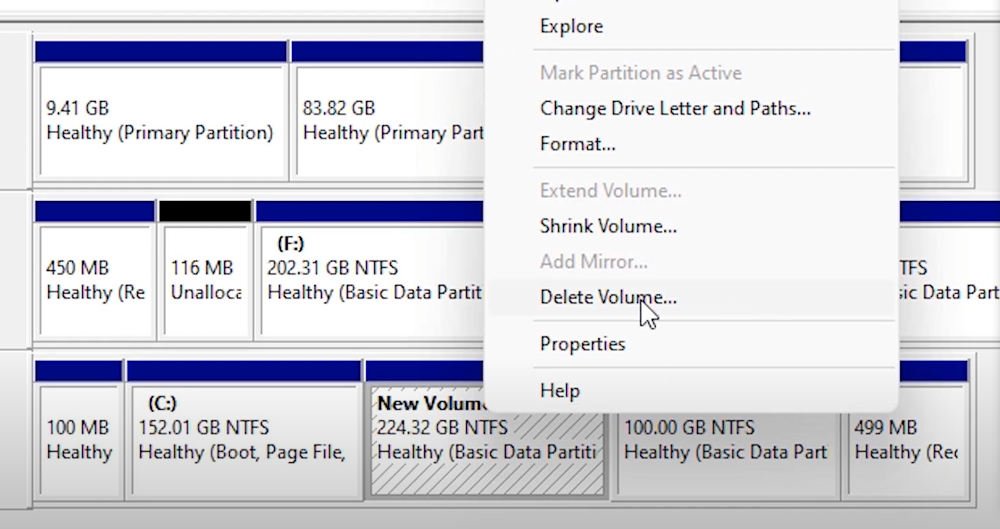
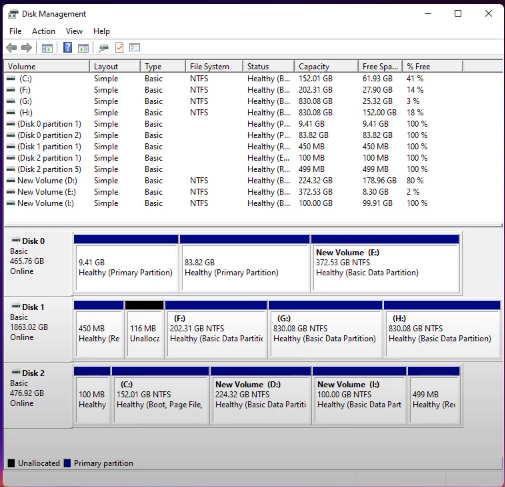
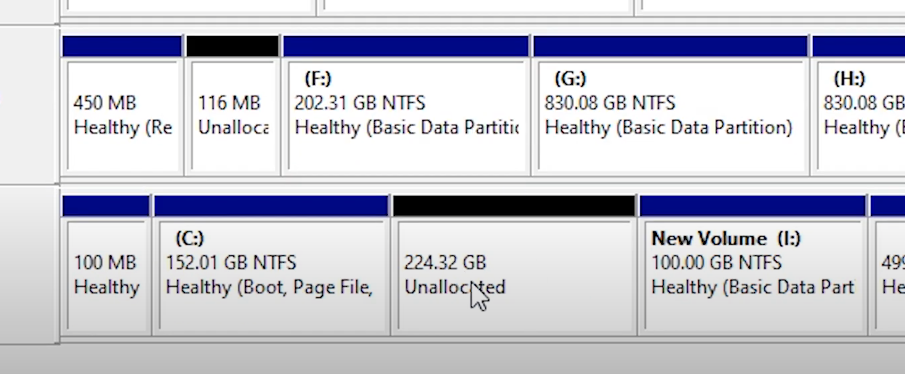
Step 3. After completing this operation, you can see the unallocated space on the right of C drive. Then, you can use it to extend the C drive.
│Solution 2. Format partition to convert the file system
If you fail to extend the target volume because the file format is not NTFS or RAW, you can format this volume to NTFS file system.
Note: After formatting this partition, all data stored on it will be deleted.
Step 1. Right-click "this computer" and click "Manage". In the pop-up window, select "Disk Management" under "Storage".
Step 2. Set the volume label and choose "NTFS", then press "OK" and wait until finished.

A better alternative to extend the partition on Windows 11
As mentioned before, when Disk Management on Windows 11 cannot extend volume due to adjacent unallocated space or file system problems, you can choose to delete the data on the adjacent disk or solve it by formatting the disk. But both the solutions will delete all data and files on the other drive.
In order to extend the volume without losing data, AOMEI Partition Assistant Professional is a better choice. It breaks through the limitations of file system and adjacent unallocated space, and can extend volume via different features without losing data. Also, you can Clone partition to a larger drive, Move applications to another drive to free up space, etc.
Please download the Demo version to see the three methods to extend volume.
│Method 1. Resize partition
If there is an unallocated space on the same hard disk as the partition you want to extend, and the unallocated space is adjacent to the target partition, you can resize the partition directly.
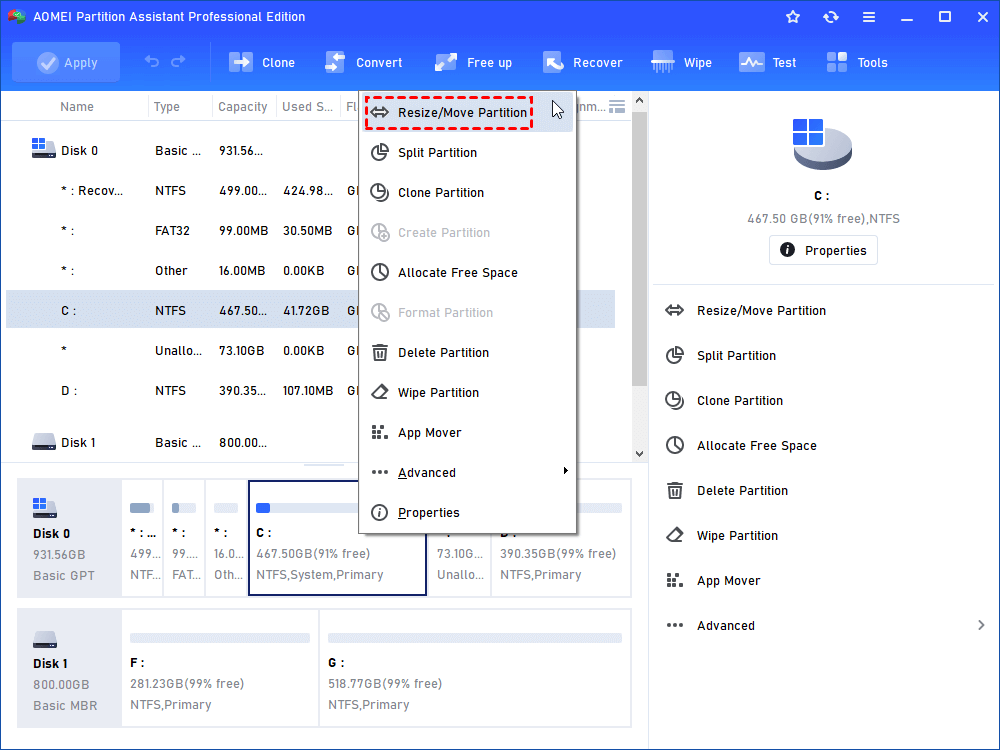
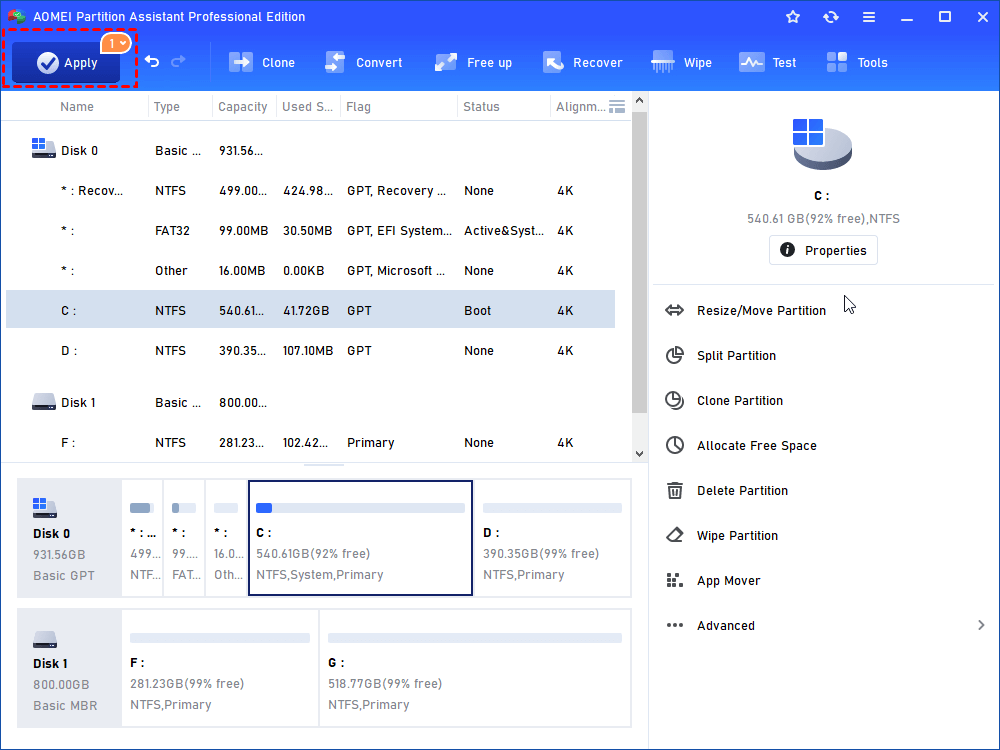
Step 1. Download and open AOMEI Partition Assistant Professional, right-click the target partition and hit "Resize/Move Partition".
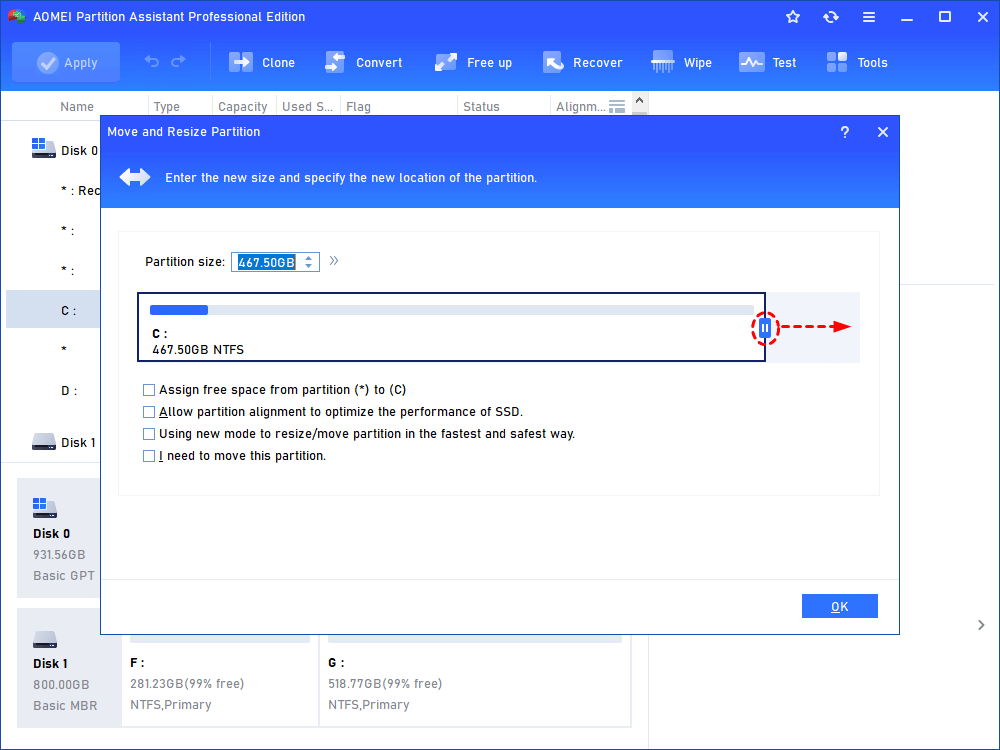
Step 2. Move the double-headed arrow rightward and then click "OK".
Step 3. Click "Apply" to see the effect and click "Proceed" to complete this operation.
│Method 2. Merge partitions
If there is an unallocated space on the same hard drive as the partition you want to extend, but the unallocated space is not adjacent to the target partition, the "Merge Partitions" function can merge the unallocated space and C drive to replace Disk Management to extend disk on Windows 11.
Step 1. Right click the C drive, then click "Advanced" and "Merge Partitions".

Step 2. Choose C drive and unallocated space, then click "OK".
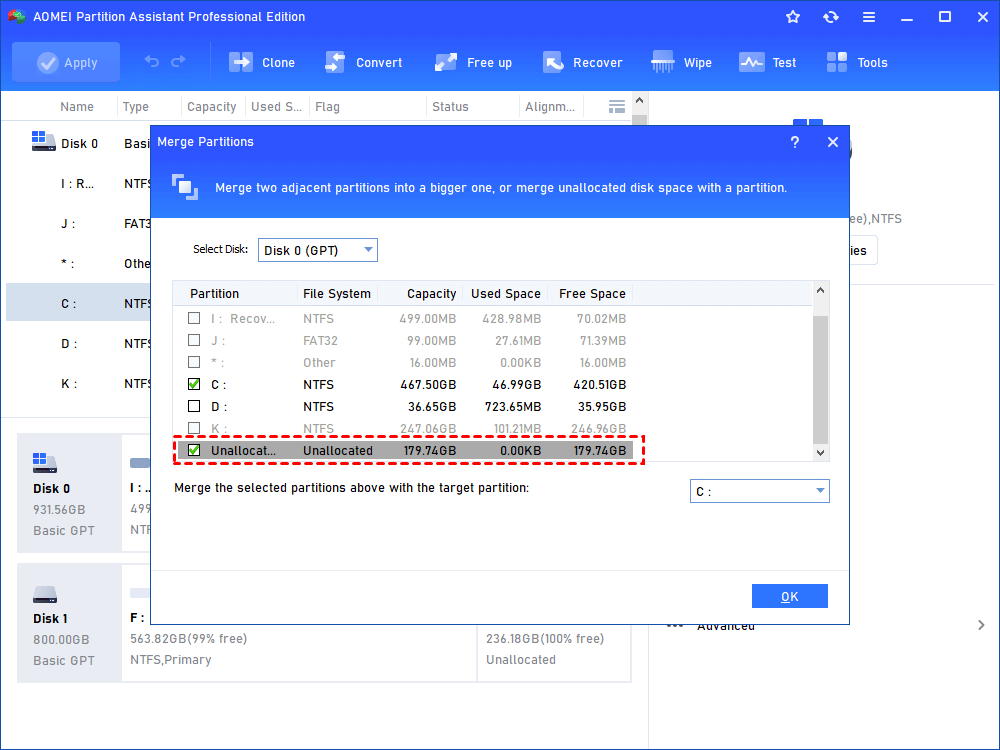
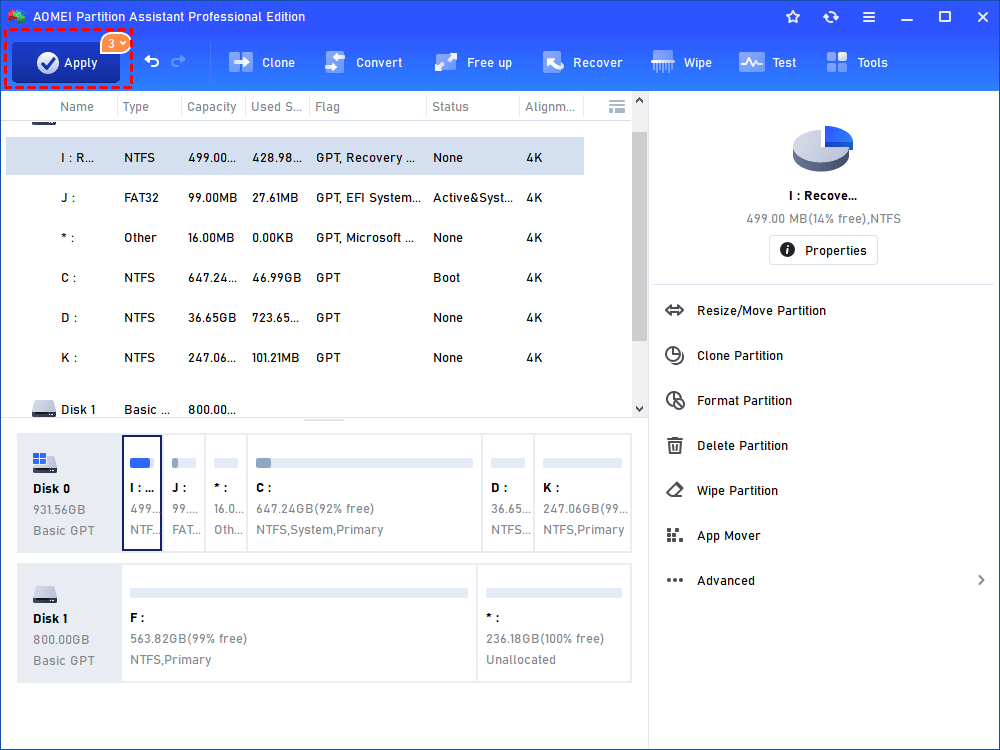
Step 3. Click "Apply" and "Proceed" to commit the settings.
│Method 3. Allocate free space
Besides, when there's no unallocated space on the same hard drive, "Allocate free space" feature can help you extend the C drive by allocating free space from another drive without losing any data.
Step 1. In the main interface of AOMEI Partition Assistant, right-click D drive with much free space and click "Allocate Free Space".

Step 2. Set the space size and target partition in the ejected window and click "OK".

Step 3. Click "Apply" and "Proceed" to execute.

Verdict
In conclusion, from the above content you will learn to use Disk Management on Windows 11 to extend volume. When you can't use disk management, we also prepared a more effective alternative for you to extend partition in different situations. By the way, if your operating system is Windows server, we also have the Server Version to match it.

