Can We Add HDD in SSD Laptop? Here’s the Answer!
Are you looking for the answer to "can we add HDD in SSD laptop"? If yes, refer to this article to get the detailed explanation. Besides, we’ll teach you how to use SSD and HDD together in Windows 11/10/8/7 step by step.
By Hedy / Updated on May 12, 2023
Can we add HDD in SSD laptop?
Can SSD and HDD work together in laptop? The answer is absolutely yes. It’s no doubt that you can use a hard disk drive and a solid-state drive in one computer at the same time.
These days, SSD is taking the place of HDD due to its faster speed, lower power consumption, etc. However, an SSD with a large storage space usually costs a lot, so many users tend to use an SSD with a small storage capacity. Then, they will find they are facing insufficient SSD space soon. That's why they are wondering "Can we add HDD in SSD laptop" to get more storage room.

If you are involved in the same case, you can have SSD and SSD simultaneously on the same PC. What you should make sure is to check if there are two slots on the laptop to install two hard drives. You can refer to this post to know the steps to add HDD to laptop with SSD: How to Install a Second Hard Drive Windows 10 | Detailed Tutorial.
Is it good to have both SSD and HDD in laptop?
Yes, it is. Using hard disk drives and solid-state drives together on the same Windows 10 computer can expose you to their benefits at the same time. For example, you can simply take advantage of the fast speed of an SSD as well as the large storage capacity of an HDD.
Besides, if you just buy a small SSD and a larger HDD, it even can be more cost-effective than you buy an SSD with enough space that meets your need.
Due to these merits, don't hesitate to add HDD to laptop with SSD. But how can we add HDD in SSD laptop? What files should be on SSD or HDD? Keeping reading to clear the doubts.
How to use SSD and HDD together Windows 10?
That sounds challenging to use HDD and SSD reasonably on a laptop or PC. This part will give you the ideal arrangement of the two hard drives and teach you how to make it properly.
◉ Use SSD as boot drive
First of all, it's highly recommended to set SSD as your boot drive, which means you should install your OS on the solid-state drive. This is because SSD has more benefits than HDD like faster speed. If you run your Windows system on SSD, you can save boot time and make your PC work much faster.
Tip: You can also put some frequently-used or large programs on the SSD to reduce the loading time. Set the default storage path as SSD or move installed programs to SSD later.
When it comes to installing the Windows operating system on a solid-state drive, there are two methods to get it done: fresh install or OS migration. Below is the respective tutorial.
1. Fresh install OS on SSD (data loss)
To fresh install or clean install OS on SSD, you need to create a Windows 10 installation USB and complete the OS installation from the bootable USB. The step-by-step guide is below:
Step 1. Insert an empty USB into your computer. Download Windows Media Creation Tool on your PC and run it as administrator.
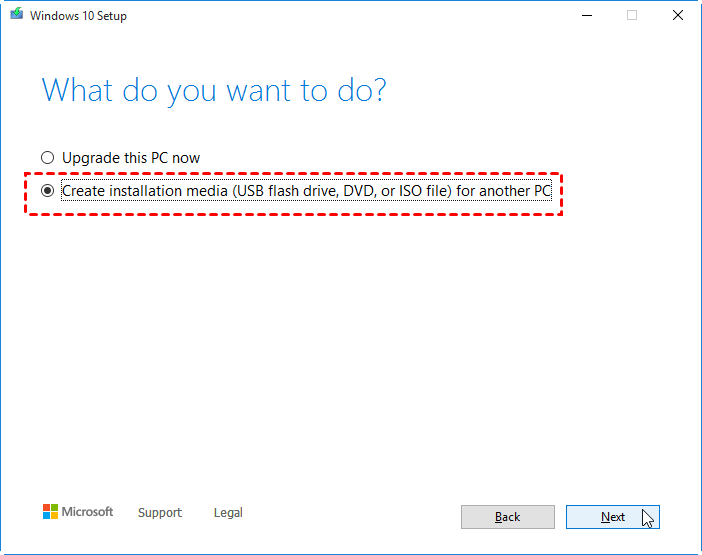
Step 2. Accept all the license terms and conditions, select "Create Installation Media" from the Windows 10 Setup window, and hit the "Next" button.
Step 3. Choose the language, edition, and architecture (64-bit or 32-bit) for Windows 10.
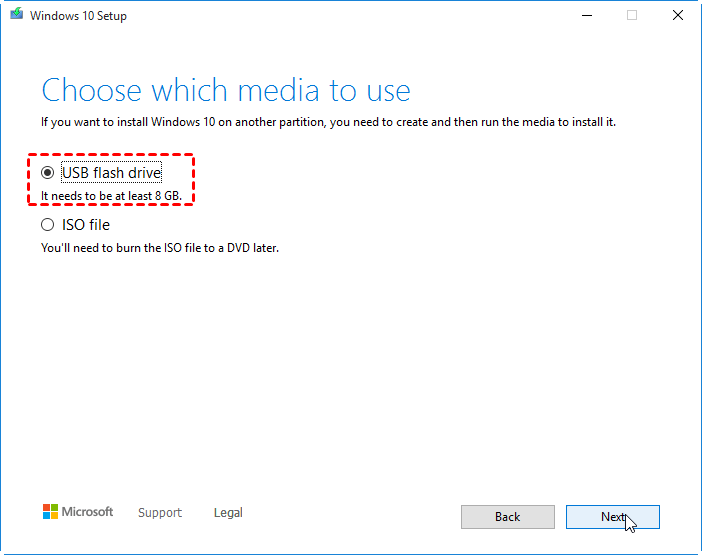
Step 4. Choose "USB flash drive" and click "Next".
Step 5. Choose your prepared USB flash drive from "Removable drives" and hit "Next". Then, follow the instruction to finish the creation of the installation media.
Step 6. Shut down the device, install SSD on your computer, and plug the prepared USB flash drive into the PC.
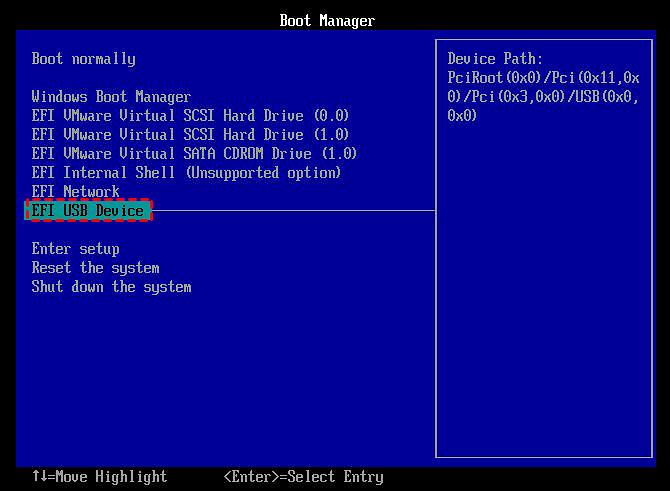
Step 7. Boot the Windows 10 computer, press and hold the BIOS key (usually F2, Del, F10, or F12) to get into the BIOS setting, and change the boot order to make your PC boot from the installation disc.
Step 8. When the computer boot again, you will enter Windows Setup. Set "Language to Install", "Time and Currency format", and "Keyboard and input method." Then, click on "Next"> "Install Now."
Step 9. You have to enter "Windows Product Key" to activate Windows 10 or skip it by clicking "I don't have a product key".
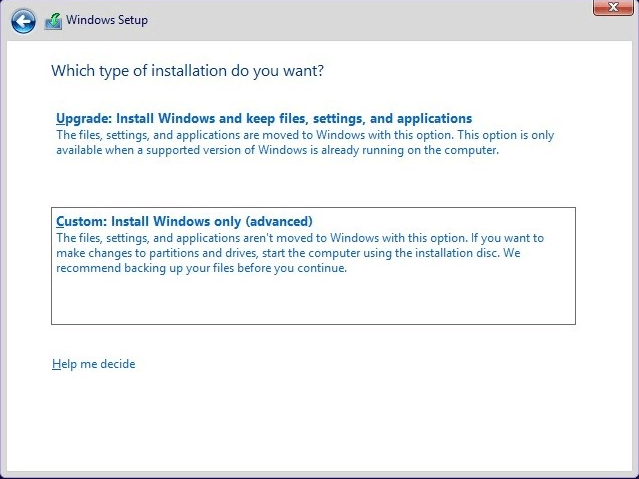
Step 10. Then, choose the Windows 10 edition from the list and select the "Custom: Install Windows only (advanced)" option.
Step 11. Next, follow the prompts to perform some settings. Finally, select the partition on your SSD to install Windows 10 and hit the "Next" button. It will automatically start to install the Windows.
2. Migrate OS to SSD without losing data
Another method to install OS on SSD is by OS Migration. This method saves a lot of time and is much faster than the previous one. To transfer OS to SSD, you can utilize a powerful tool - AOMEI Partition Assistant Professional. It can move the operating system and system-related files on the old hard drive to SSD in an effective way. Follow the steps below to see how OS migration works with the help of AOMEI Partition Assistant Professional.
Step 1. Install and open AOMEI Partition Assistant Professional. Click "Clone" on the top bar and select "Migrate OS".

Step 2. Select an unallocated space on the target SSD, tick the “I want to delete all partitions on this disk 2 to migrate system to the disk” based on your needs and click "Next".

Step 3. Resize the partition being created on the new drive.

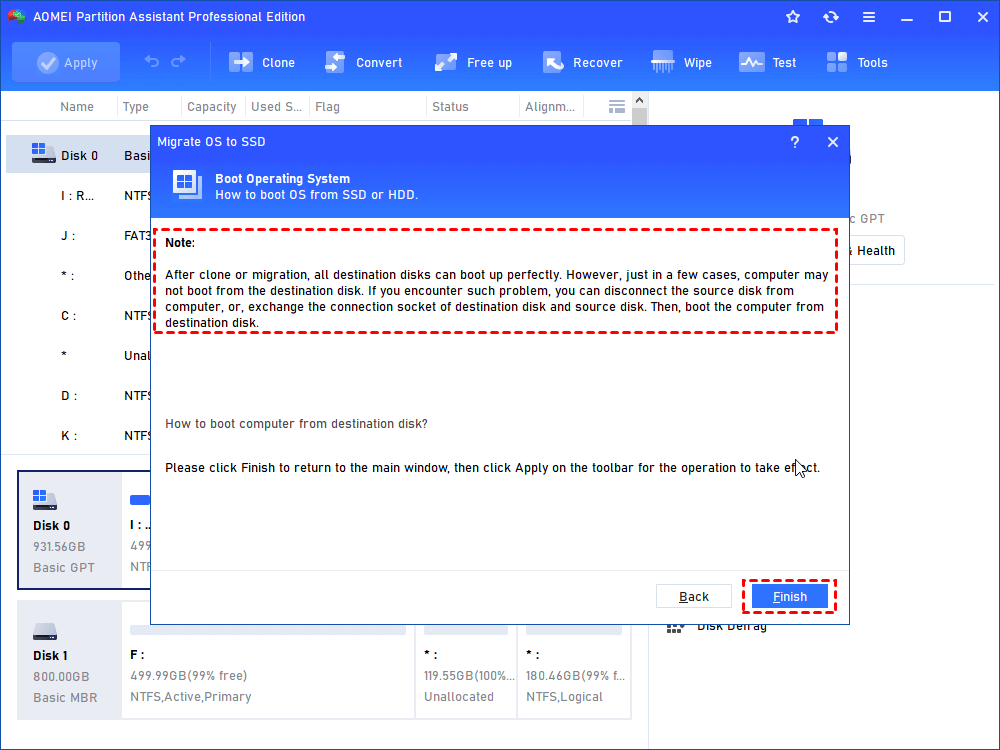
Step 4. Read a note about how to boot from the destination disk after you migrate Windows 10 to SSD, and click "Finish".
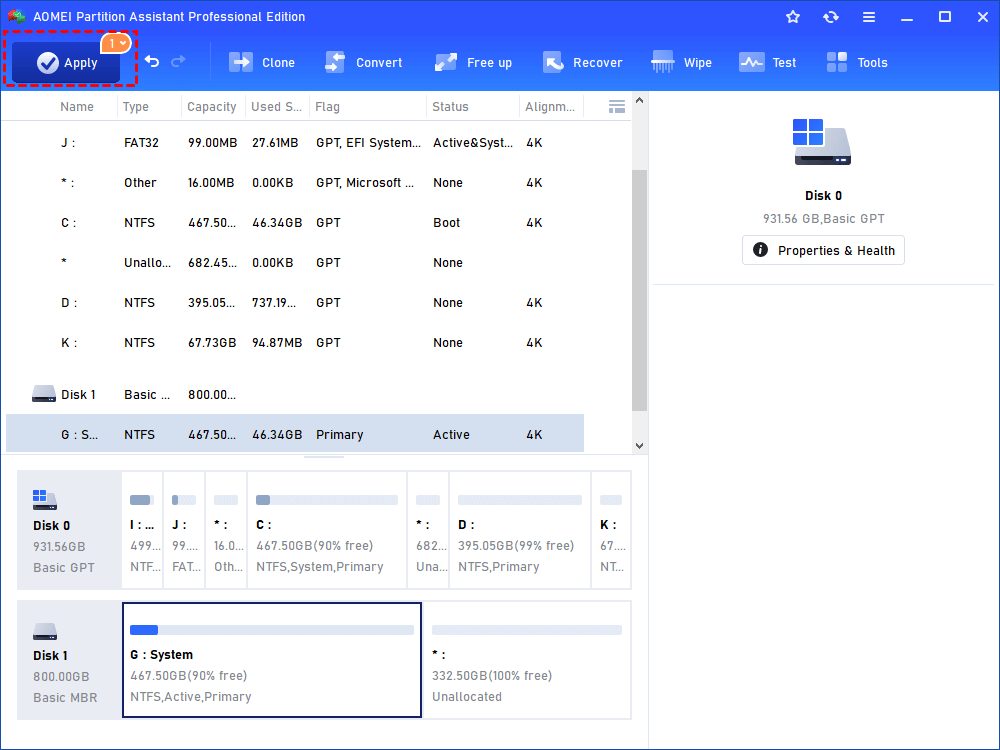
Step 5. Finally, click "Apply" and "Proceed" to begin the migration process.
◉ Use HDD as data drive
If you have purchased an SSD with small capacity due to its high price, you will find there is little space left after installing OS and other necessary programs. Thus, it is always suggested to use the HDD as a storage drive. You can store your personal data and files on the hard disk drive, such as videos, music, movies, photos, etc.
To make full use of an HDD, storing and organizing different files in different partitions is a great idea. AOMEI Partition Assistant is a specialized disk manager in managing your disks and partition. With this software, you can always keep your partitions in good order and optimize them to avoid some issues.
1. Create partition
If there is unallocated space on your hard drive, you can use Disk Management to create a new partition with the space. But if there is no extra capacity for new partition creation, AOMEI software would be the best choice. It can create a new partition with the space on the existing partition.
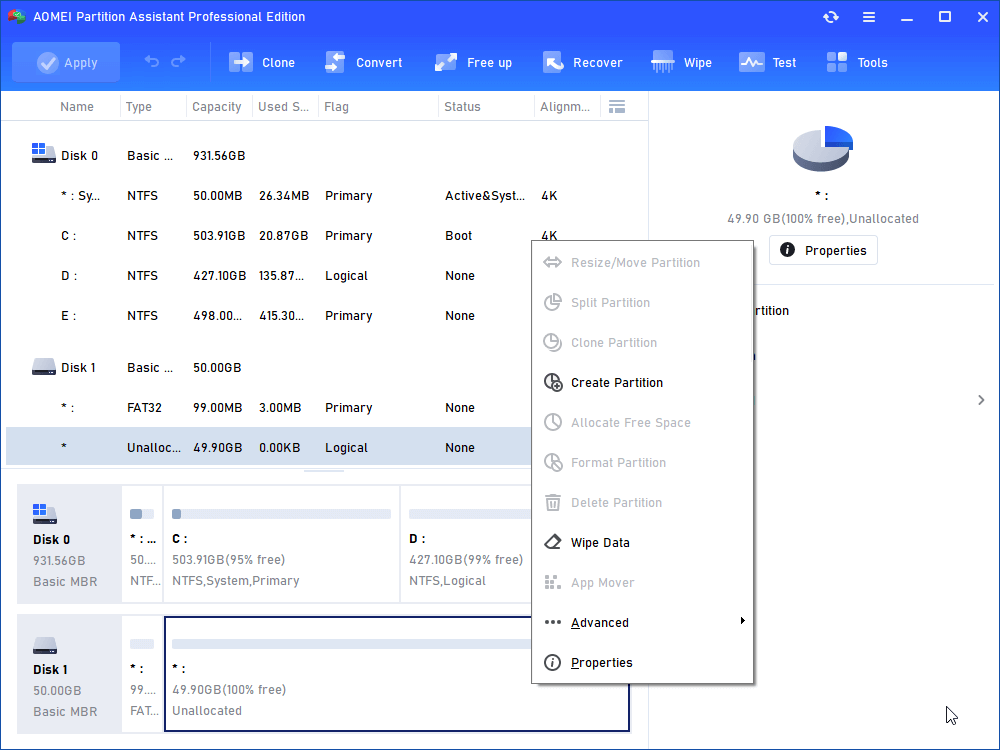
Step 1. Open AOMEI Partition Assistant Professional. Right-click the partition on which you are going to create a new partition and select "Create Partition" in the drop-down menu.
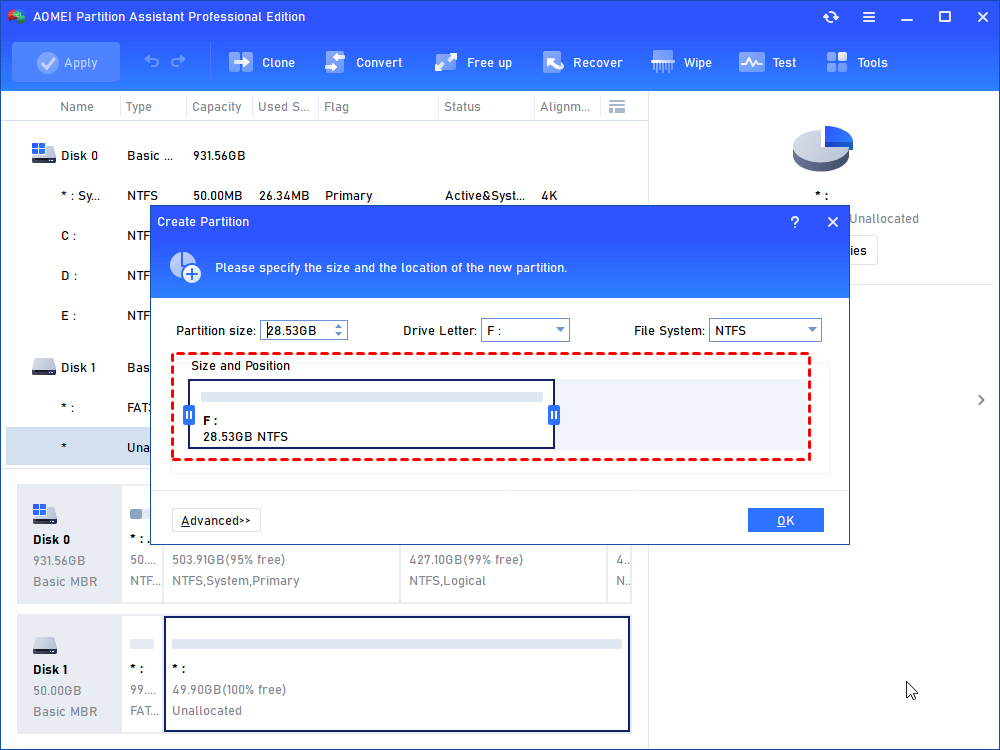
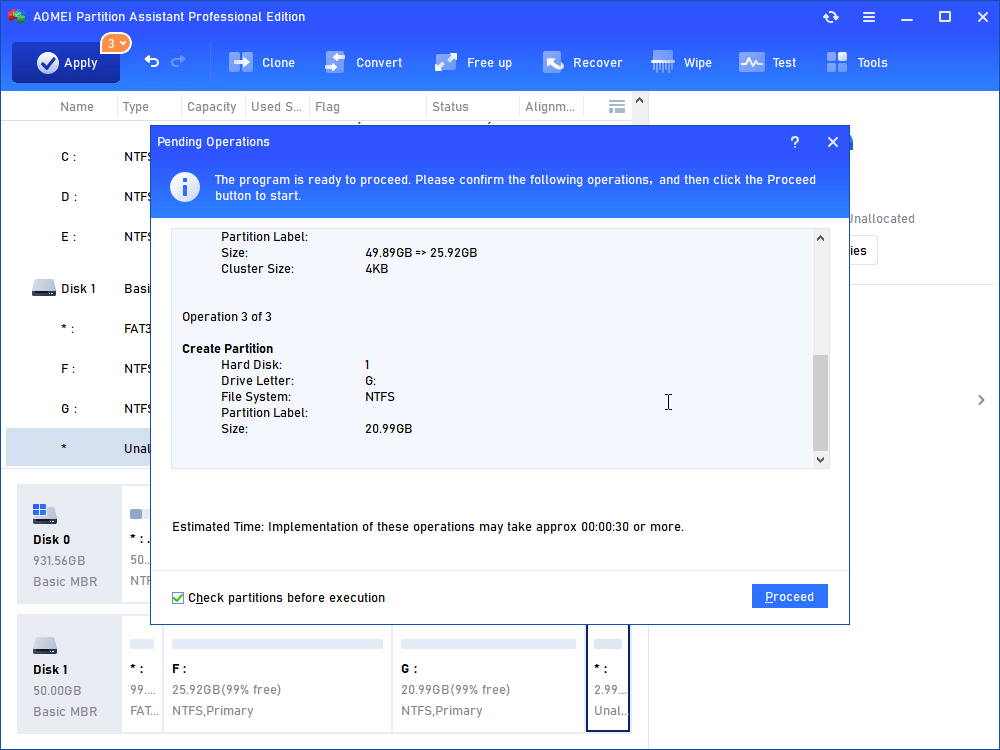
Step 2. In the pop-up window, click "Advanced" to specify the information for the new partition. You could also specify the size of the new partition by dragging the edge circle rightwards or leftwards. When all settings are completed, click "OK" to continue.
Step 3. To save the changes, please click "Apply" on the toolbar and select "Proceed".
2. Resize/move partition
Sometimes, you may need to resize/move partition on your disk. AOMEI Partition Assistant can achieve the goal of partition size adjustment in a more effective way compared with Windows built-in tools.
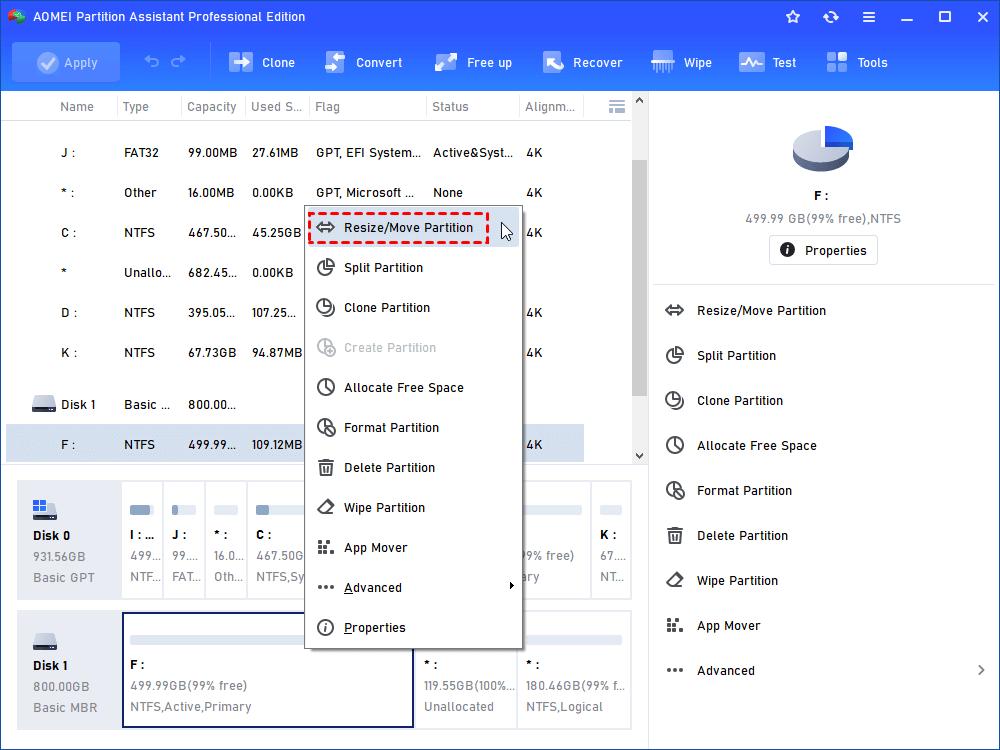
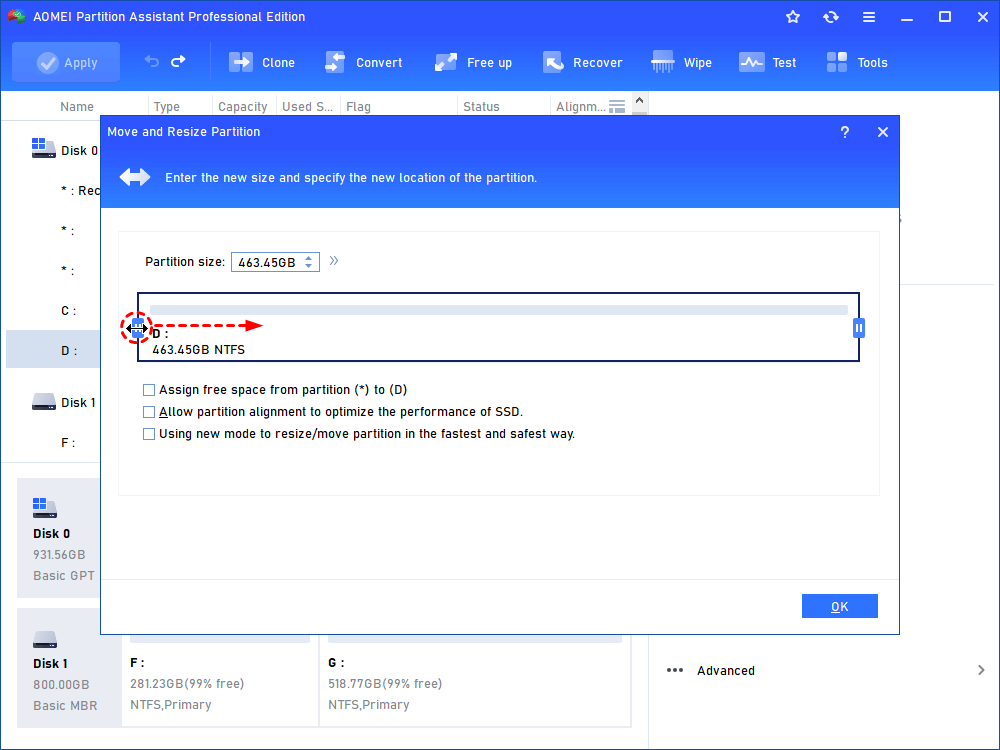
Step 1. Launch AOMEI Partition Assistant Professional, select the target partition, right-click on it and choose "Resize/Move Partition".
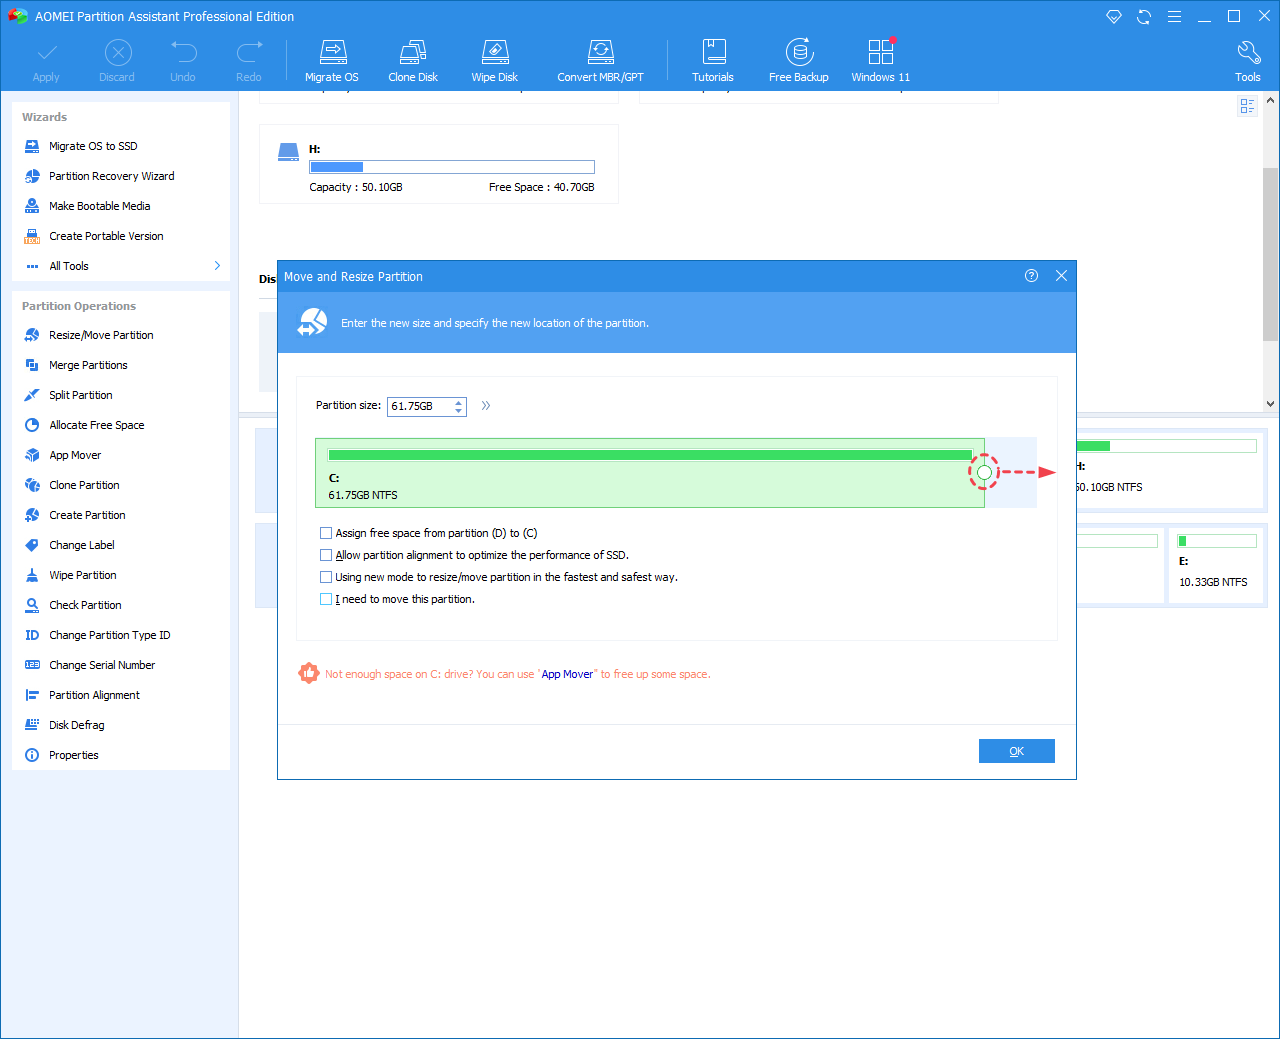
Step 2. To move the partition, put the mouse on the selected partition and drag it rightward when the mouse becomes a cross crux. Then hit "OK" to continue after you drag the partition to the destination location.
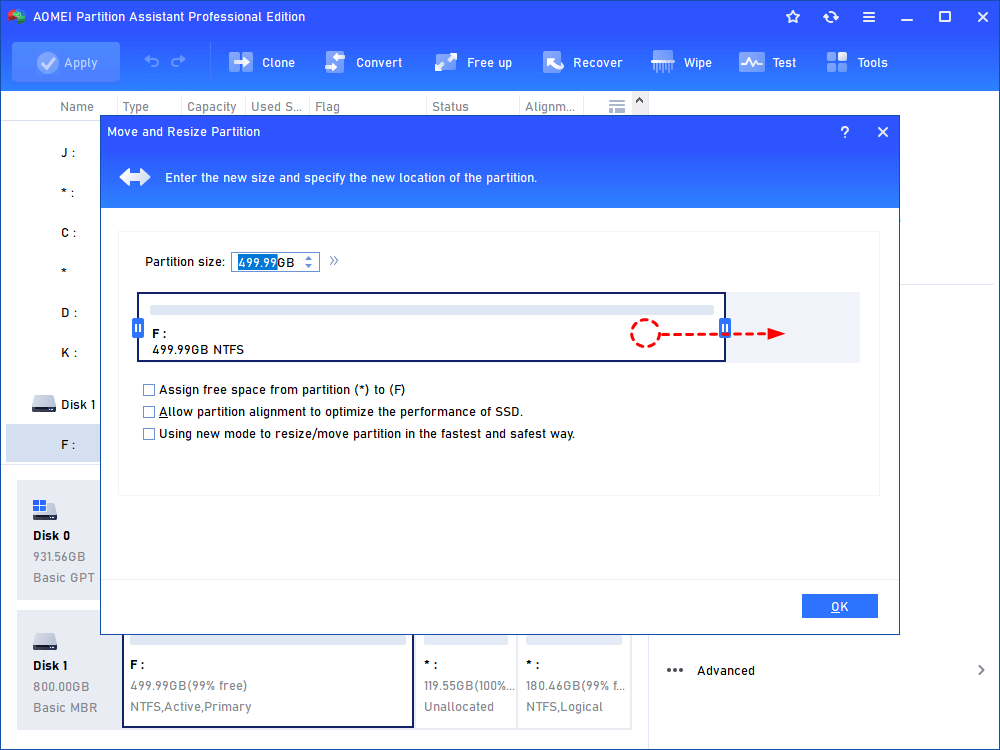
Step 3. To enlarge the selected partition, position the mouse pointer on the right border of the partition and drag the border rightwards to extend partition. Then click "OK".
Note: If there's no unallocated space behind the partition, you could not drag the border. In such a case, you can move the partitions to make the target partition and unallocated space adjacent.
Step 4. To shrink partition, position the mouse pointer on either border of the partition and drag the border rightwards or leftwards. Then click "OK".
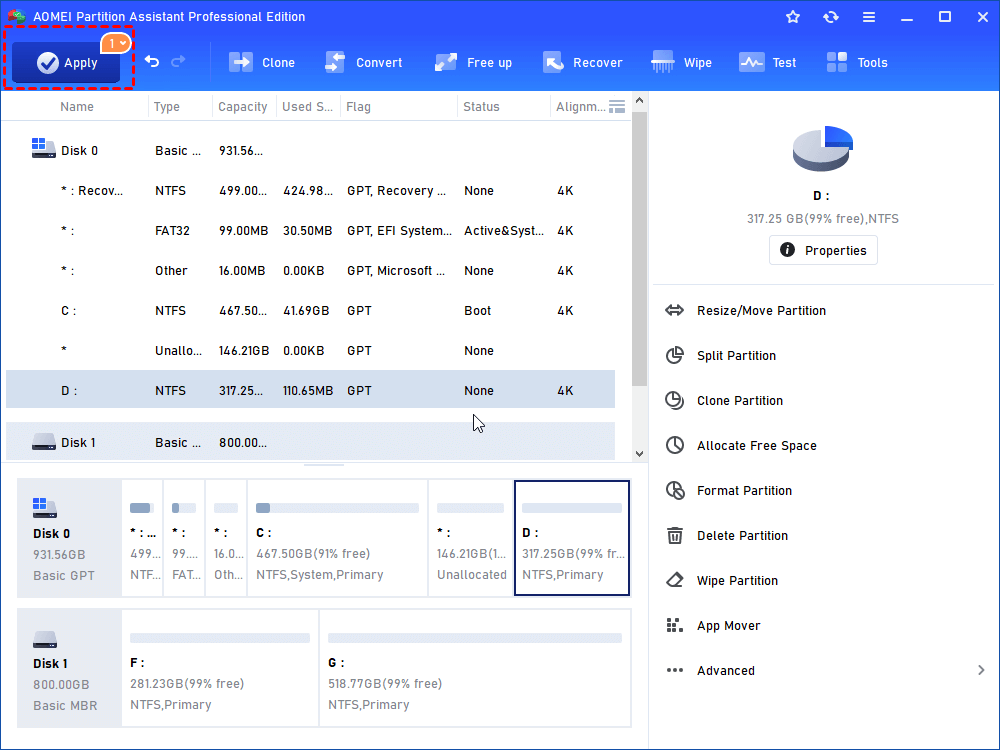
Step 5. Finally, click the "Apply" on the toolbar to commit the operation.
Some tips to add HDD to laptop with SSD
In the answer to can we add HDD in SSD laptop, we have provided you with extra information that you should take HDD as data drive and SSD as system drive. In addition, here are two useful tips to help you use HDD and SSD on the same PC together.
1. Enable SSD TRIM Feature
TRIM is the key point of SSD working faster than HDD. When you delete a file, the TRIM feature will instruct your drive to remove the file from all the sectors completely. This process makes the new data can be written into the drive as soon as possible.
Therefore, to take advantage of SSD, please make sure the TRIM feature is enabled on your computer.
2. Defrag HDD only
The hard drive always needs optimization to maintain performance. There are various tuning methods to optimize SSD and HDD respectively. One thing to be noticed is never defragging SSD.
It's known that data on HDD is fragmented and stored in different locations, so it always takes much time to locate the specific files. If you have used the HDD for a long time, you can run a disk defragment to accelerate it.
Due to the different working principles of SSD, disk defrag is not applicable to the solid-state drive. It won't speed up an SSD, but shorten its lifespan and damage its maintenance. So, just keep HDD defragged only.
Conclusion
Can we add HDD in SSD laptop? How to use SSD and HDD together Windows 10? Hope all your confusion has been cleared out after reading this article that not only teaches you how to work with both SSD and HDD on one computer but also offers you some tips to keep the two hard drives performing well.
As you can see, AOMEI software plays a crucial role in the process. What's more, it's also a reputable disk repair tool to fix many disk problems such as SSD not showing up, SSD read-only, cloned SSD won't boot, etc.

