How to Convert Extended Partition to Primary Partition
This post focuses on how to convert extended partition to primary partition in Windows PCs. No matter why you want to complete the conversion, the methods on this page can help you get it done easily.
By Hedy / Updated on January 21, 2025
Overview of extended partition and primary partition
When setting up hard drives in a computer, it's essential to understand the types of partitions available. These partitions determine how data is organized, accessed, and managed on your hard drive. Two of the most common types of partitions to MBR (Master Boot Record) disks are primary partition and extended partition.
A primary partition is directly usable by the operating system and is often where the OS is installed. A disk can only have up to four primary partitions, due to the limitations of the MBR partitioning scheme.
An extended partition was introduced as a solution to the four-partition limit. It allows for the creation of additional partitions beyond the limit imposed by primary partitions. A disk can have only one extended partition. However, within that extended partition, users can create an unlimited number of logical drives, which is particularly useful for systems that need multiple partitions but don't want to convert to GPT (GUID Partition Table). Operating systems cannot be directly installed on logical drives, but data and applications can be stored on them.
Why need to convert extended partition and primary partition?
Sometimes, you may need to convert an extended partition to a primary one for several reasons:
✶ Operating system installation: If you want to install an operating system on a partition within an extended partition, it’s necessary to convert it to a primary partition.
✶ Disk space management: You might need more flexibility with your disk management, especially when you are limited by the number of primary partitions you can create on a drive.
✶ Compatibility: Certain systems and utilities might not support extended partitions, requiring you to convert them to primary partitions.
How to convert extended partition to primary partition
Way 1. Use Disk Management
Windows includes a built-in tool called Disk Management that lets you manage partitions. However, this method comes with some limitations, especially when dealing with converting partitions. You cannot directly convert an extended partition into a primary partition without deleting it, so make sure to back up your data first. Then, follow the steps below to see how to convert extended partition to primary partition:
Step 1. Press Win + X and select Disk Management from the menu.
Step 2. In the Disk Management window, look for the extended partition you want to convert. Extended partitions are usually labeled as such, and any logical drives inside them will be listed beneath it.
Step 3. Right-click on any logical drives inside the extended partition and select Delete Volume. This will erase all data, so ensure you back up any important files first.
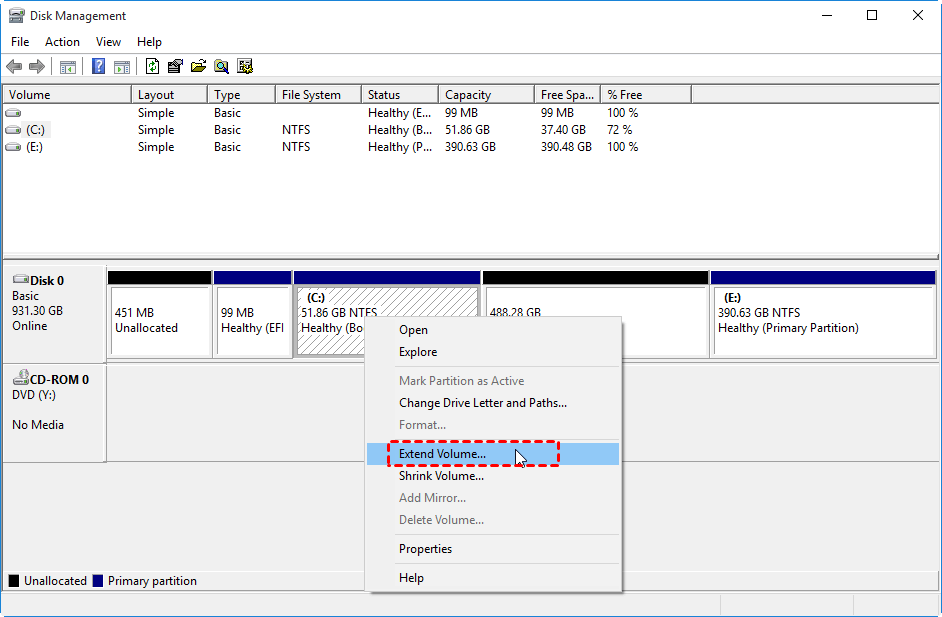
Step 5. Right-click on the primary partition and select Extend Volume.
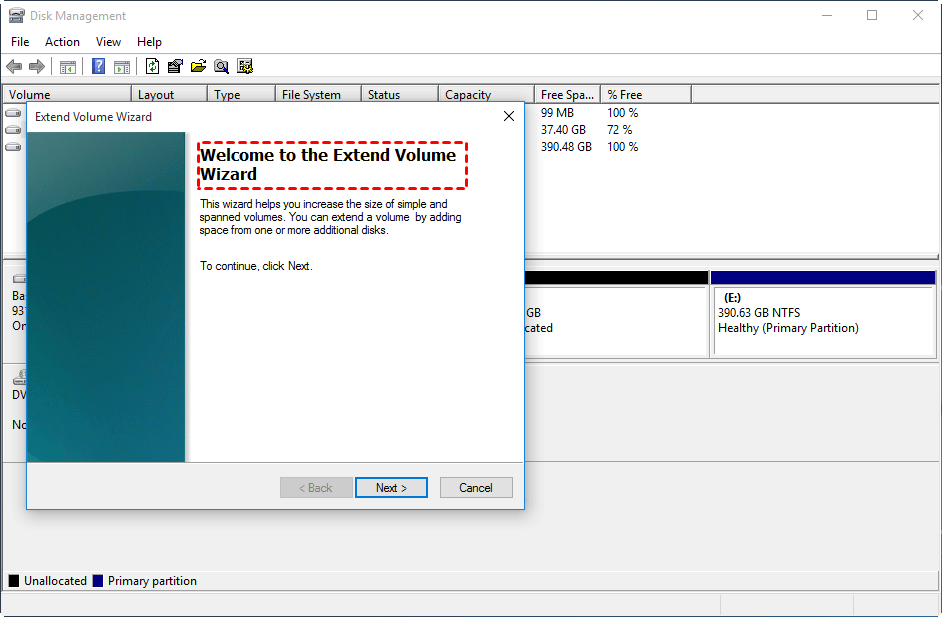
Step 6. The Extend Volume Wizard will be launched, follow the prompts, and Finish the operation.
Way 2. Use a third-party disk partition manager
If you're looking for a more direct solution that doesn't involve deleting data, you can use a third-party disk partition manager like AOMEI Partition Assistant which provides more flexibility and options than Windows’ built-in utilities.
AOMEI Partition Assistant is a powerful disk management tool that allows you to perform various operations on partitions, such as resizing/moving partition, merging, splitting, and converting partitions. One of its helpful features called “1-click Adjust Space” is the ability to convert an extended partition to a primary partition directly, which can be particularly useful when you're facing issues with partition limits or need to adjust your disk setup.
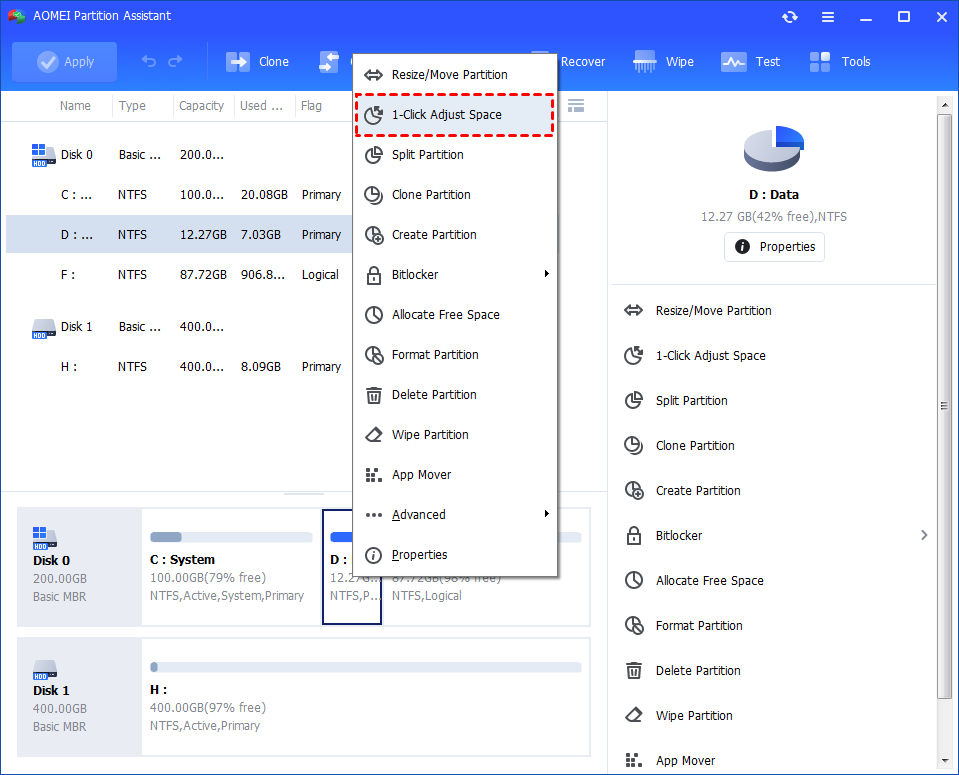
Step 1. Install and launch AOMEI Partition Assistant. Right-click a partition (here is D: partition) you want to adjust space and select "1-Click Adjust Space".
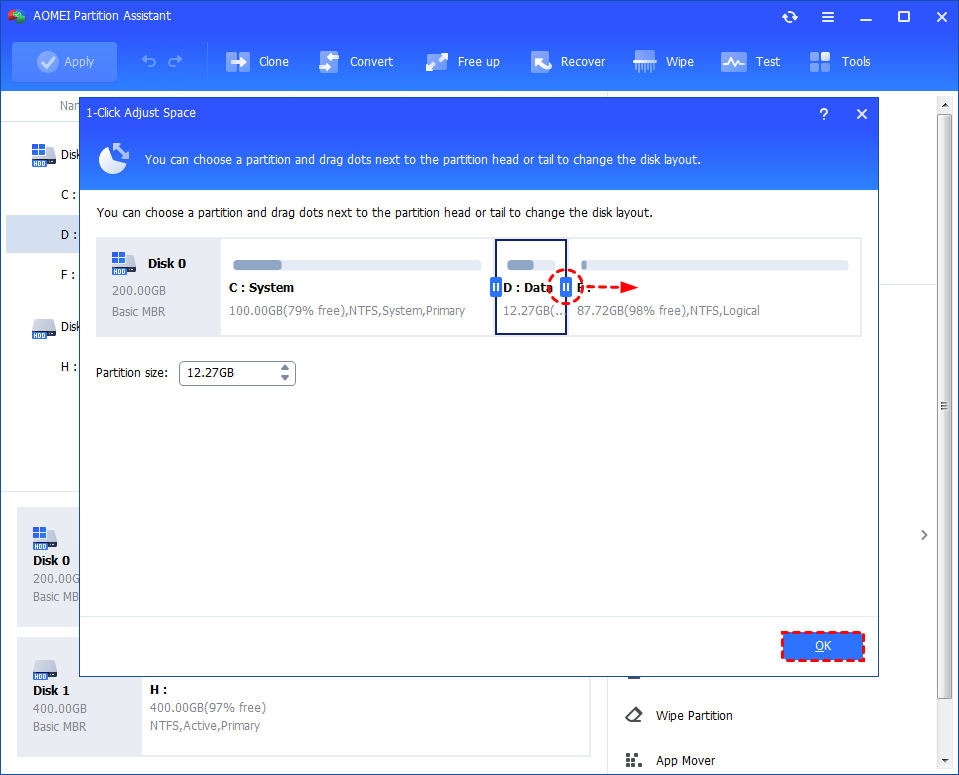
Step 2. If you want to use the space on F: to expand D:, you can simply drag the dot near the partition F: head backward to shrink the partition F: and enlarge the partition D: at the same time. Then click "OK".
Tips: You can simultaneously drag the dot near the partition C: tail forward to shrink the partition C: so the D: will also be enlarged with the space of C: at the same time. In this case, you can adjust all partition space (C:, D:, and F:) on the disk.
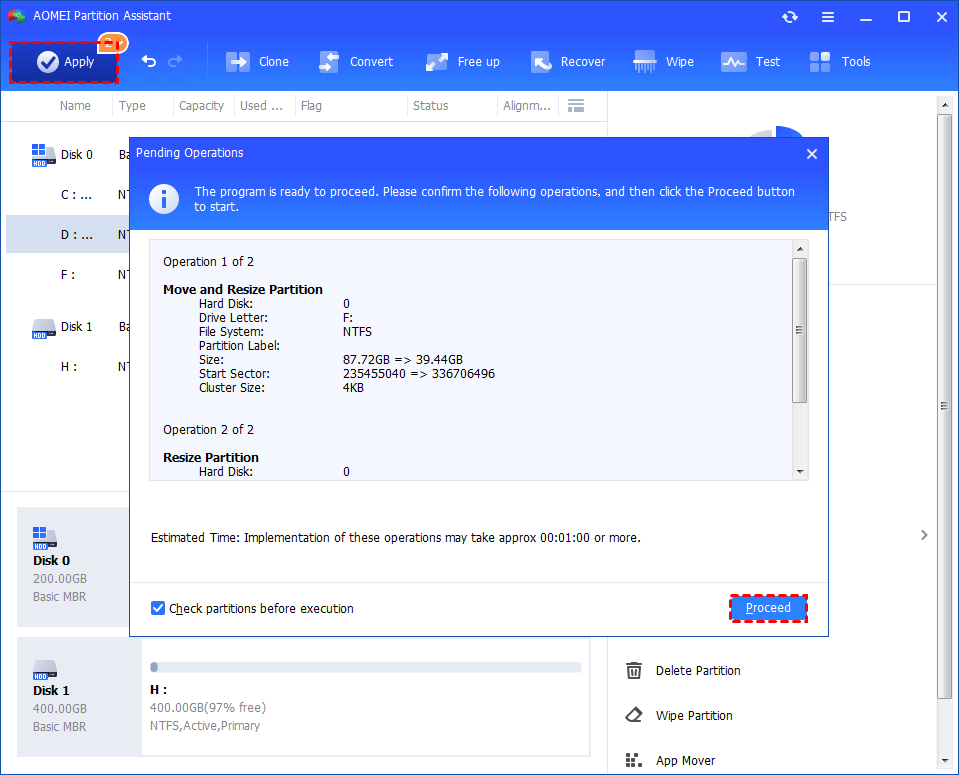
Step 3. You can preview the operation by viewing the "Pending Operations". To commit the "Pending Operations", please click "Apply" and "Proceed".
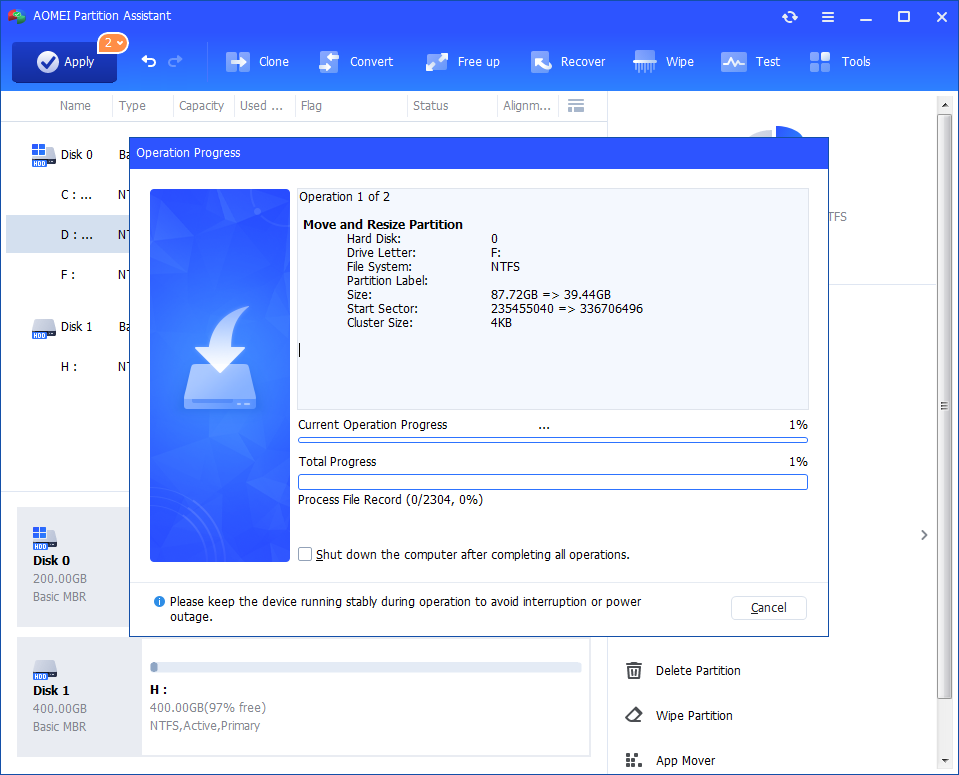
Step 4. The process will start and you can check the progress. It might take time to finish the operation.
Step 5. Wait for the operation to be finished. After it is completed successfully, you will find D: is enlarged and both D: and F: are adjusted. Thus, you can extend primary partition by using this way.

Conclusion
How to convert extended partition to primary partition? It is a relatively straightforward process, but it’s essential to back up your data before proceeding with the operation, especially when using Disk Management, which requires deleting the partition. Using third-party software like AOMEI Partition Assistant can help you make the change without data loss and is often a more efficient and user-friendly option.
In addition, if you need to transfer all data from one drive to another (such as from an HDD to an SSD), you can use the "Disk Clone" feature. If you’re replacing your old disk with a new one, make sure to securely wipe the old drive to prevent any data from being recovered or stolen.

