How to Move Photoshop to Another Drive Without Reinstalling
Do you want to change where Adobe Photoshop is installed when the C drive has not enough space? This tutorial will show you how to move Photoshop to another drive without reinstalling it.
By AOMEI / Updated on March 5, 2026
Help! How do I move Photoshop to another drive?
Photoshop CC installed on my system drive partition which is now very full. How do I move it to another drive partition? Do I need to de-activate it, uninstall it, and re-install it? I don't remember seeing an option to select the installation location."
- Question from community.adobe.com
Why move Photoshop from one drive to another?
Adobe Photoshop, referred to as “PS”, is an image processing software developed and published by Adobe Systems. Photoshop mainly deals with digital images composed of pixels. Use its numerous editing and drawing tools to efficiently edit and create images.
In most cases, Adobe Photoshop downloaded by users will be saved to the system drive (C drive), because the default storage path of Windows is C drive. In order to avoid Windows running slow when the C drive is full, many people choose to move Adobe programs to another drive.
However, moving programs cannot copy-paste like moving text files. If you do not take reasonable measures, the moved Photoshop may not run successfully. Therefore, this post aims to tell you how to move Photoshop to another drive without reinstalling it.
Install Photoshop to another hard drive via Adobe Creative Cloud
Adobe Creative Cloud is a collection of cloud software and services developed and distributed by Adobe for photography, graphic design, video editing, web content creation, and other creative applications. If you want to change the installation location of Photoshop in Adobe Creative Cloud, please refer to the following steps:
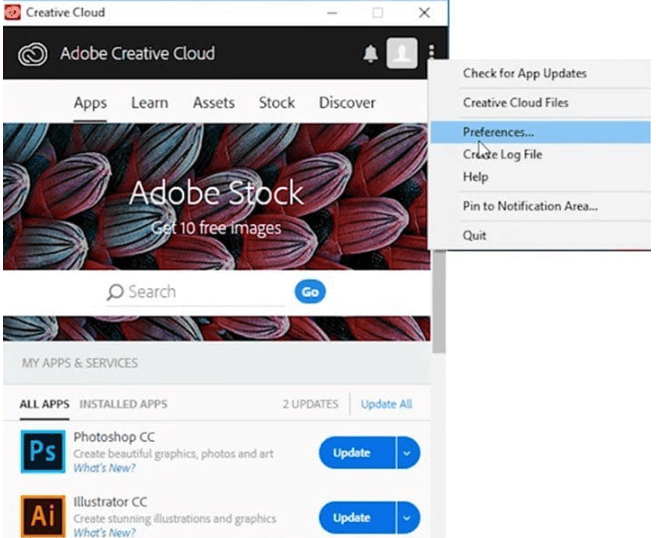
Step 1. Open Creative Cloud app.
Step 2. When your Creative Cloud app opens, click the button in the upper right corner to select Preferences.
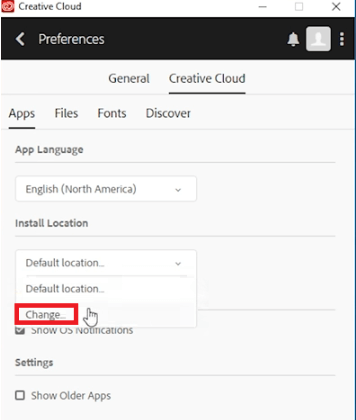
Step 3. Then switch to the "Creative Cloud" tab and click "Change..." to select another drive as the new location for Photoshop.
Step 4. “Uninstall” Photoshop, and then reinstall it. After a few moments, it will be installed in our new location instead of the previous location.
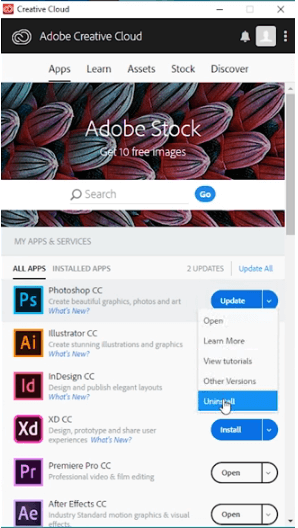
This method is very useful, but its only downside is that you need a fresh install of Photoshop.
How do I change where Photoshop is installed without losing data?
Reinstalling Photoshop will make you lose data, so how to move Adobe Photoshop to another drive without reinstalling it? You can try AOMEI Partition Assistant Professional. This is a powerful application transfer utility compatible with Windows 11, 10, 8, 7, XP, and Vista. Its App Mover feature can move Photoshop/Photoshop CC from one drive to another and boot successfully. Also, If you accidentally move a program you don't want to change, you can restore it by clicking Manage/Restore Apps at the bottom of the interface.
Please download the Demo to see how to move Photoshop to another drive with this powerful tool.
- ★Tips:
- In addition to move installed programs, App Move also support to move folders.
- If the selected partition does not have enough space to store the Photoshop, then you need to free up space or extend the partition and try again.
- You can move Photoshop to an external hard drive, but make sure not to disconnect your device from your computer during the transfer. Otherwise, there is a risk of Photoshop boot issues.
- To move Photoshop on Windows Server, please switch to Server Edition which is designed for Windows Server 2022, 2019, 2016, 2012 (R2), 2008 (R2), 2003 users.
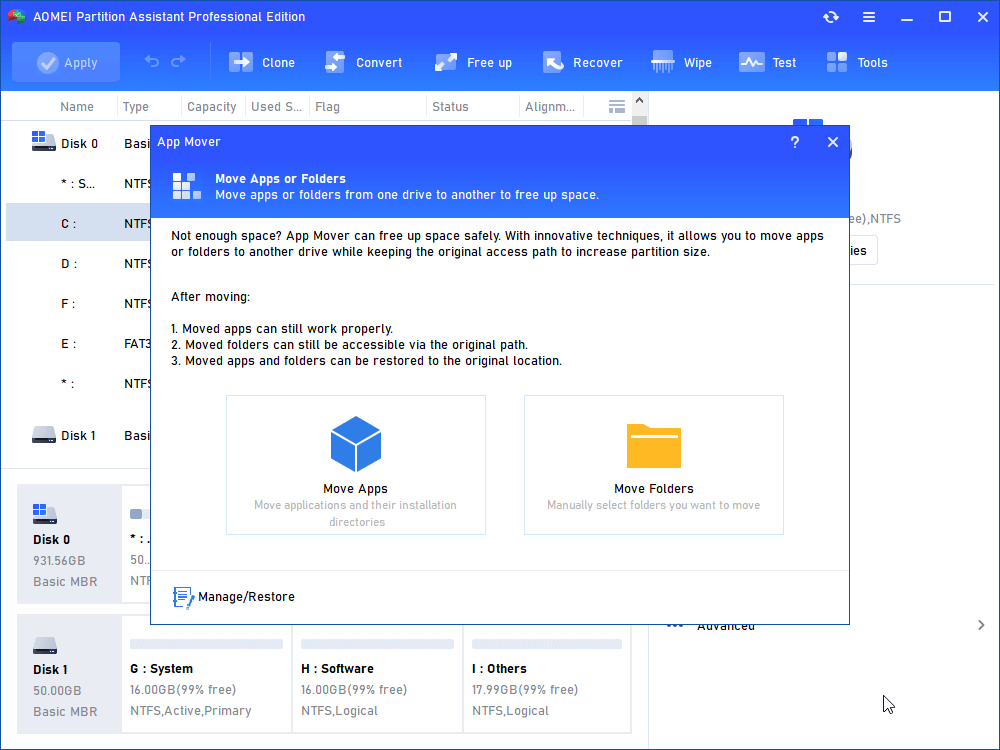
Step 1. Install and launch PA Professional, then select the “App Mover” under "Free up".

Step 2. In the new window, click “App Mover”.
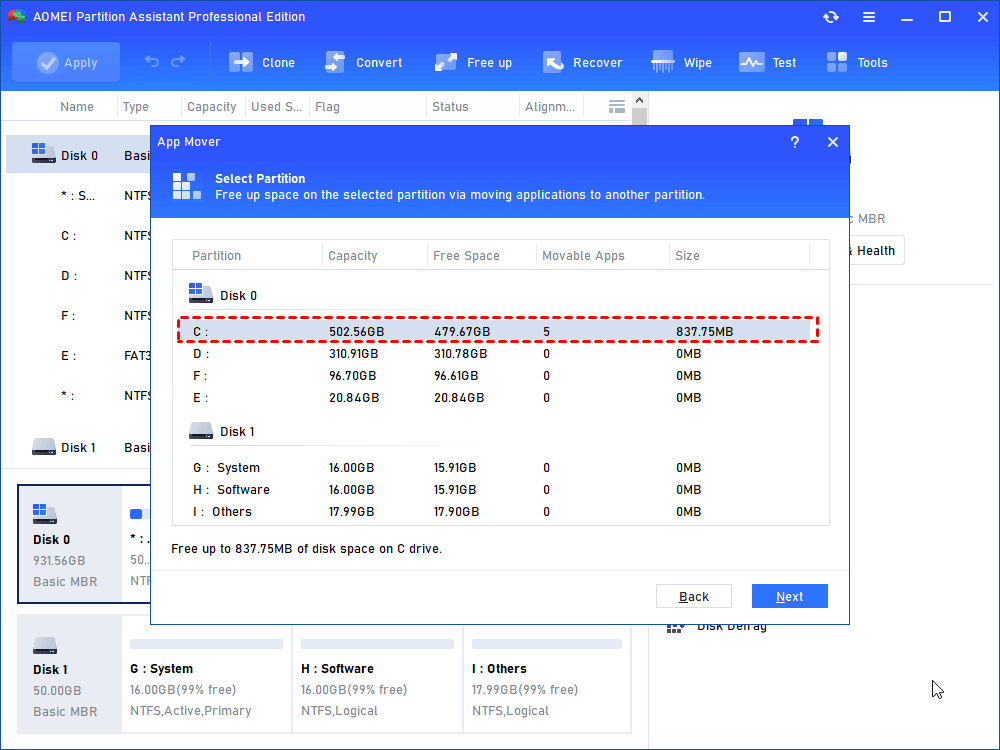
Step 3. Choose one partition that Photoshop located and click "Next".
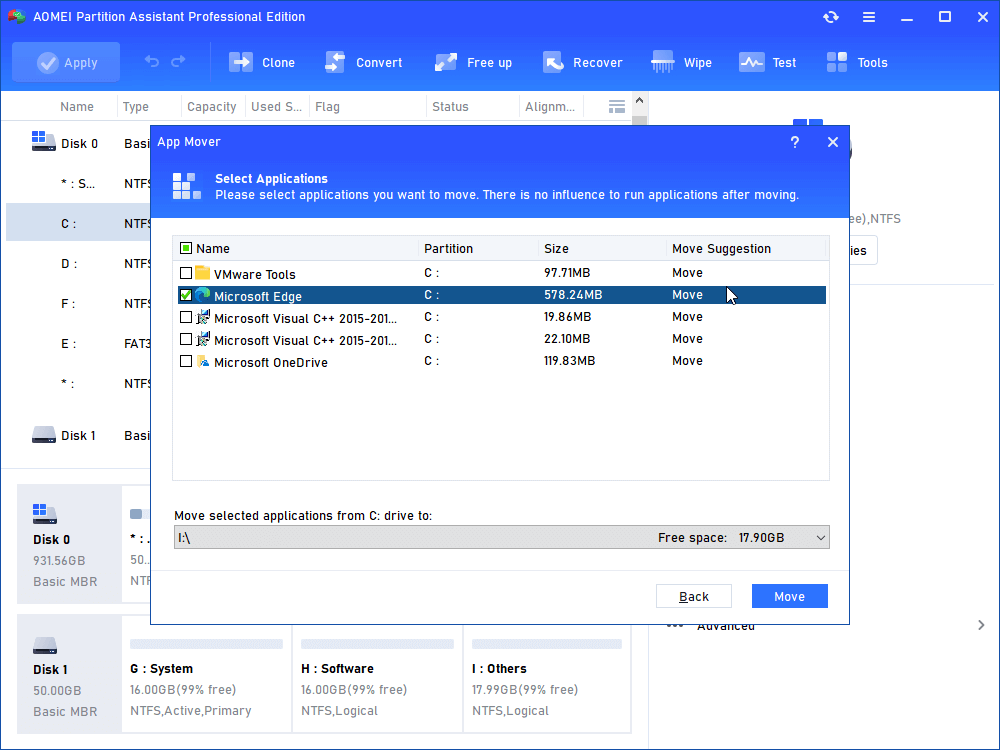
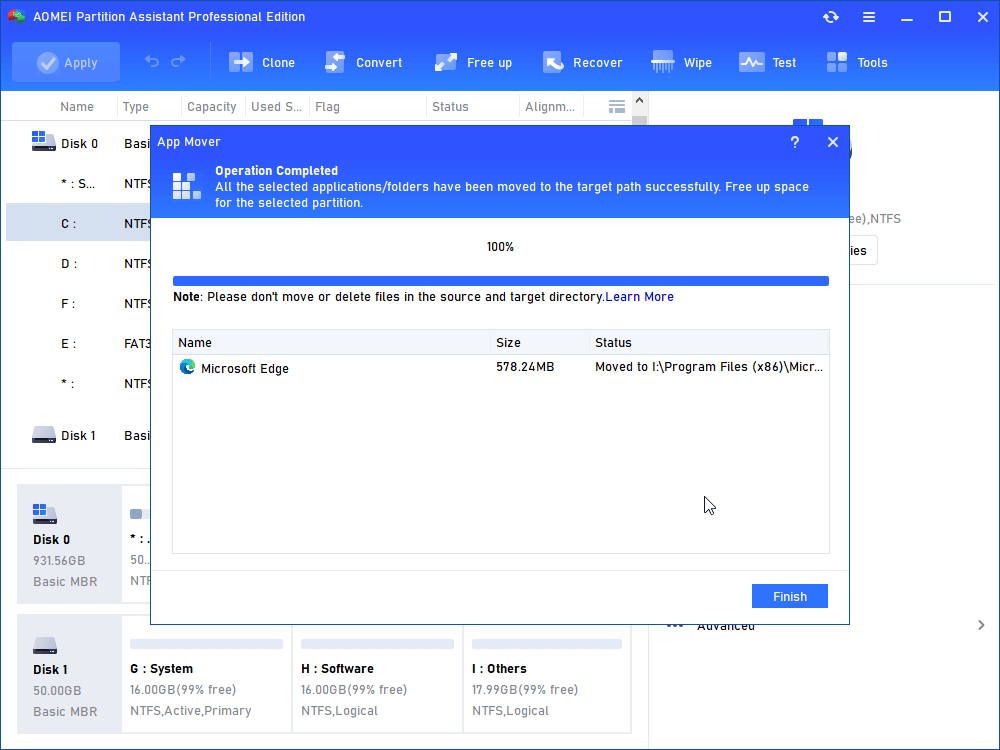
Step 4. All movable apps in the selected partition will be listed, choose Photoshop (take Microsoft Office as an example) and select the target location, then click "Move".
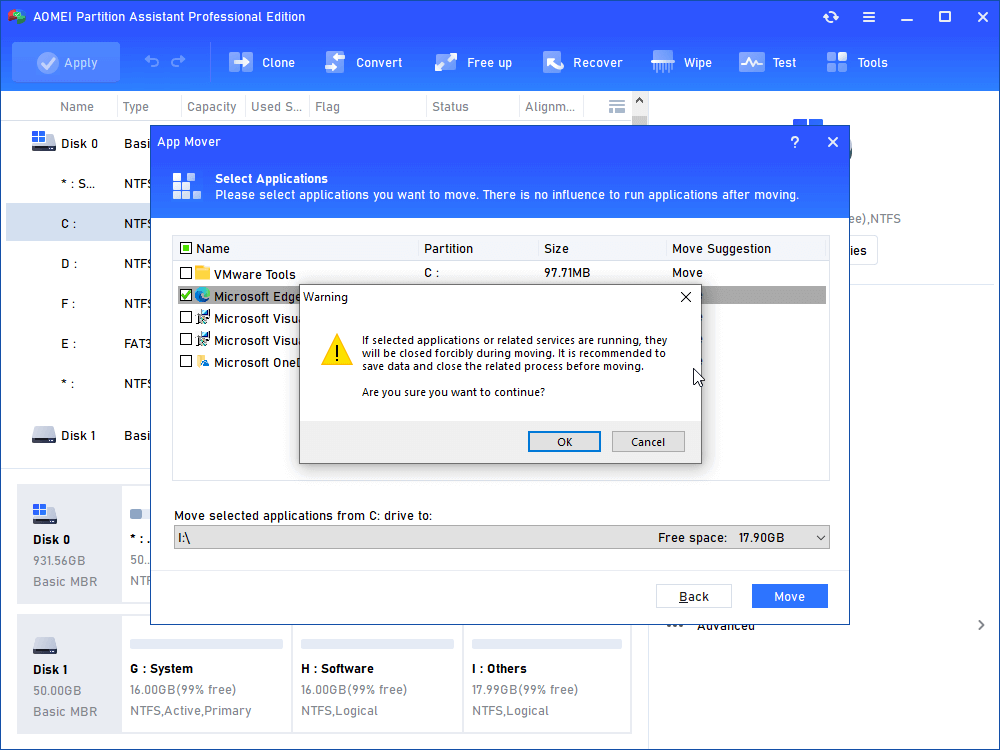
Step 5. Read the prompts carefully, click “OK” and “Move”.
Step 6. Wait a moment, Photoshop will be moved to target drive.
This is the whole process of how to move Photoshop from one drive to another with AOMEI Partition Assistant Professional.
Bonus tip: What to do if C drive full?
As you can see from the above, we can free up C drive space by moving the installed programs. Also, you can extend the C drive from another partition with enough space. Let's see the detailed steps:
Step 1. Launch AOMEI Partition Assistant, right-click the partition which has enough free space and select "Allocate Free Space". (Here we take D partition as an example.)

Step 2. In the pop-up window, you can decide how much space to be added to C drive, then, click "OK".

Step 3. You can take a preview of the operation result before starting. Click "Apply" to execute this operation. Then you will notice your C drive is larger than before.

In addition, you can also delete large files by type to save more space on the C drive.
Wrap things up
From what has been discussed, this tutorial not only gives you two methods on how to move Photoshop to another drive, but also shows how to extend the C drive in Further reading. In my opinion, AOMEI Partition Assistant is a tool you can rely on as it has many more advanced features waiting for you to unlock!

