PC Stuck on BIOS Screen? Here Are 7 Solutions and Easy Recovery Steps!
What to do when PC stuck on BIOS screen? This article will introduce 7 solutions with tip on how to easily recover lost data after fixing this issue.
By Irene / Updated on March 11, 2024
If your PC is stuck on the BIOS screen, or sometimes even gets stuck in a continuous BIOS loop, you may feel helpless and can only stare at the problematic computer. What's worse, you probably face the risk of data loss due to this issue. Fortunately, some solutions here can help you escape this predicament. Besides, we will share how to easily recover lost data when a Windows PC is stuck in BIOS.
7 solutions for solving PC stuck on BIOS screen
Here are 7 solutions for solving PC stuck on BIOS screen. With reasons and fixes, you can quickly and effortlessly troubleshoot that. If you find your PC won’t boot after BIOS update, you can read the passage for reference. For data loss after fixing the Windows PC stuck in BIOS, you can also learn to recover it in the Tip part.
Solution 1. Check the connections and internal parts
External devices like printers, mice, headsets, and keyboards often cause conflicts with your system, leading to issues such as your PC getting stuck in BIOS and others. To resolve this, you can simply unplug all external devices. These factors sometimes will lead to the Windows key not working.
Step 1. Power down the computer.
Step 2. Disconnect all external peripherals attached to your computer. Then power up the computer to check whether the problem has been solved.
If the PC stuck on BIOS problem disappears now, it indicates that the external peripherals cause the problem. You can connect them back to the computer one by one to locate the trouble one.
Solution 2. Reset/clear CMOS
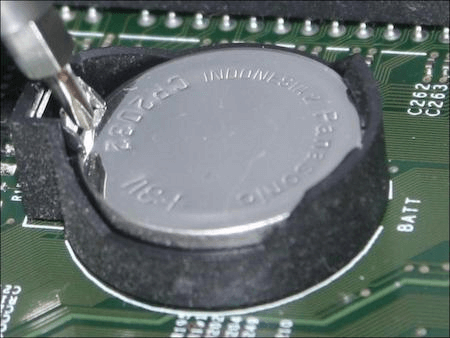
Generally, the boot setup is saved on the CMOS battery, which holds onto hard drive settings after each startup. Any problem or adjustments to the CMOS will directly impact how Windows starts up. So, if you face booting problems like the computer stuck on BIOS screen, you can attempt to reset the CMOS battery. Here's how.
Step 1. Power down the system and ensure the power cord is disconnected. Locate the CMOS battery on the motherboard.
Step 2. Take out the CMOS battery, wait for 15-20 minutes, and then put it back in. This action will reset the battery.
Step 3. Power up your machine and observe the results. If the system boots up as usual, the problem of the PC not booting should be fixed.
This method is also beneficial for resetting HP enter setup password.
Solution 3. Restore BIOS default settings
When the PC is stuck on BIOS screen, you can also try to restore BIOS default settings to solve the problem.
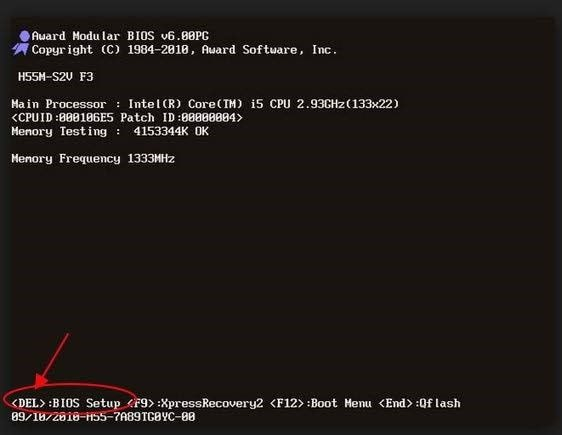
Step 1. Start your computer and while it's still booting up, continuously press the key to accesses the BIOS. On the screen, you might see hints indicating the specific key to press, generally, it is F2 (F8, F10, DEL, etc.) If you want to make it easy to handle issues in BIOS, it is a good idea to use a powerful Windows Boot Manager in BIOS.
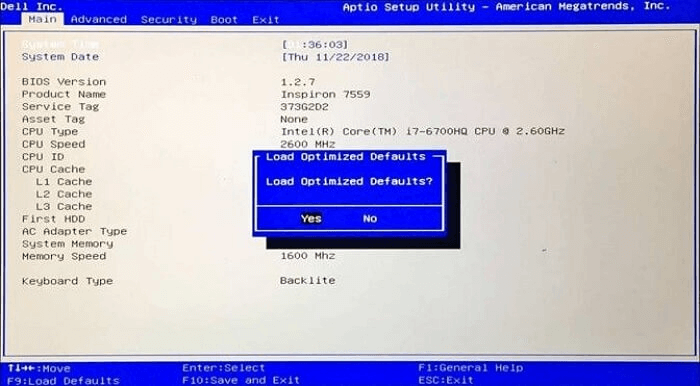
Step 2. Once you're in the BIOS, initiate the "Load Default Options" prompt by pressing the key F9. Confirm the restoration of your BIOS default settings by selecting "Yes".
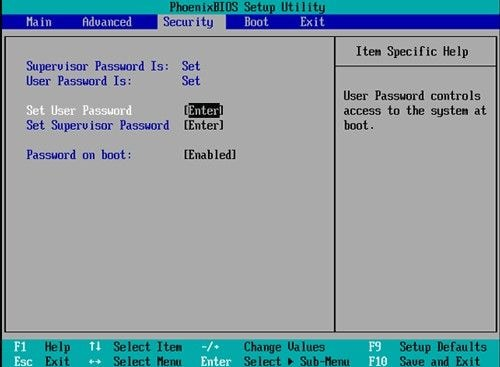
Step 3. Alternatively, navigate to the "Security" tab and reset your BIOS from there. While the menu options vary among different motherboards, there will always be an option available for BIOS reset.
Step 4. Click on "Save" and then "Exit".

Solution 4. Change boot order
The boot setup could be causing your PC to get stuck on the BIOS screen. If your computer is stuck in BIOS, it might be due to an incorrect boot order. You can go to the BIOS and re-select the bootable media.
Step 1. Power on your computer.
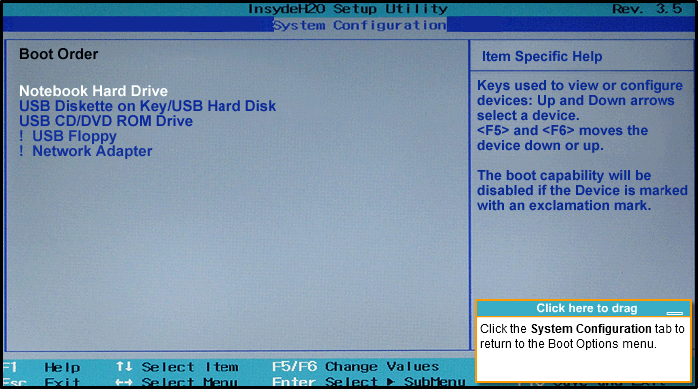
Step 2. Go the BIOS settings by pressing specific keyboard keys (F2, F9, F12, ESC, etc.). Locate the "Boot Order" section and enter it.

Step 3. Configure your SSD or hard drive to boot first.
Step 4. Reboot your system to verify if the problem has been fixed.
Solution 5. Create a bootable media and rebuild MBR
If you find your Windows PC still stuck in BIOS, it's time to create a bootable media to either boot or repair your computer, such as rebuilding the MBR.
To do so, it's strongly recommended to use a professional tool like AOMEI Partition Assistant Professional to ensure a successful process and avoid further accidents. In addition to creating a bootable USB drive for emergency use on Windows computers, it also offers features to address issues like rebuilding the Master Boot Record (MBR), scanning for and repairing bad sectors on the system drive, which are proven to be effective in resolving stuck BIOS screens, black screen boot errors, and the INACCESSIBLE_BOOT_DEVICE Blue Screen of Death (BSOD) error.
You can now download the demo version and learn how to create a bootable USB stick on Windows 11/10/8/7 for Windows repair.
Step 1. Connect the USB drive to a working Windows computer, install and run AOMEI Partition Assistant Professional. Click “Make Bootable Media” and hit on “Next” to proceed.

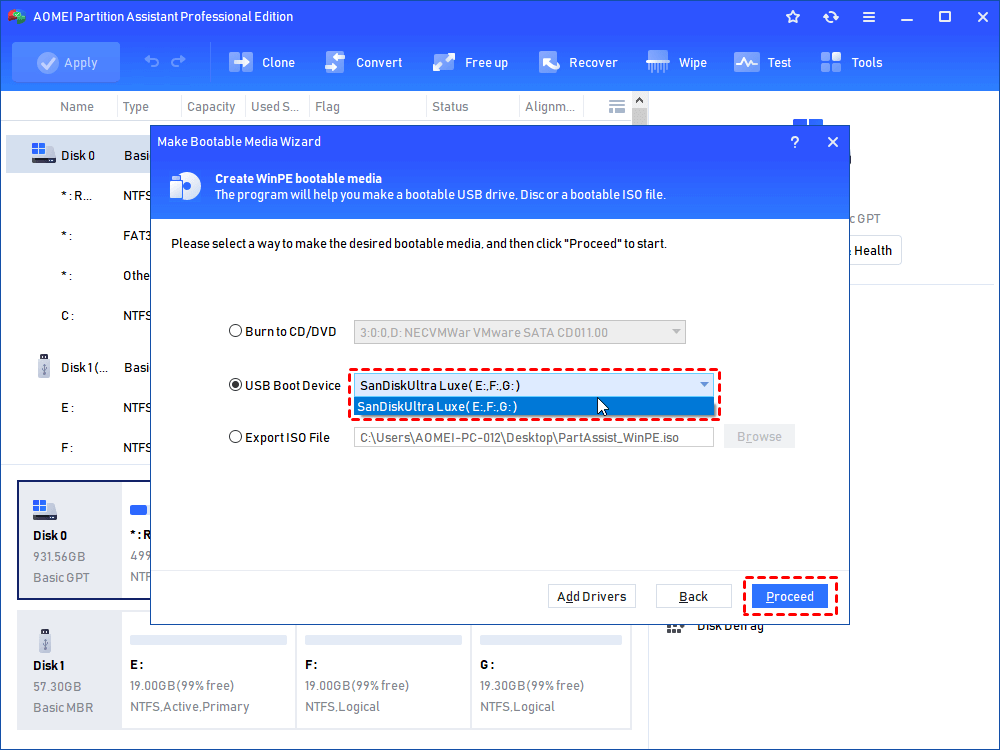
Step 2. Choose the right USB drive under “USB Boot Device” and click “Proceed”.
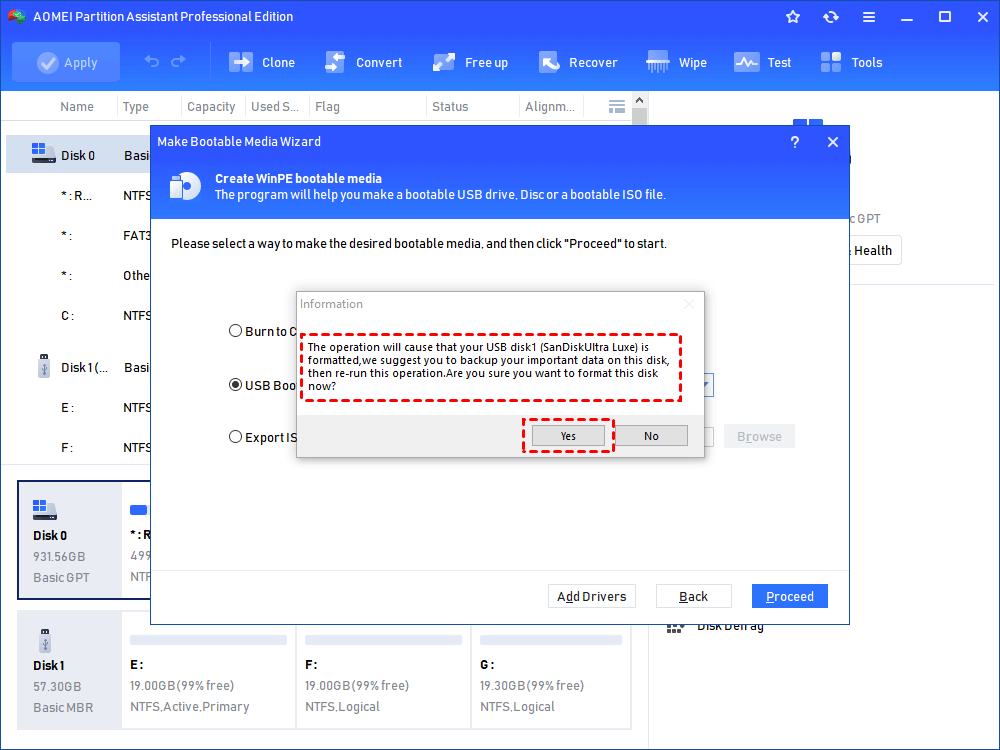
Step 3. Then you will be told the USB will be formatted, please back up important data. If you have done that, click “Yes”.
Step 4. Then wait for the process to be completed.
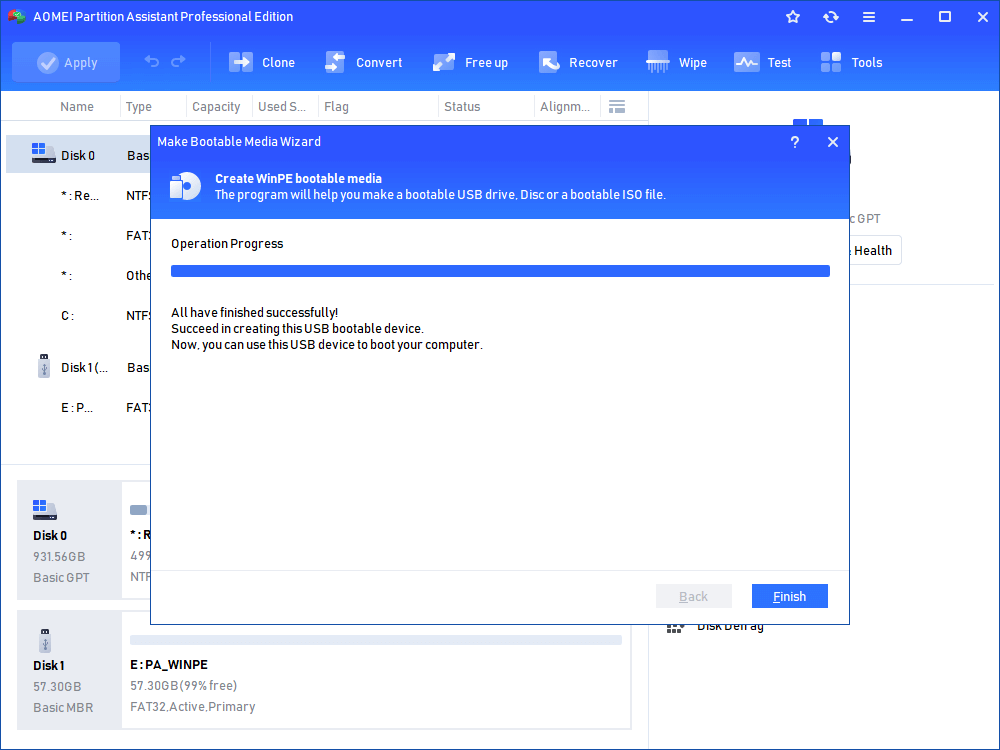
Note: the bootable USB drive contains the pre-installed AOMEI Partition Assistant Professional.
When the process is done, insert the bootable USB drive into the computer with boot issues, change boot order in Boot menu to make it boot from the bootable USB stick. Then you can rebuild MBR on the system primary hard drive.

Or you can right-click the system partition to check whether there are some bad sectors on the partition and fix them if necessary. Those two functions are most commonly used functions to repair Windows boot failures.
Solution 6. Check bad sectors
Bad sectors on the hard drive can lead to data corruption or other problems that affect the boot process, causing PC stuck in BIOS. If you encounter such a problem you can directly run the installed AOMEI Partition Assistant to check whether there are bad sectors on your drive.
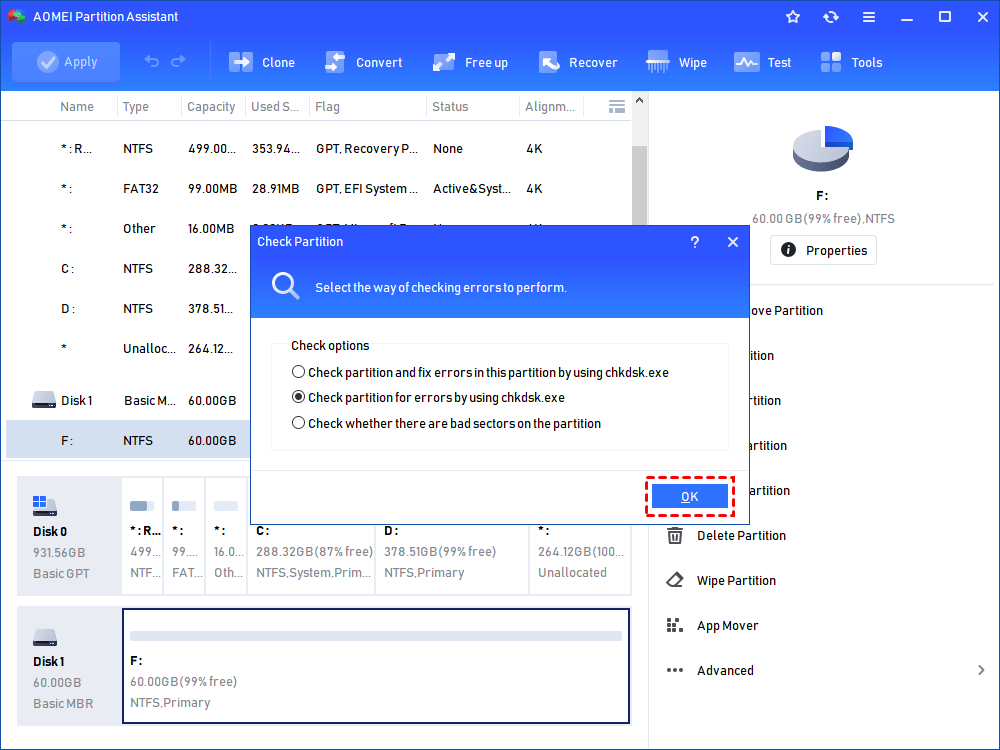
Step 1. Launch the installed AOMEI Partition Assistant. It will show you an overview of your hard drives. Choose the partition you wish to check, right-click on it, and select Advanced -> Check Partition.

Step 2. A small window will appear, allowing you to select the method for error checking based on your requirements. Pick one and click OK. The process will begin right away.
Solution 7. Update BIOS
If your PC has an outdated BIOS, it is easy to encounter PC stuck on BIOS screen problem. Updating the BIOS can add support for new RAM, improve compatibility with the latest CPU generations, and fix other motherboard-related issues. Check for BIOS updates regularly and install them promptly. It's usually straightforward to update BIOS by following the instructions provided.
Step 1. Plug in the bootable USB and power on your PC.
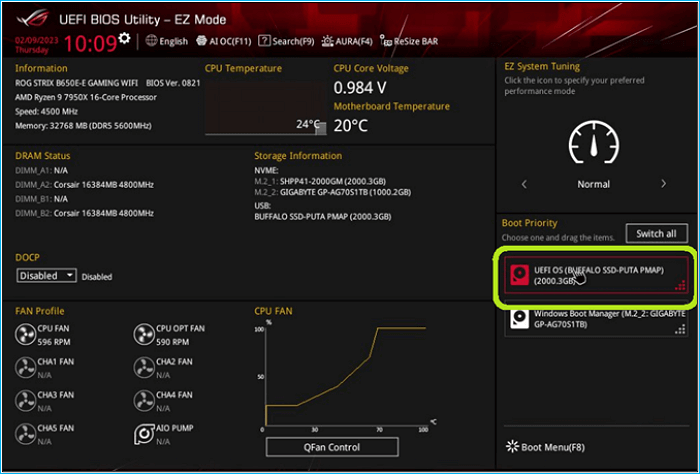
Step 2. Go to the BIOS with the methods we introduced earlier.

Step 3. Once in the BIOS, select to boot from USB.
Step 4. Choose the BIOS file from the USB drive.

Step 5. Confirm the BIOS update when prompted.
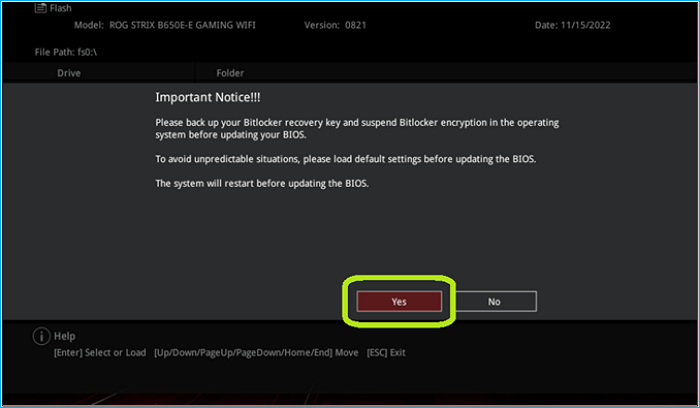
After confirmation, the BIOS will upgrade in approximately 2-3 minutes. Once completed, your BIOS will be updated, and your computer will restart into Windows.
Tip: How to recover lost data if computer stuck on BIOS screen
What to do if you find data loss after computer stuck on BIOS screen? It is easy to restore them with AOMEI Partition Assistant as well. It provides a "Recover Data" feature that allows you recover data no matter formatting, virus or malware attacks, corrupted file systems, and more. It supports various file systems like NTFS, FAT32, exFAT, ReFS, and others.
The recovery rate is excellent, and it can retrieve lost data from HDDs, SSDs, USB drives, SD cards, and other Windows storage devices. It can recover more than 200 types of data, such as text files, photos, videos, music, emails, and compressed files. The free version allows up to 30MB of data recovery, while the paid version has no limits on data size.
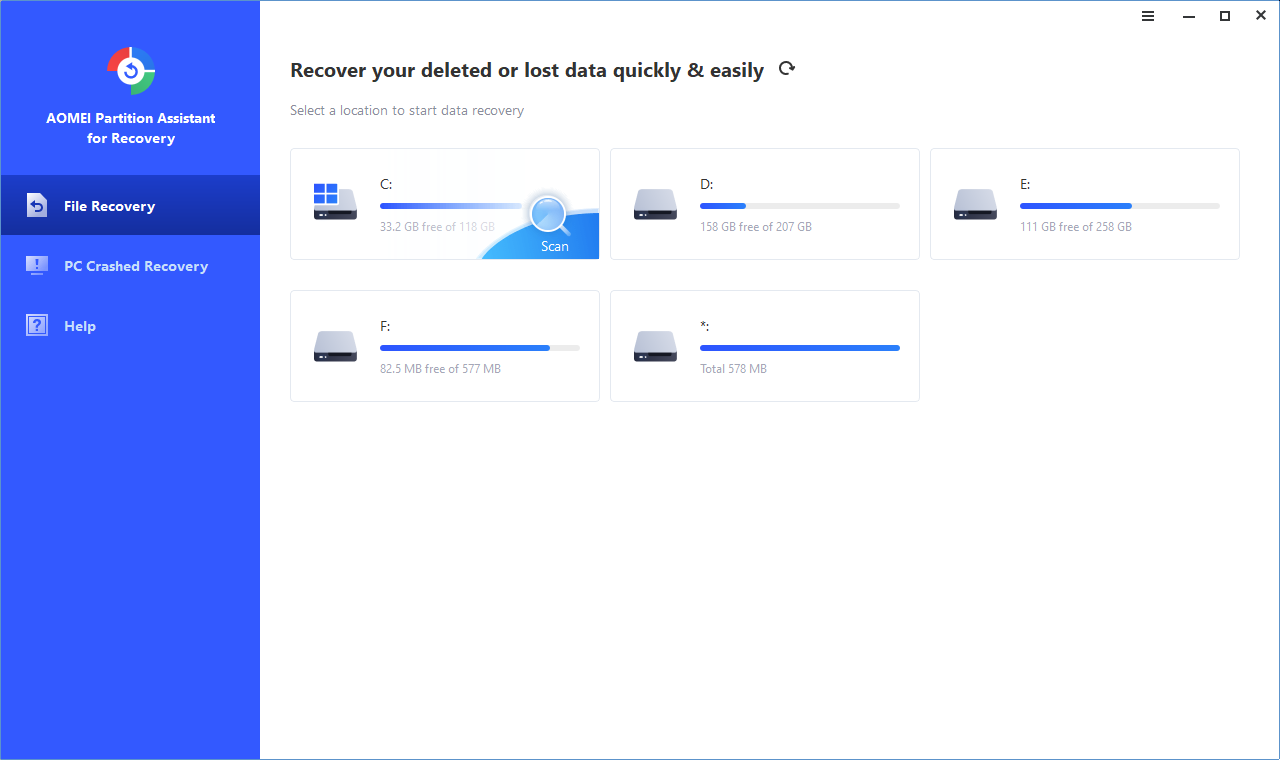
Step 1. Open AOMEI Partition Assistant. Find the "Recover" option on the taskbar and find "Recover Data," clicking on it to initiate the recovery process.

Step 2. Then, the Recover Windows Data tool interface will pop out. Proceed to identify the specific partition wherein the lost images were initially stored. Click the "Start Scan" option to initiate the scanning procedure.
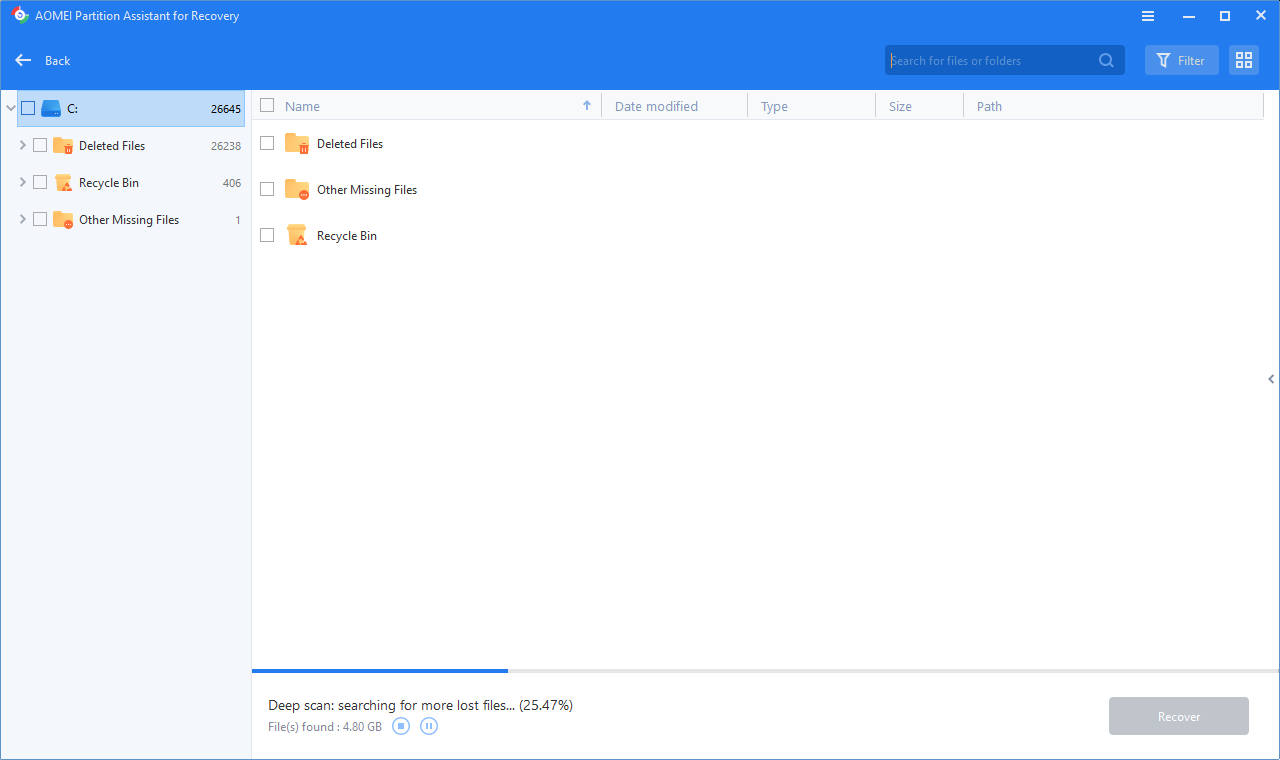
Step 3. Upon the completion of the scanning operation, a comprehensive display of outcomes awaits. This encompasses deleted files, items in the recycle bin, as well as other files that have gone astray. Select the target files and click the "Recover".
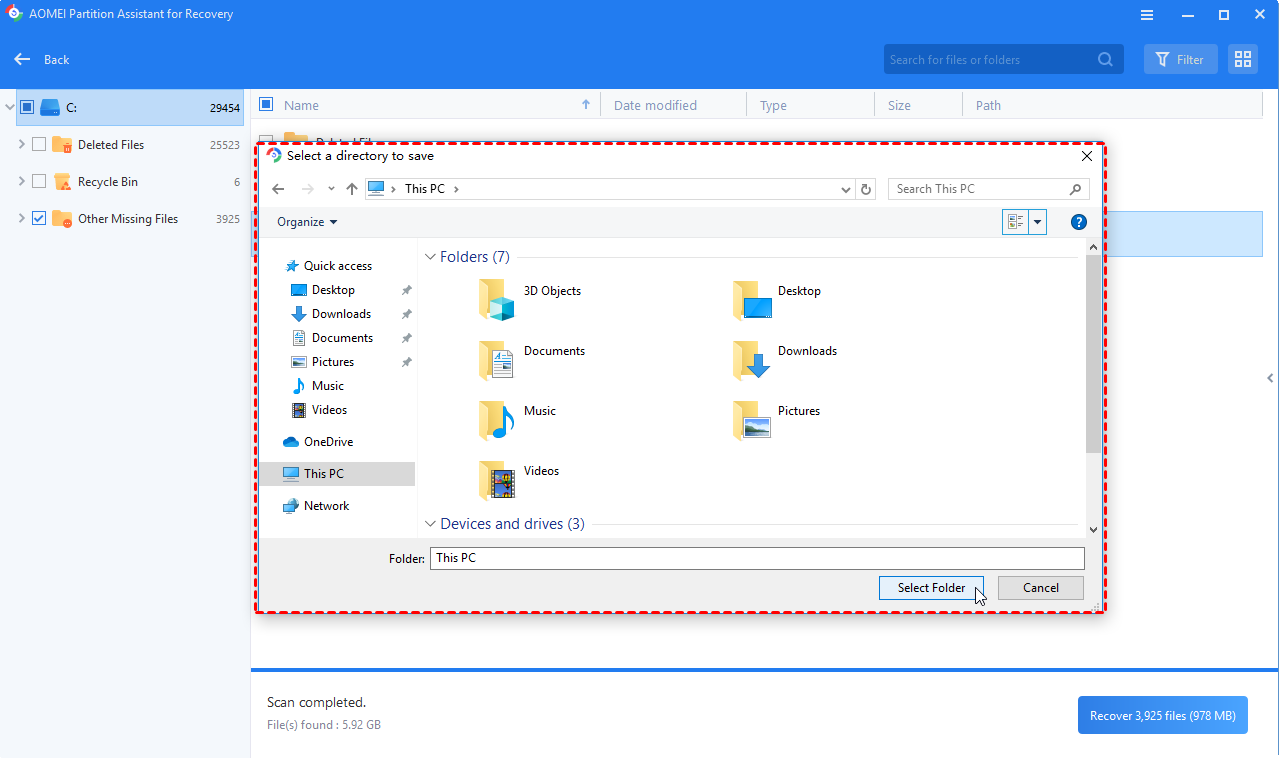
Step 4. Next, find a suitable pathway to save your restored files.
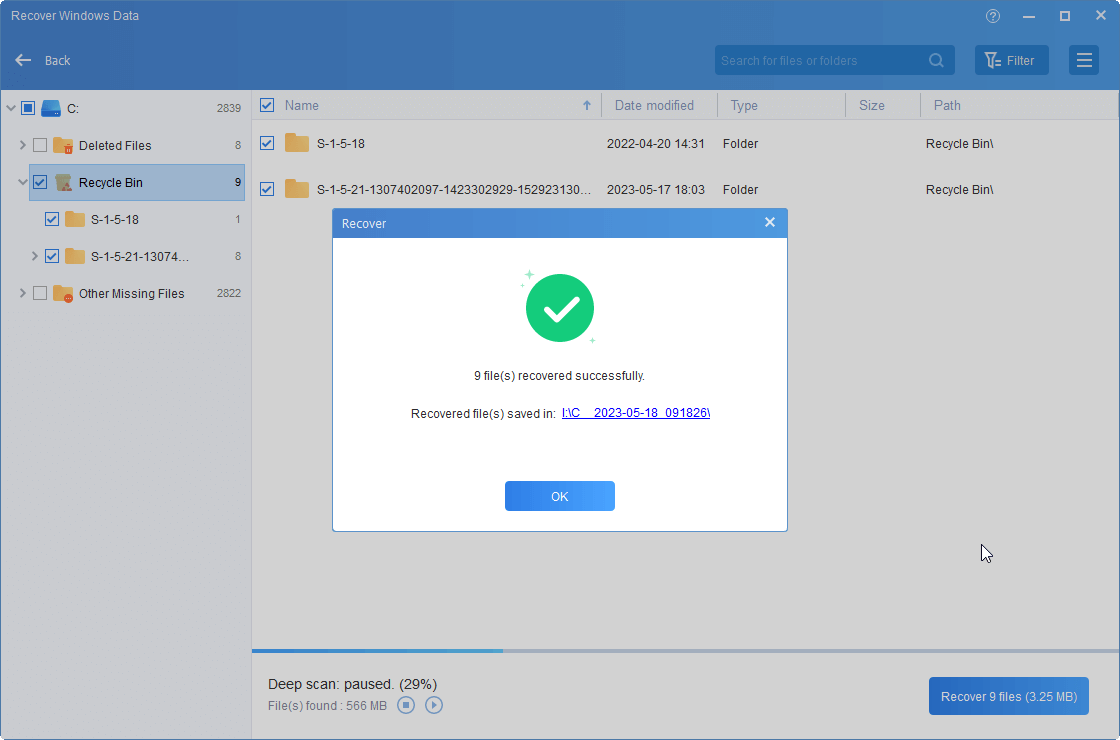
Step 5. When the file is restored successfully, click "OK" to exit the window.
Summary
When your PC stuck on BIOS screen, you can follow the 7 solutions to solve the problem. If you suffer data loss, you can even easily restore them with AOMEI Partition Assistant.
This multifunctional software also supports moving installed programs to another drive, format partition, convert disk between MBR/GPT, and so on. For Windows Server users, it offers the AOMEI Partition Assistant Server edition.

