How to find and delete duplicate files with PartitionAssistant Cleanup?
Overview
Duplicate files might exist in different folders and hard drives, making it hard to track manually. These duplicate files can accumulate over time, taking up unnecessary space and causing file management issues. The Duplicate Files Finder tool in PartitionAssistant Cleanup is very helpful to easily find and remove duplicate files from your computer or storage devices. In this case, you can maximize your computer space usage.
How to find and delete duplicate files with PartitionAssistant Cleanup
Before you do
- Install PartitionAssistant Cleanup on a Windows PC.
- Make a backup of important data in advance.
- Connect the drive on which you want to find and delete duplicate files.
Step 1: Initiate Find Duplicate Files
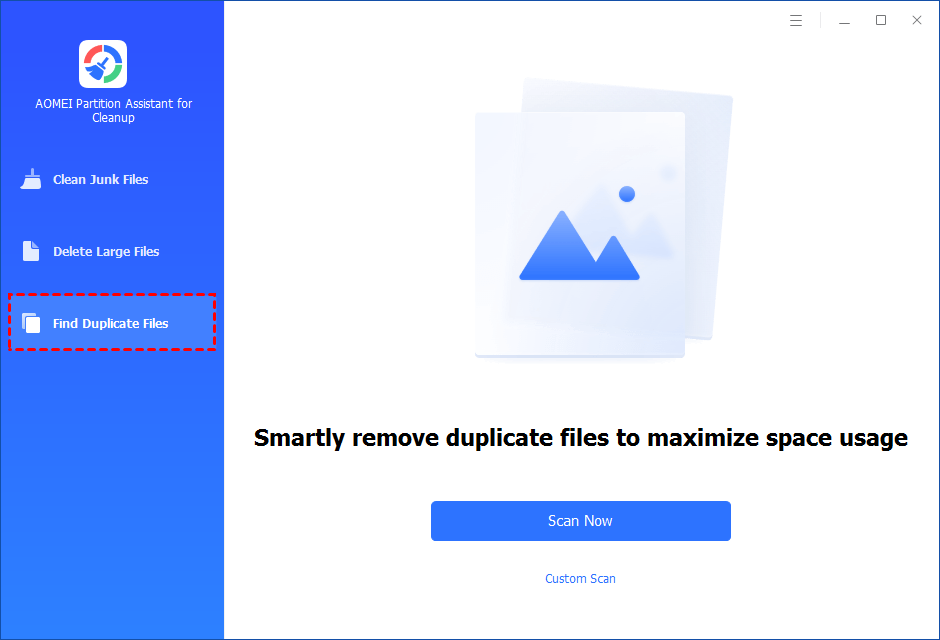
Install and launch PartitionAssistant for Cleanup. Click the "Find Duplicate Files" tab.
Step 2: Select a path to scan duplicate files
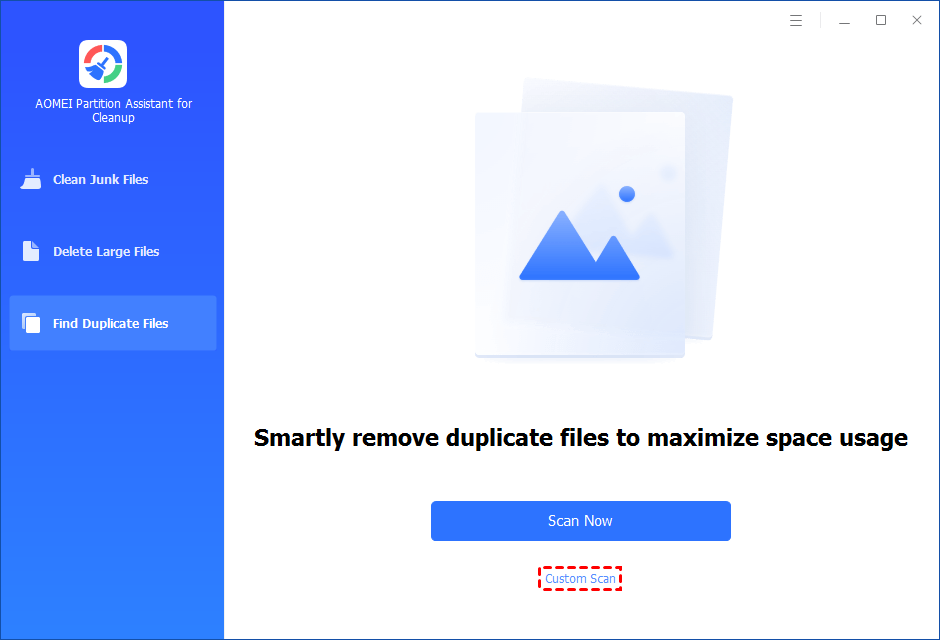
1. You can either click "Scan Now" to start the scan of your system C: drive. Or, click "Custom Scan" to manually select paths to be scanned. (Here, we take the "Custom Scan" as an example.)
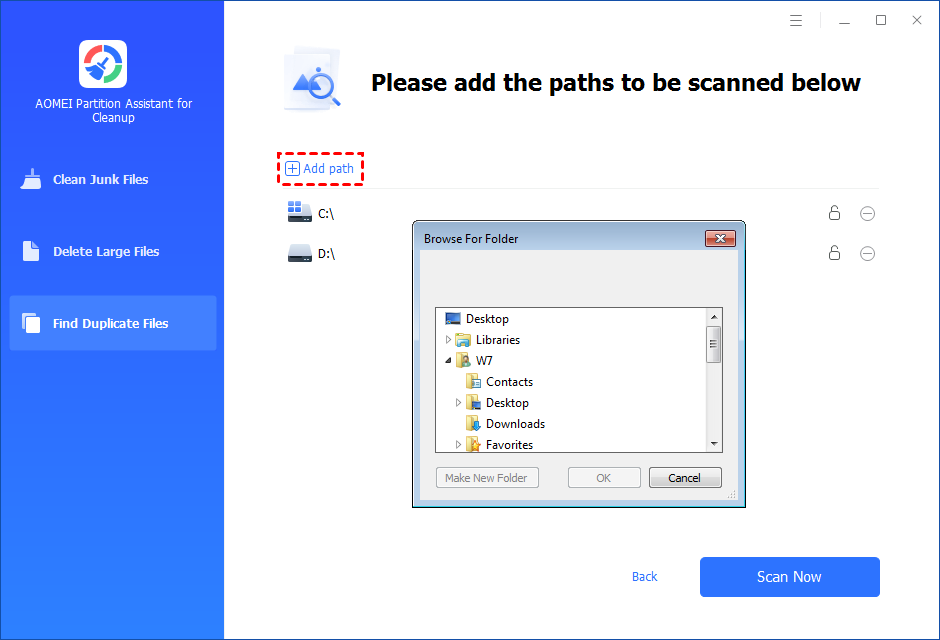
2. After clicking "Custom Scan", all local and external drives on your PC will be displayed. You can also click the "Add Path" button, and then a browse folder window will pop up. So you can add more paths on this PC, like Desktop, Downloads, and other folder paths.
3. Once necessary paths are added, you can click the "Scan Now" button to start the scan process.
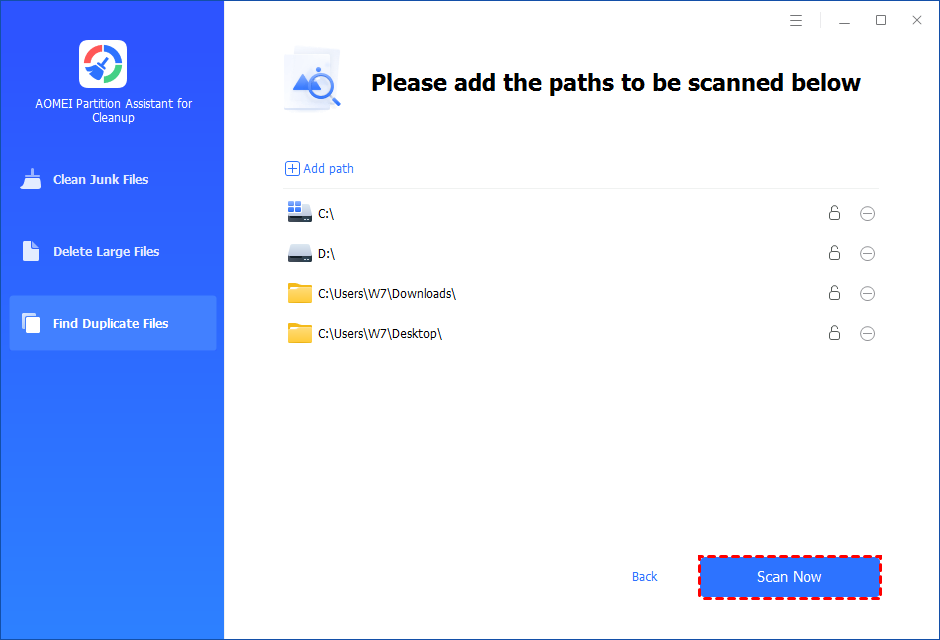
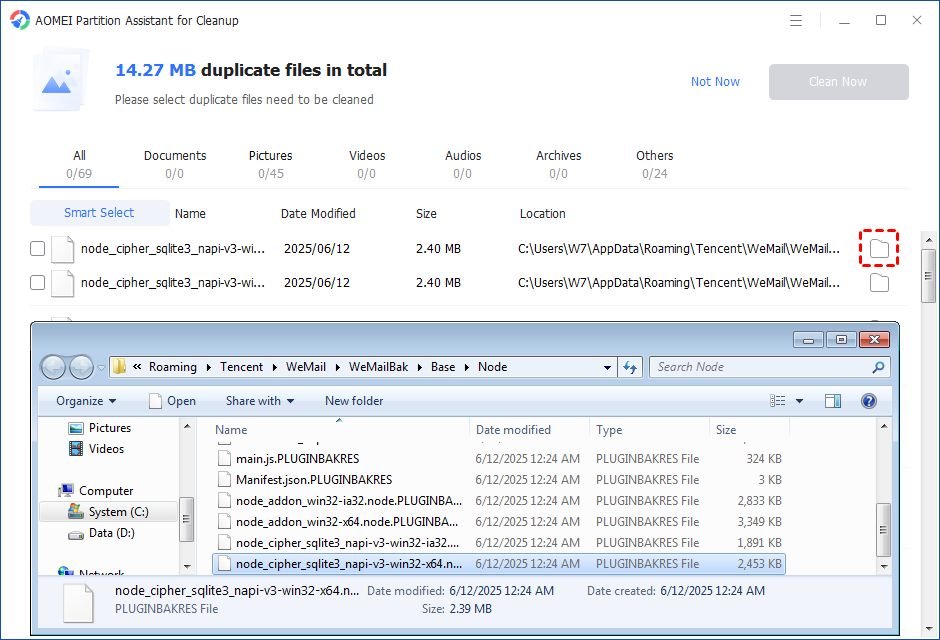
4. The scan process might take time. After the scan is complete, all duplicate files will be listed. You can click the button behind to locate them.
Step 3: Select duplicate files to start deletion
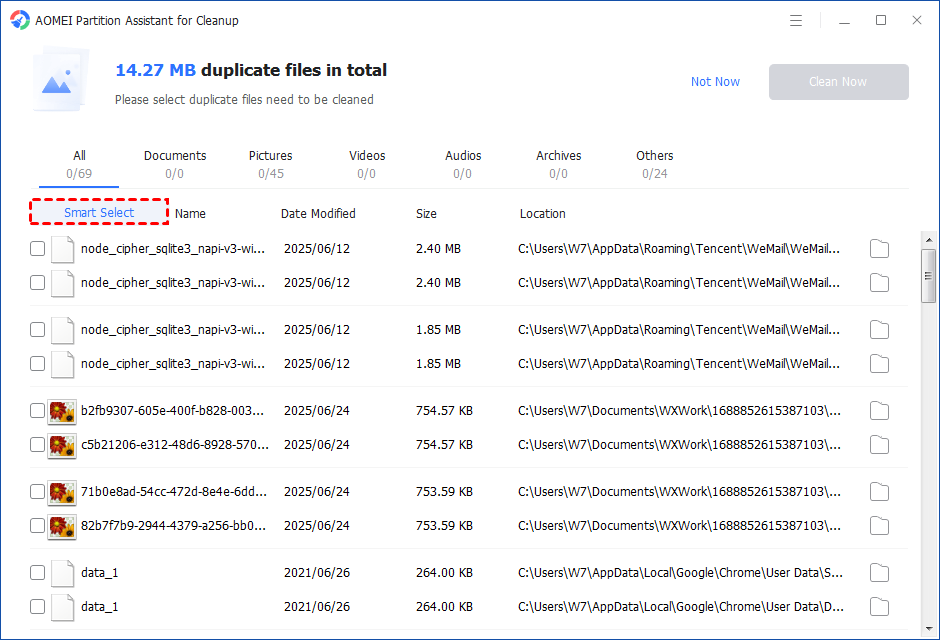
You can either manually select duplicate files or click the "Smart Select" button to automatically select unnecessary duplicate files to delete.
Tips: If the "Smart Select" is ticked, only the oldest duplicate file will be unticked. It means that all duplicate files except the oldest one will be ticked to delete. (The oldest file means the file that was created first. This file will not be deleted. All other duplicate files are considered copies of the oldest file. )
If you manually select all copies of duplicate files, you will get a pop-up warning window to keep at least one copy of the duplicate files. If you indeed want to delete all copies of duplicate files, you can click "OK" so all copies of duplicate files will be selected to delete.

After unnecessary duplicate files are selected, please click the "Clean Now" button to start the deletion.

Step 4: Delete successfully
The deletion might take time. After the process is finished, the selected files will be deleted, and you will get a cleaning completed window displaying how much data you deleted in total.

Conclusion
Following the above steps, you can easily find duplicate files and delete unnecessary duplicates on your PC. With the useful tool, you can manage and maximize your drive space.