

[Fixed] Cannot Delete Temporary Internet Files on Windows 10
When cannot delete temporary internet files on Windows 10, you can find 2 simple methods and a powerful PC cleaner to solve this problem in this article.
By AOMEI / Updated on July 9, 2025
Cannot delete temporary internet files on Windows 10
"Windows 10 tells me I'm running out of disk space on my C: drive, so I went to Settings| System| Storage| Free up space. 1.90GB of temporary internet files were found there. I tried to delete those files, but when scanning my PC again, it still showed 1.9GB of temporary internet files. How to delete temporary internet files on Windows 10? Thanks for your answer."
- Question from Microsoft Community
When we visit the website in the browser, some temporary internet files will be automatically saved on our computer disk, so that we can revisit these websites more quickly.
However, many temporary internet files may sit idle on the computer and occupy the computer’s space. So we need to delete these temporary internet files to free up computer space.
Why not able to delete temp internet files in Windows 10?
Why do we fail to delete temporary internet files?
First of all, since temporary internet files are not equivalent to temporary files, it is difficult for us to delete these files directly on the PC. Secondly, these temporary internet files cannot be successfully deleted when the methods are not correct.
In this article, we will provide some ways on how to delete temporary internet files in Windows 10.
How to delete temporary internet files on Windows 10
Many users claim to have encountered the problem of cannot delete temporary internet files on Windows 10 with Disk Cleanup, and they are desperate to find a way to deal with it properly. So in what follows, we will focus on finding effective ways to delete temporary internet files.
│Method 1. Delete temporary internet files via Control Panel
To effectively delete temporary internet files, you can try deleting web browsing information in the Control Panel and setting not to keep browsing history. Please follow the detailed steps below:
Steps 1. Select Control Panel in the Start menu, click "Network and Internet" and "Internet Options" in order.
Step 2. In the "Internet Properties" window that pops up, tick "Delete browsing history on exit". Click "Settings" and set the website file data.

│Method 2. Delete temporary internet files in the browser setting
How to delete temporary internet files on Windows 10? You can also clean up temporary internet files from the root - delete cache and temporary files in different browsers. There's a universal formula: enter the browser settings/select Internet/find the option to clear temporary files. Here, we take Chrome and Firefox as examples.
Case 1. Delete temporary internet files in Chrome
Please refer to the following operations to delete temporary internet files in Chrome:
Step 1. Click the three-dot logo in the upper right of the main interface, then click "More Tools" and "Clear Browsing Data".
Step 2. Select "Browsing history", "Download history", "Cookies and other site data" and "cached images and files" in the pooped up window.
Step 3. Click on "Clear Data" to remove all selected options.

Case 2. Delete temporary internet files in Firefox
The way to delete internet files in Firefox is similar.
Step 1. Get into the interface of "Settings".
Step 2. You can see "Privacy & Security", click it.
Step 3. Find "Cookies and Site Data", click "Clear Data".

A reliable PC Cleaner to delete temporary internet files on Windows 10
With the above methods, you can get rid of the cannot delete temporary internet files on Windows 10 dilemma. In addition, we are inclined to recommend PartitionAssistant Cleanup, a more convenient and practical free computer cleaner.
It can not only scan out and delete temporary internet files in your computer thoroughly, but also find system junk files and registry junk files that cause headaches for many Windows users. You can free up space of your PC with just a few simple clicks.
PS.: Hot functions such as wipe hard drive, resize a partition, format a partition are also provided for you.
The Best Windows Disk Partition Manager and PC Optimizer
Step 1. Install and launch PartitionAssistant Cleanup. Click the "Clean Junk Files" tab.

Step 2. Click the "Scan Now" button to start the process of scanning junk files.

Step 3. After the scan process is finished. All system junk files (including recycle bin files, temporary files, log files, invalid shortcuts, and so on) and registry junk files (including DLL registry, system registry, and program registry) will be displayed.

Step 4. You can also click the button behind to view the junk files details.

Step 5. And, you can click the button behind to locate the file.

Step 6. By default, the program will select some junk files to clean up, for example, temporary files, log files, and so on. You can also manually check to select more or uncheck to deselect fewer listed junk files. Or, click "Select All" to select all junk files to clean up if you need to clean up all.
After selecting junk files that are not needed anymore, you can click the "Clean Now"button to start the cleanup.

Step 7. The process of the cleanup might take time, and the selected files will be cleaned up. After the process is finished, you will get a cleanup completed window displaying how many files you have cleaned and not yet cleaned.

│Bonus tip: Delete large files to free up space
In addition to junk files, there are many large files in the computer. If you want to get more free space, please use the "Delete Large Files" function. With it, scan all large files on the disk including redundant/duplicate files becomes an easy thing. And you can free up space by deleting target large files.
The Best Windows Disk Partition Manager and PC Optimizer
Step 1. Install and launch PartitionAssistant Cleanup. Click the "Delete Large Files" tab.
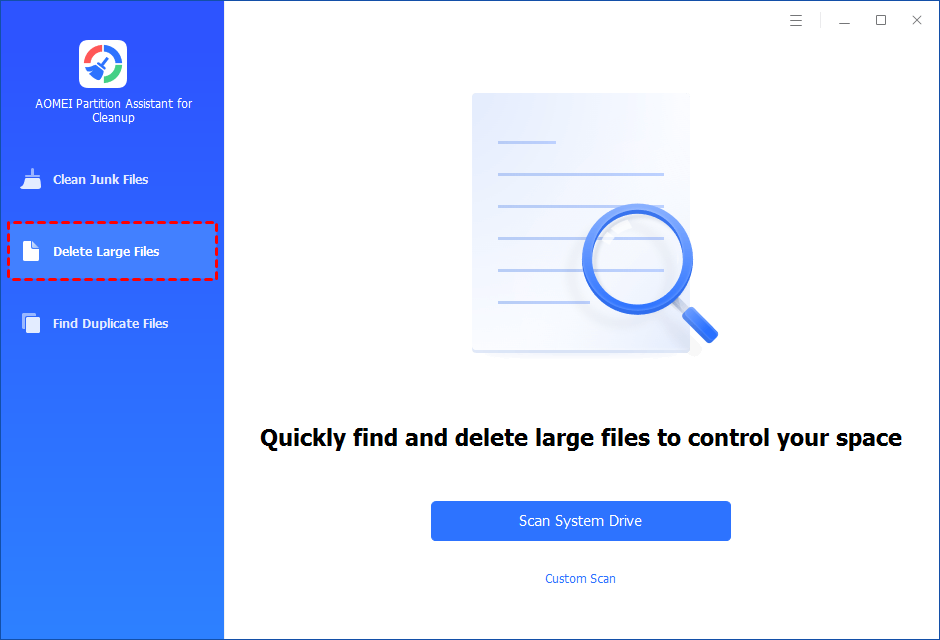
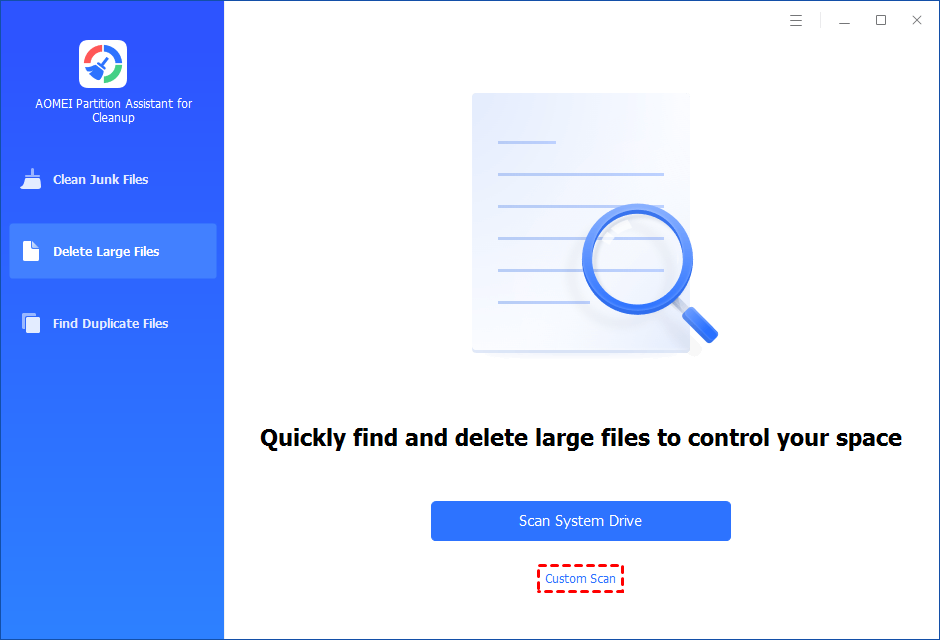
Step 2. You can either click "Scan System Drive" to start the scan of your system C: drive. Or, click "Custom Scan" to manually select paths to be scanned. (Here, we take the "Custom Scan" as an example.)
Step 3. After clicking "Custom Scan", all local and external drives on your PC and the common Desktop, Documents, and Downloads paths will be displayed. You can manually select paths to be scanned. Once necessary paths are added, you can click the "Scan Now" button to start the scan process.

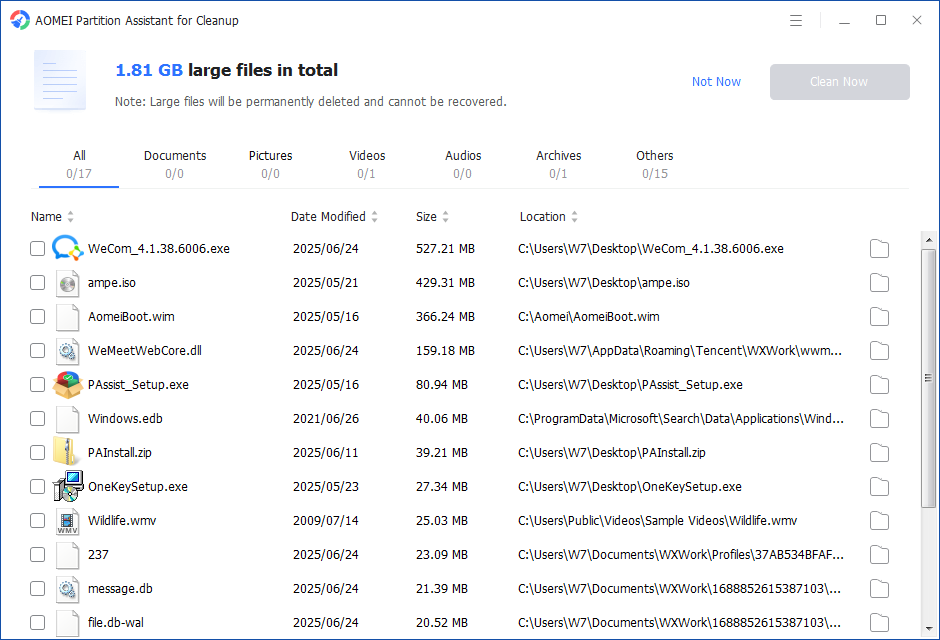
Step 4. The scan process might take time. After the scan is complete, all large files found will be listed.
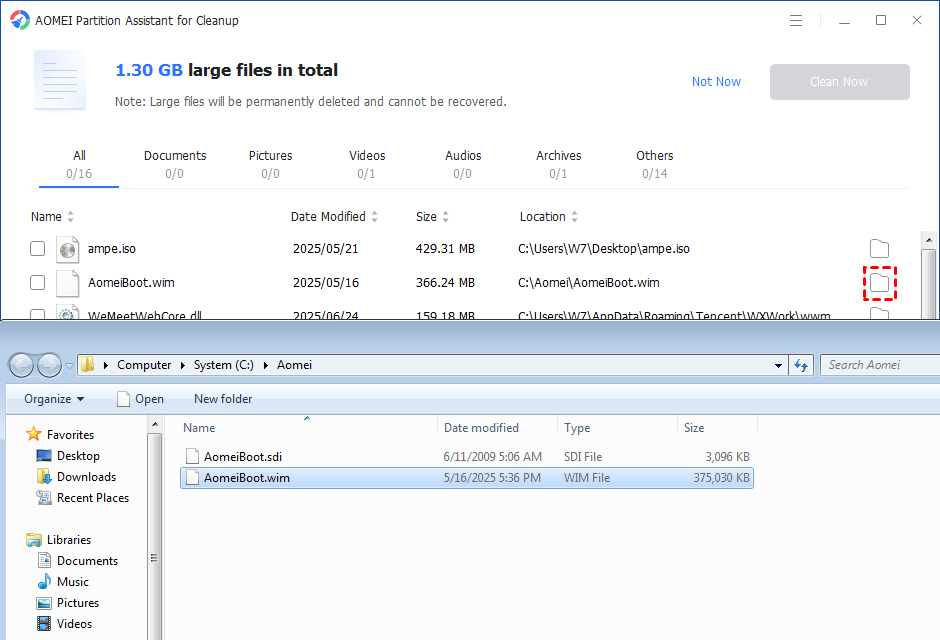
Step 5. You can also check the large files and click the button behind to locate them.
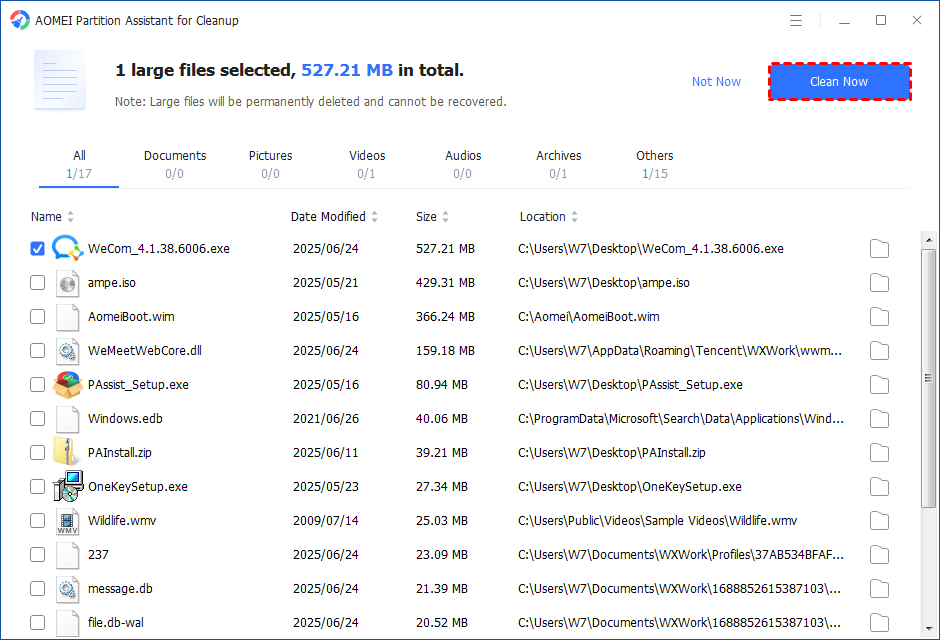
Step 6. Tick the files you want to delete, and then click the "Clean Now" button to start the deletion.
Step 7. The deletion might take time. After the process is finished, the selected files will be deleted, and you will get a cleaning completed window displaying how much data you deleted in total.
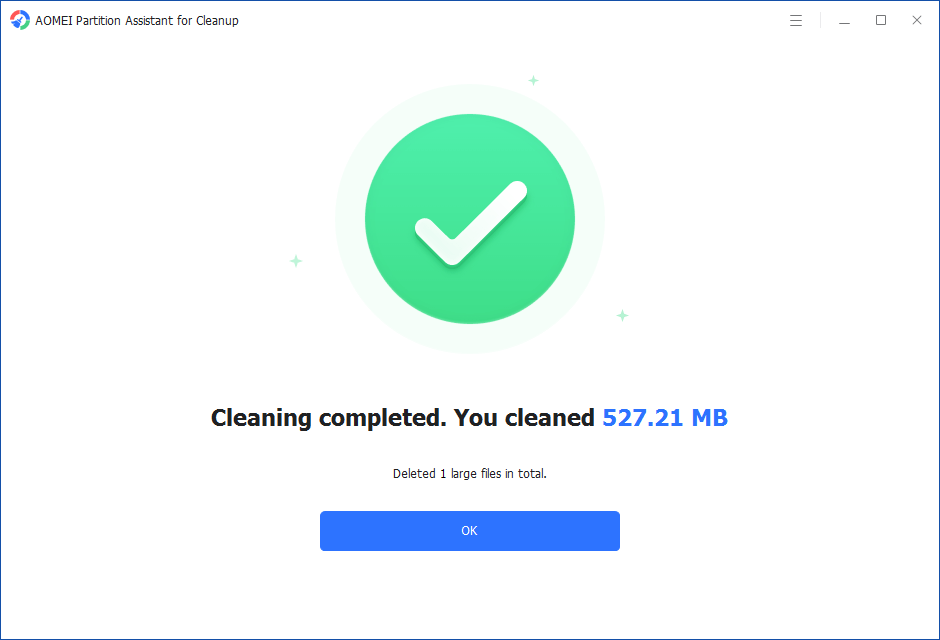
Step 5. Just for a while, the large files will be deleted successfully, and then you will see a warm notification suggesting you clean up your PC regularly.
To sum up
Look, PartitionAssistant Cleanup can successfully help you solve the problem of cannot delete temporary internet files on Windows 10. In addition, you can enjoy privileges such as moving files from one SSD to another, moving installed programs from one drive to another, converting GPT to MBR, etc. Come and try it now!

