

How to Free Up Disk Space on Windows: 4 Easy Fixes
Running low on disk space is a common issue for Windows users. This post will show you how to free up disk space (usually on the C: drive) in Windows, helping you resolve this issue.
By Gia / Updated on July 10, 2025
Running low on disk space is a common issue for Windows users. When your hard drive gets full, your computer can slow down, and you might not be able to save new photos, videos, or documents. It's frustrating!
Fortunately, there are simple ways to tackle this problem. This post will show you how to free up disk space on a Windows operating system, helping you improve computer performance and make room for the things you need.
How to Free Up Disk Space on Windows?
In this section, we'll cover four easy fixes to free up disk space in Windows 11/10. Let's dive into the practical steps you can take right now to reclaim valuable storage space.
Method 1: Uninstall Unused Programs
Over time, we install software that we think we'll use, but sometimes those programs just sit there, taking up valuable disk space. Removing these unused applications is one of the most effective ways to free up disk space, especially on your C: drive, where the operating system and most programs are installed.
Here’s how to free up disk space by uninstalling programs:
Step 1: Press Windows + I to open Windows Settings.
Step 2: Go to Apps > Apps & features.
Step 3: Select the software you want to uninstall and click the Uninstall button.
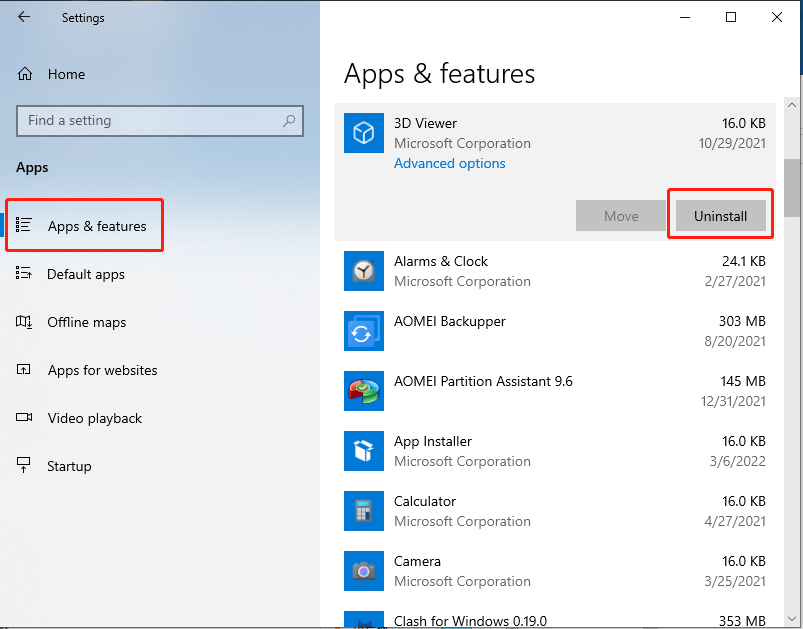
Step 4: Wait patiently until it’s complete.
Method 2: Use Storage Sense
Windows has a built-in feature called Storage Sense. This tool can automatically free up disk space by getting rid of items you don't need, such as temporary files, Recycle Bin files, or the Downloads folder. It's a great way to regularly clean up disks.
Here’s how to enable and configure Storage Sense to free up disk space in Windows 10/11:
Step 1: Press Windows + I to open Windows Settings.
Step 2: Go to System > Storage.
Step 3: Make sure Storage Sense is turned on.

Step 4: Click to open the settings and configure how often it runs and what types of files to delete.
Step 5: Click Run Storage Sense now to perform a disk cleanup.
Method 3: Delete Unnecessary Large Files
Sometimes, a few extremely large files can cause low disk space. These could be old video files, ISO images from software downloads, backup files you forgot about, or large project files.
Manually searching through folders to find these space hogs can be incredibly time-consuming and frustrating. This is where a dedicated tool comes in handy. PartitionAssistant Cleanup offers a convenient "Delete Large Files" feature specifically designed to help you locate and remove these storage consumers efficiently.
Free Up Disk Space To Keep Your PC Running Smoothly and Efficiently
Here’s how to free up disk space by removing large files:
Step 1. Install and launch PartitionAssistant Cleanup. Click the "Delete Large Files" tab.
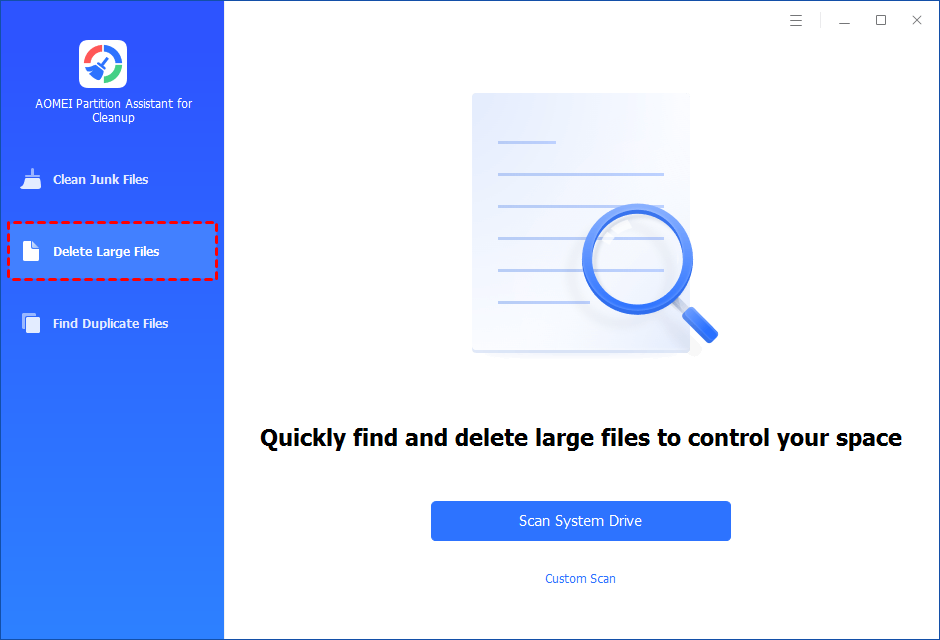
Step 2. You can either click "Scan System Drive" to start the scan of your system C: drive. Or, click "Custom Scan" to manually select paths to be scanned. (Here, we take the "Custom Scan" as an example.)
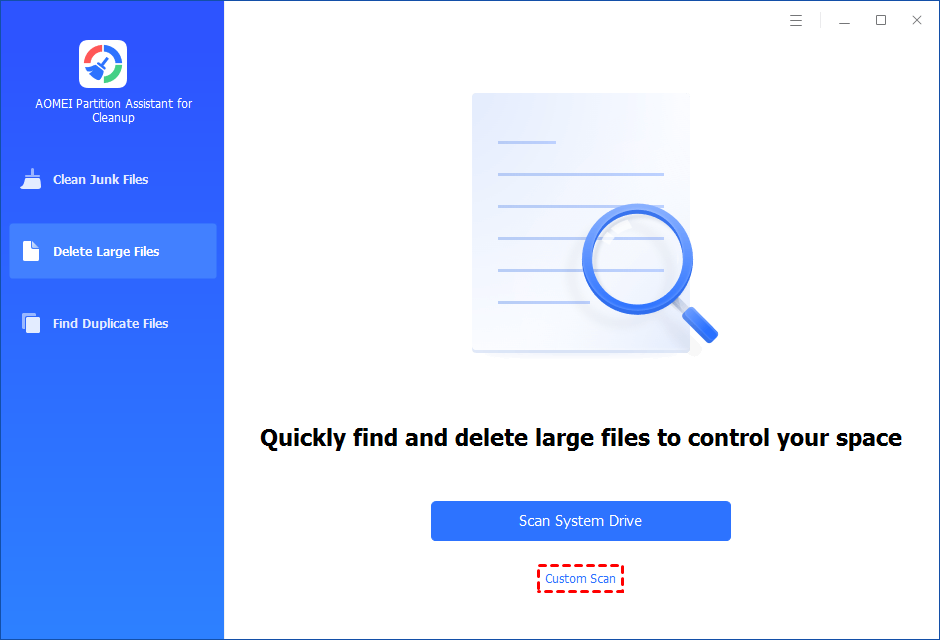
Step 3. After clicking "Custom Scan", all local and external drives on your PC and the common Desktop, Documents, and Downloads paths will be displayed. You can manually select paths to be scanned. Once necessary paths are added, you can click the "Scan Now" button to start the scan process.

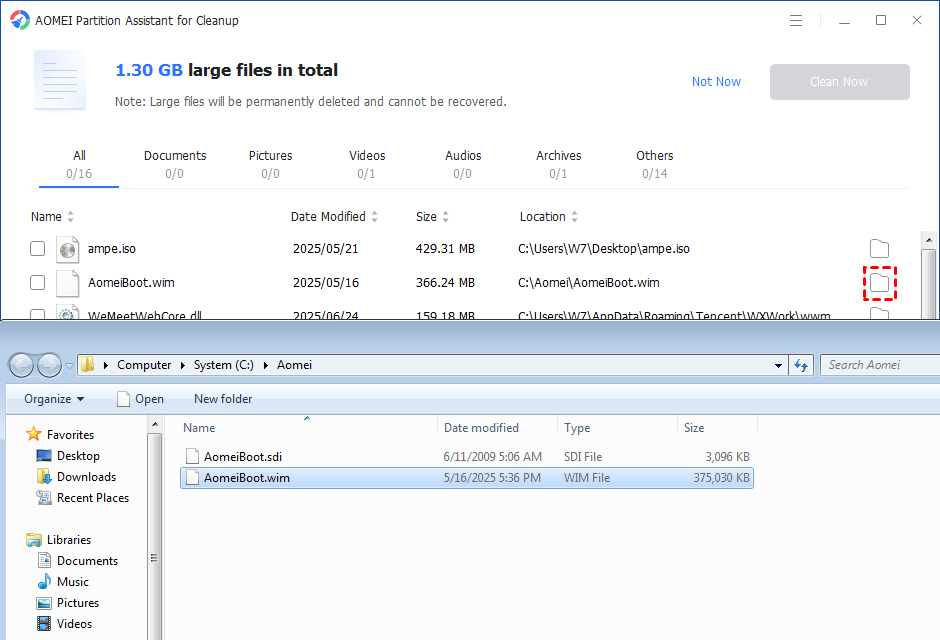
The scan process might take time. After the scan is complete, all large files found will be listed.
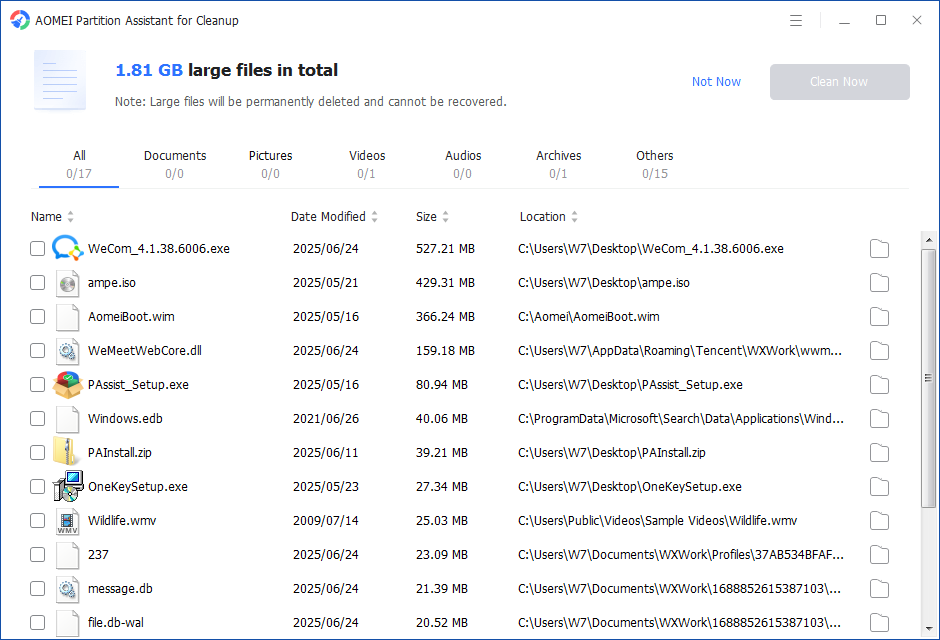
You can also check the large files and click the button behind to locate them.
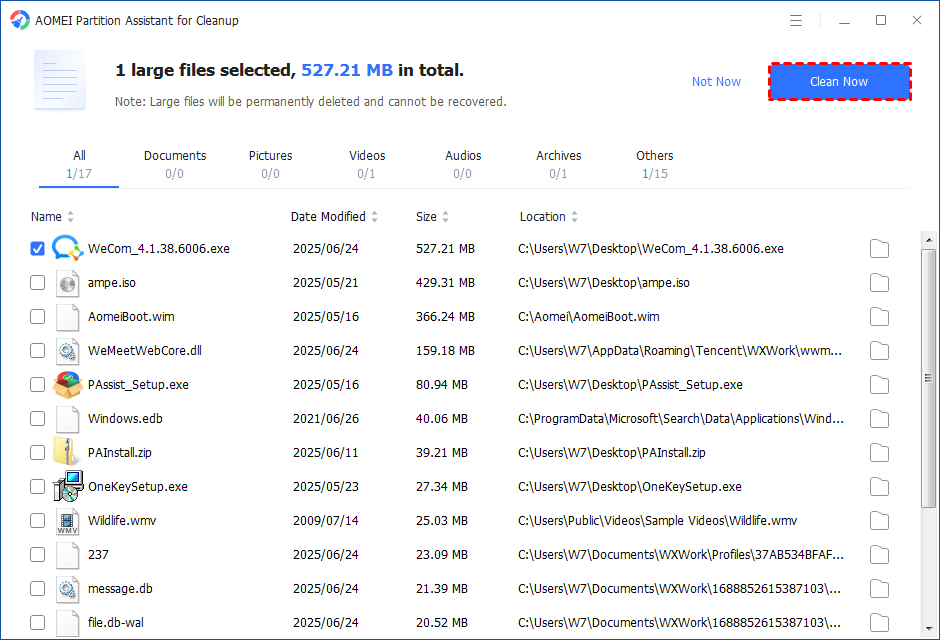
Step 4. Tick the files you want to delete, and then click the "Clean Now" button to start the deletion.
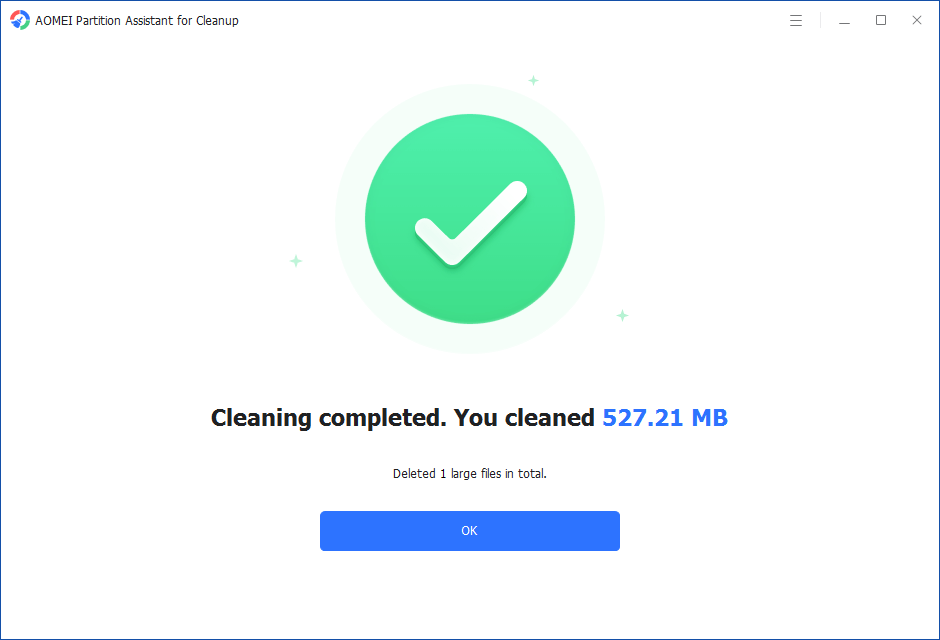
Step 5. The deletion might take time. After the process is finished, the selected files will be deleted, and you will get a cleaning completed window displaying how much data you deleted in total.
Method 4: Remove Duplicate Files
Another common reason for wasted disk space is having multiple copies of the same file scattered across your hard drive. This happens easily with photos, downloaded documents, videos, and music files. You might save a file to your desktop, then copy it to your Documents folder, and later save another copy in a project folder. These duplicates quickly add up, silently consuming gigabytes of space.
Manually finding and deleting duplicate files is an almost impossible task on a large drive. Fortunately, PartitionAssistant Cleanup also provides a "Duplicate Files Finder" tool to simplify this process and help you effectively free up disk space.
Free Up Disk Space To Keep Your PC Running Smoothly and Efficiently
Here’s how to free up disk space by removing duplicate files:
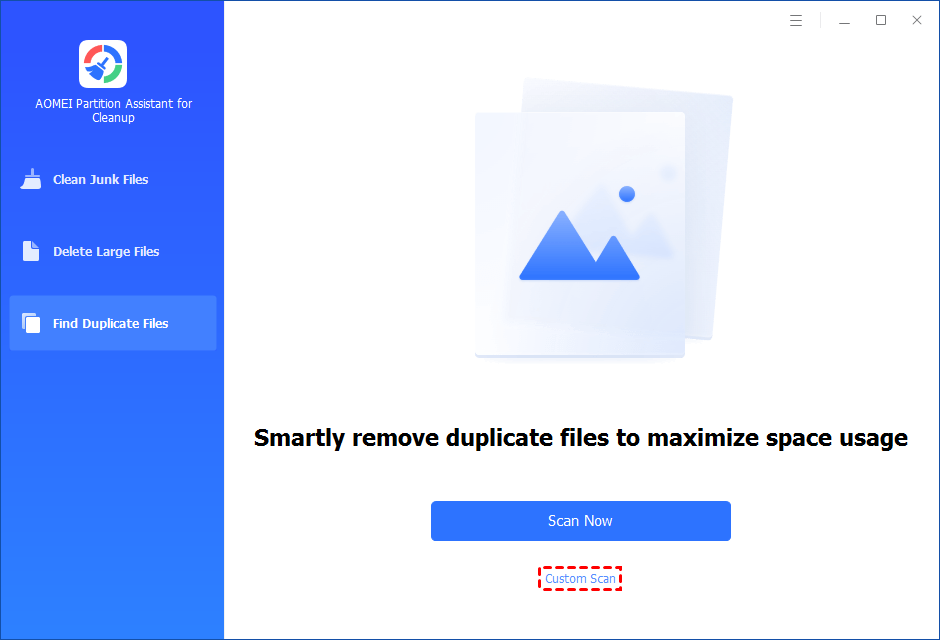
Step 1. Install and launch PartitionAssistant Cleanup. Click the "Find Duplicate Files" tab.
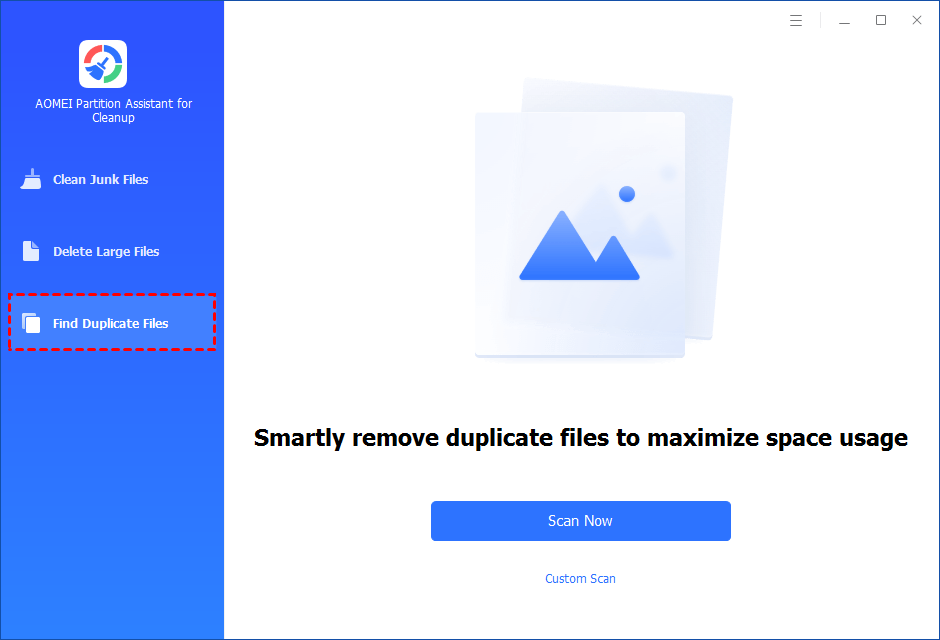
Step 2. You can either click "Scan Now" to start the scan of your system C: drive. Or, click "Custom Scan" to manually select paths to be scanned. (Here, we take the "Custom Scan" as an example.)
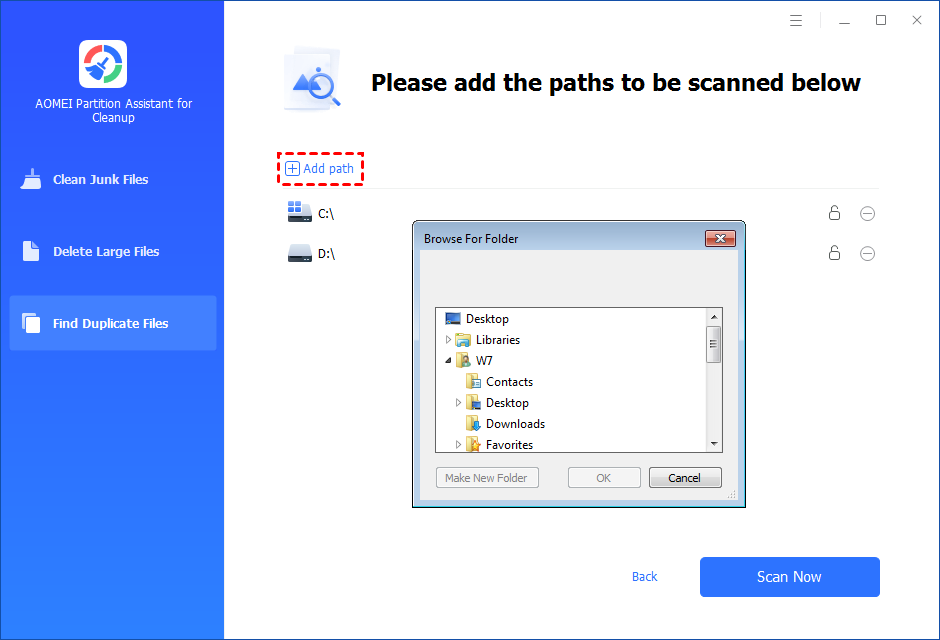
Step 3. After clicking "Custom Scan", all local and external drives on your PC will be displayed. You can also click the "Add Path" button, and then a browse folder window will pop up. So you can add more paths on this PC, like Desktop, Downloads, and other folder paths.
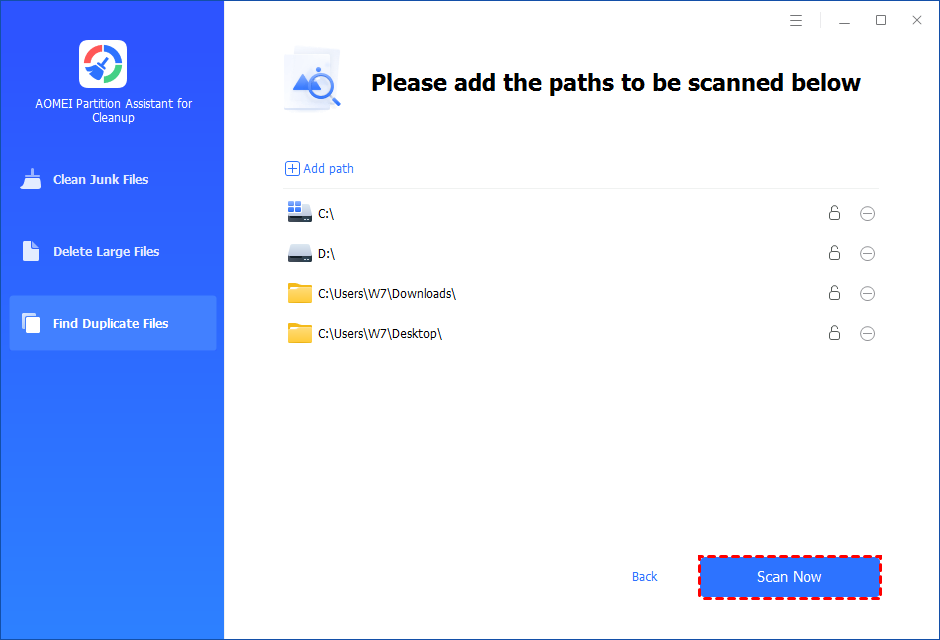
Step 4. Once necessary paths are added, you can click the "Scan Now" button to start the scan process.
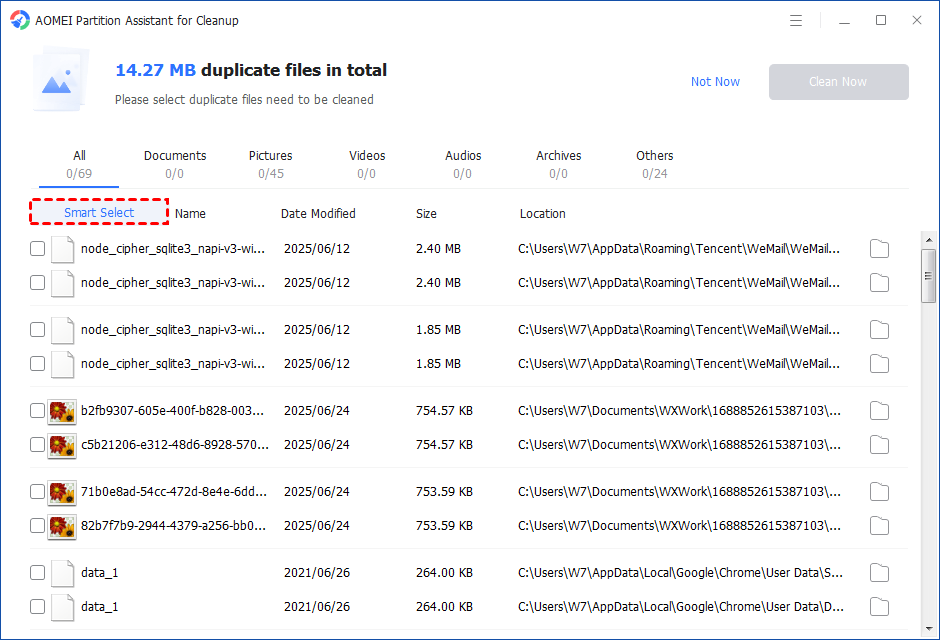
The scan process might take time. After the scan is complete, all duplicate files will be listed. You can click the button behind to locate them.
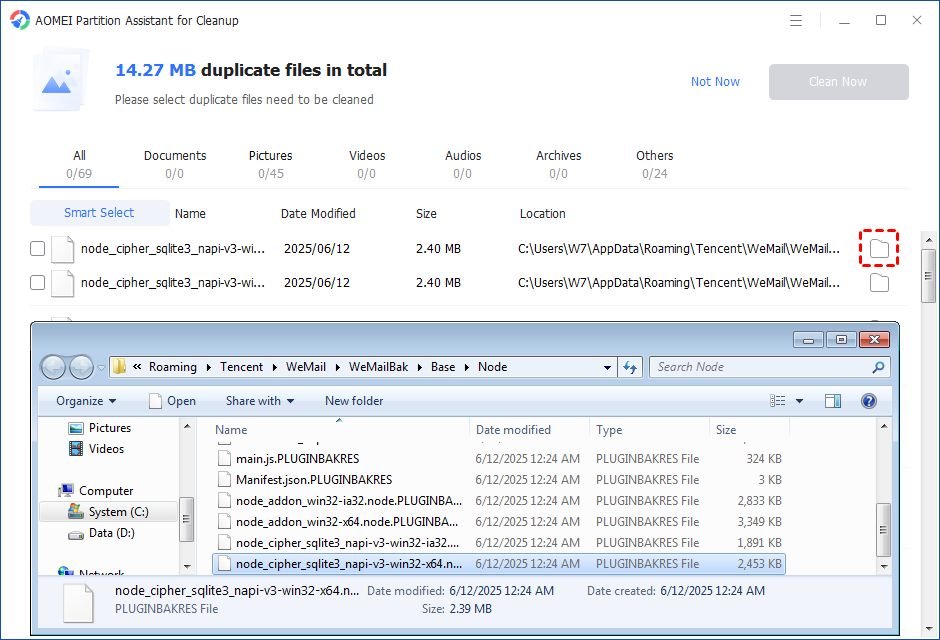
You can either manually select duplicate files, or click the "Smart Select" button to automatically select unnecessary duplicate files to delete.
Tips: If the "Smart Select" is ticked, only the oldest duplicate file will be unticked. It means that all duplicate files except the oldest one will be ticked to delete. (The oldest file means the file that was created first. This file will not be deleted. All other duplicate files are considered copies of the oldest file. )
If you manually select all copies of duplicate files, you will get a pop-up warning window to keep at least one copy of the duplicate files. If you indeed want to delete all copies of duplicate files, you can click "OK" so all copies of duplicate files will be selected to delete.

After unnecessary duplicate files are selected, please click the "Clean Now" button to start the deletion.

Step 5. The deletion might take time. After the process is finished, the selected files will be deleted, and you will get a cleaning completed window displaying how much data you deleted in total.

Summary
Running out of disk space on your Windows PC? Don’t worry! This guide walks you through how to free up disk space (usually on the C: drive) in Windows. And if none of them solve your issue, consider upgrading to a larger SSD for a long-term performance boost.
FAQs
Q1: How much space can I expect to free up?
The amount of space you can free up varies greatly depending on how full your drive is, how many unused programs you have, and how many large or duplicate files are present.
Q2: How often should I free up disk space?
There's no strict schedule, but performing a cleanup every few months is a good practice. Enabling Storage Sense can automate much of the regular cleanup for you.
Q3: Can I free up space without deleting my files or apps?
Yes! You can use AOMEI Partition Assistant to clean up junk files or move programs to another drive with sufficient storage.

