How to Format FAT32 to NTFS on Mac | Full Guide
Do you need to format FAT32 to NTFS on Mac? In this article, you can learn the reasons for the formatting as well as get several reliable methods to complete the formatting process.
By Hedy / Updated on March 10, 2026
FAT32 and NTFS are two widely used file systems found on various storage devices, including hard drives, DVDs, gaming consoles, and other digital equipment. Despite its broad compatibility, FAT32 has notable limitations. It restricts individual file sizes to 4GB and supports partitions only up to 2TB, which can quickly become inconvenient when dealing with modern, large files.
NTFS, by comparison, provides far greater flexibility and capacity. It supports extremely large individual files and allows partitions to reach sizes of up to 256TB, making it far more suitable for today’s data storage demands.
Consider a scenario where you need to store a 16GB movie file on a drive formatted with FAT32. The file simply cannot fit due to the file size restriction. In this case, converting the file system from FAT32 to NTFS on a Mac becomes the most practical solution, allowing larger files to be stored without limitation while improving overall storage efficiency.
Why need to format FAT32 to NTFS on Mac?
Switching from FAT32 to NTFS can be necessary for several practical reasons. Handling large groups of files or working with modern storage demands often becomes frustrating when using FAT32. One common issue appears when attempting to copy a file larger than 4GB. In such cases, the system typically displays an error message stating that the file is too large for the destination drive. Converting the drive from FAT32 to NTFS on a Mac helps eliminate this limitation and improves overall storage efficiency.
Several advantages make NTFS the preferred choice:
▶ Enhanced compatibility with Windows systems: NTFS includes advanced features designed specifically for devices running the Windows operating system.
▶ Stronger data protection: It supports built-in encryption, helping safeguard sensitive files and improve security.
▶ Improved file management: NTFS allows more efficient organization of data and supports shadow copies, enabling convenient file backups and recovery options.
▶ Support for larger files and advanced storage needs: The system easily handles high-capacity files and more complex data structures without the restrictions imposed by FAT32.
How to format FAT32 drives to NTFS on Mac?
Formatting FAT32 to NTFS on a Mac isn’t possible without using third-party software. Before starting the conversion, it’s essential to back up all important files to prevent any data loss. The required backup space depends on usage: casual users may need around 240GB, while heavy users should allocate close to 1TB. Follow these steps to safely back up your data:
Step 1. Connect an empty external hard drive to your Mac.
Step 2. Open the Apple menu, then go to System Preferences and select Time Machine.
Step 3. Click Select Backup Disk.
Step 4. Choose the external drive and click Use Disk.
Time Machine will automatically start backing up all your files, ensuring your data is secure before you proceed with the file system conversion.
Format FAT32 to NTFS on Mac using disk utility
You can use Apple’s built-in Disk Utility to format a FAT32 drive, though the process can be a bit tricky. Follow these steps to ensure proper formatting:
Step 1. Open Disk Utility on your Mac and insert the USB drive into a USB port. If your Mac lacks standard USB ports, use a compatible adapter.
Step 2. Navigate to Applications → Utilities, then double-click Disk Utility to launch it.
Step 3. From the list of drives, carefully select the correct USB drive you want to format. Double-check to avoid erasing the wrong device.
Step 4. Click the Erase button.
Step 5. Enter a name for the drive, or leave it as Untitled.
Step 6. For the format, select MS-DOS (FAT) to set the drive to FAT32.
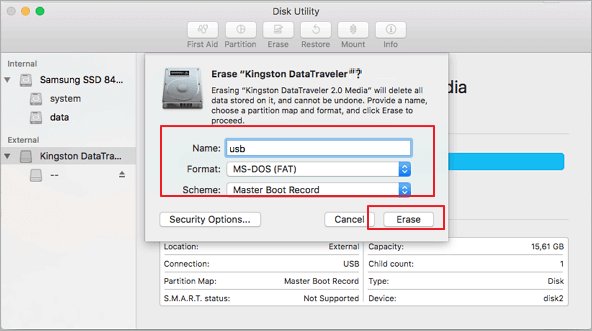
This prepares your drive for general use, but remember that FAT32 will still have its file size limitations.
Format FAT32 to NTFS using Terminal
Nowadays, you can plug almost any USB drive directly into a Mac. However, drives originally formatted for Windows often need reformatting because most USB drives come pre-configured with FAT32, a file system designed for Windows. To use them fully on a Mac, you may need to convert them to a macOS-compatible system or later to NTFS.
One effective way to format FAT32 to NTFS on a Mac is through the Terminal command line, a method commonly used by developers when Disk Utility cannot perform the conversion. Here’s how to do it step by step:
Step 1. Connect the USB drive to your Mac and make sure it is recognized by the system.
Step 2. Press Command + Spacebar to open Spotlight, type Terminal, and press Enter.
Step 3. In the Terminal window, type the command diskutil list and press Enter. This lists all connected drives and their IDs.
Step 4. Use the command diskutil eraseDisk (FileSystem) (DiskName) (DiskID) to format the drive. Replace (FileSystem) with the desired file system, (DiskName) with the name you want for the drive, and (DiskID) with the disk identifier from the previous step.
Step 5. Press Enter to execute the command. The drive will be reformatted according to your specifications.
This method provides precise control over formatting and is especially useful for larger drives or when preparing a USB for cross-platform use.
Bonus Tip: Make NTFS drive readable and writable on Mac
Many Mac users struggle with NTFS drives because macOS can only read them by default, preventing file edits, deletions, or copying new files. PartitionAssistant NTFS for Mac is a reliable solution that breaks this limitation. It allows you to read and write NTFS drives seamlessly on your Mac without complicated workarounds or risky commands.
With its intuitive interface, you can mount NTFS drives with full read/write access, ensuring smooth file transfers between Windows and Mac systems. It also supports fast data transfer, automatic drive recognition, and safe disk management, making it an ideal tool for both personal and professional use.
By using PartitionAssistant NTFS for Mac, you can finally use your Windows-formatted drives on macOS just like any native drive.
Step 1. After you install and run PartitionAssistant NTFS for Mac and connect your NTFSdrive, it will be mounted and listed. You need to click "Enable Writable".
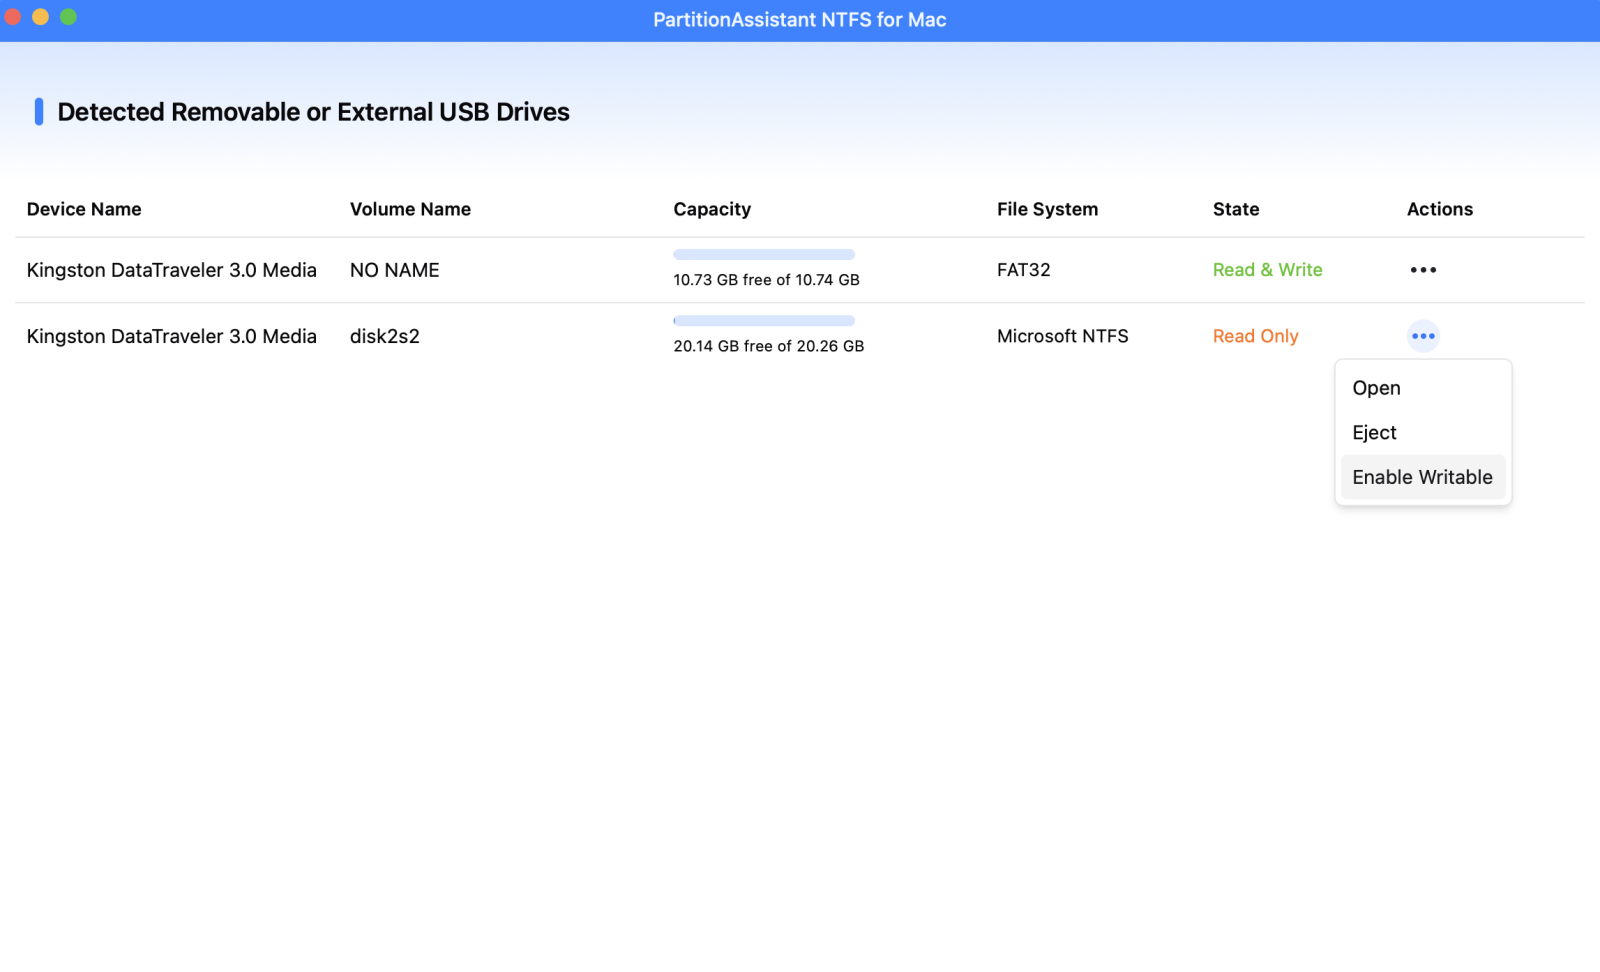
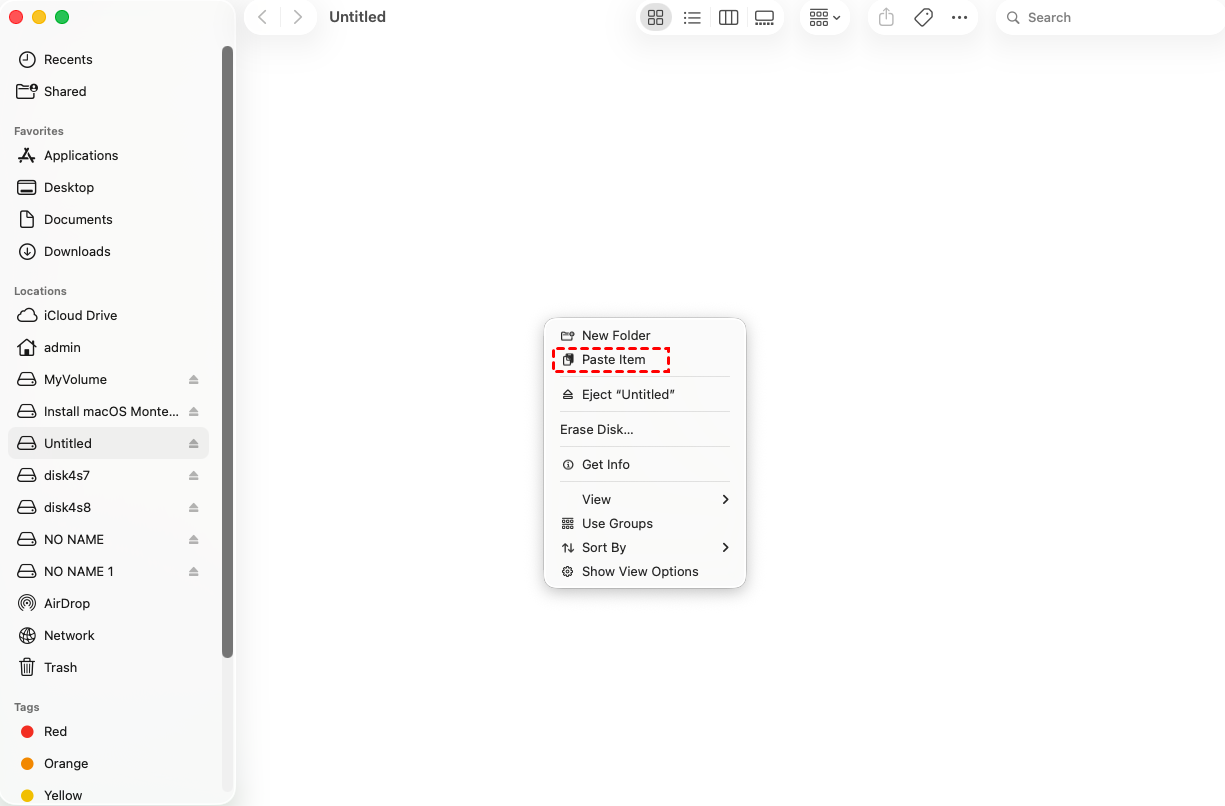
Step 2. Now your Mac can read NTFS drive, and you can also modify files on the NTFS device.
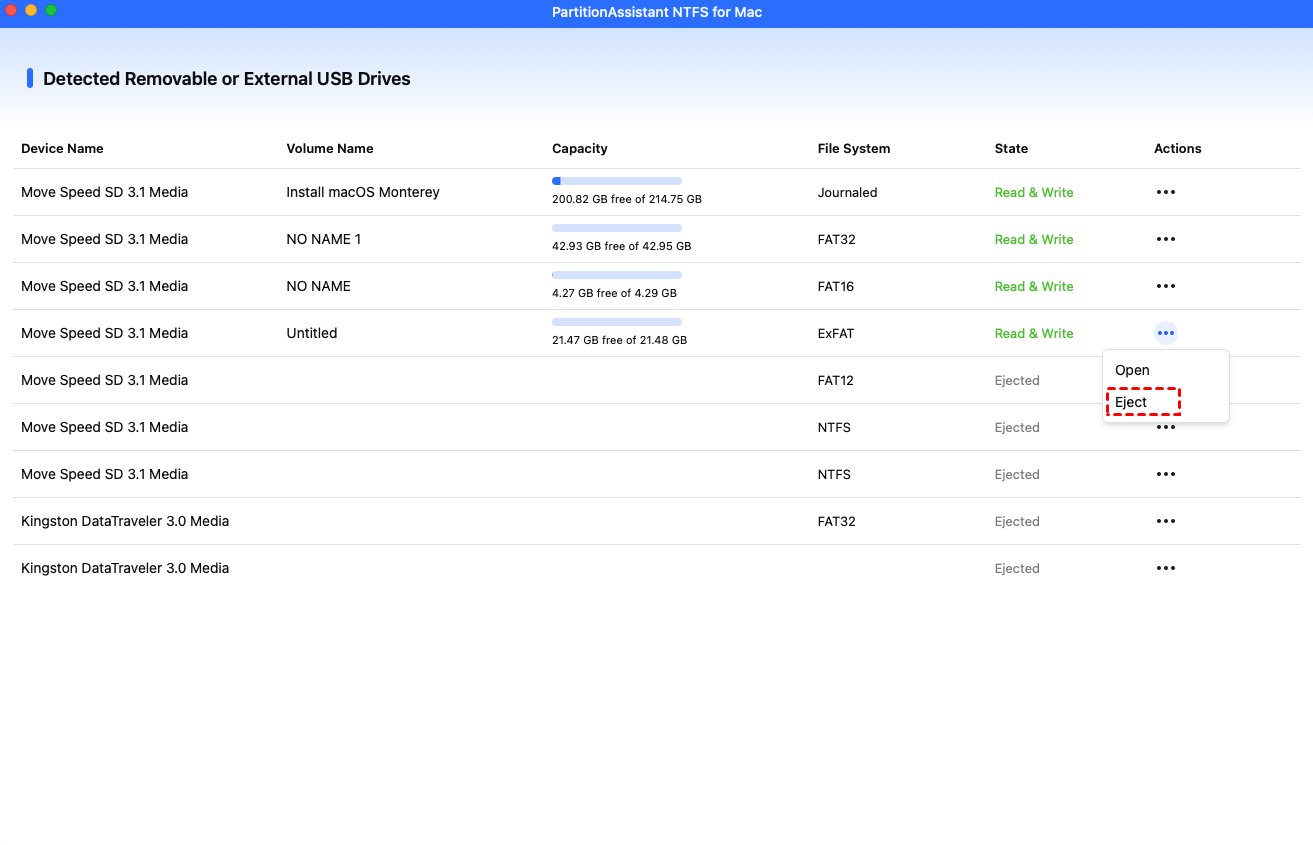
Step 3. After all operations are complete, please click "Eject" to disconnect the NTFSexternal hard drives from your Mac.
Conclusion
In summary, while FAT32 offers broad compatibility, its limitations—especially the 4GB file size cap—can restrict modern storage needs. Converting a drive from FAT32 to NTFS on Mac allows you to store larger files, manage data more efficiently, and benefit from improved security features. With proper backup and the right tools, the conversion process becomes straightforward, enabling smoother cross-platform file management between Mac and Windows systems.

