How to Move DaVinci Resolve to Another Drive Without Reinstalling
You may wonder how to move DaVinci Resolve to another drive for freeing up space when C drive almost full, this post will show you how to change DaVinci Resolve project location without reinstalling.
By AOMEI / Updated on March 5, 2026
Why need to DaVinci Resolve change database location?
DaVinci Resolve is a widely used video editing software from Blackmagic for Mac, Windows and Linux. It's the only tool in the world that integrates editing, color grading, visual effects, motion graphics and audio post-production all in one. It combines a modern interface with powerful features that allow you to work faster and with higher quality.
Users may receive low disk space warning due to the large drive space required for DaVinci Resolve's databases to store. If it happens on a C drive, this can have a bad performance impact on Windows. So users may be wondering how do I change the location of my DaVinci Resolve? Fortunately, this post aims to show you how to move DaVinci Resolve to another drive without installing.
How to move DaVinci Resolve to another drive without losing data
Please do not try to use the copy and paste, because there is a risk of data loss! To change the location of DaVinci Resolve safely and easily, you should try AOMEI Partition Assistant Professional.
This is a powerful transfer utility that can move installed programs and folders which is suitable for Windows 11, 10, 8, 7, Vista, and XP. The App Mover feature allows you to move DaVinci Resolve to another drive without reinstalling. It also works if you want to know how to save my DaVinci Project to an external hard drive without losing data or move DaVinci Resolve Database to another drive.
Now, please download this powerful software to see how it works.
Tip: If you are moving DaVinci Resolve on Windows Server, please switch to Server Edition.
▶ Method 1. Move installed DaVinci Resolve to another drive
Step 1. Install and launch PA Professional, then select the “App Mover” under "Free up".

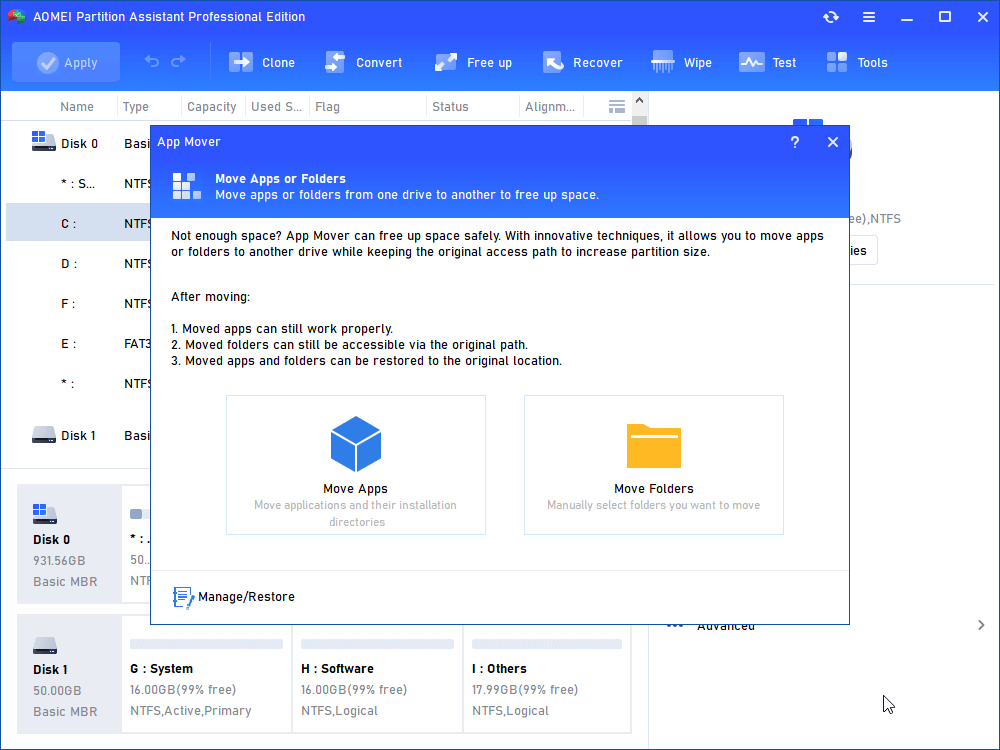
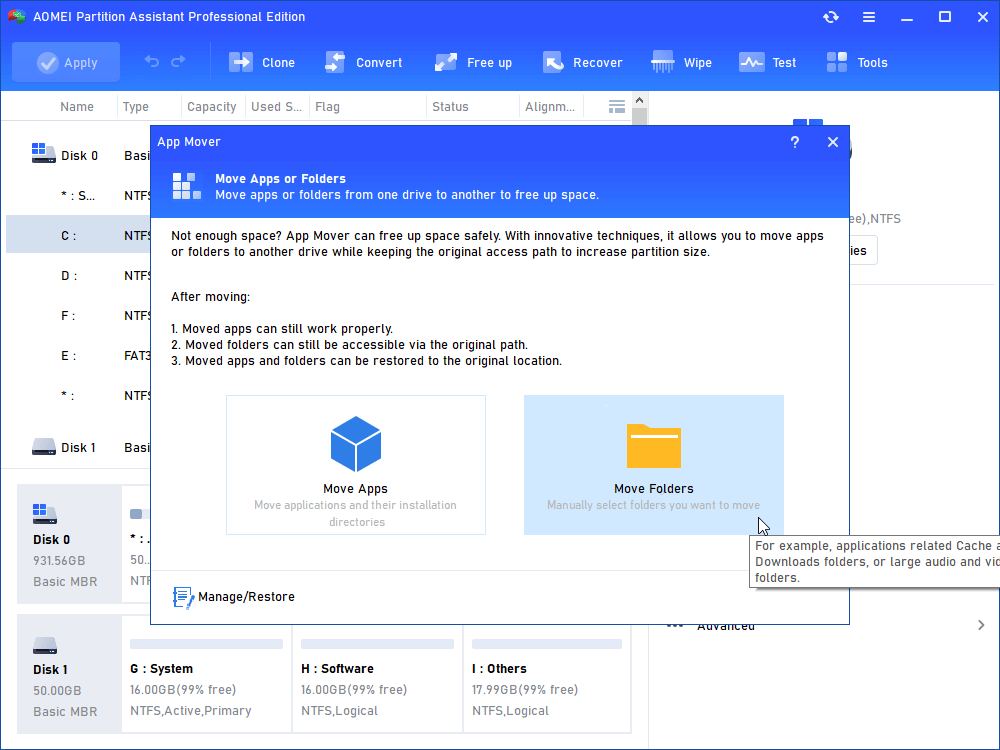
Step 2. In the new window, click “App Mover”.
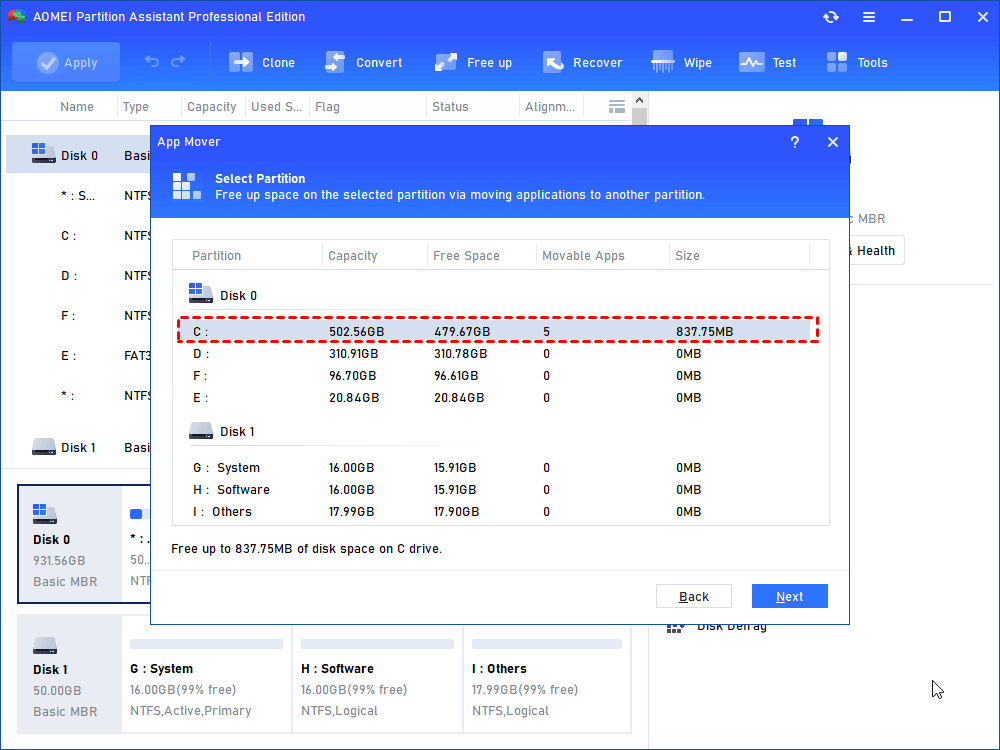
Step 3. Choose one partition that Photoshop located and click "Next".
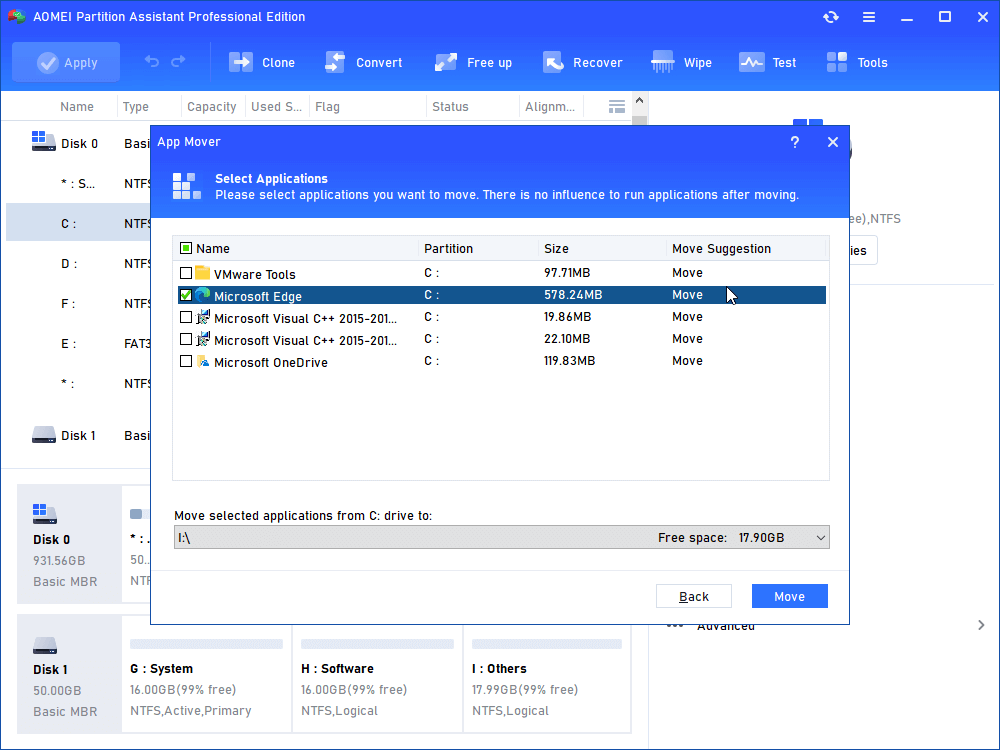
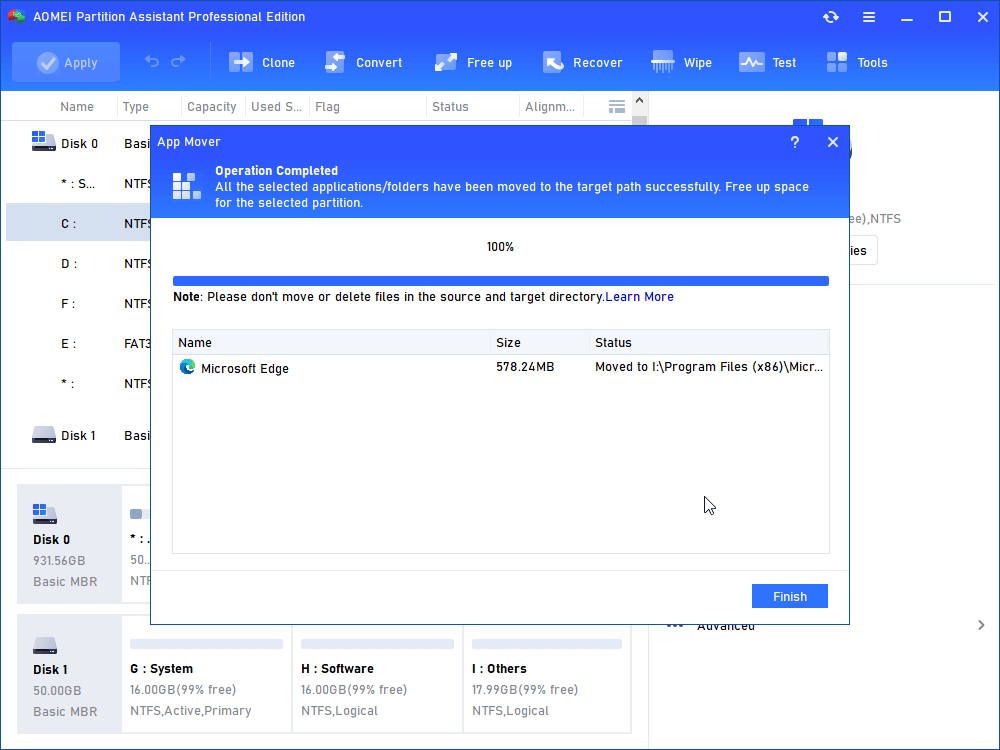
Step 4. All movable apps in the selected partition will be listed, choose DaVinci Resolve(take Microsoft Office as an example) and select the target location, then click "Move".
Step 5. Wait a moment, DaVinci Resolve will be moved to target drive.
▶ Method 2. How to move DaVinci Resolve database
Step 1. Navigate to this screen as above, and click "Move Folders".
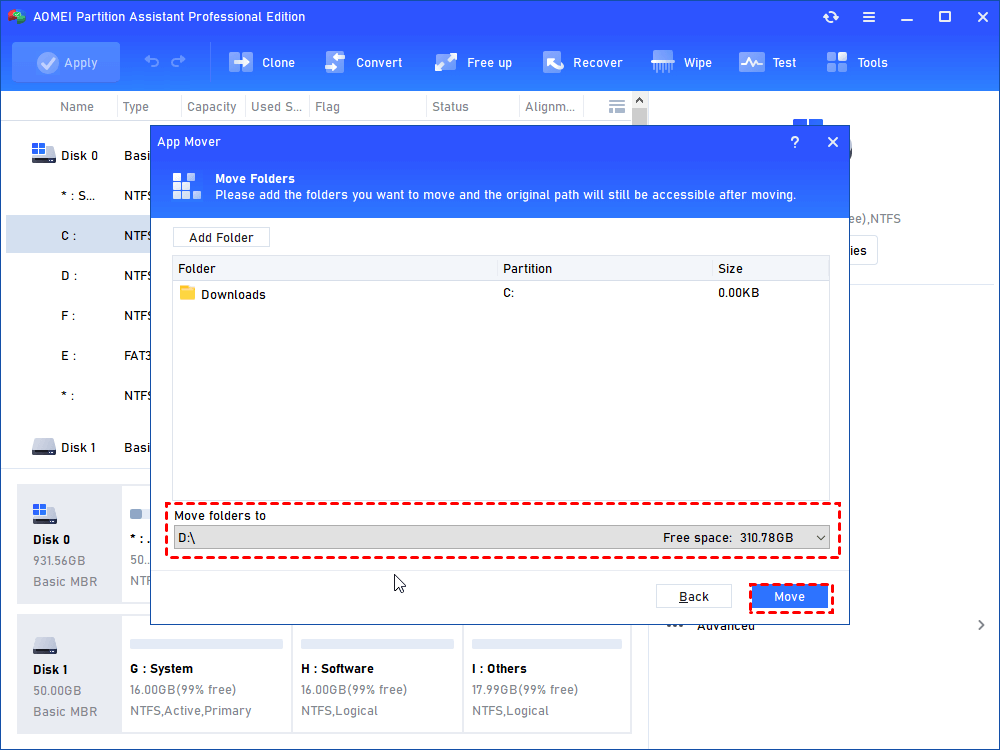
Step 2. Find database folder of DaVinci Resolve. Then, select a new path, and click "Move".
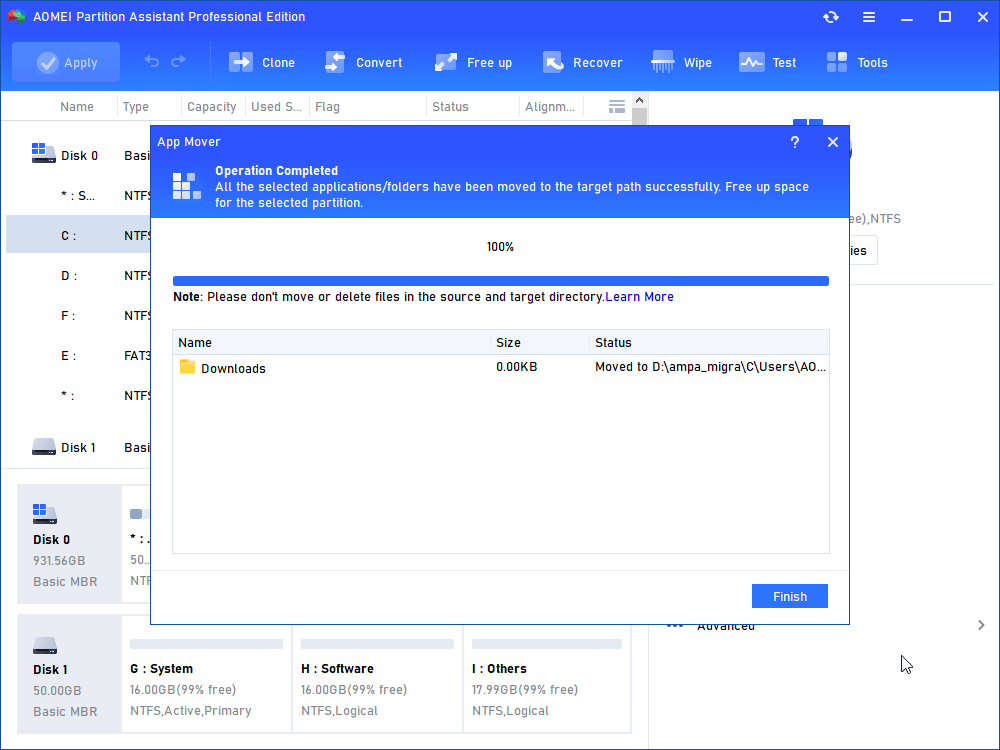
Step 3. Wait for a while and click "Finish" to complete the action.
Wrap things up
From what has been discussed above, I believe you already know how to move DaVinci Resolve to another drive. Although there are some other ways to do it, AOMEI Partition Assistant Professional is definitely one of the easiest and most safe methods.
Besides, it has some other methods waiting for you to try, such as migrating OS to SSD from HDD, allocating free space from one drive to another drive, converting system disk from MBR to GPT without losing data, deleting large files by type to save more space on the PC and more.

