

[Answered] Why Does Deleting Files In Windows 10 Take So Long?
If you want to know why does deleting files in Windows 10 take so long, this passage will be helpful. It will explain it with sharing how to quickly delete files in Windows 10.
By Irene / Updated on March 5, 2026
Why does deleting files in Windows 10 take so long?
Have you ever wanted to delete files to free up space, only to find that it takes a long time or even gets stuck? In Windows 10, deleting files can sometimes take longer than expected, especially when you're removing a large number of them. This is because Windows needs to go through each file, calculate what’s being deleted, update the display, and manage system resources. Even if you're using File Explorer and pressing Shift + Delete to permanently remove files, the process can still be slow due to several factors, including:
-
A large number of small files, which take more time than fewer large ones
-
Files currently in use by programs
-
Issues with the file system, like errors or corruption
-
Antivirus software scanning files before they're deleted
-
Deleting files from external or network drives
-
Background tasks that use system resources
All these can cause noticeable delays during the file deletion process.
How to quickly delete massive files in Windows 10?
Deleting large files in Windows 10 can be frustrating when relying solely on built-in tools. These options often require manual setup and may overlook hidden junk or unnecessary files cluttering your system.
A simpler solution is using PartitionAssistant Cleanup. Compatible with all Windows versions, including Windows 10, this tool quickly scans your computer for large, unwanted files like cache and system junk files, and it allows you to delete them with just a few clicks. It’s an easy, efficient way to free up space and improve overall performance.
The Best Windows Disk Partition Manager and PC Optimizer
Step 1. Install and launch PartitionAssistant Cleanup. Click the "Clean Junk Files" tab.

Step 2. Click the "Scan Now" button to start the process of scanning junk files.

Step 3. After the scan process is finished. All system junk files (including recycle bin files, temporary files, log files, invalid shortcuts, and so on) and registry junk files (including DLL registry, system registry, and program registry) will be displayed.

Step 4. You can also click the button behind to view the junk files details.

Step 5. And, you can click the button behind to locate the file.

Step 6. By default, the program will select some junk files to clean up, for example, temporary files, log files, and so on. You can also manually check to select more or uncheck to deselect fewer listed junk files. Or, click "Select All" to select all junk files to clean up if you need to clean up all.
After selecting junk files that are not needed anymore, you can click the "Clean Now"button to start the cleanup.

Step 7. The process of the cleanup might take time, and the selected files will be cleaned up. After the process is finished, you will get a cleanup completed window displaying how many files you have cleaned and not yet cleaned.

Bonus tip: More options to quickly delete files in Windows 10 to free up space
If deleting files in Windows 10 takes too long, you can try using PartitionAssistant Cleanup to make it faster. The "Delete Large Files" and "Find Duplicate Files" feature also help you quickly find big files on any drive or folder. After scanning, it shows all files larger than 16MB with basic information. You just pick the files you don’t need and click "Delete" to remove them. This saves you from looking for large files one by one. The tool also warns you about important system files, so you don’t delete something your computer needs.
The Best Windows Disk Partition Manager and PC Optimizer
Option 1. Delete Large Files in Windows 10
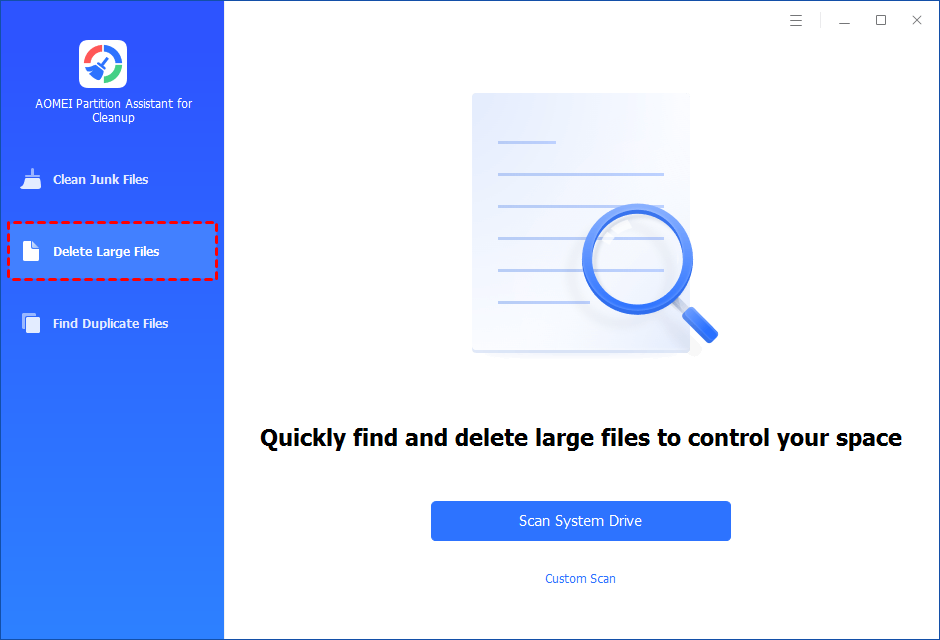
Step 1. Install and launch PartitionAssistant Cleanup. Click the "Delete Large Files" tab.
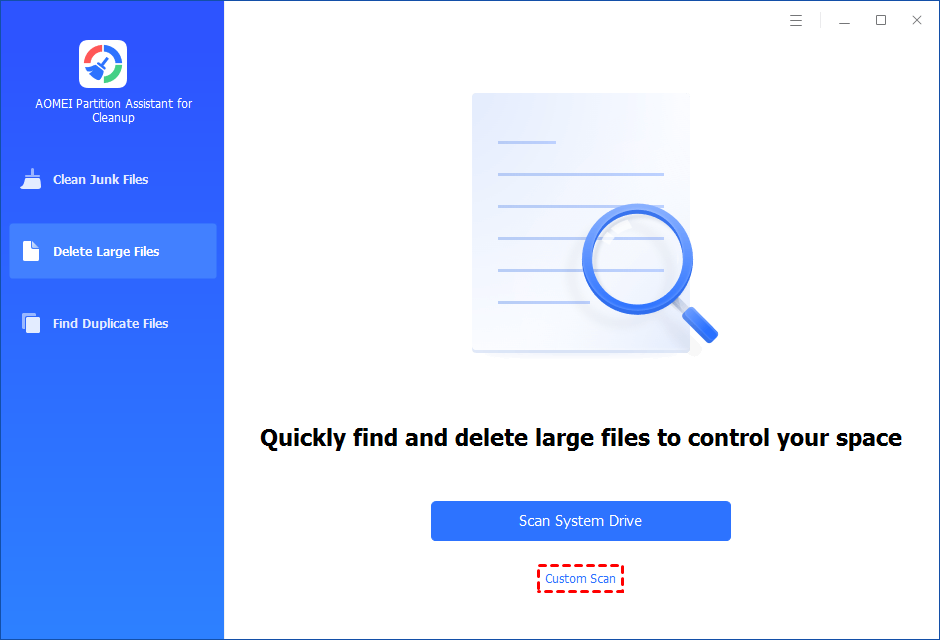
Step 2. You can either click "Scan System Drive" to start the scan of your system C: drive. Or, click "Custom Scan" to manually select paths to be scanned. (Here, we take the "Custom Scan" as an example.)
Step 3. After clicking "Custom Scan", all local and external drives on your PC and the common Desktop, Documents, and Downloads paths will be displayed. You can manually select paths to be scanned. Once necessary paths are added, you can click the "Scan Now" button to start the scan process.

The scan process might take time. After the scan is complete, all large files found will be listed.
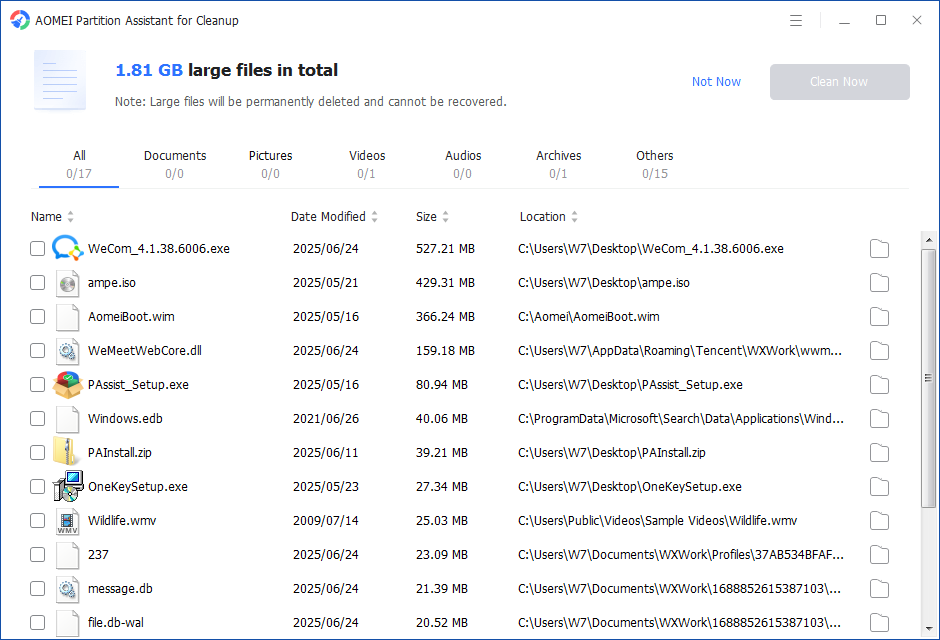
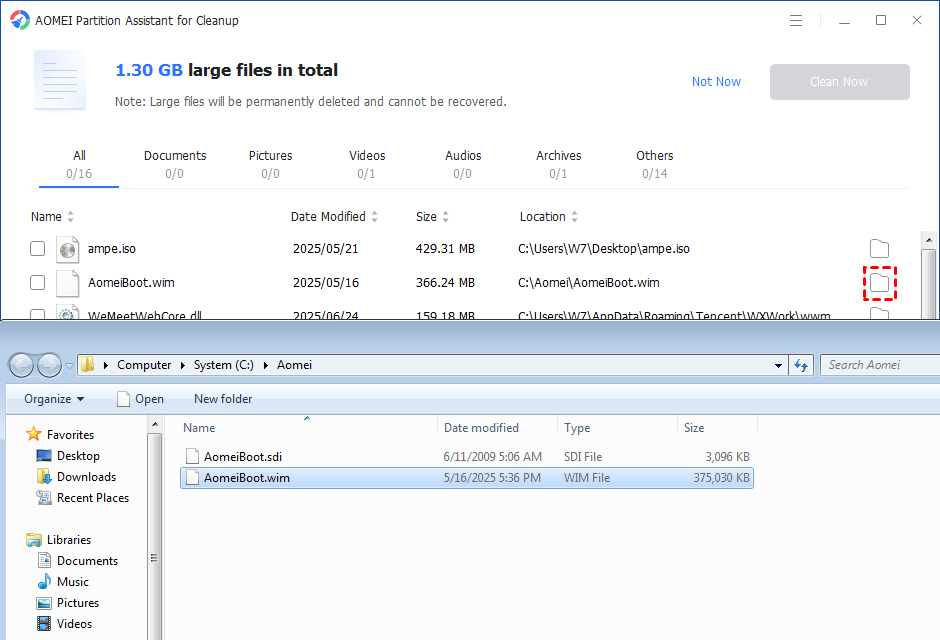
You can also check the large files and click the button behind to locate them.
Step 4. Tick the files you want to delete, and then click the "Clean Now" button to start the deletion.
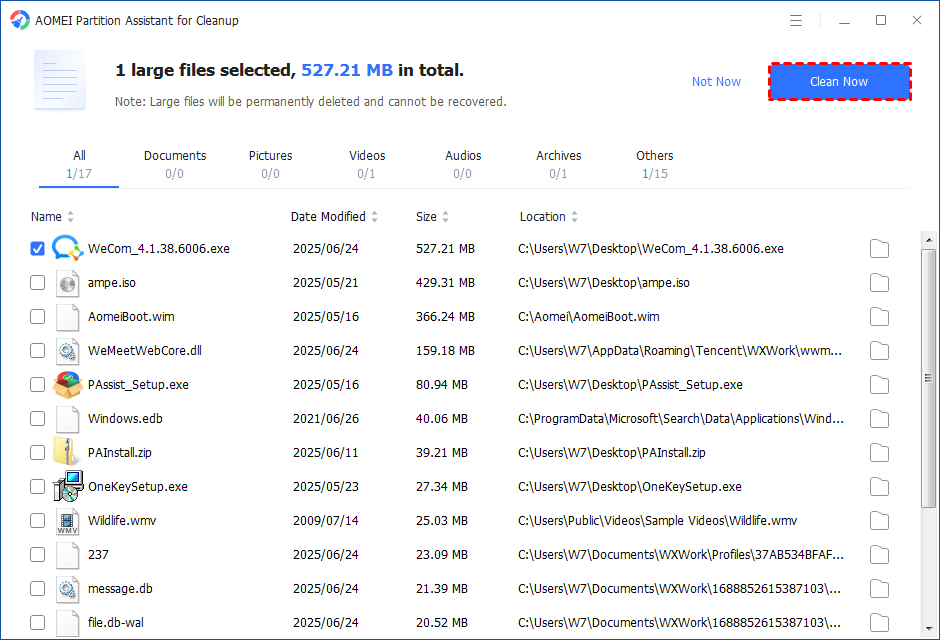
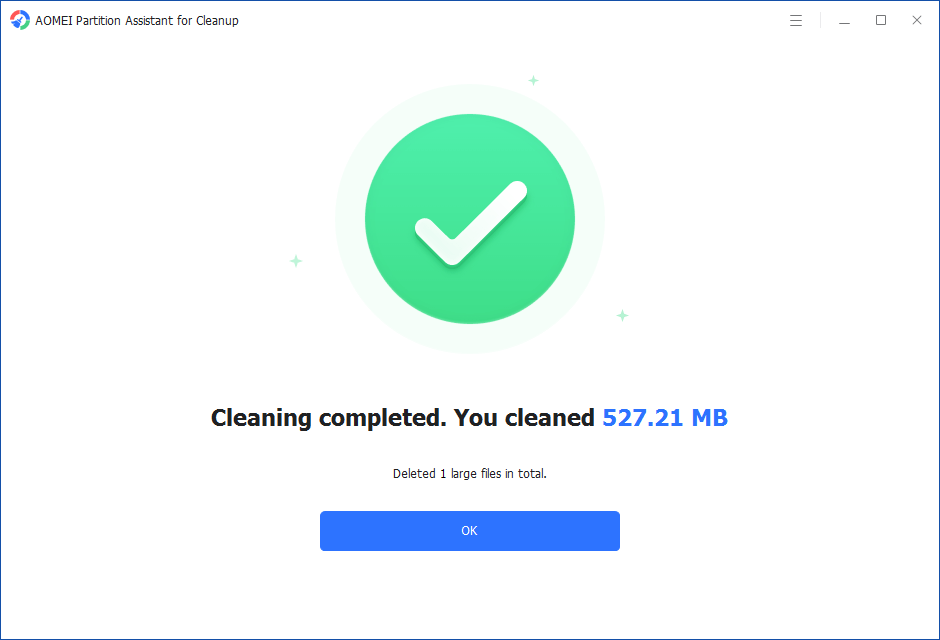
Step 5. The deletion might take time. After the process is finished, the selected files will be deleted, and you will get a cleaning completed window displaying how much data you deleted in total.
Option 2. Scan and Find Duplicate Files in Windows 10
PartitionAssistant Cleanup can scan any drive or folder you choose and find all types of unnecessary files. After the scan, it lists the extra files so you can either move them to another place or delete them right away.
This best duplicate file finder for Windows is not only great for cleaning up duplicate or useless files, but it also offers many helpful disk management features to keep your computer running smoothly and well-organized.
Step 1. Initiate Find Duplicate Files. Install and launch PartitionAssistant Cleanup. Click the "Find Duplicate Files" tab.
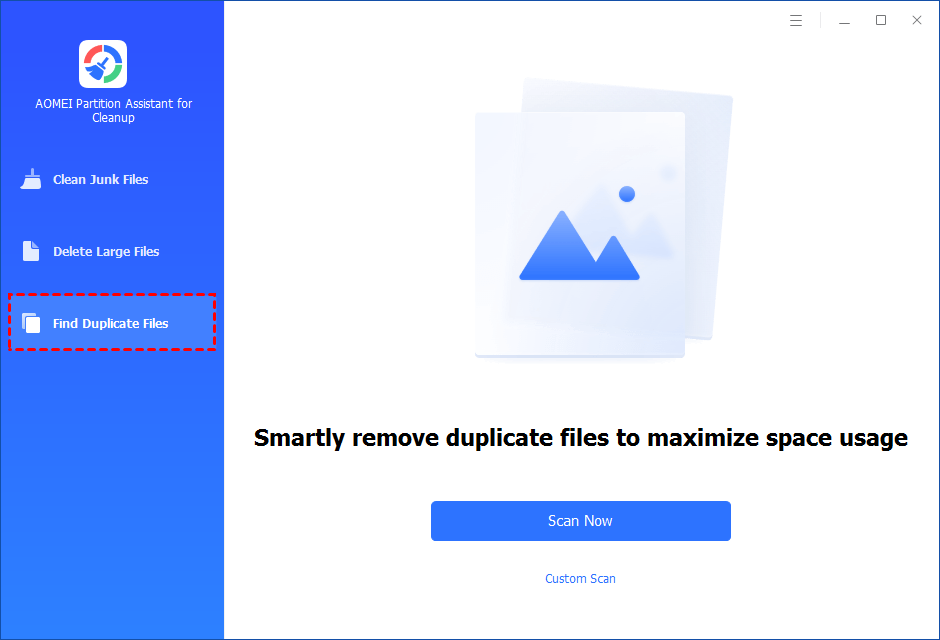
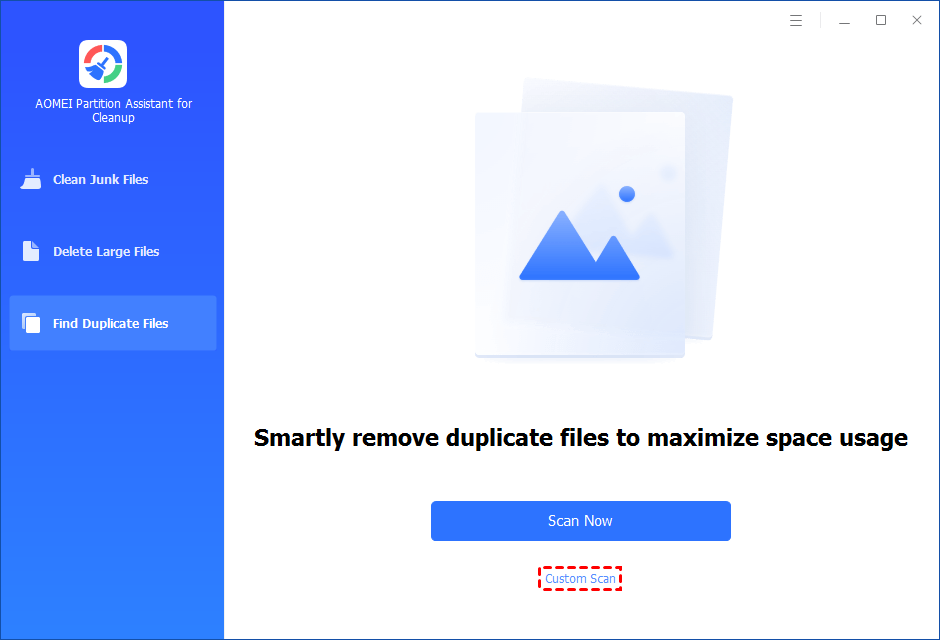
Step 2. Select a path to scan duplicate files. You can either click "Scan Now" to start the scan of your system C: drive. Or, click "Custom Scan" to manually select paths to be scanned. (Here, we take the "Custom Scan" as an example.)
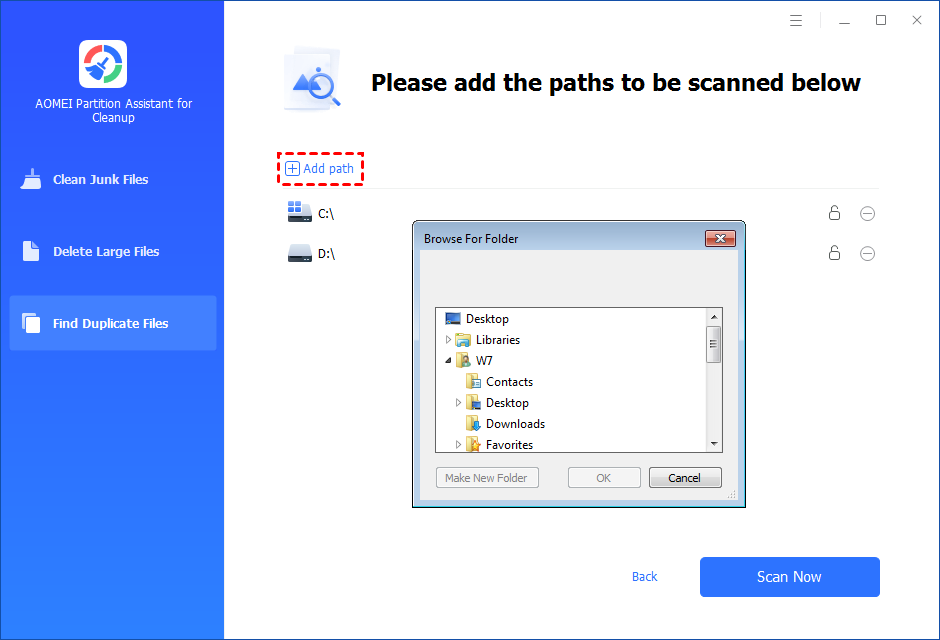
Step 3. After clicking "Custom Scan", all local and external drives on your PC will be displayed. You can also click the "Add Path" button, and then a browse folder window will pop up. So you can add more paths on this PC, like Desktop, Downloads, and other folder paths.
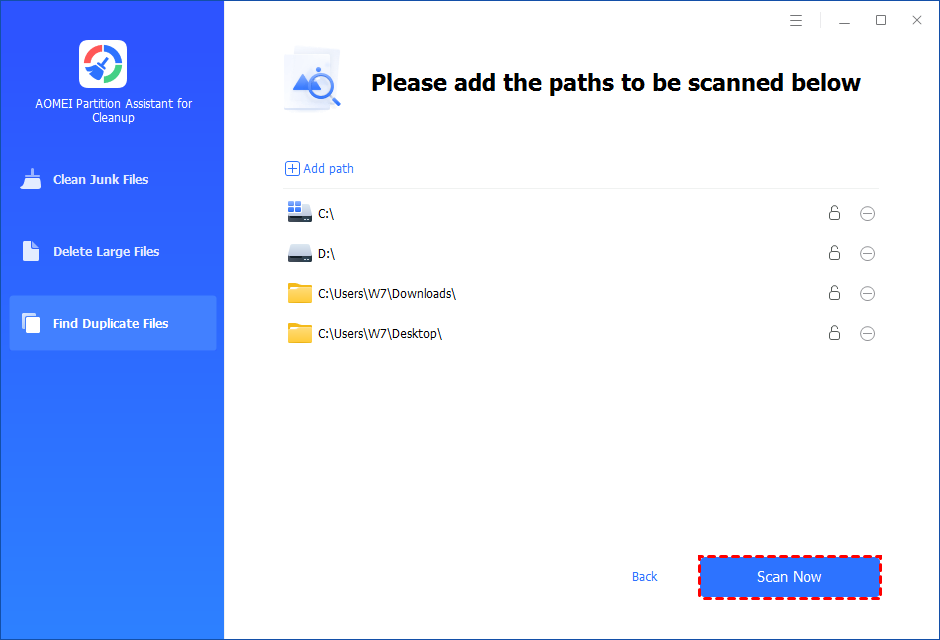
Step 4. Once necessary paths are added, you can click the "Scan Now" button to start the scan process.
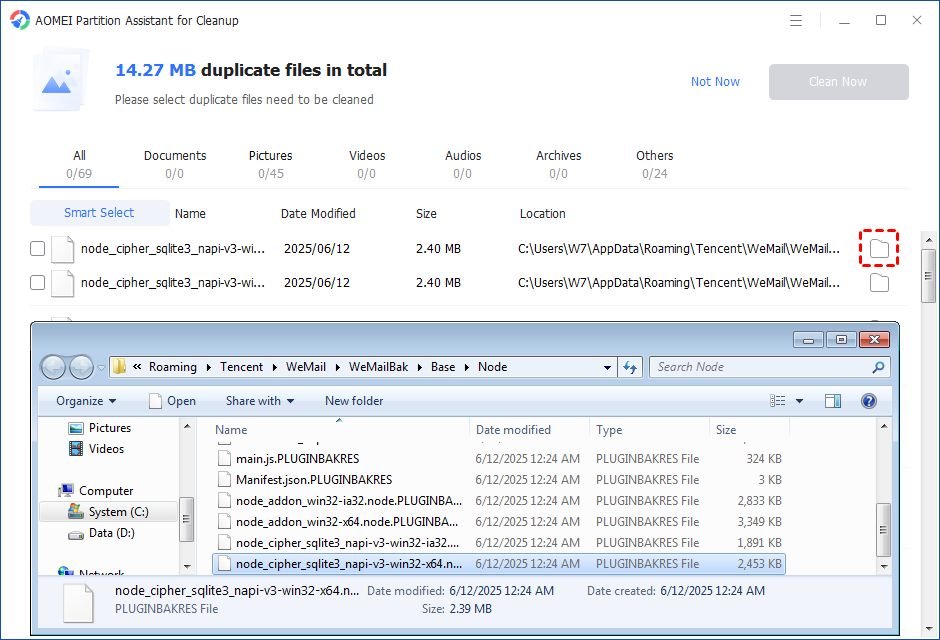
Step 5. The scan process might take time. After the scan is complete, all duplicate files will be listed. You can click the button behind to locate them.
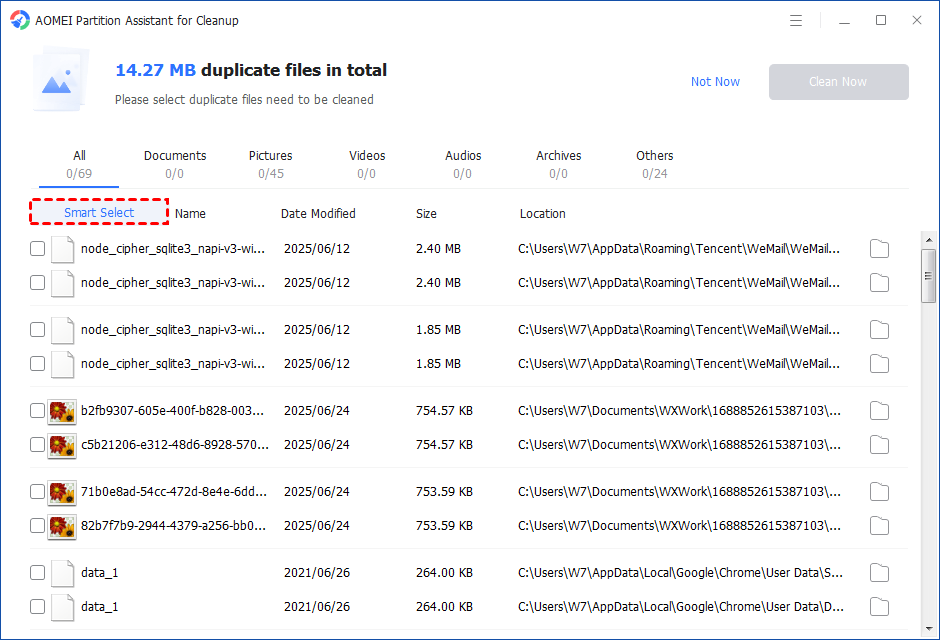
Step 6. Select duplicate files to start deletion. You can either manually select duplicate files, or click the "Smart Select" button to automatically select unnecessary duplicate files to delete.
Tips: If the "Smart Select" is ticked, only the oldest duplicate file will be unticked. It means that all duplicate files except the oldest one will be ticked to delete. (The oldest file means the file that was created first. This file will not be deleted. All other duplicate files are considered copies of the oldest file. )
If you manually select all copies of duplicate files, you will get a pop-up warning window to keep at least one copy of the duplicate files. If you indeed want to delete all copies of duplicate files, you can click "OK" so all copies of duplicate files will be selected to delete.

After unnecessary duplicate files are selected, please click the "Clean Now" button to start the deletion.

Step 7. Delete successfully. The deletion might take time. After the process is finished, the selected files will be deleted, and you will get a cleaning completed window displaying how much data you deleted in total.

Conclusion
Deleting files in Windows 10 can sometimes be slow due to various system-related reasons, like too many small files, disk performance, or interference from background programs. While built-in tools may not always be efficient, using PartitionAssistant Cleanup offers a faster and simpler way to remove junk, large, or duplicate files. With just a few clicks, you can quickly free up space and improve your PC’s performance.

