Top 6 Free NTFS for Mac Software - Full Guide
Want to access and write to Windows NTFS drives on your Mac? This page covers six top free NTFS for Mac programs with their merits and demerits to help you find the most suitable one.
By Hedy / Updated on March 13, 2026
Why macOS cannot write to NTFS by default?
If macOS can read NTFS drives perfectly fine, why doesn’t it allow writing to them as well? The answer lies in a combination of technical design decisions and licensing considerations.
Apple prioritizes its own file systems such as APFS (Apple File System) and previously HFS+. These systems are deeply integrated into macOS and optimized for performance, encryption, and reliability across Apple devices. Supporting NTFS fully would require Apple to integrate Microsoft's proprietary technology at a deeper level within macOS.
Because of this, macOS ships with a read-only NTFS driver built into the operating system. The driver allows users to access files stored on NTFS drives without enabling modification features that could potentially introduce compatibility issues.
The limitation becomes obvious when you try to copy a file from your Mac to an NTFS-formatted external hard drive. Instead of copying normally, macOS displays a message saying the drive is read-only. That means the operating system recognizes the drive but refuses to modify its contents.
To bypass this restriction, users rely on third-party NTFS drivers. These tools mount the NTFS drive with full read-write capability, allowing you to edit, copy, rename, and delete files just as if the drive were formatted for macOS.
Get the top 6 free NTFS for Mac to help you find the best one
macOS can read NTFS drives but cannot write to them by default. If you want to edit, copy, or delete files on an NTFS drive using a Mac, you’ll need a third-party NTFS for Mac tool. Below are six popular solutions that enable NTFS read-write support on macOS, along with their advantages, limitations, and how to use them.
1. PartitionAssistant NTFS for Mac
PartitionAssistant NTFS for Mac is a lightweight NTFS driver designed to provide seamless read and write access to NTFS-formatted drives on macOS. It automatically mounts NTFS disks in writable mode and supports external hard drives, USB drives, and SD cards without complicated configuration.
Pros
✔️ Easy installation and beginner-friendly interface
✔️ Enables full NTFS read and write support instantly
✔️ Automatically mounts NTFS drives in writable mode
✔️ Compatible with most macOS versions
✔️ Works with USB drives, SSDs, and external hard drives
Cons
❌ Advanced disk management features are limited
❌ Some functions may require the full version
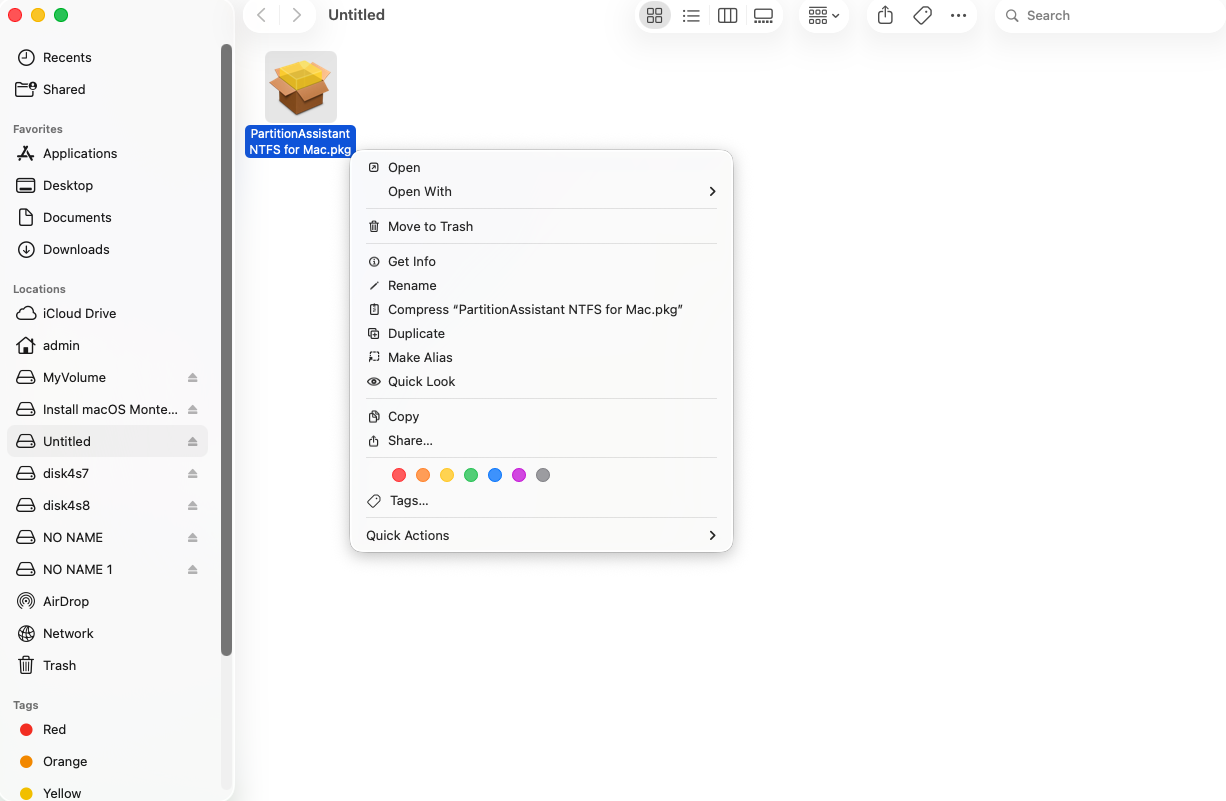
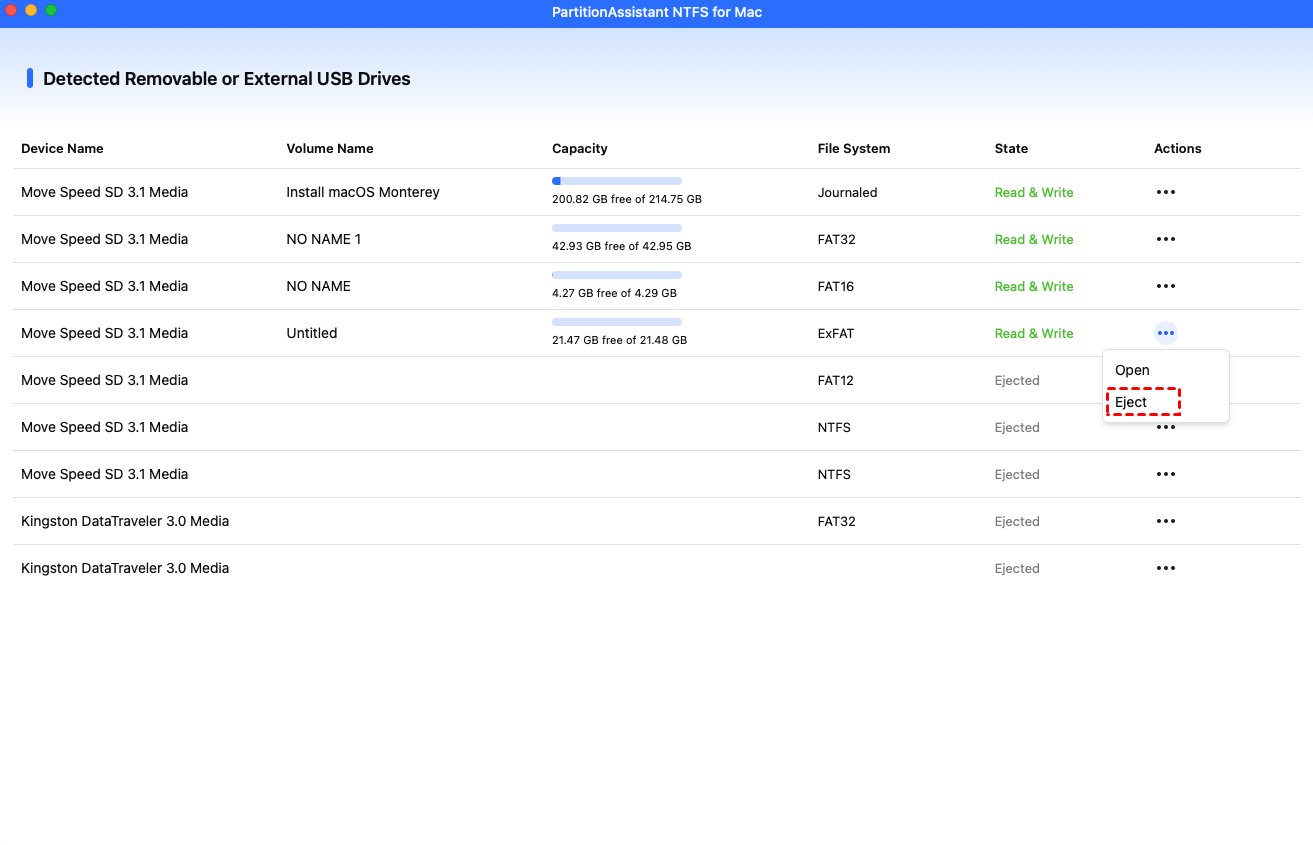
Step 1. Download the installer and follow the on-screen instructions to install it on your Mac. Open PartitionAssistant NTFS for Mac.
Step 2. Insert your NTFS-formatted drive into the Mac. The software will automatically detect the device.
Step 3. The software will display your connected drives.
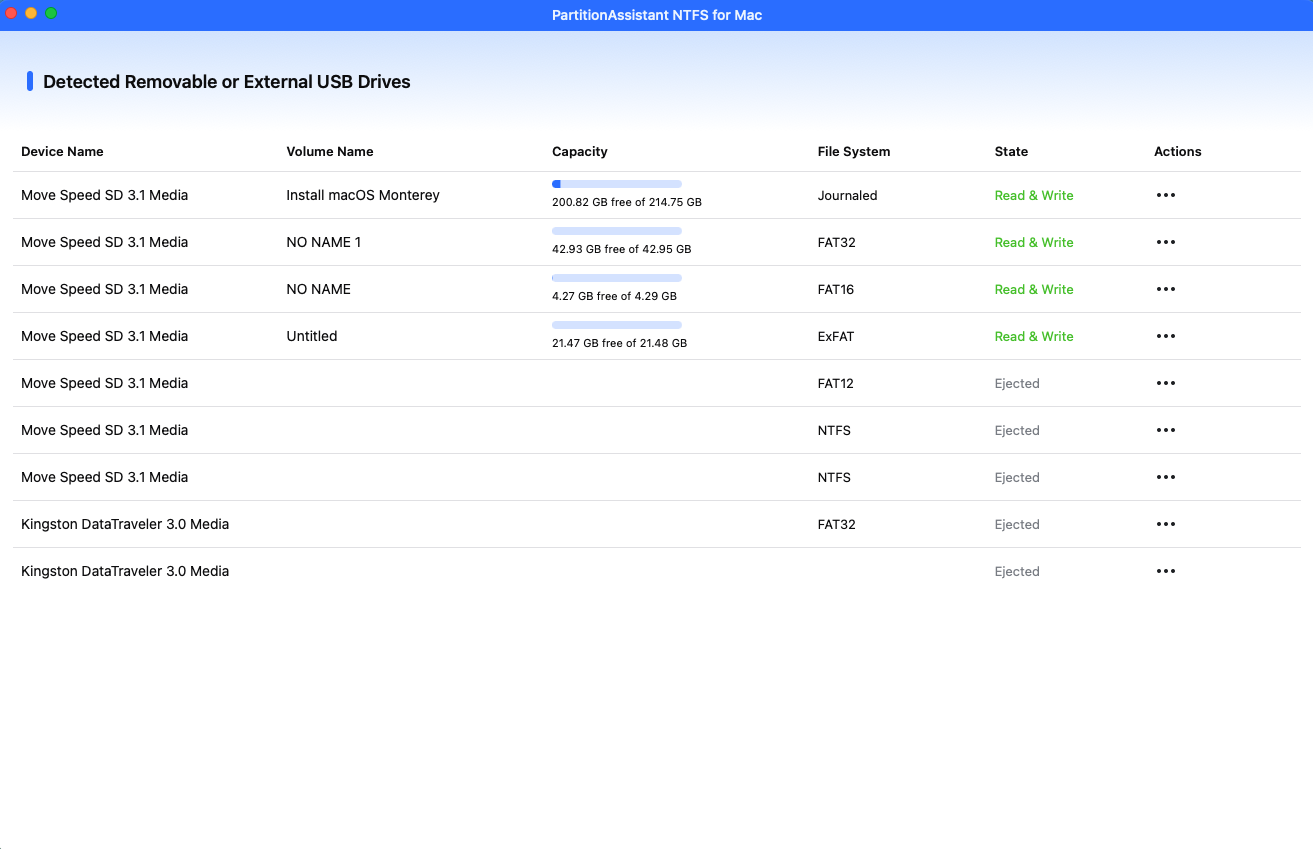
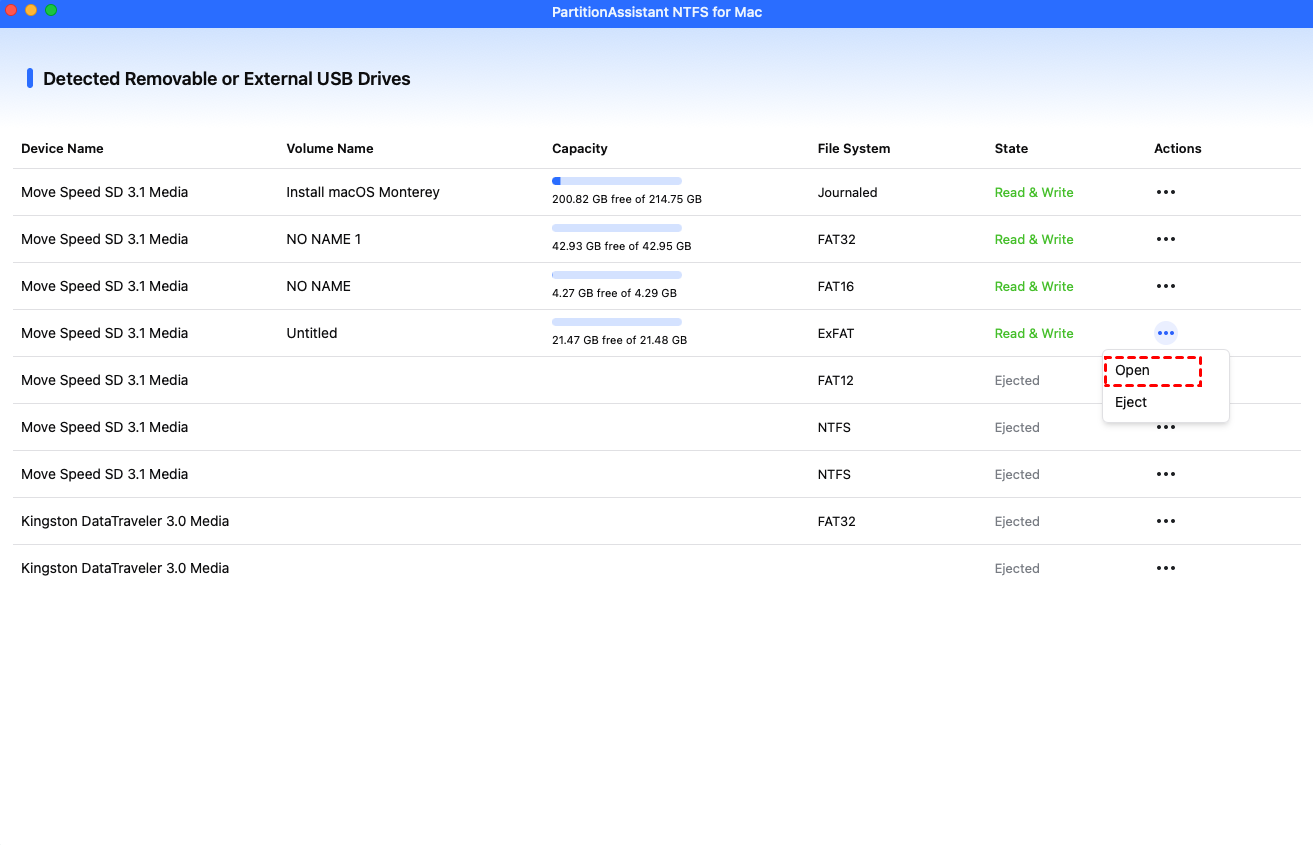
Step 4. Select the drive you want to operate and click "Open".
Now you can copy files on your Mac and click "Paste Item" to copy the files to USB drive.
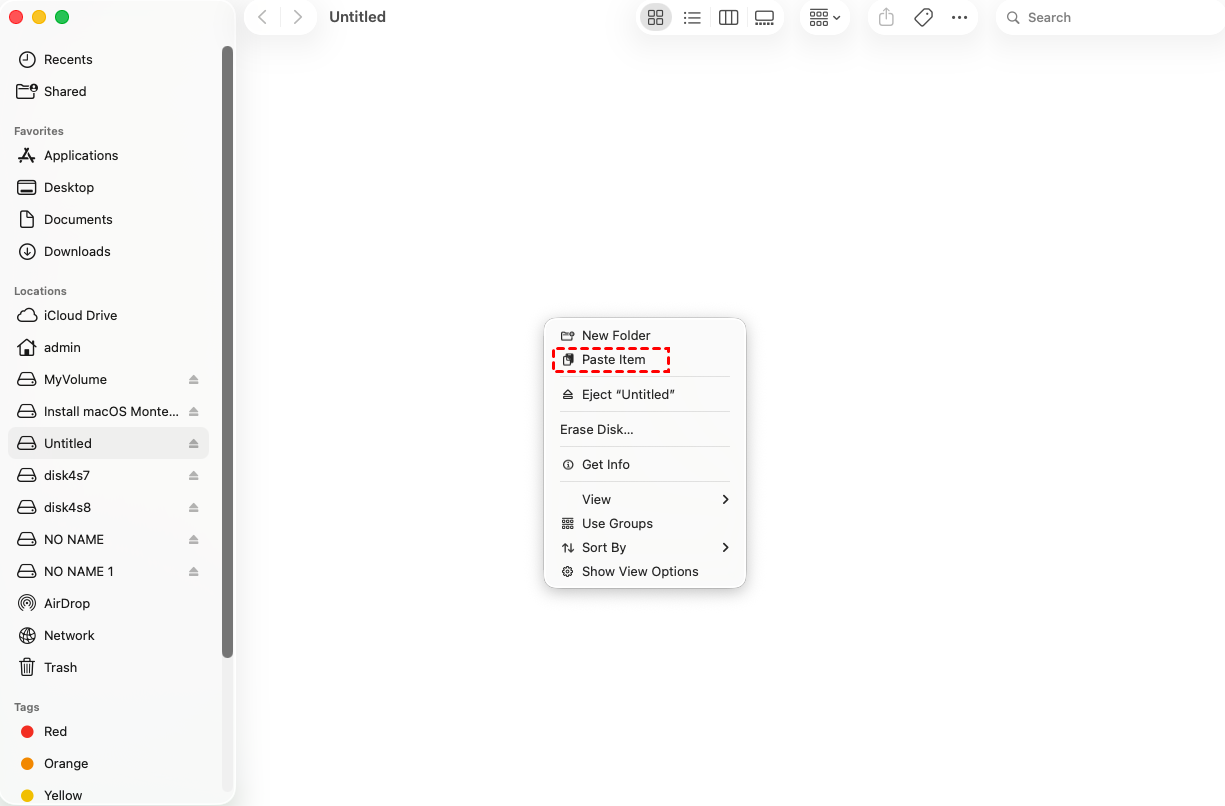
You can also copy, delete, and rename files on the USB drive.
Step 5. After all operations are complete, please click "Eject" to disconnect the USB drive from your Mac.
2. Paragon NTFS for Mac
Paragon NTFS for Mac is one of the most well-known NTFS drivers for macOS. It provides fast and stable NTFS read-write access and integrates directly with macOS, allowing users to manage NTFS disks as easily as native Mac drives.
Pros
✔️ High performance and stable NTFS read/write support
✔️ Fully integrates with macOS system preferences
✔️ Supports Apple Silicon and Intel Macs
✔️ Reliable for professional workflows
Cons
❌ Free trial only; full version requires payment
❌ Installation requires system extension permissions
Step 1. Download Paragon NTFS for Mac and open the installer after the download is complete.
Step 2. Locate the downloaded file and double-click the .dmg file to mount it.
Step 3. In the installation window, click Install NTFS for Mac, then follow the on-screen instructions to complete the setup.
Step 4. Restart your Mac once the installation finishes. After rebooting, you will be able to read, edit, copy, and delete files on NTFS drives directly from your Mac.
3. Tuxera NTFS for Mac
Tuxera NTFS for Mac is another reliable NTFS driver that enables full read and write access to NTFS volumes on Mac. It is built on the NTFS-3G open-source project but optimized for better performance and stability.
Pros
✔️ Stable NTFS read/write capability
✔️ Good performance for large file transfers
✔️ Disk checking and repair features
✔️ Supports many macOS versions
Cons
❌ Free trial only; requires license afterward
❌ Interface is less modern compared with other tools
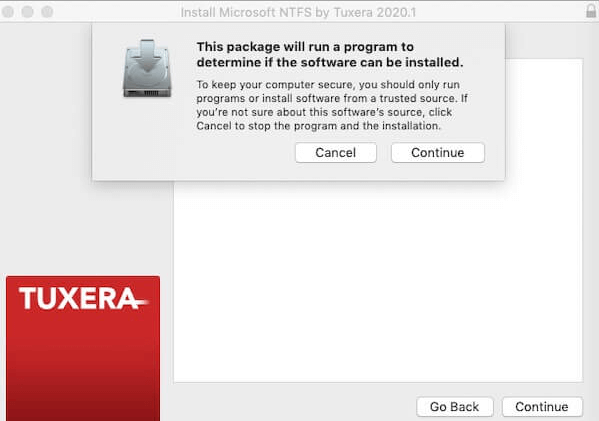
Step 1. Visit the official website and download the Tuxera NTFS for Mac installer package.
Step 2. After the download finishes, locate the installation file and double-click Install Tuxera NTFS to begin the setup process.
Step 3. Click Open to launch the installer, then follow the prompts to complete the installation and start using Tuxera NTFS on your Mac.
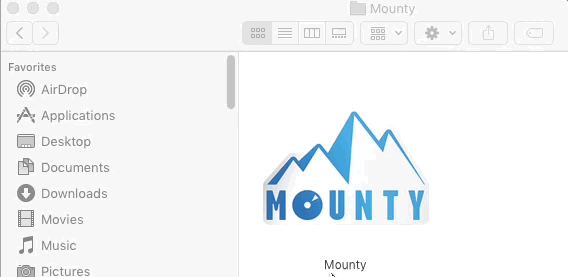
4. Mounty for NTFS
Mounty for NTFS is a small and completely free utility that enables NTFS write access on macOS. Instead of installing a full driver, it remounts NTFS drives in writable mode using built-in macOS capabilities.
Pros
✔️ Completely free to use
✔️ Very lightweight and simple
✔️ No complex configuration required
Cons
❌ Relies on experimental macOS NTFS support
❌ Performance may be slower than dedicated drivers
❌ Limited technical support
Step 1. Download Mounty for NTFS and install it on your Mac following the installation instructions.
Step 2. After installation, connect your NTFS drive. Open a Finder window to access the mounted drive and manage its contents, including viewing and transferring files.
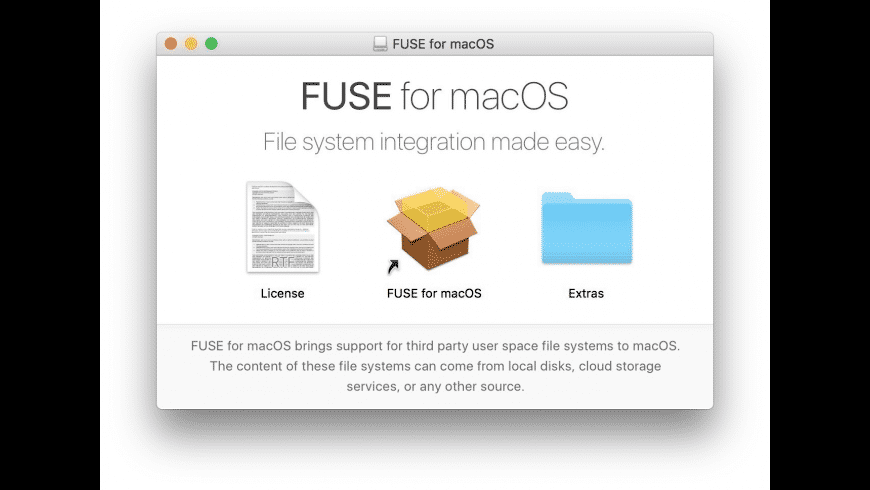
5. FUSE for macOS
FUSE for macOS (formerly OSXFUSE) is an open-source framework that allows macOS to support third-party file systems. It is often used together with NTFS-3G to provide NTFS read-write functionality.
Pros
✔️ Free and open-source
✔️ Supports many file systems beyond NTFS
✔️ Highly customizable for advanced users
Cons
❌ Installation is more complex
❌ Requires additional tools like NTFS-3G
❌ Less beginner-friendly
Step 1. Download the latest version of FUSE for macOS, open the downloaded .dmg file, and double-click FUSE for macOS.pkg to begin the installation process. Follow the on-screen instructions to complete the setup.
Step 2. After the installation finishes, restart your Mac. Once the system reboots, connect your Windows NTFS drive to enable read and write access on macOS.
6. NTFS-3G
NTFS-3G is a well-known open-source NTFS driver used across many operating systems. On macOS, it works together with FUSE to enable full read and write access to NTFS drives.
Pros
✔️ Completely free and open-source
✔️ Reliable NTFS read/write support
✔️ Widely used and well-tested
Cons
❌ Requires Terminal commands
❌ Slower performance than commercial drivers
❌ Setup process can be complicated
Step 1. Open the Synaptic Package Manager and enter your root password. In the search bar, type ntfs-3g.
Step 2. Locate NTFS in the search results, then select Mark for Installation. Accept the dependencies for ntfs_config, and click Apply to begin the installation.
Step 3. After the installation completes, restart your computer. You can now read and write to NTFS drives on your Mac.
.png)
FAQs
1. Can macOS read NTFS drives without additional software?
Yes. macOS includes a built-in NTFS driver that allows users to read and access files on NTFS-formatted drives, but it only supports read-only access by default.
2. How can I enable NTFS write support on a Mac?
You can install third-party NTFS drivers such as PartitionAssistant NTFS for Mac, Paragon NTFS for Mac, or Tuxera NTFS for Mac to enable full read and write access.
3. Are free NTFS tools for Mac reliable?
Many free tools like Mounty or FUSE with NTFS-3G work well, but they may have slower performance, limited support, or require more technical setup.
4. Which NTFS driver is easiest for beginners to use?
PartitionAssistant NTFS for Mac is beginner-friendly because it installs quickly, automatically mounts NTFS drives in writable mode, and works with most external storage devices.
5. Is it safe to use third-party NTFS drivers on macOS?
Yes, reputable NTFS drivers are generally safe. However, users should download them from official websites and ensure compatibility with their macOS version to avoid stability issues.
Conclusion
macOS can read NTFS drives but cannot write to them by default due to Apple's preference for its own file systems like APFS. This limitation is a result of technical and licensing constraints. To enable full read-write access to NTFS drives, users must install third-party drivers such as PartitionAssistant, Paragon, or Tuxera. These tools allow seamless integration and management of NTFS drives, making file operations more efficient on macOS.

