[Easy Guide] How to Manage Local Accounts in Windows 10?
This article shows easy methods to manage local accounts in Windows 10. You will learn how to add or remove users, change settings, and use tools like net user and local users and groups.
By Irene / Updated on November 20, 2025
Some people find it difficult to manage local accounts in Windows because certain system tools are restricted, and some methods require technical skills. For example, Windows 10 Home does not include the Local Users and Groups console, so users cannot access it directly. Others may not be familiar with command-line tools like CMD or PowerShell, which makes adding, removing, or editing accounts confusing. In addition, permission issues, disabled administrator accounts, or system errors can also create extra trouble when managing local users. So, in this article, we would like to share an easy guide about how to manage local accounts in Windows 10 effectively.
How to manage local accounts in Windows 10?
AOMEI Partition Assistant makes managing local accounts in Windows 10 much easier by providing an intuitive Users and Groups feature. Instead of relying on CMD, PowerShell, or the missing Local Users and Groups console in Windows 10 Home, you can view all local users in one place and manage them through a clear interface. You can create accounts, delete unused ones, rename users, or change account types with just a few clicks. This offers a straightforward way to handle user management on any edition of Windows 10, even for people who are not familiar with technical tools.
The Best Windows Disk Partition Manager and PC Optimizer
Option 1. Create Local Groups in Windows Home
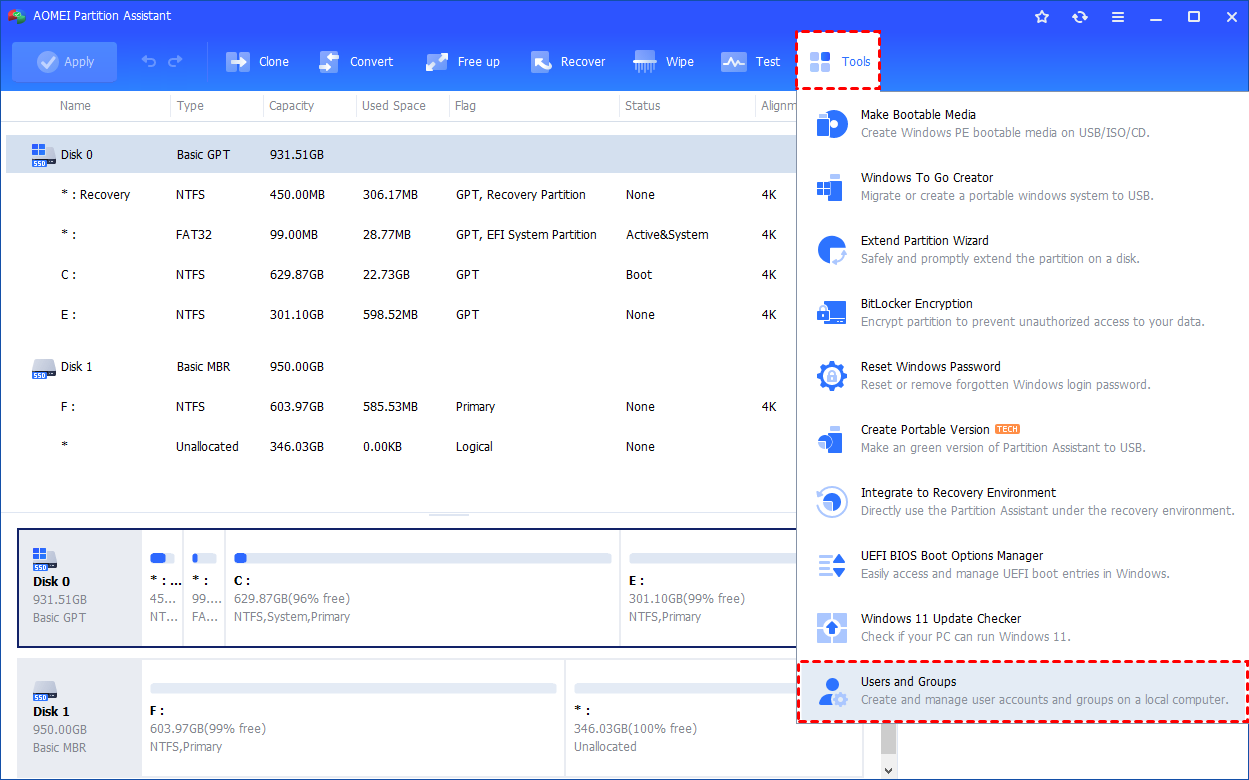
Step 1. Install and launch AOMEI Partition Assistant. Click the "Tools" main tab and select "Users and Groups".
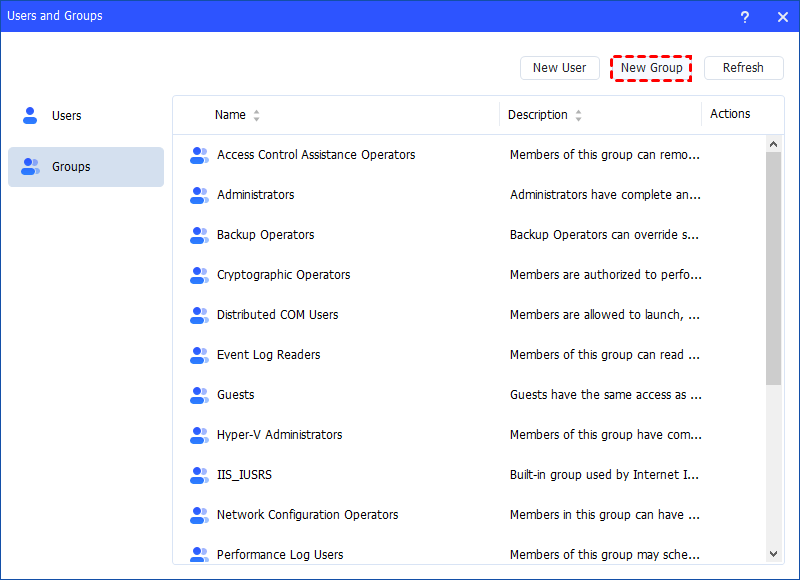
Step 2. Click the "Groups" tab and then click the "New Group" button to create a new group. You can also click the "Refresh" button to refresh the group list.
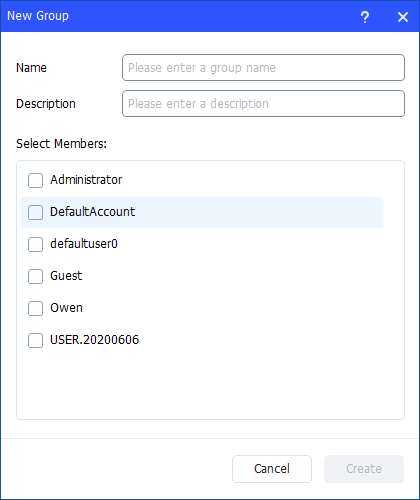
Step 3. Then, type the name and description for the new group. And, you can select user accounts as members of the group.
Notes:
- To perform this procedure, you must provide credentials for the Administrator account on the local computer (if you are prompted) or you must be a member of the Administrators group on the local computer.
- A local group name cannot be identical to any other group name or user name on the local computer that is being administered. The local group name can contain up to 256 uppercase characters or lowercase characters, except for the following: " / \ [ ] : ; | = , + * ? < > @
- A group name cannot consist solely of periods (.) or spaces.
Step 4. After all is set, click "Create" to create the new group.

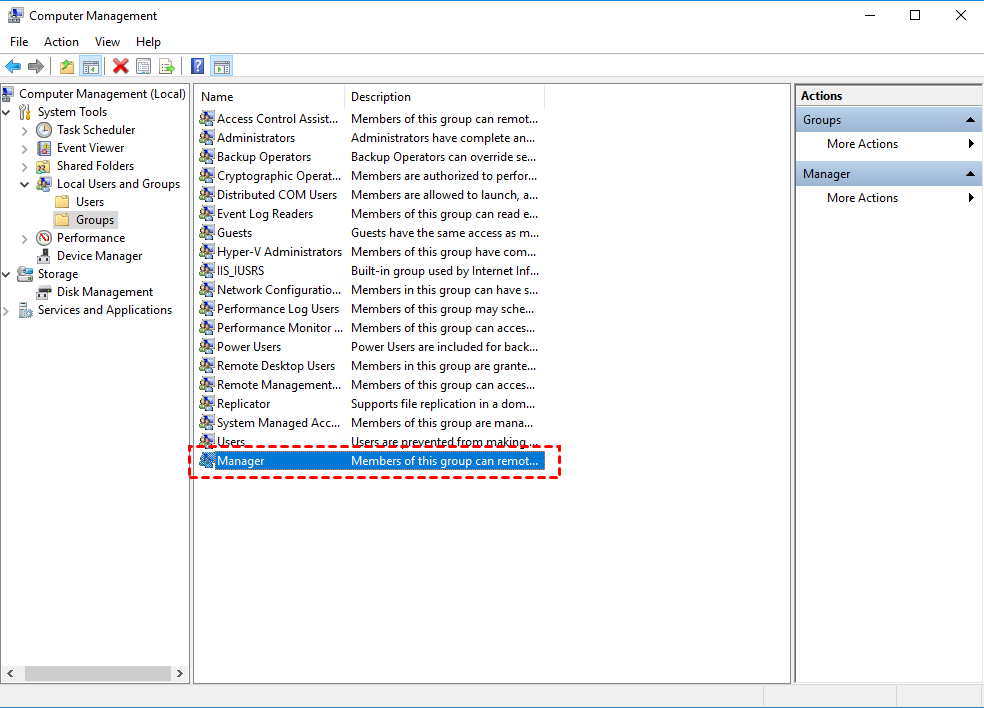
Finally, you can see the group is created successfully in Windows Local Users and Groups. And, you can also manage the new group.
Option 2. Easily Manage Local Groups
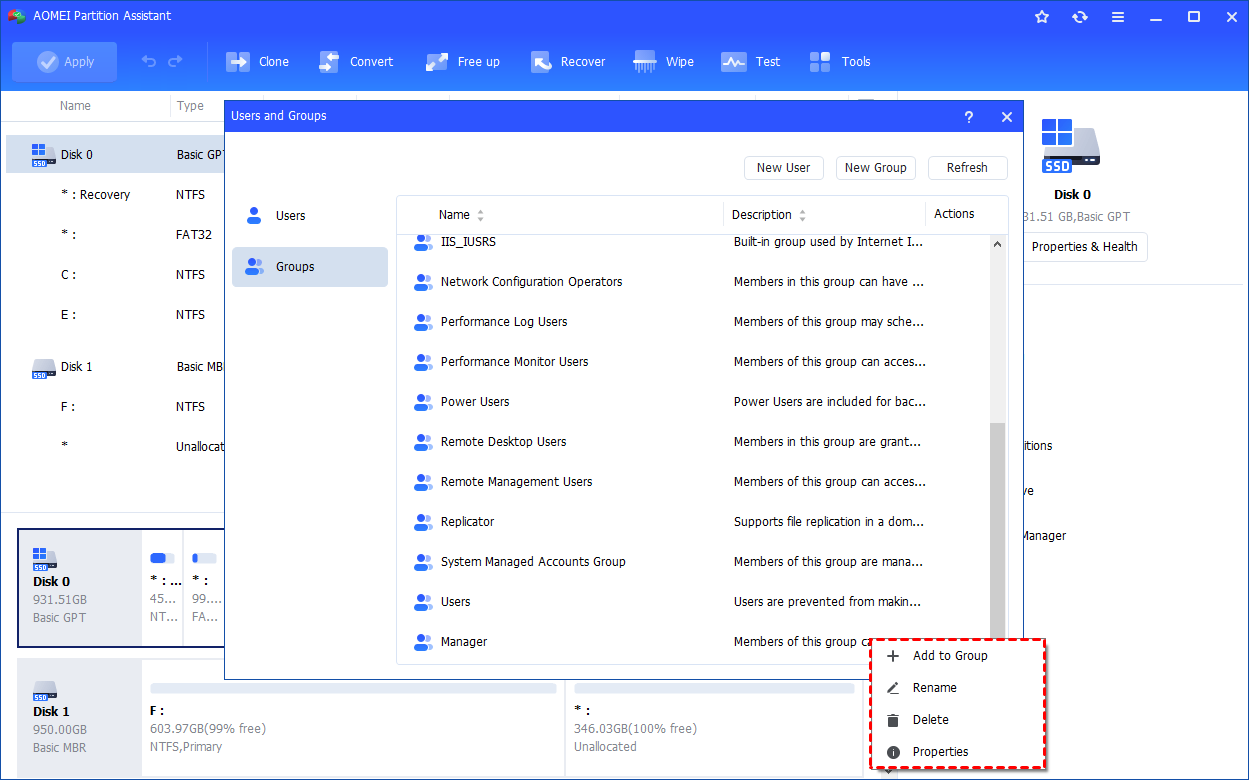
Step 1. Under the "Groups" tab, you can also manage your local groups. Find the group you want to manage and click the three-point button for management.
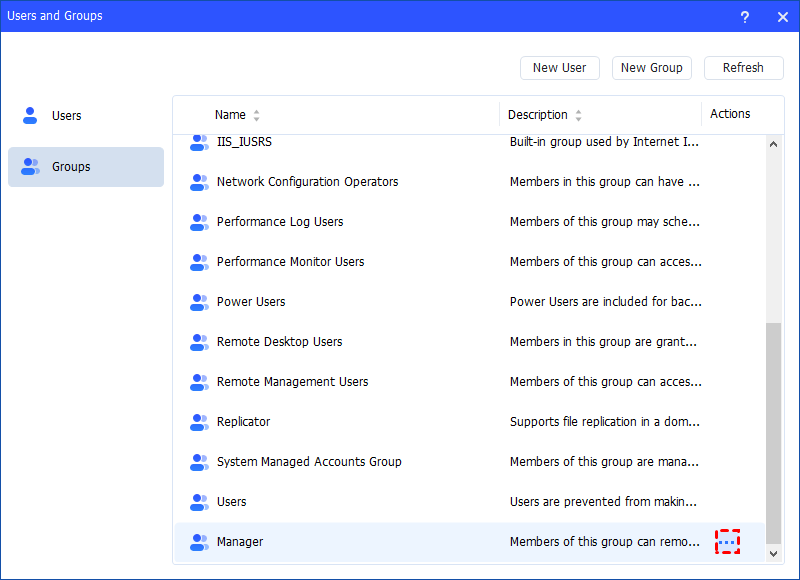
Step 2. You can manage members of the group, rename, delete, and edit the properties of the group.
Option 3. How to Add to Group
Click the "Add to Group" option to change the group description and add/remove user account(s) to the group. Click "Apply"or "OK" to apply the change.
Note: All the rights and permissions that are assigned to a group are assigned to all members of that group.
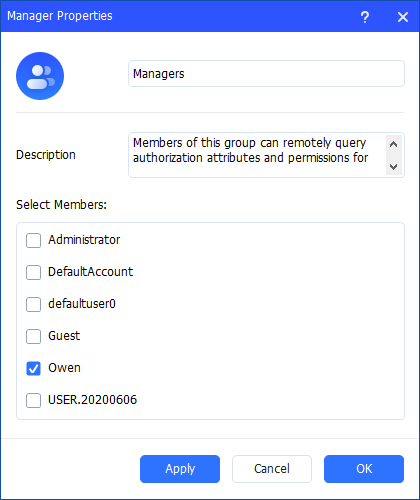
Option 4. How to Rename a Group
Click the "Rename" option to change the name of the group, modify the description, and add/remove user account(s) to the group as well. Click "Apply"or "OK" to apply the change.
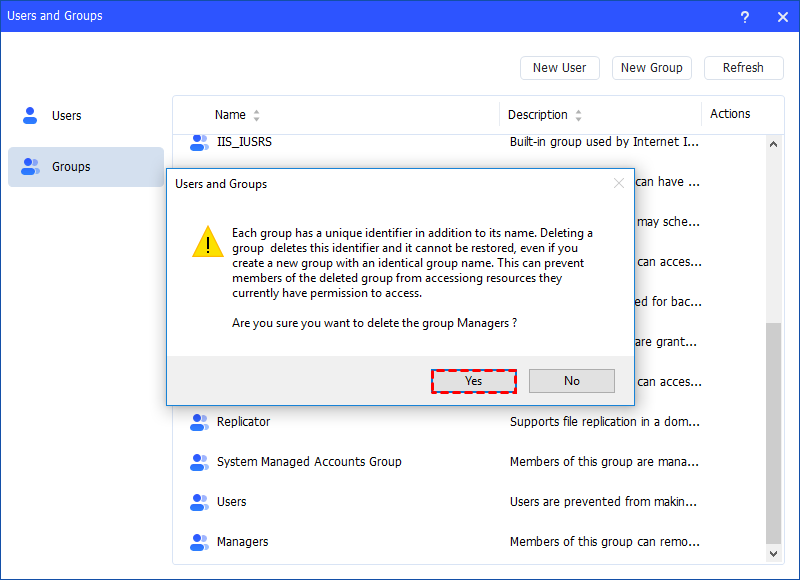
Option 5. How to Delete Group
Click the "Delete" option to delete the unnecessary group. You will get a pop-up window saying that deleting the group will delete its identifier. Click "Yes" if you confirm, and then the account will be deleted directly.
Notes:
-
Some default built-in groups, for example, Administrator, Users, Guests, and so on, cannot be deleted.
-
Deleting a local group removes only the group. It does not delete the user accounts, computer accounts, or group accounts that were members of that group.
-
A deleted group cannot be recovered, so please be cautious before deleting a group.
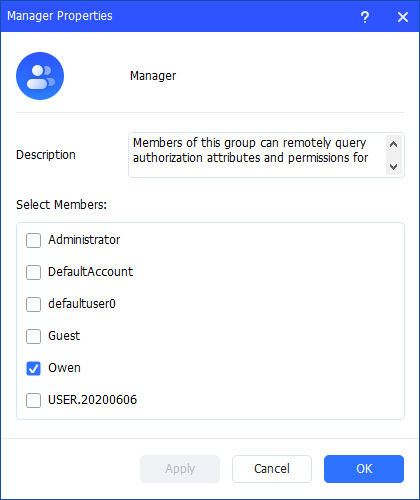
Properties
Click the "Properties" option to check the group properties. You can change the description of the group and add/remove user account(s) to the group. Click "Apply" or "OK" to apply the change.

Further reading: What to do if you forget your Windows account password?
When you switch users in Windows, you need to enter the password if the account has one. But what if you forget it, especially when there are many accounts? AOMEI Partition Assistant also offers the solution.
The “Reset Windows Password” feature in AOMEI Partition Assistant provides a secure way to unlock your PC. You can create a bootable USB on another computer and use it to reset or remove the password of any local account on the locked device. The whole process is safe for your data, so your files and apps stay unchanged.
The Best Windows Disk Partition Manager and PC Optimizer
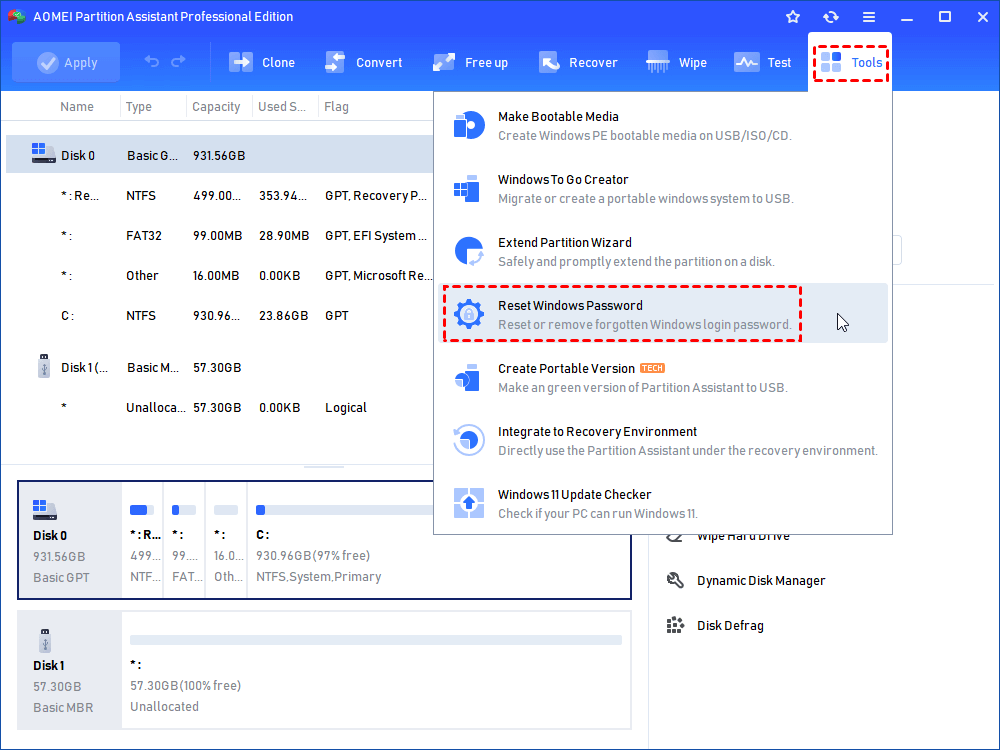
Step 1. Connect a USB to a running Windows computer. Install and launch AOMEI Partition Assistant. At the top pane, select “Tools” > “Reset Windows Password”.
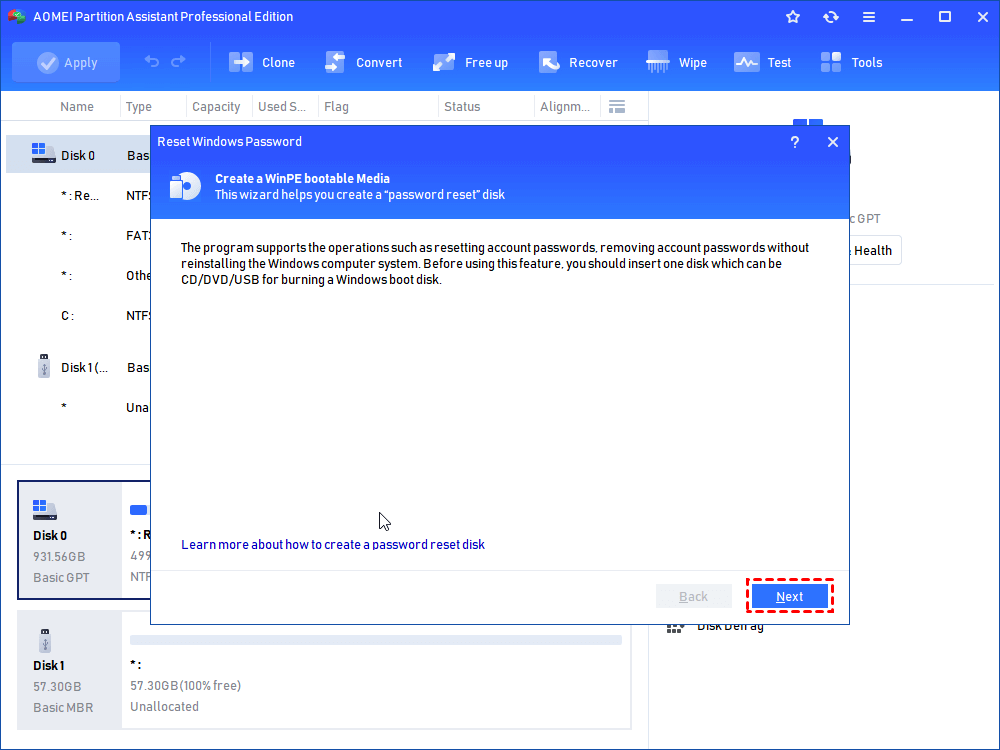
Step 2. In the pop-up window, click "Next" to begin to create a a WinPE bootable media.
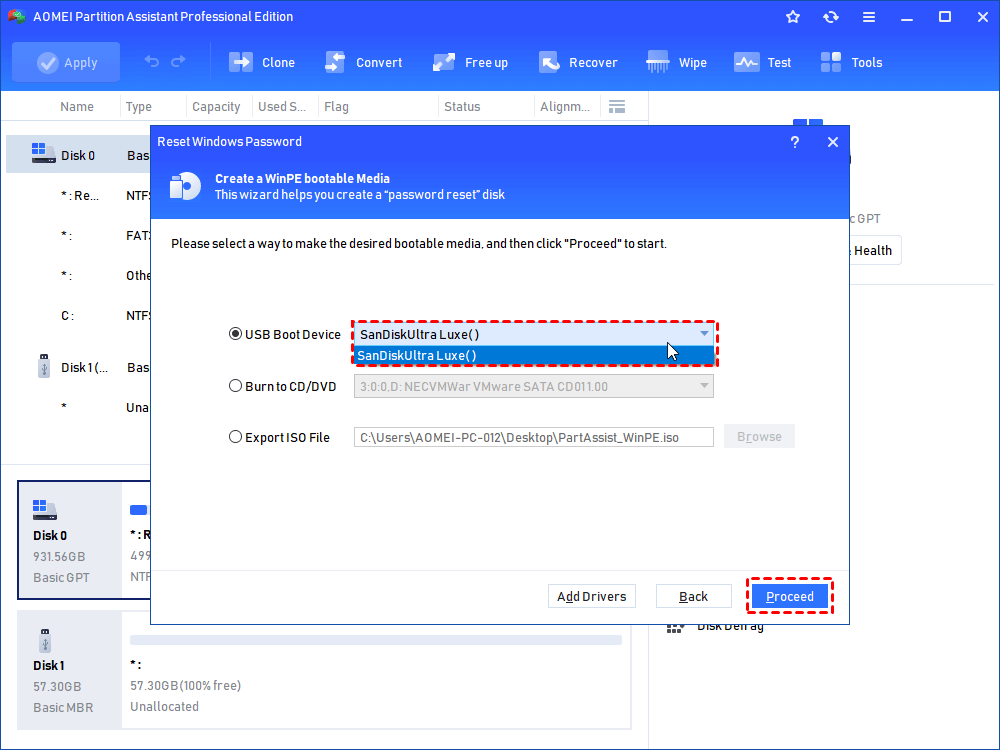
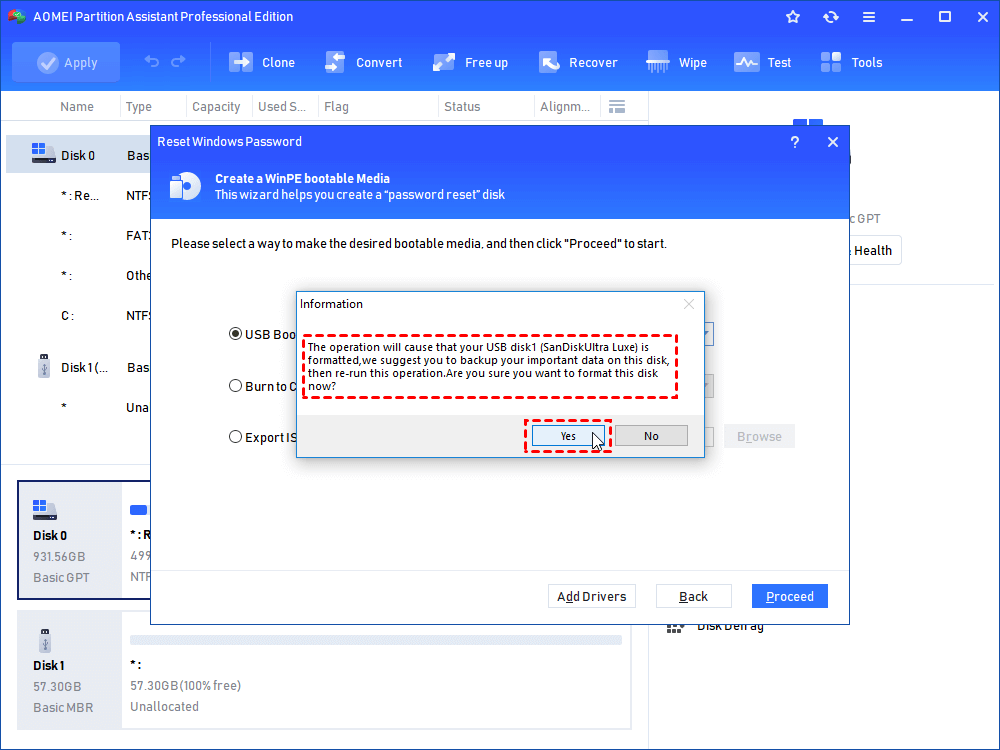
Step 3. Here we tick "USB Boot Device", choose your prepared USB and click “Proceed” to move on.
Step 4. Note that the USB flash drive needs to be formatted, which will erase all data on it. If there is important data on it, please make a backup and redo; if not, click "OK" to continue.
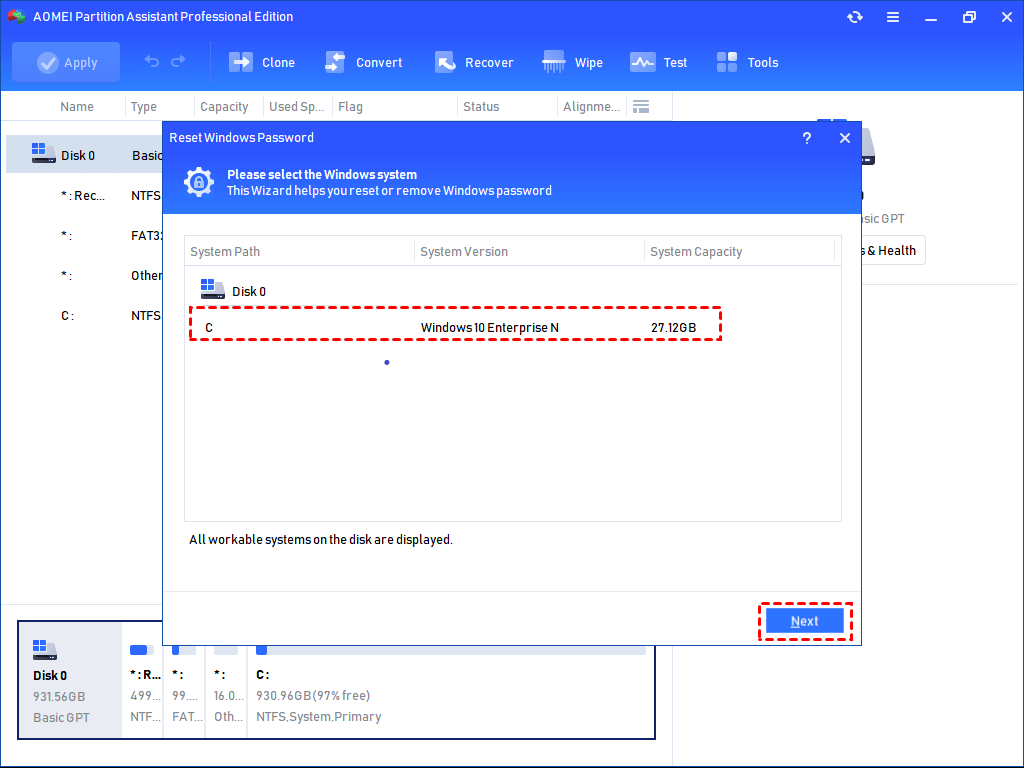
Step 5. When the bootable USB is created successfully, unplug it and connect it to your laptop. Boot the PC from this USB, and you will see the interface AOMEI Partition Assistant appear automatically. Click "Reset Password", select the Windows system you would like to operate, and click "Next".
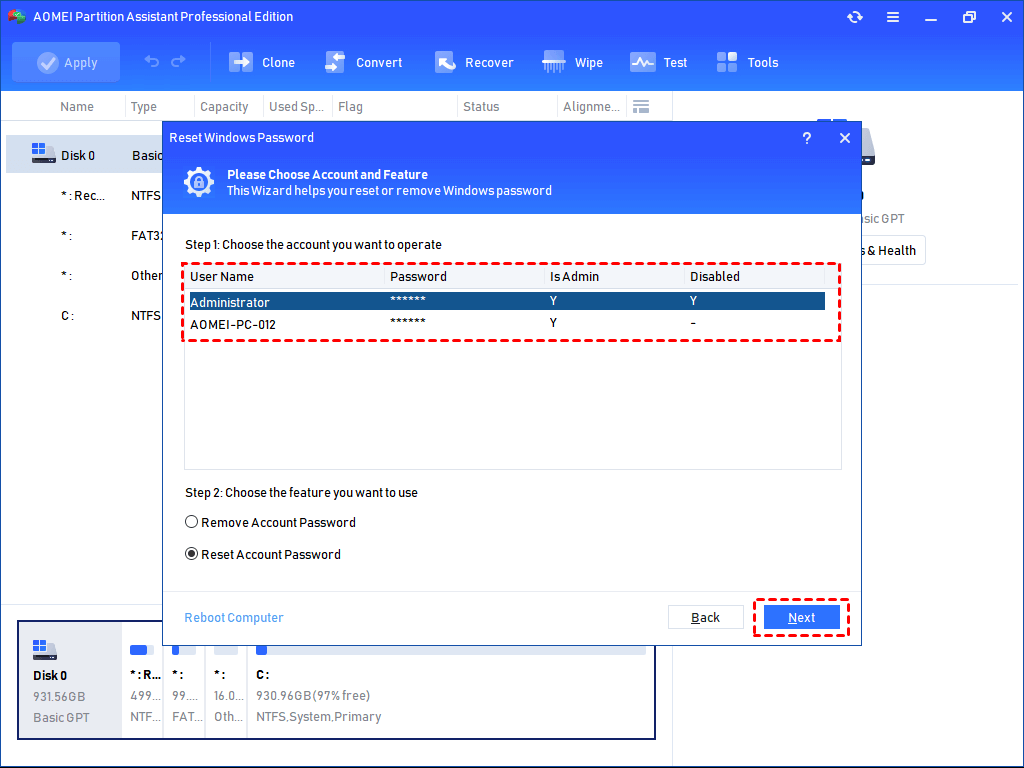
Step 6. Then, select the account you would like to operate and select the feature you want to use: "Remove Account Password" or "Reset Account Password". Here we choose "Reset Account Password" and click "Next".
Step 7. Type the new password and confirm it, then click "Yes". After that, you are able to log in to your computer with this new password.

Conclusion
Managing local accounts in Windows 10 may be complex due to missing tools or technical requirements, but AOMEI Partition Assistant simplifies the process. It lets you create, edit, and delete users and groups, reset passwords, and manage permissions easily through a clear interface, making account management accessible for all users. To effectively manage your Windows computer, this software also supports cloning disk without rebooting, resizing or move partitions, cleaning up your PC, and so on. For Windows Server users, there is AOMEI Partition Assistant Server edition.

