Easily Mirror/Clone Hard Drive to another One in Windows Server 2012
This article will show you how to clone/mirror HDD to another hard drive in Windows Server 2012 (R2) via a reliable Windows Server disk cloning software – AOMEI Partition Assistant Server.
By Irene / Updated on December 4, 2024
Content
☞ Scenario
☞ Why not perform disk mirroring/cloning in Windows Server 2012?
☞ How to mirror Windows Server 2012 hard drive step by step?
☞ Verdict
Scenario: Need to move Windows Server 2012 to HDD
“With 1 TB HDD (hard disk drive), my Windows Server 2012 machine used to work well. But recently, the HDD is filled up with files with receiving "There is not enough space on the disk", also the running speed of it is very slow. I am going to replace the HDD with a large hard drive to get more space and higher operating speed. But in the meantime, I want to keep all the applications and the operating system on the original HDD. What should I do if I want to achieve this goal?”
Consider disk mirroring/cloning in Windows Server 2012
It is common that you want to replace your current disk. You may plan to replace the hard drive with SSD for better performance or replace the current disk whose capacity is small with a disk that owns a large capacity for more storage space. Whatever your reason is, it is not an easy task to transfer all data from the disk in use to another one.
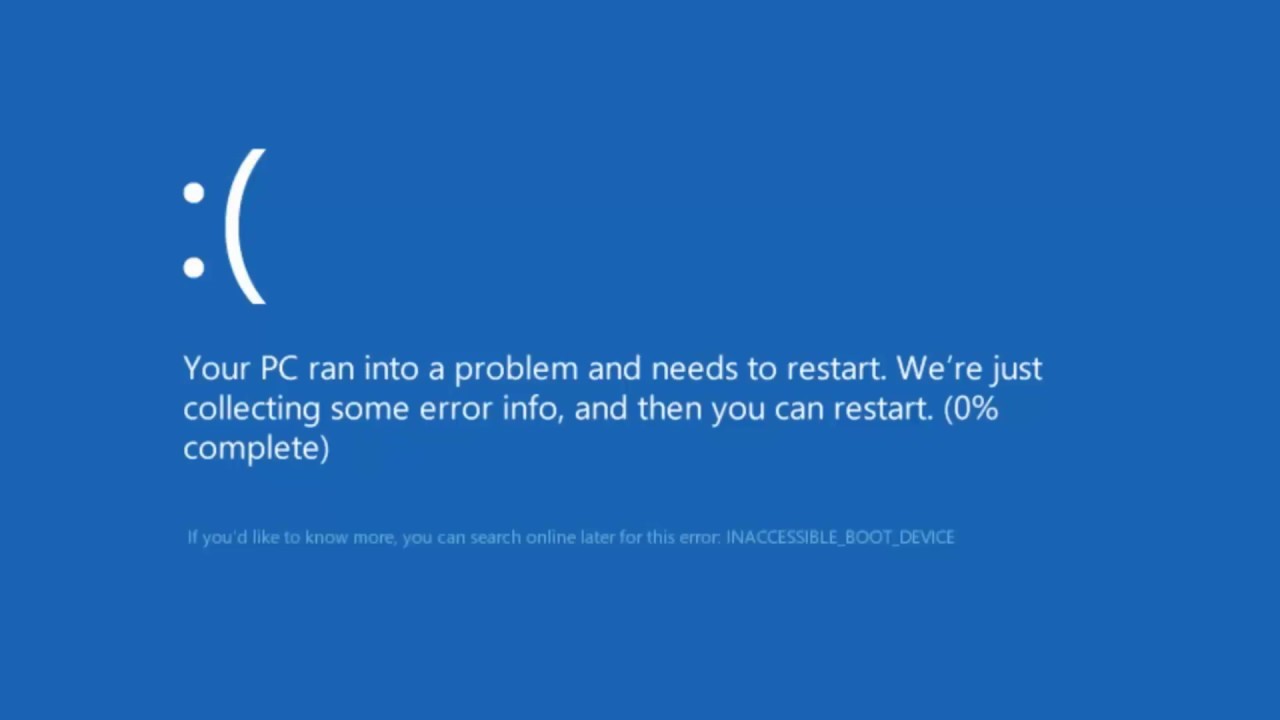
Although the Windows built-in features of “copy” and “paste” can put operating system and application files to the new hard drive, the new disk won’t be able to boot and some applications could not work normally. The most common situation is you may encounter Windows Server 2012 (R2) reboot loop or Windows Server 2012 will not allow mirroring drives/partitions issues.
Thus, why not considering mirroring/cloning Windows Server 2012 disk to another one? After cloning, all applications & OS will be moved to the new hard drive and you can keep the same content. Most important of all, you can boot machine from the target hard drive.
How to mirror Windows Server 2012 hard drive step by step?
Windows Server 2012 disk mirroring is a time-saving and simple way to retain the same content on a new hard drive. Here shows how to clone Windows Server 2012 disk to another one.
► Something necessary for Windows Server 2012 mirroring
In advance of Windows Server 2012 disk mirroring, you have to prepare the following indispensable items:
✔ Good Server cloning software: Good cloning software can help you to clone Windows Server hard drive with a secure boot; it is important to find proper Server cloning software. Here I choose AOMEI Partition Assistant Server, a reliable and powerful disk cloning software for Windows Server 2025, 2022, 2019, 2016, 2012 (R2) . The "Disk Clone" function can help you easily and securely clone HDD/SSD to another disk.
✔ A hard drive with enough space: In order to mirror Windows Server 2012 HDD or SSD successfully, the new hard drive has to own larger or equal space at least to the used space on the original disk. Or you can refer to this article to extend C drive on Server 2012 or Server 2012 R2 for a good preparation.
✔ A readable source disk: To enable Windows Server 2012 mirroring, the source disk shall be readable.
With the essential items, you can achieve the goal of replacing HDD/SSD without OS reinstallation in Windows Server 2012.
► Clone Windows Server 2012 HDD with AOMEI Partition Assistant
Now, have a look at how to complete disk cloning in Windows Server 2012 in detail.
• In order to copy HDD/SSD smoothly, check the error on a partition on the source disk at first.
• It is a good choice to backup your current disk just in case some accidents occur.
Step 1. Install and launch AOMEI Partition Assistant, click "Clone" in the main interface and select "Clone Disk".

Step 2. Choose the hard disk that you need to clone as the source disk and click "Next".

Step 3. Select the destination disk to store the data on the source disk, and then click "Next".

Step 4. Then, you can check the source and destination disk in the next window or change to “Sector to Sector clone”, and click the "Confirm" button to continue if there is no problem.

Here, you can also click the "Settings" button to adjust the partition size on the destination disk or tick "4k alignment" to improve the reading and writing speed of SSD if the target disk is an SSD drive.

Step 5. At last, click "Apply" and "Proceed" in the main interface to start cloning the hard drive.

PS: If there is unallocated space on the destination hard drive after cloning in Windows Server 2012 (R2), you can create a new partition with AOMEI Partition Assistant Server.
After cloning, to boot from cloned disk, you can change boot priority to it in BIOS or remove the old hard drive directly to test. Then, you can check if you successfully do Windows Server disk mirroring without boot issues.
Verdict
Just within a few steps, AOMEI Partition Assistant Server manages to implement Windows Server 2012 mirroring. Apart from Windows Server 2012(R2), it is compatible with Windows Server 2025, 2022, 2019, 2016, 2012 (R2) as well. You can also use it to migrate Windows Server to SSD, recover lost partitions, and so on.

