7 Fixes: Windows 11 NVMe Slow after System Updates
This passage will introduce 7 solutions for Windows 11 NVMe slow issue. Read it and try the method to improve your NVMe performance.
By Irene / Updated on July 17, 2025
The new system Windows 11 has a lot of cool features for users, but there's a problem as well – the SSD is slow. This is even apparent after an upgrade or update. It's important to boost overall performance, including the booting speed. For example, here is a user from Microsoft Community:
I have a storage setup comprising 20TB of SSD storage, including 3 NVMe SSDs and 5 additional SSDs. One of my NVMe SSDs, upon initial Windows installation and after the system update, the NVMe SSD performed admirably, achieving the expected 7500MB/s read and write speeds. However, after configuring the system, I've noticed a significant drop in write speeds. Presently, the write speeds struggle to surpass 2000MB/s. I've tried troubleshooting, yet the issue persists. Could this be related to a Windows 11 update or perhaps a configuration issue? I appreciate any insights or suggestions to help resolve this matter.
The NVMe SSD should offer a lightning-fast experience. But why is your Windows 11 NVMe slow? Today, we'll share 7 solutions to fix the Windows 11 NVMe slow problem.
How to fix Windows 11 NVMe slow issue?
Why is your Windows 11 NVMe SSD slow, especially after an upgrade and update? It could be because you haven't taken optimized measures, like downloading the driver or the latest Microsoft updates. Other reasons might attribute to the SSD itself. For instance, the NVMe SSD could be in bad condition, not running 4K Alignment, or being too small or old. Read this part patiently. You can effectively solve the slow NVMe performance issue with abundant solutions. Here are the reasons and fixes for Windows 11 NVMe drive slow:
Fix 1. Download NVMe driver to relieve SSD drive slow performance
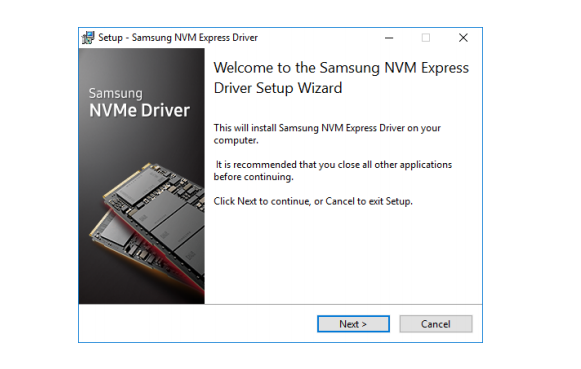
NVMe driver usually refers to a program launched by the manufacturers. Samsung as a technology giant, has its own Samsung NVMe driver is a typical program for its SSD performance optimization. Generally, the performance can get a more pronounced enhancement than before. Now, let’s see how to download and install the useful program.Step 1. Decompress the files and then open them.

Step 2. Click “Next”.
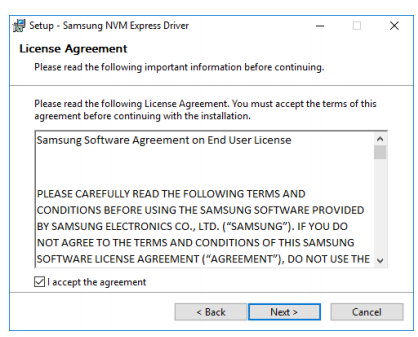
Step 3. Read the License Agreement and select “I accept the agreement” with hitting “Next”.
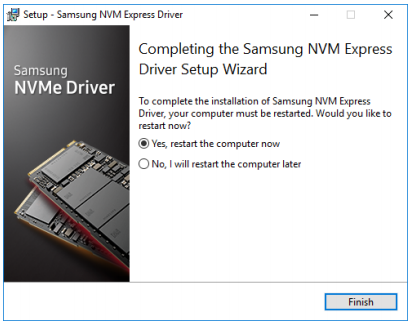
Step 4. Here the wizard will begin to install the driver. When the window shows, choose “Yes, restart the computer now”. If you hope to install the driver later, you can click “No, I will restart the computer later”.
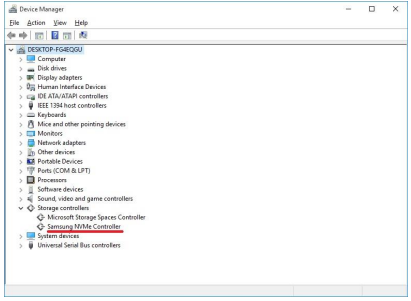
Step 5. Then you can go to the Device Manager to confirm whether the driver is installed successfully. Search “Device Manager” in the search box and then find the “Storage Controllers” option. If the “Samsung NVMe Controller” is shown, it means you install it successfully.
※ If you don't know how to enter BIOS in Windows 11, here's a guide.
Fix 2. Update Windows 11 KB5007262
As noticed by Microsoft, a specific update has been launched to address SSD drive slow performance, KB5007262. If your Windows 11 NVMe is slow, trying this method can be helpful.Step 1. Hit the “Win+I” combination to enter “Settings”, go to “Windows Update” on the left pane, then click it.
Step 2. Click “Check for Updates”. If the KB5007262 update it is available, you can click “Download now’’. Or manually download it on the Microsoft official website if this option is not available.

Step 3. Select “Restart now” after the installation process finishes.
Fix 3. Check Windows 11 NVMe SSD health
If you download the driver or receive the latest update, but the slow NVMe performance still isn't relieved, it's better to check whether the SSD is in a healthy condition or not. AOMEI Partition Assistant is a comprehensive and versatile disk manager designed for Windows 11/10/8/7. It provides numerous options to easily address various computer problems based on your specific situations. Let's see how to use this all-in-one software to effectively fix slow NVMe performance problem.The Best Windows Disk Partition Manager and PC Optimizer
Step 1. Install and launch the AOMEI Partition Assistant Professional. Click the drive you need to check. On the right of the interface, you see the "Properties" option.
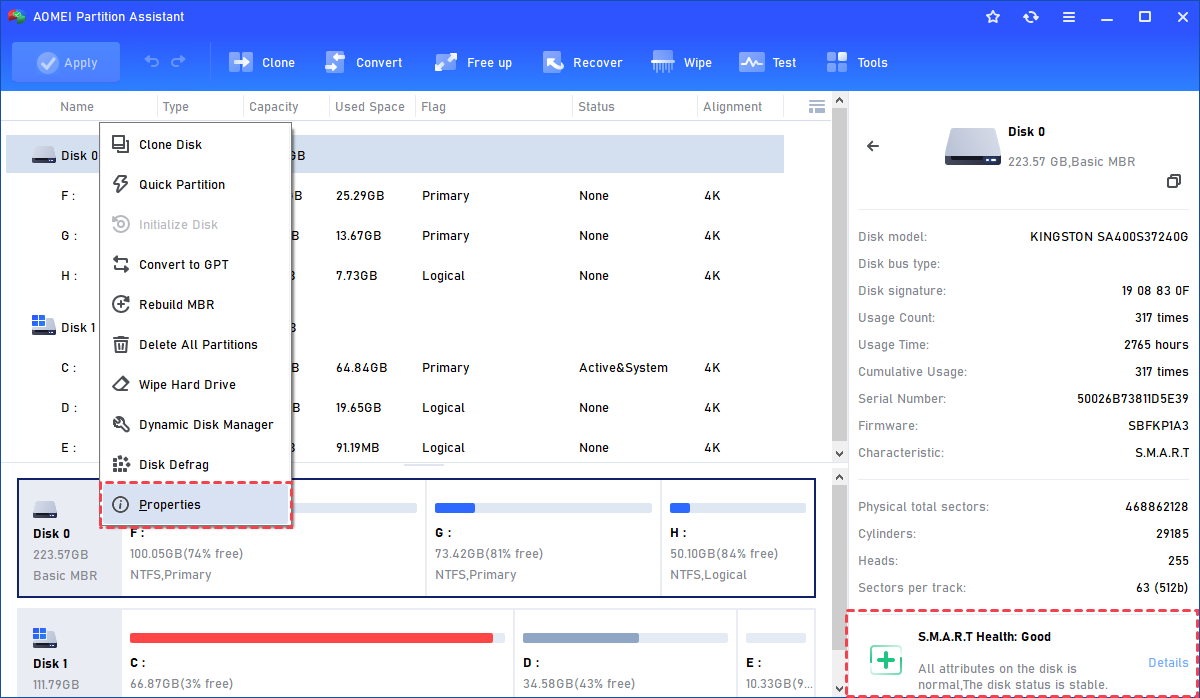
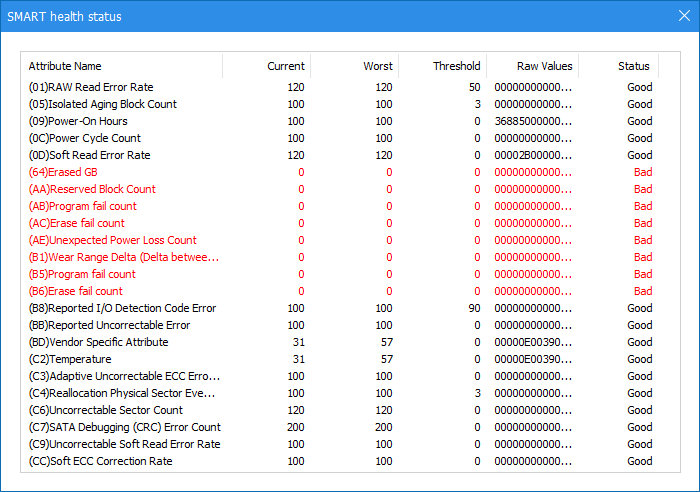
Step 2. Click the "Properties & Health" button, and you can see the state of your SSD. There are three states of the hard disk: Good, Caution, and Bad. You can click "Details" to see more details about your disk.
Tip:
✍ The 3 different states mean you need to take various measures to address your NVMe SSD. Especially if there is a "Bad" notice, it's advisable to back up important data in advance to avoid unexpected data loss.
Fix 4. Monitor NVMe SSD speed
Besides checking the SSD's health, testing the disk speed is also necessary if your NVMe drive is slow. A full C drive, high CPU usage, or over-consumed memory usage will directly affect the read and write speed of the SSD.
Regularly testing the disk speed via AOMEI Partition Assistant is a good habit for monitoring your SSD condition. This software can offer you a comprehensive analysis of your disk speed data.
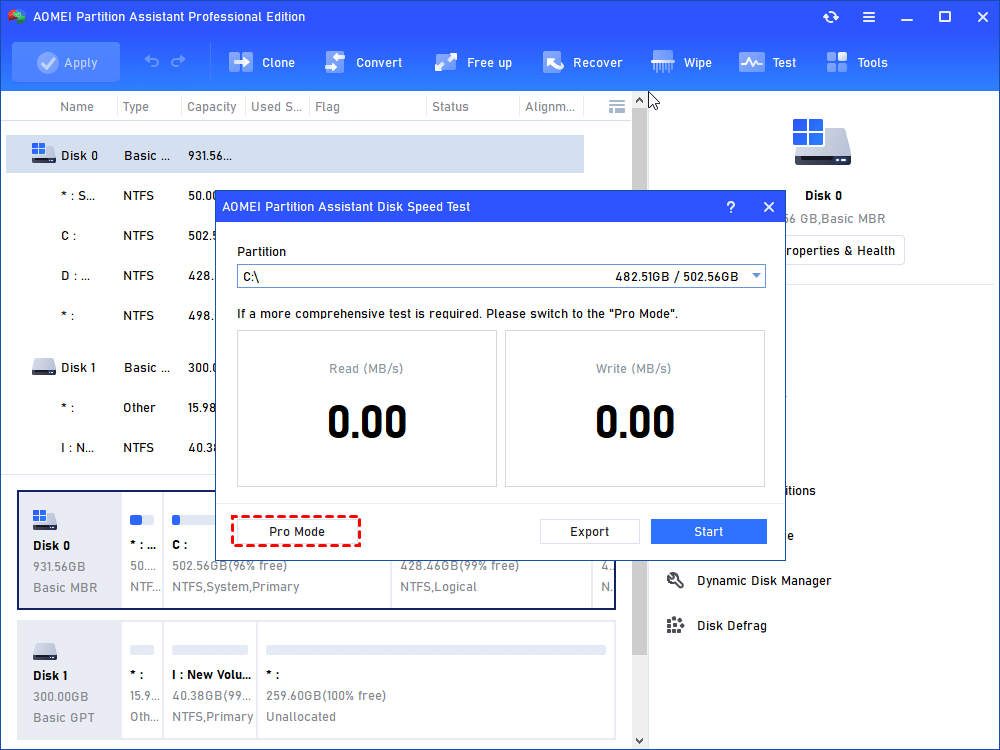
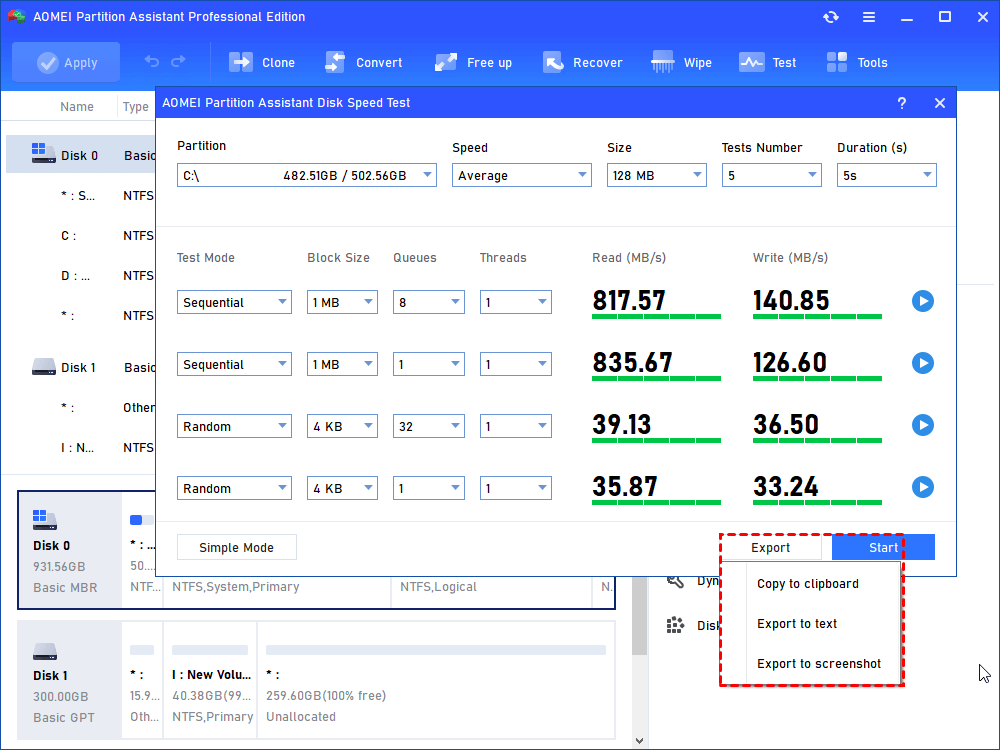
Step 1. Enter the main interface and click the SSD, click the "Test" button at the top of the interface, and then “Disk Speed Test”.
Step 2. Click the “Pro Mode” to begin the test.
Step 3. After click the “Start” button, you will enter a new interface. Here you can change the default settings according to your needs: Partition, Average/Maximum speed, Size, Test Number, and Duration.
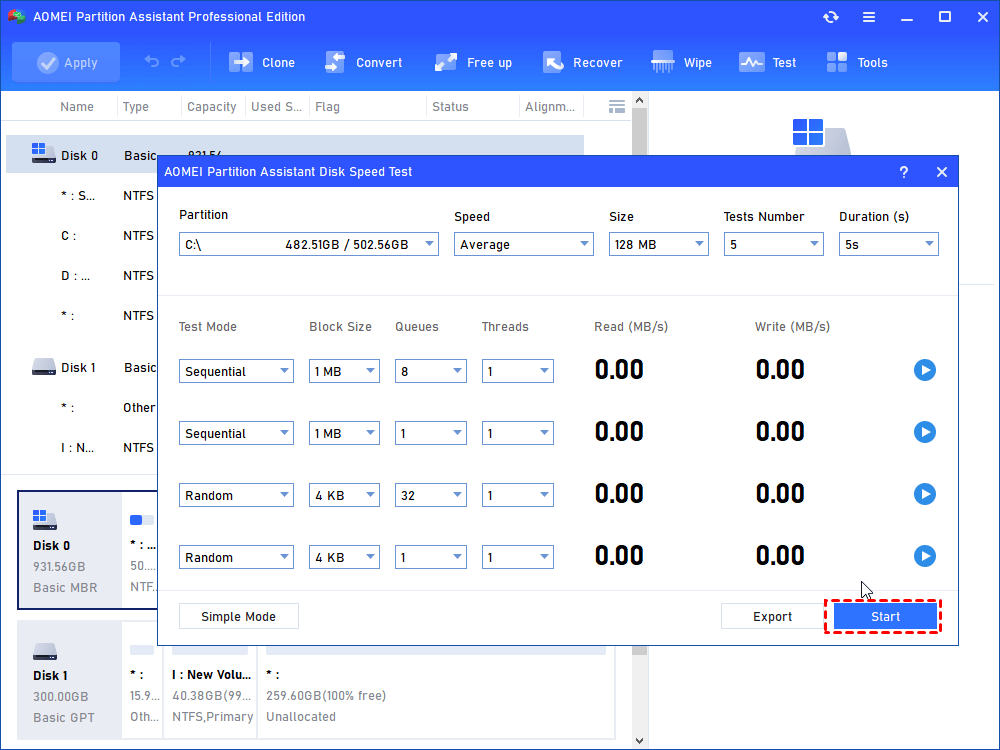
Step 4. When the testing is completed, you can see the details. Also, you can click “Export” to get your result.
Fix 5. Use 4K Alignment to improve NVMe performance
4K alignment can align the SSD physical storage space to a hard drive partition, which can process the data quickly and effectively all the more. If you are not run 4K alignment, the read and write time will be prolonged, causing SSD drive slow performance. You can check the SSD partition alignment first, then follow the tutorial to perform the 4K alignment.
The Best Windows Disk Partition Manager and PC Optimizer
Step 1. Open the installed AOMEI Partition Assistant and then choose a partition from the SSD.
Step 2. Right-click it and choose “Advanced” > “ Partition Alignment”
Step 3. You can see a mini windows pop-up. Select a partition sector to align (Please choose “4096 Sector” to achieve 4K Alignment, or you can select others in light of your needs).
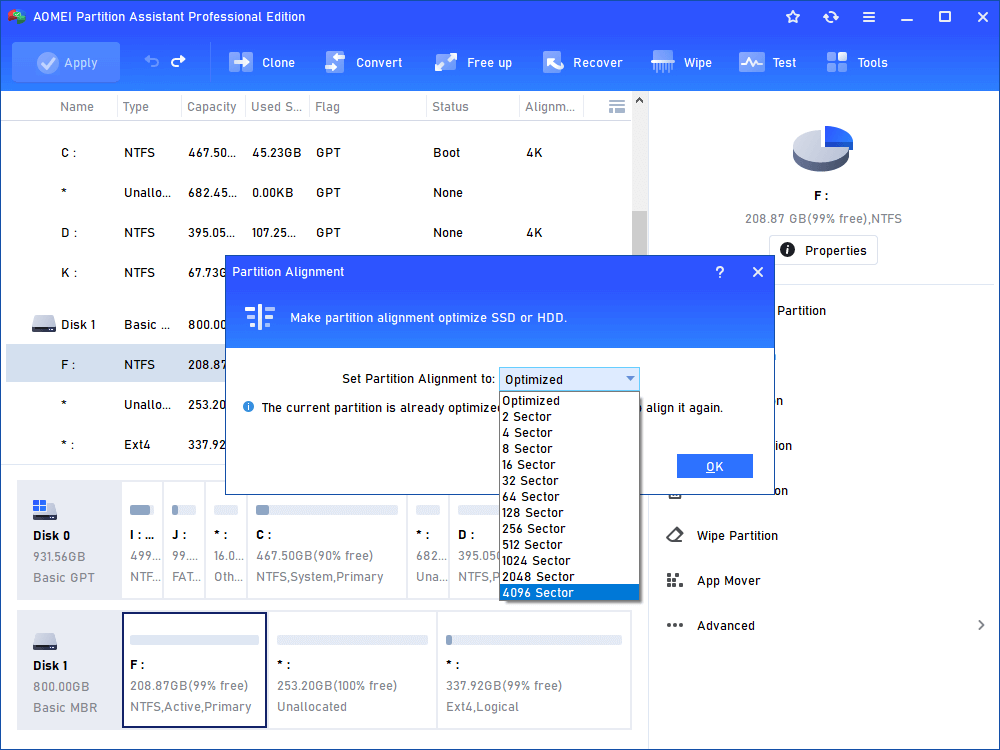
Step 4. After the operation, click “OK” and back to the main interface to commit the operations with hitting the “Apply” button.

Fix 6. Migrate OS to a faster and larger SSD
Using an SSD for an extended period affects its performance due to accumulated data. This data buildup can significantly slow down Windows 11, especially for users with smaller SSDs, or those involved in tasks like video editing or gaming.To enhance SSD performance, it's advisable to upgrade to a larger or faster SSD, such as the M.2 NVMe SSD mentioned earlier. While changing to a new SSD usually requires a system reinstallation, AOMEI Partition Assistant offers a convenient solution.
You can use the "Migrate OS to SSD" function to effortlessly transfer the entire operating system and related partitions to the new disk without reinstalling. Alternatively, the Disk Clone Wizard allows you to clone to a larger and faster SSD, efficiently moving all necessary data according to your needs.
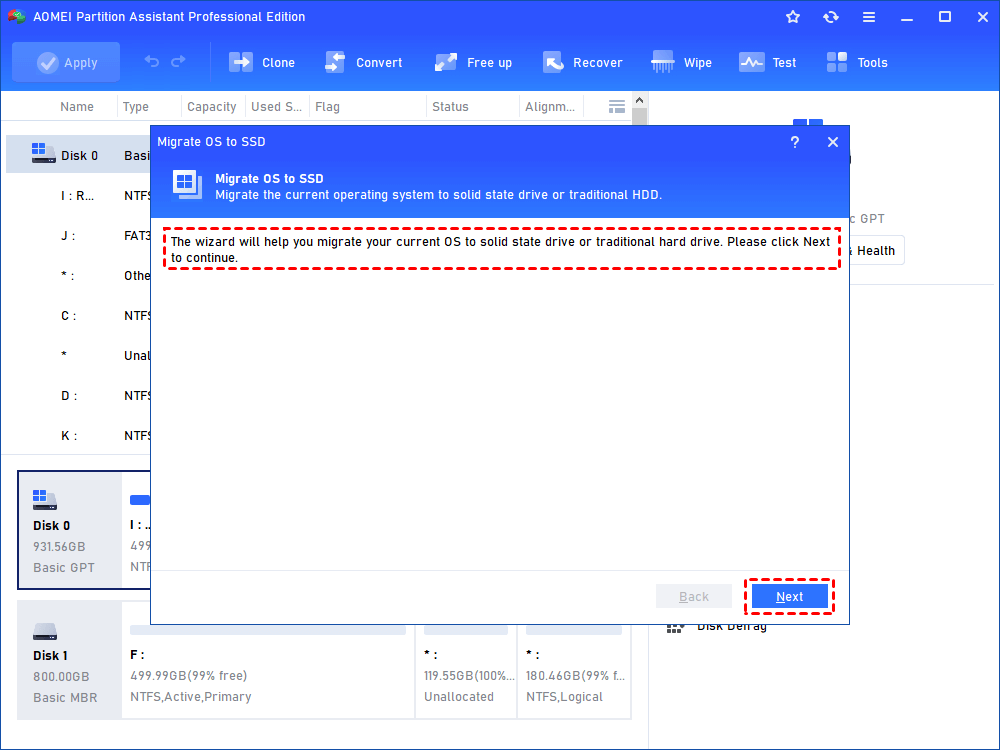
Step 1. Launch the installed AOMEI Partition Assistant, click the "Clone" option at the top of the main interface, and choose “Migrate OS”. Then you can see an introduction, read it, and choose “Next”.

Step 2. In the target disk, select an unallocated space as the target location and click “Next”.

Step 3. In this step, you can resize the system partition and change the drive. Then select “Finish”.
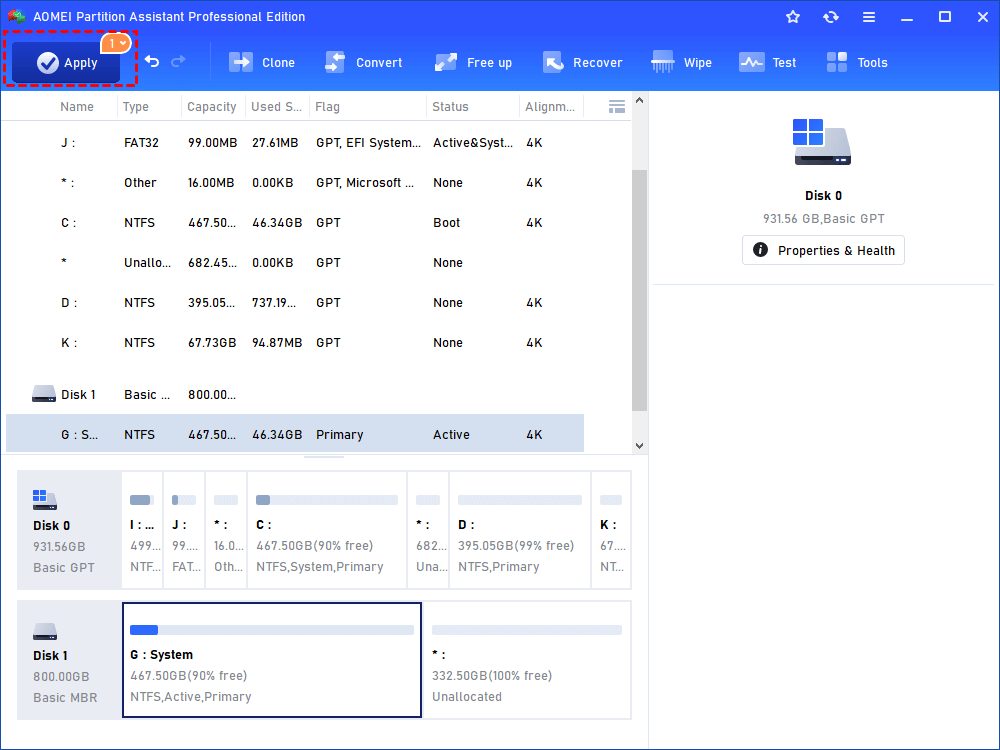
Step 4. Back to the main interface and click “Apply”to execute the operations.
Please power down your PC and unplug the original SSD. Connect the new SSD to your computer and enter BIOS to change boot settings. Next, boot the computer from the SSD.
Fix 7. Securely erase NVMe SSD to cope with slow NVMe performance
Even if the NVMe SSD is advanced enough, it still belongs to the sort of hard drive. With continuously using, total number of TMB (Terabytes Written) over time, and DWPD (Drive Writes per day), the SSD lifespan and performance will be heavily affected, causing the NVMe drive slow. In usual cases, some users will use an SSD Error Check tool to monitor the drive and then erase data to reset it to the factory default performance if needed.However, people who pay attention to the secure erasing SSD function of Samsung or Intel will know there is a brand limitation—they only support their own brands. But AOMEI Partition Assistant can break it. It has no brand requirements and can securely erase all the data on no matter SSD, HDD, USB, or SD card.
The Best Windows Disk Partition Manager and PC Optimizer
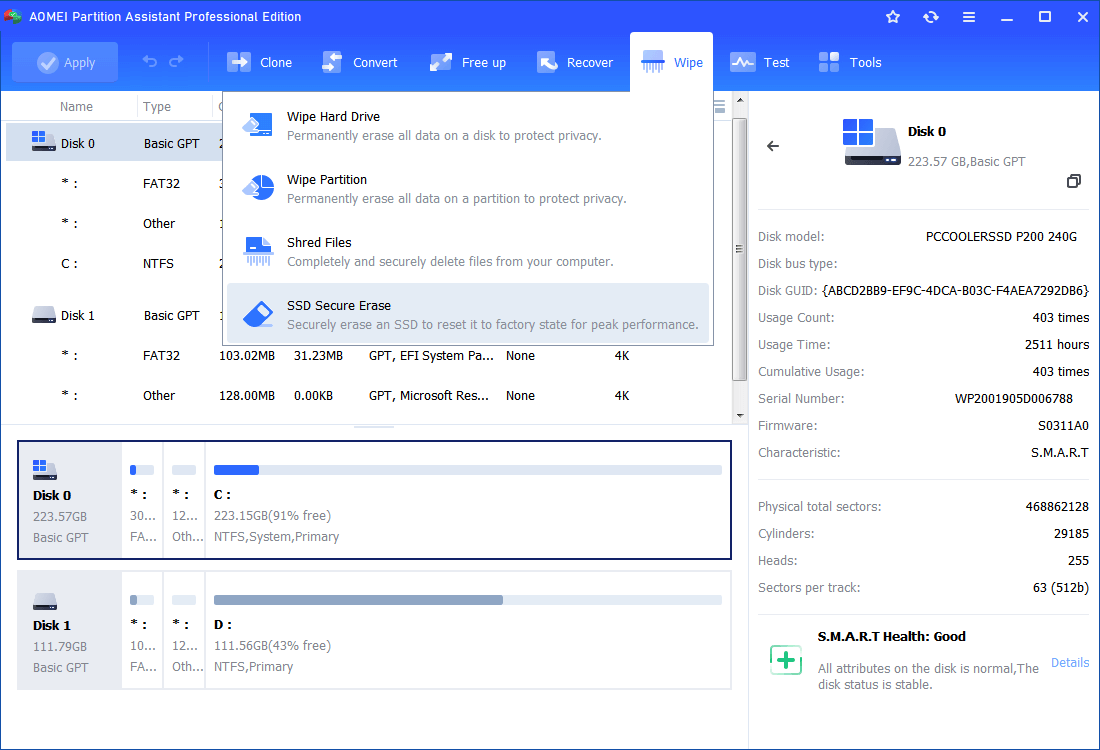
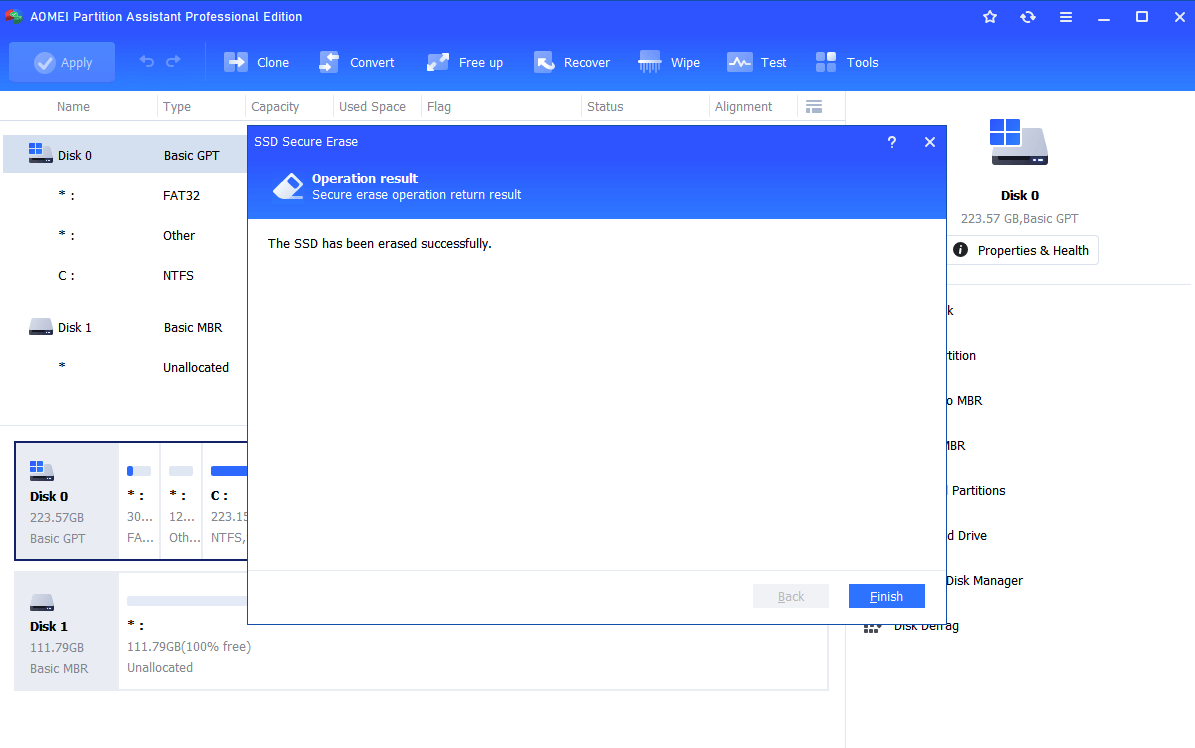
Step 1. Launch the software. Click the SSD, click the "Wipe" option at the top of the interface, and choose “SSD Secure Erase”.
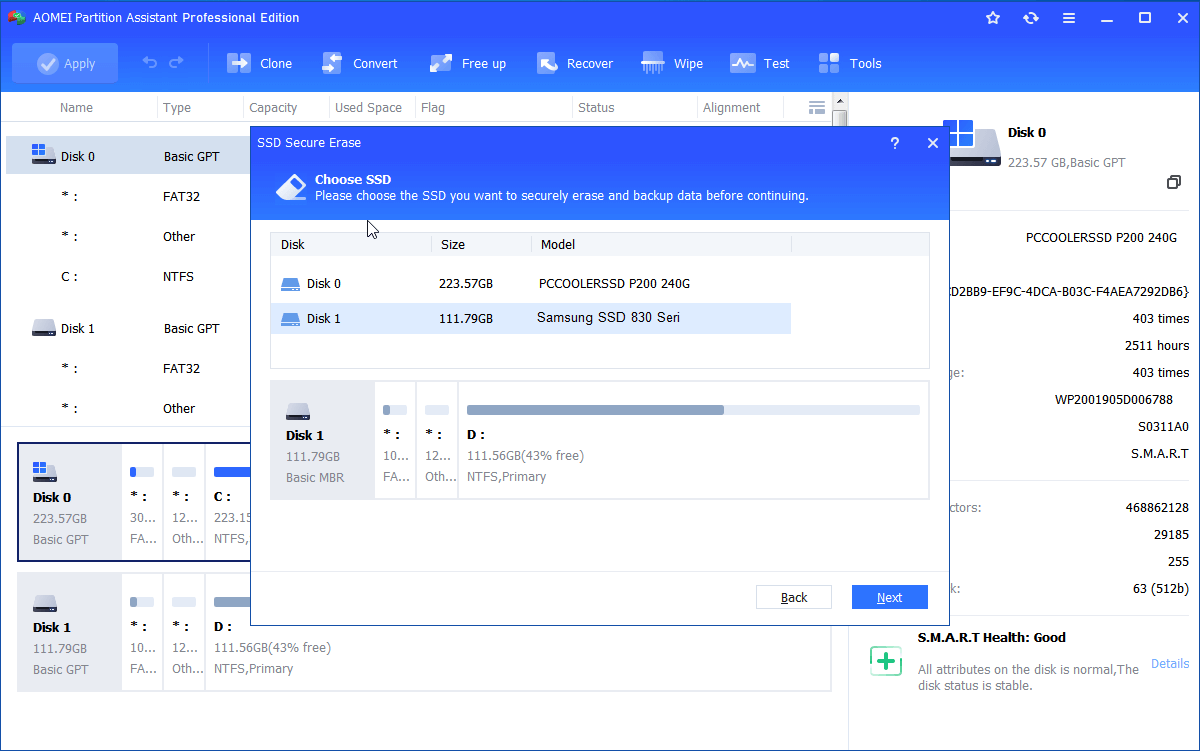
Step 2. Select the target disk and choose “Next”.
Step 3. There will be information for checking the identification of the SSD drive. Click “Next” to move on.
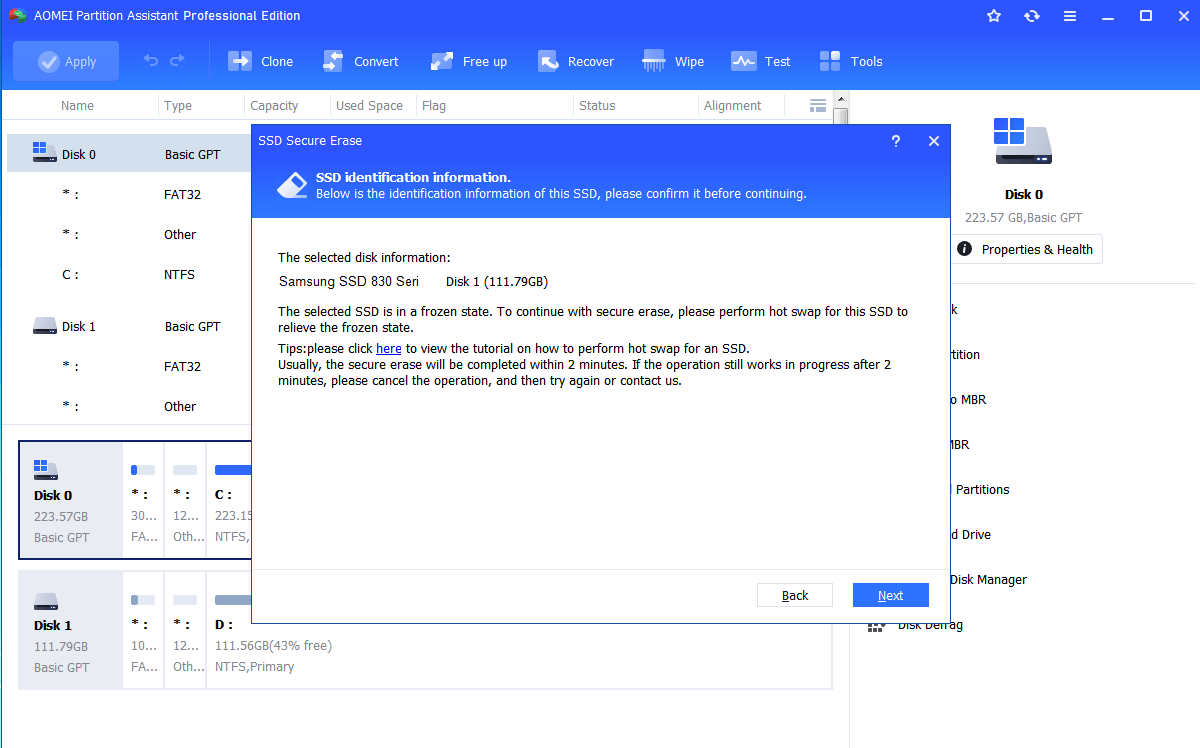
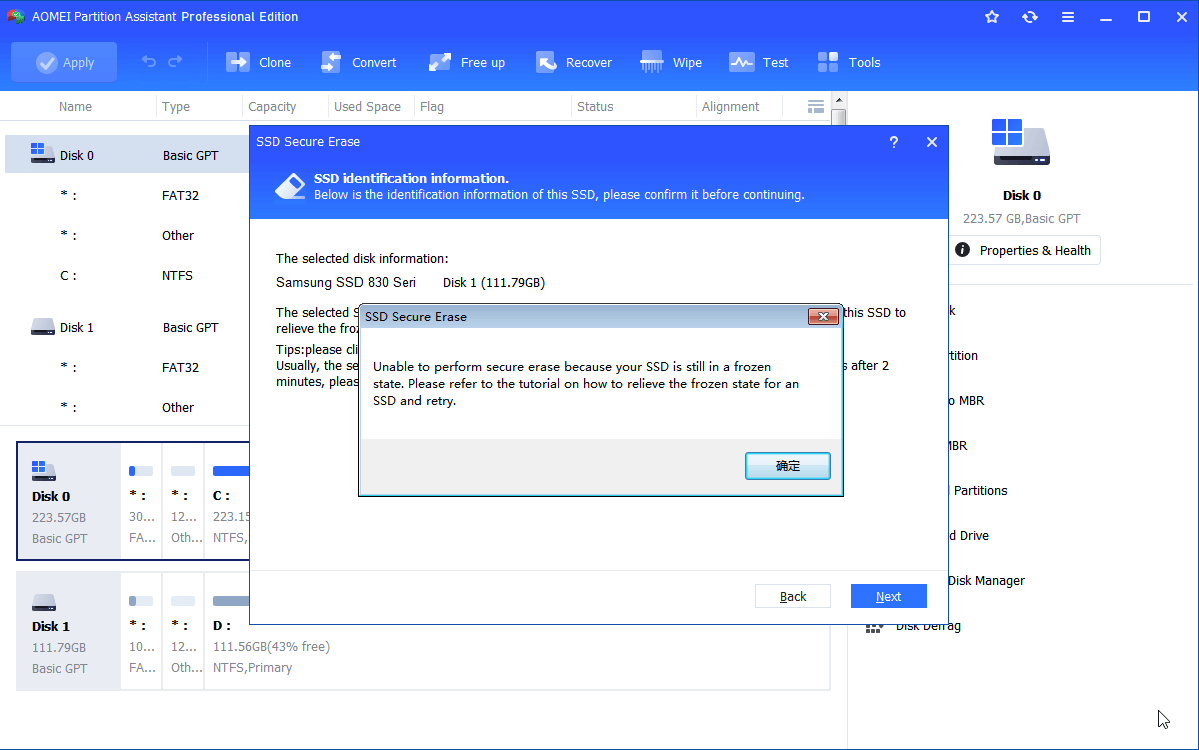
Step 4. If you receive a message that notices your SSD drive in a frozen state. You can follow the tutorial to get out of this situation.
Step 5. Lastly, select “Next” to finish the process.
Further reading: About NVMe SSD
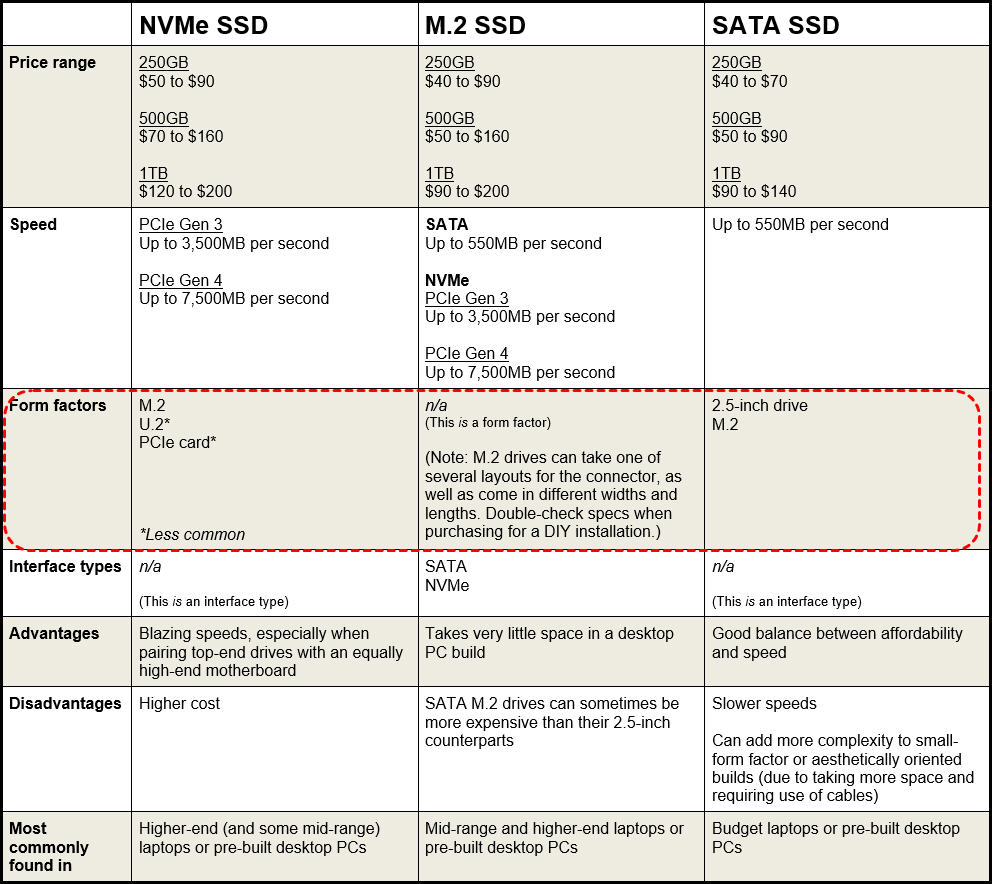
NVMe, or Non-Volatile Memory Host Controller Interface Specification, is a protocol for PCIe bus, creating a direct connection for storage drives. This enhances read-write speeds and reduces program loading times by allowing SSDs to connect directly to the CPU. NVMe is tailored for SSDs, providing faster I/O operations and increased data transfer, making it widely used for personal and business purposes.
With the transition from traditional HDD form factors to 2.5" SSDs and the introduction of M.2 slots, combining NVMe SSDs with M.2 slots (especially setting the M.2 NVMe SSD as a boot drive) can bring a compact, high-speed solution for easy and fast installations, program executions, and loading times.
FAQs
How do I improve NVMe performance in Windows 11?
Update the NVMe driver, install Windows updates like KB5007262, and ensure proper configuration such as 4K alignment.
Why is my NVMe SSD running slow?
It could be due to outdated drivers, improper configuration, lack of updates, or issues like full storage, poor health, or small size of the SSD.
Is Windows 11 slowing down my SSD?
Windows 11 may slow down your SSD if updates are missing or configurations are not optimized.
Does Windows 11 benefit from NVMe?
Yes, Windows 11 benefits from NVMe's fast read/write speeds and reduced loading times for programs.
How to maximize NVMe speed?
Download the latest drivers, enable 4K alignment, upgrade your SSD if necessary, and regularly check its health and speed.
Ending Words
Today, we discuss how to fix Windows 11 NVMe slow in detail. There are 7 effective solutions, you can choose the one suits your situation most.
We can easily see AOMEI Partition Assistant is a powerful and multifunctional tool which can solve various problems. Except for dealing with slow NVMe performance, it can also extend the drive space, move installed programs to another drive, convert MBR/GPT without deleting partitions, and so on. If Windows Server 2025/2022/2019/2016/2012(R2)/2008(R2)/2003 users hope to experience this robust software, please turn to the Server Edition.

