Quick Fix: Virtual Disk Manager the Device is not Ready Windows 11
If you have ever received the message saying “Virtual Disk Manager the device is not ready Windows 11”, don’t have to panic, because in this practical post, you will learn the targeted ways to fix the error under different situations.
By Hedy / Updated on May 12, 2023
What does it mean when it says the device is not ready?
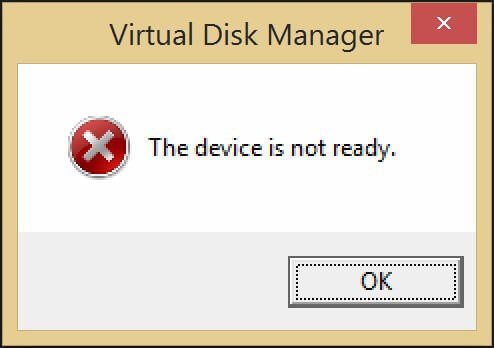
Storage devices like USB flash drives, CDs, DVDs, SD cards, etc are welcomed in saving massive data. However, an error like Virtual Disk Manager the device is not ready Windows 11 sometimes appear when you trying to access data from these devices. When it happens, it means the disk shows "Disk 1 unknown not initialized" or "Disk 1basic online, unallocated/RAW", which prevents you from doing anything to the drive.
Though it is a common error, it's still necessary to know why you are in face of such an error. Generally, Virtual Disk Manager the device is not ready error is not caused by a single factor. You may come across the problem because of the following reasons:
✘ Poor connection.
✘ Compatibility issues.
✘ Windows file system corruption.
✘ Bad sectors on the hard drive.
✘ Virus infection and malware.
✘ ......
How do I fix Virtual Disk Manager is not ready in Windows 11/10/8/7?
After learning the most possible reasons for the "the device is not ready" warning, let's explore some effective ways to solve this issue. Since there are different cases when Virtual Disk Manager the device is not ready happens, we will discuss and fix them one by one.
▷ Situation 1. Disk 1 unknown not initialized, unallocated space
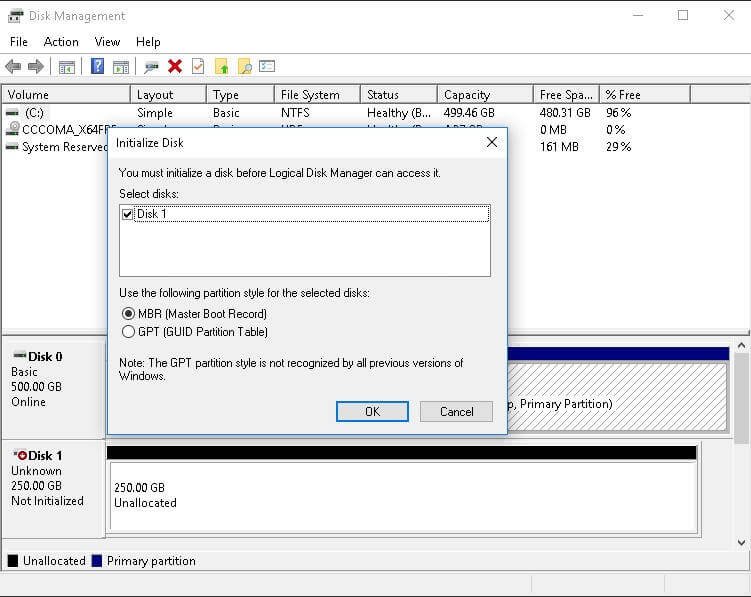
When you forget to initialize a new disk, it cannot be recognized by your Windows, then it shows as unknown not initialized, unallocated in Disk Management. In such a case, you will receive the message saying Virtual Disk Manager the device is not ready Windows 11. To fix it, you just need to initialize the disk first.
Step 1. Right-click the Windows icon and select "Disk Management" to open Disk Management.
Step 2. Right-click the target disk that is not initialized, and choose "Initialize Disk". In the Initialize Disk window, tick Disk 1(the disk is not initialized), select partition style (GPT or MBR), and click "OK" to start the operation.
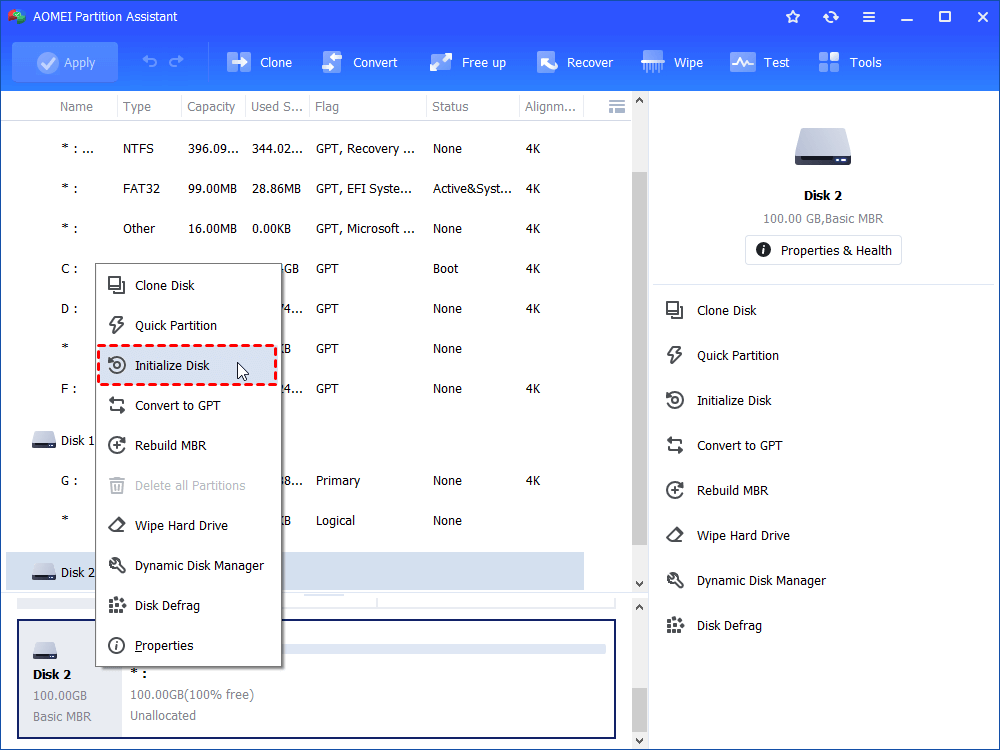
However, Disk Management sometimes may fail to initialize the disk. So I recommend you employ the best free alternative - AOMEI Partition Assistant Standard. This is a powerful and practical disk manager designed for Windows 11/10/8/7. It can perfectly initialize the disk to the proper partition style you like. Here is the free download button and stepwise to initialize the disk:
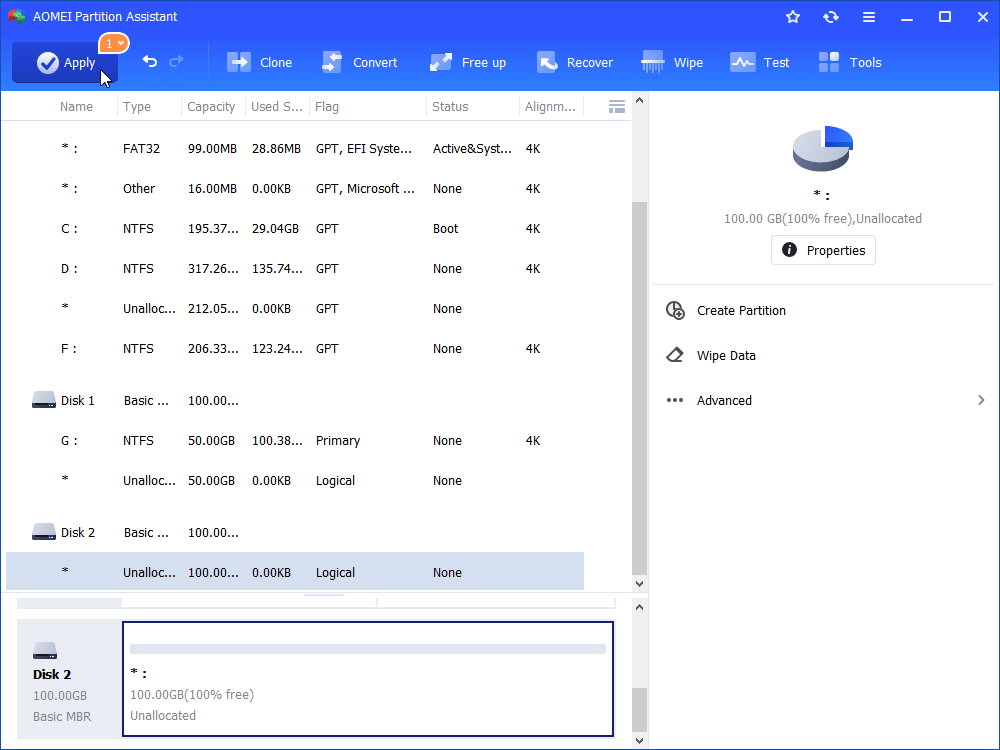
Step 1. Launch AOMEI Partition Assistant and right-click on the disk which you want to initialize, and choose "Initialize Disk" in the pop-up menu.
Step 2. In the pop-up window, there will be two options for you to choose. You can initialize the disk to MBR or GPT style. Click "OK" to continue.
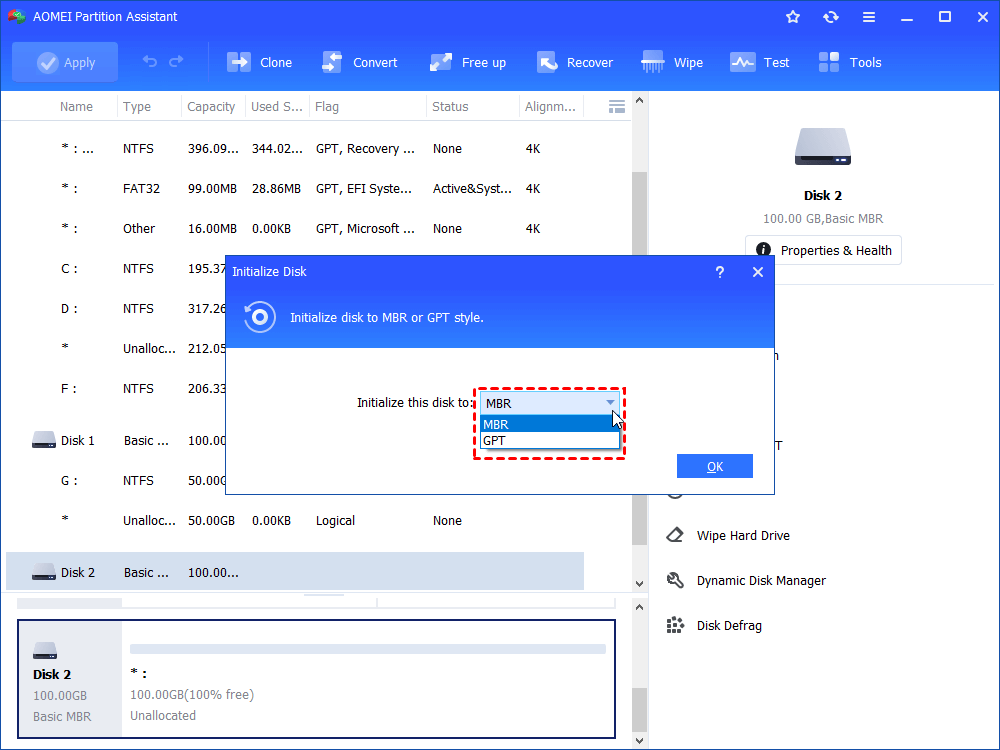
Step 3. Click "Apply" to complete the process.
▷ Situation 2. Disk 1 basic online, unallocated space
If you encounter Virtual Disk Manager the device is not ready Windows 10 because Disk 1 shows basic online and unallocated, you can try creating a new partition with the unallocated space. But if there are important data on the disk, you can try recovering the lost partitions first.
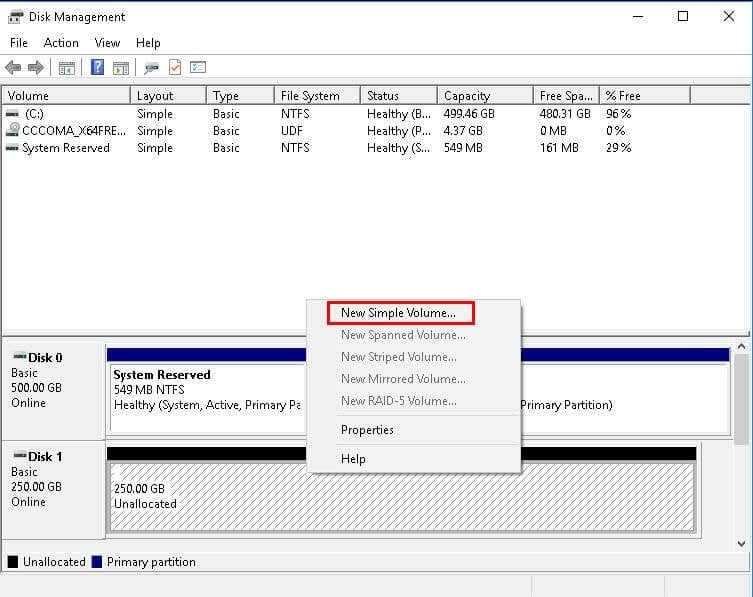
Step 1. Open Disk Management, right-click the unallocated space, and then choose "New Simple Volume" from the list.
Step 2. Follow the wizard to finish the partition creation.
The same as situation 1, if Disk Management doesn't work again, you can ask AOMEI software for help. It can not only create partitions with the unallocated space but also create partitions within the existing partition. Besides, its "Quick partition" can create multiple partitions at one time.
Step 1. Open AOMEI Partition Assistant, right-click the unallocated space, and choose "Create Partition" from the list.
Step 2. In the pop-up window, click "Advanced" to specify the information for the new partition, including partition size, partition label, drive letter, files system (NTFS or FAT), and partition type (logical or primary). You could also specify the size of the new partition by dragging both edges. When all settings are completed, click "OK" to continue.
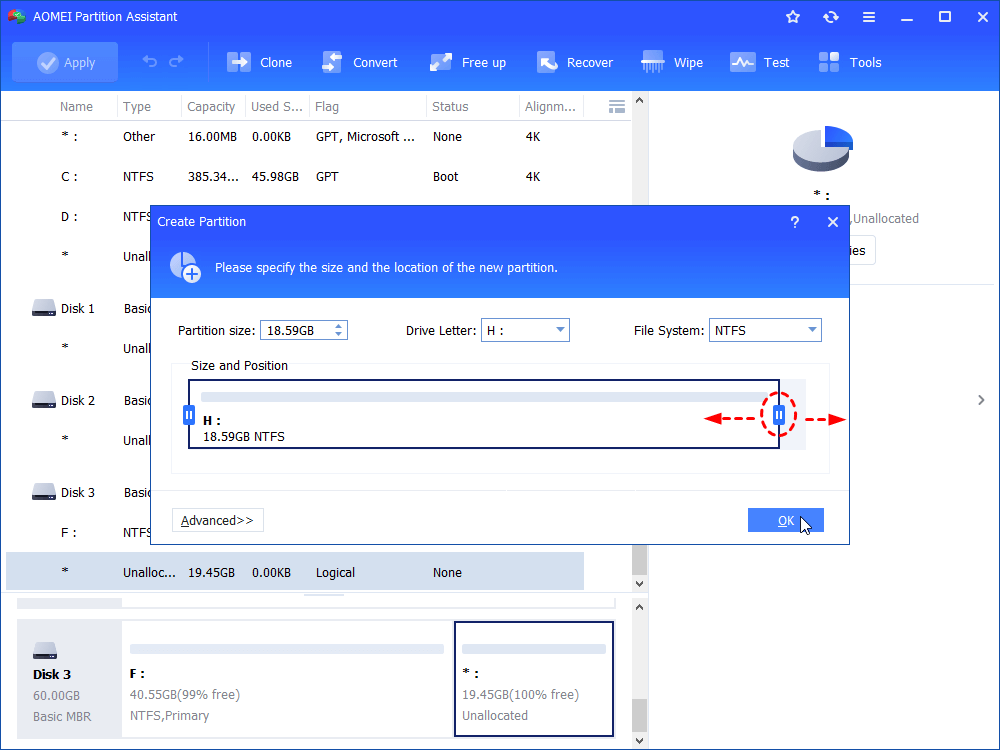
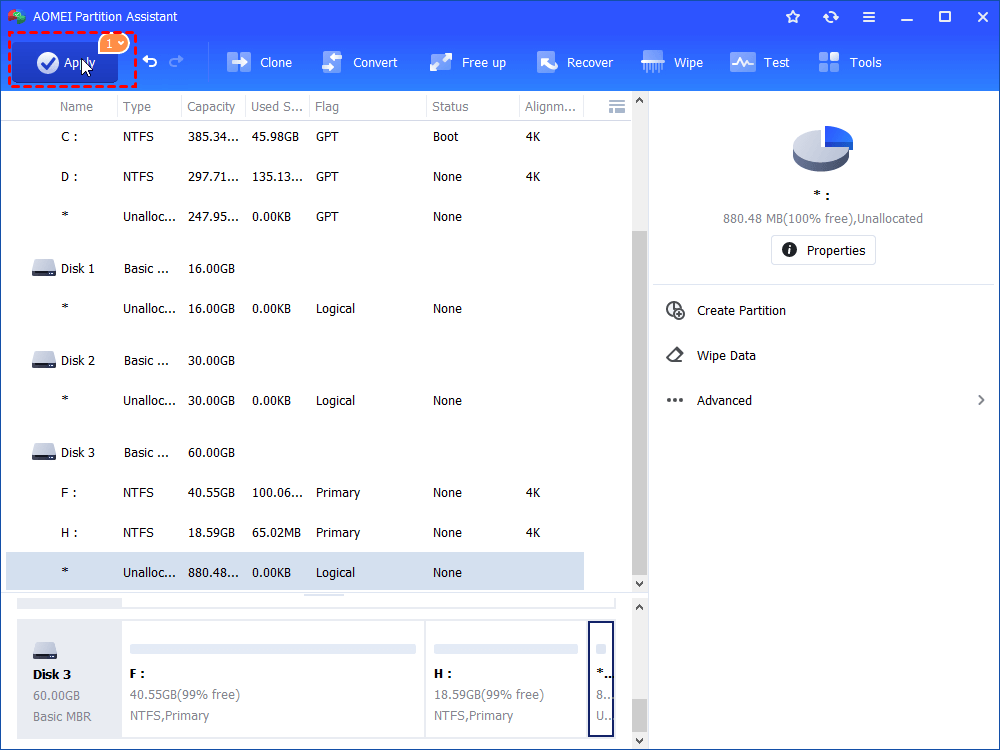
Step 3. Now you can preview the newly created partition. Click "Apply" on the toolbar to commit the operations.
▷ Situation 3. Disk 1 basic online, RAW file system
The third situation is that Disk 1 shows basic online and the partition file system is RAW like the following screenshot. Since RAW is not a file system that can be recognized by the Windows system, the device is not ready error shows up.

To fix the RAW file system, you can choose to convert it into NTFS or FAT32 file system so that you can access your hard drive successfully. Let's see how to fix Virtual Disk Manager the device is not ready with Command Prompt.
Step 1. Type "CMD" on the search bar and choose it to run as administrator.
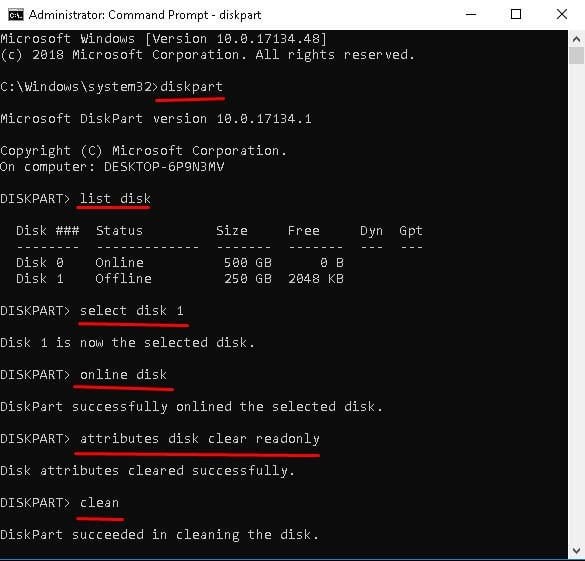
Step 2. Type "diskpart" in the command prompt window and hit "Enter".
Step 3. Type the following commands in order and hit "Enter" to run it.
list disk
select disk n (n is the RAW hard drive)
online disk (if it is not online)
attributes disk clear readonly
clean
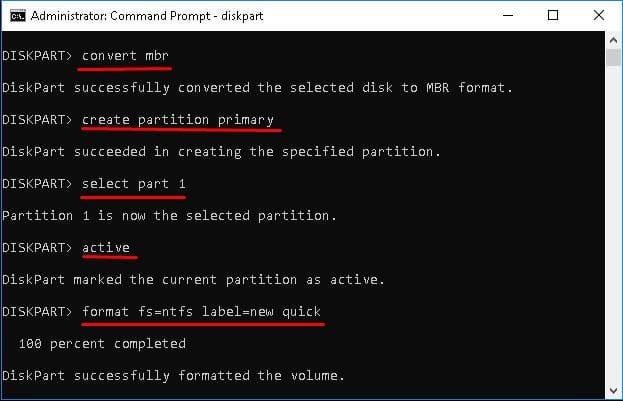
convert mbr (or convert gpt)
create partition primary
select part 1
active (if it is the boot drive)
format fs=ntfs label=new quick (new is the volume label and you replace it with another name)
list volume (you will be able to see an NTFS formatted partition)
exit
If you are confused with these long command lines or think it's complicated to convert file systems with CMD, you can try the free partition manager AOMEI Partition Assistant Standard we have mentioned above.
With the graphic interface in this software, you can clearly know the situation of your disks, so that you can format the RAW partition to FAT32 or NTFS without any hassle. During the whole process, you just need to make choices rather than inputting the command by yourself. So, there is little chance to make mistakes.
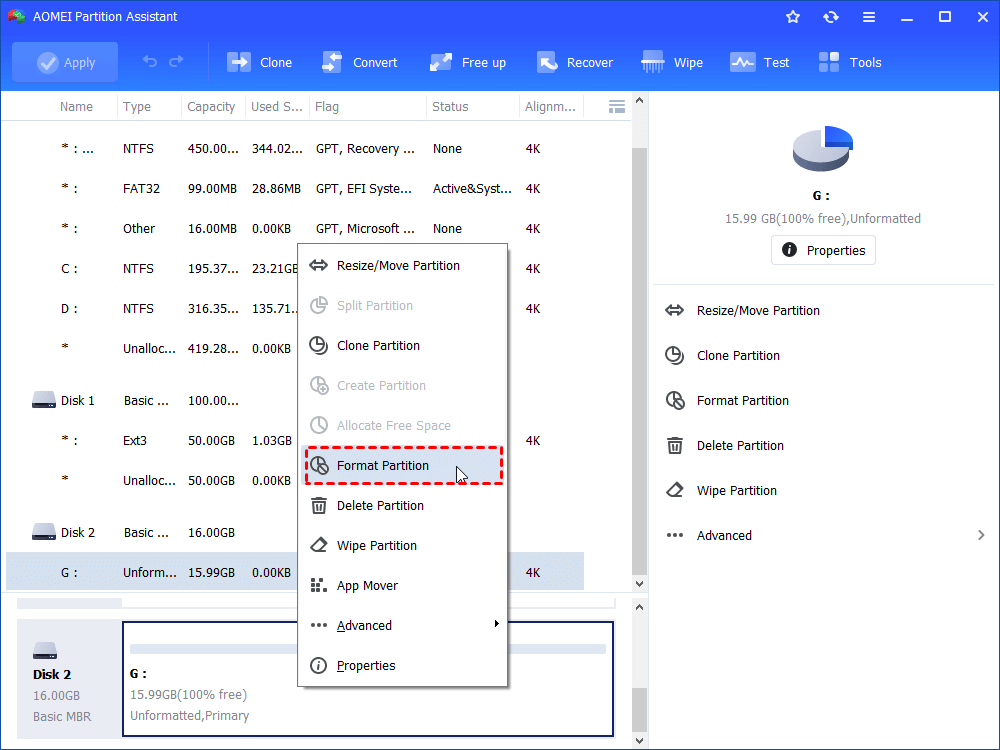
Step 1. Open AOMEI Partition Assistant Standard. Right-click the RAW partition and select "Format Partition".
Step 2. Select the file system from the drop-down menu.
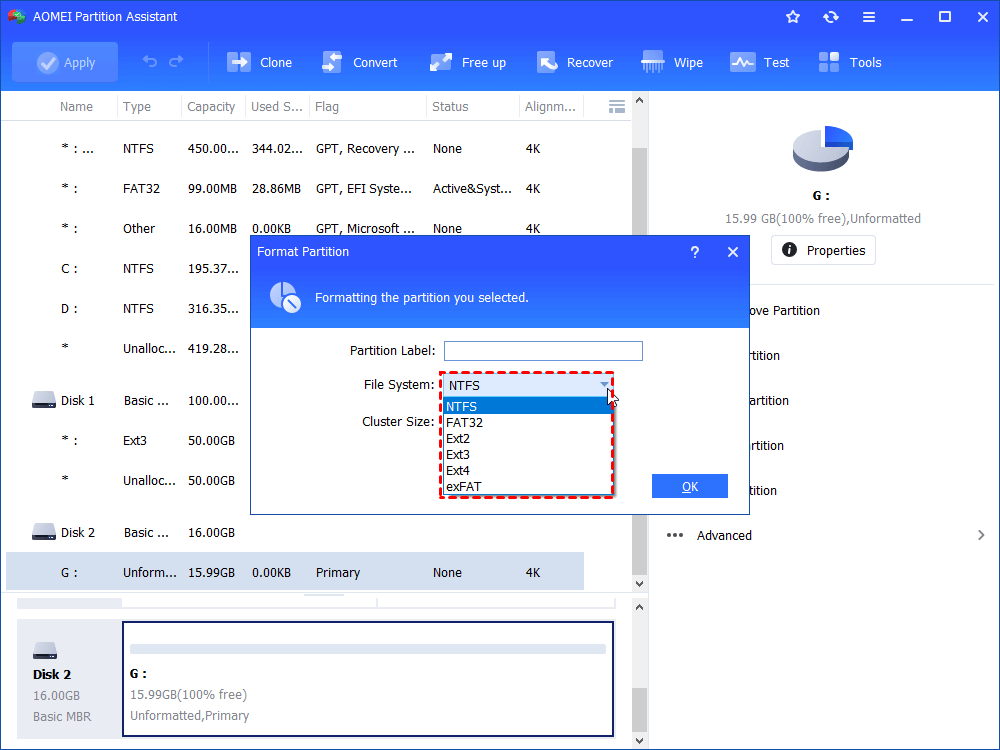
Step 3. Click "Apply" to start the process.

It's easy, right? With the help of AOMEI Partition Assistant Standard, you can fix the Disk 1 basic online, RAW file system only in three clicks.
4 common ways to fix "Virtual Disk Manager the device is not ready Windows 11"
Apart from applying the corresponding way to deal with different cases as described above, you can also use some common ways to fix them. Here are four common ways in this part. Let's see them one by one.
▶ Fix 1. Check the device connection
When you want to access the data from the hard drive but it shows the device is not ready, one solution is to make sure whether it's caused by a poor connection. You can do as follows:
1. Unplug the device and insert it again into your computer.
2. Disconnect the device and plug it in again by using another USB port.
3. Change the USB cable that matches the device.
4. Connect the device to another PC.
▶ Fix 2. Reinstall the device driver
If the device driver is not installed, it's possible to meet the Virtual Disk Manager the device is not ready error. To fix it, you can try reinstalling the disk drivers.
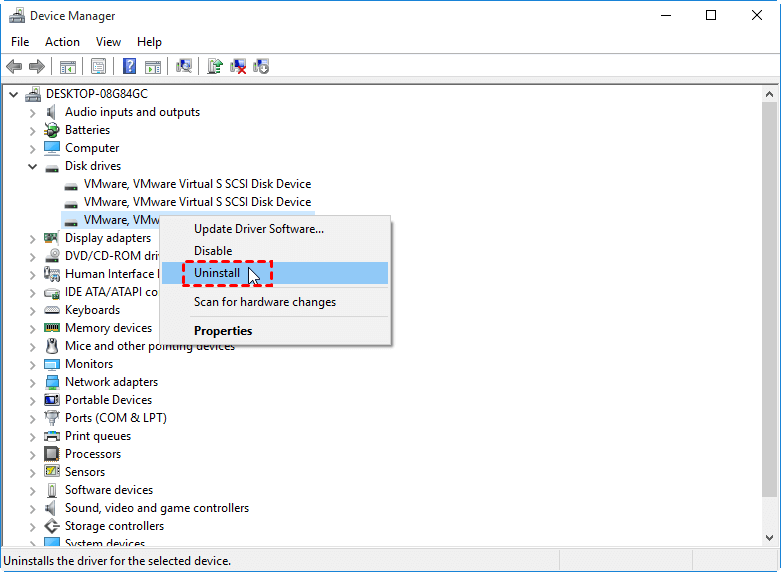
Step 1. Type "Device Manager" on the search box, and select it from the list of results.
Step 2. Double-click to expand the Disk driver and right-click the disk driver.
Step 3. Just click "Uninstall" in the extended menu and select "OK". Restart your PC, and Windows will reinstall the driver automatically.
▶ Fix 3. Run CHKDSK
If there are bad sectors on your device, the error will show up, too. Thus, you can run CHKDSK to check the errors.
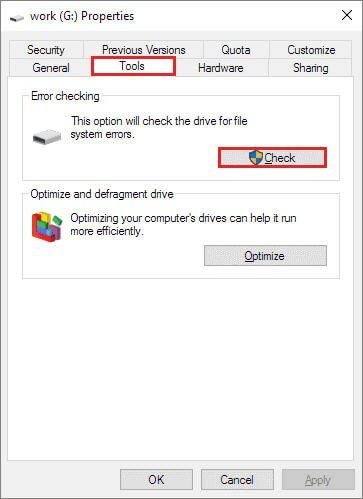
Step 1. Right-click the target drive and select "Properties".
Step 2. Click the "Tools" tab and the "Check" option under the Error checking section. It will check the file system errors.
▶ Fix 4. Run SFC Scannow
If you think the Virtual Disk Manager the device is not ready Windows 11 error is caused by a corrupted or damaged file system, you can try the SFC Scannow command. It will find and fix the error automatically.
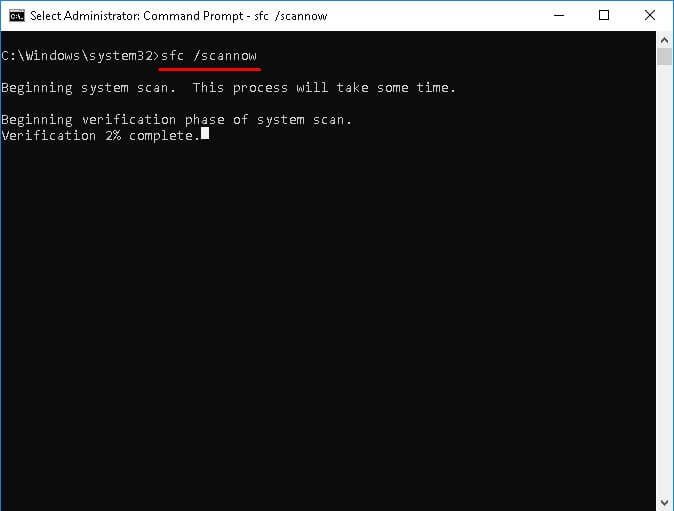
Step 1. Open the command prompt and run as administrator.
Step 2. Type "sfc /scannow" in the window and hit "Enter".
Conclusion
That's all about how to fix Virtual Disk Manager the device is not ready Windows 11 error. In this post, you have learned not only the targeted ways under three different situations but also four common ways to solve this problem.
Among all the fixes, AOMEI Partition Assistant Standard plays a vital role. Moreover, if you improve to the Professional edition, you are able to enjoy more useful features: deleting large files, migrating OS to SSD, moving folders from C to D drives, testing SSD speed, and so on.

