How to Reinstall Windows Server 2012 R2 Without Losing Data?
Sometimes, you might want to reinstall Windows Server 2012 R2 without losing data. Here, in this article, you can learn how to reinstall Windows Server operating system without losing any important files in detailed guide.
By AOMEI / Updated on December 4, 2024
Need to reinstall Windows Server 2012 R2
“I have a computer with pre-installed Windows Server 2012 R2 that loads slower and slower on the current HDD. So I want to reinstall it onto a faster SSD drive. But there are many important personal files that I want to keep. So is it possible to reinstall Windows Server 2012 R2 without losing any data? ”
Reinstallation of Windows Server does not happen often, but when it is running quite slowly, even frozen now and then, or you have too many corrupted files or viruses on your computer, reinstalling the Server operating system onto another drive from should be the last resort. And today we will tell you how to quickly and easily reinstall Windows Server 2012 R2 without losing any files, documents, pictures, videos or music.
Traditional way to reinstall Server 2012 R2 without losing data
When it comes to reinstalling Server operating system, the most traditional way is to use an installation media including CD, DVD, Server bootable USB drive and more. In order to avoid data loss during the Server 2012 R2 reinstallation process, it is necessary to back up all your computer files.
Step 1. Insert your Server 2012 R2 installation media into the computer and boot from it (you might need to change the boot sequence so that the computer boots from the media). Once you get a message "Press any key to boot from CD or DVD..", press the ”Enter key”. Then select the language and other preferences.

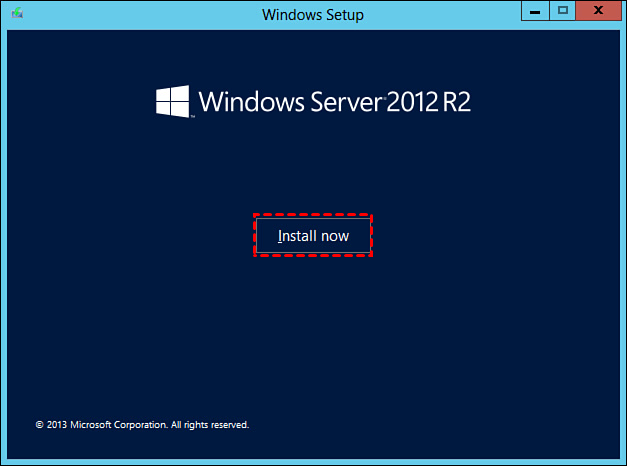
Step 2. When you receive the Windows Server 2012 R2 screen, click on “Install now”.
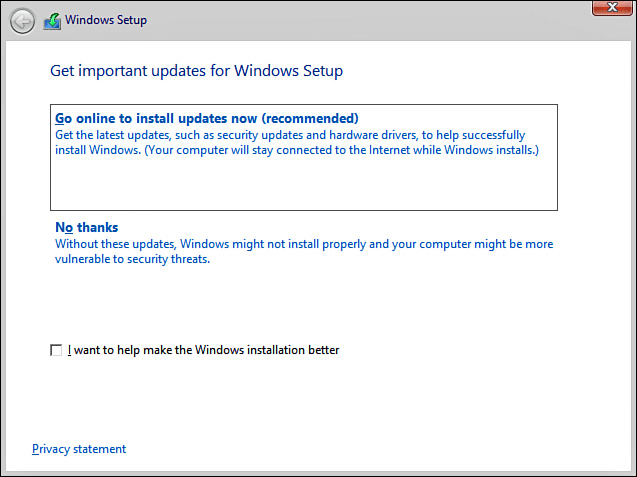
Step 3. Then Windows will copy temporary files and display the “Get important updates for Windows Setup” screen. If you are connected to the Internet, you can choose “Go online to install updates now (recommended)”.
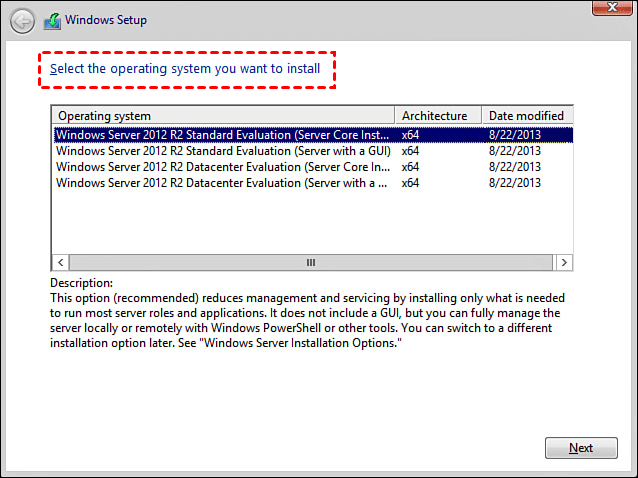
Step 4. Choose the Server 2012 R2 version from the given list and click “Next”.
Step 5. Accept the license items and click on “Next”.
Step 6. In the ”Which type of installation do you want?” page and click on ”Custom”, which will automatically create an old file of all your data and you can access them after the reinstallation is completed.

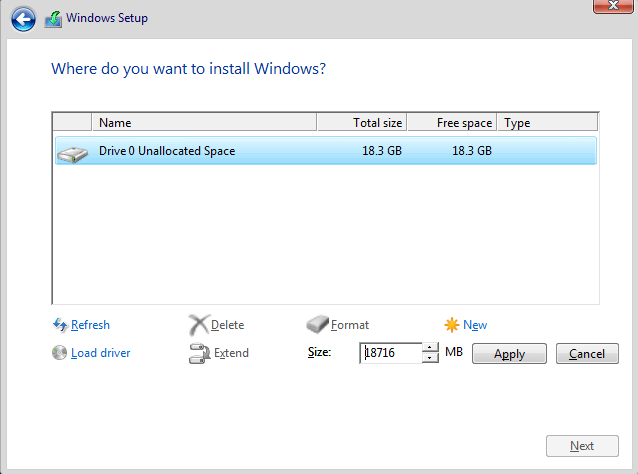
Step 7. In the “Where do you want to install Windows?” page, you can decide where in your hard drive you want the OS to be installed and saved.
Step 8. Then click “Next” and the reinstallation will begin. When you are asked whether it overwrites the existing files. Click “No” to leave your files as it is now.

Generally speaking, this process should take around an hour. When it is done, you can run the reinstalled Windows Server 2012 R2.
Advanced way to reinstall Server OS without losing data
The first method is to perform a clean installation by using the Server 2012 R2 installation media. With at least 8 steps required, it is time-consuming and complex. Moreover, it will become more challenging when the installation media is not available. So, here we would like to share another advanced way to reinstall Windows Server 2012 R2 without losing data as well as Windows Server 2025, 2022, 2019, 2016.
That is applying a Server OS migration tool: AOMEI Partition Assistant Server. It allows you to directly move the current Windows Server 2012 R2 partition to another disk (SSD, HDD, or other hard drives). Different from reinstalling Server 2012 R2 from installation media, it will transfer the complete Server 2012 boot files and other programs installed on this boot partition to another location. So, all data and files will be safe. You can download the demo version and have a try:
Before proceed:
▶There must be unallocated space on the destination SSD or HDD and it must be equal to or larger than the used space of current OS partition.
▶If there is no unallocated space, you can delete a useless partition or shrink a large partition to get one.
▶If you prepare to migrate OS from MBR to GPT disk, make sure your motherboard supports EFI or UEFI boot. If not, you can convert the SSD to MBR (same as the source disk) in advance.
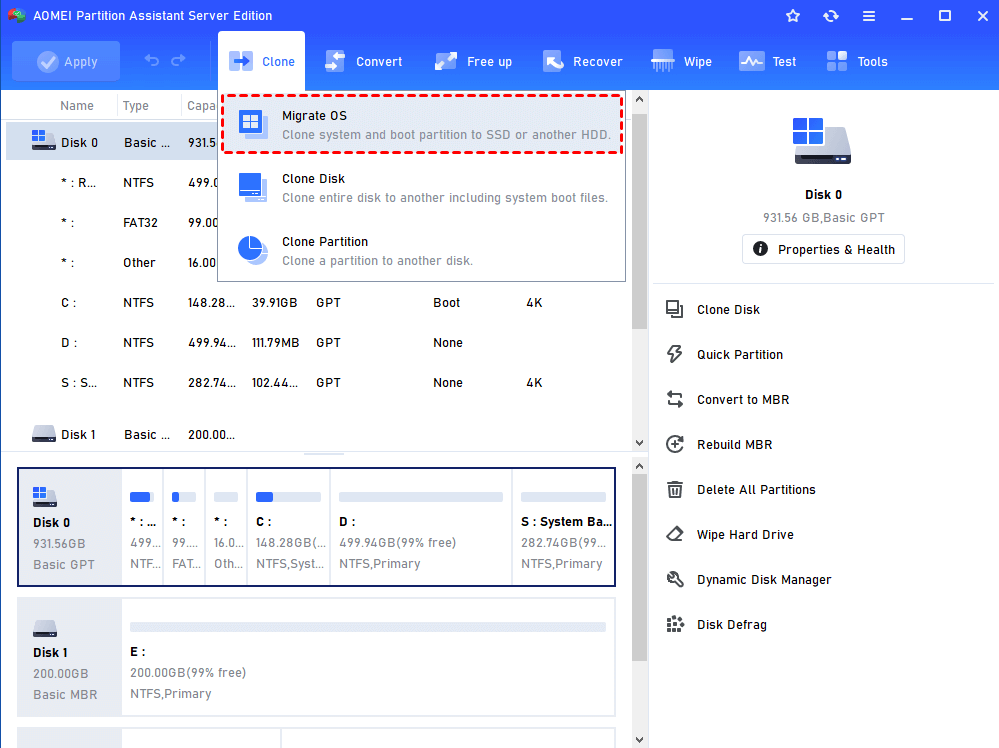
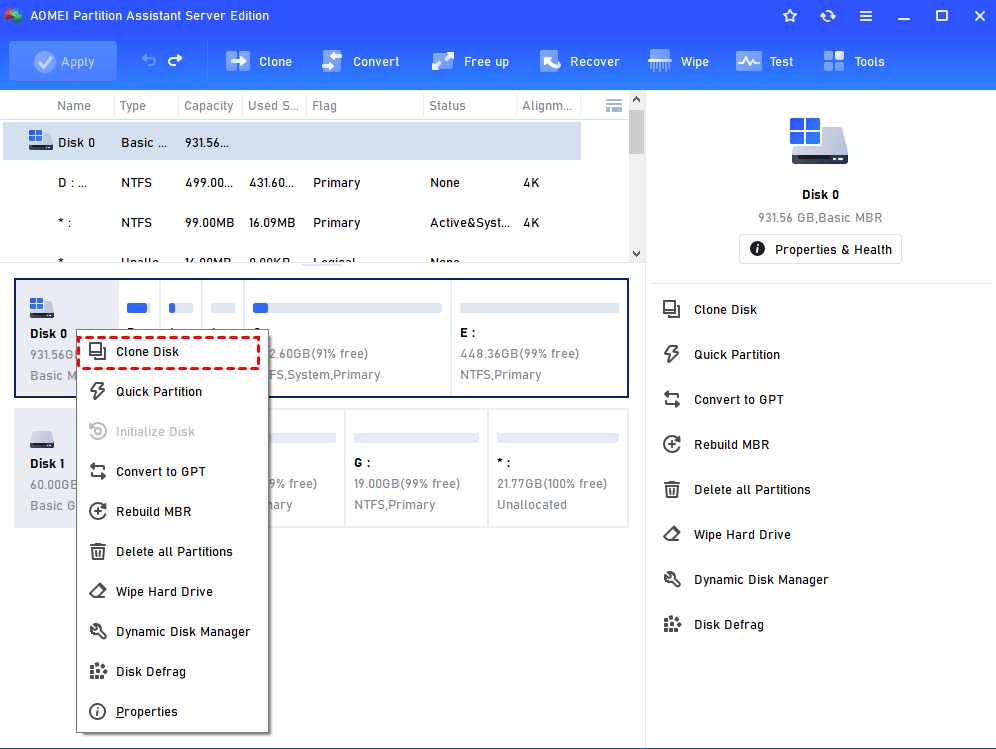
Step 1. Install and launch AOMEI Partition Assistant Server. Click “Clone” in the top toolbar, and choose “Migrate OS”.
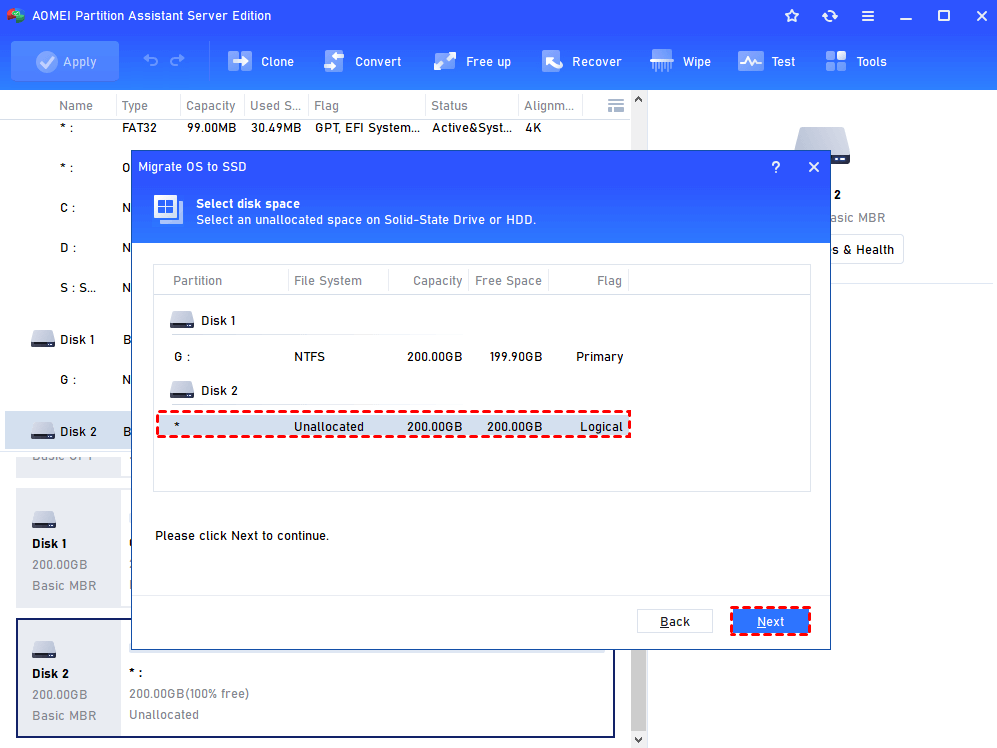
Step 2. Choose an unallocated space on the destination disk and click on “Next”.
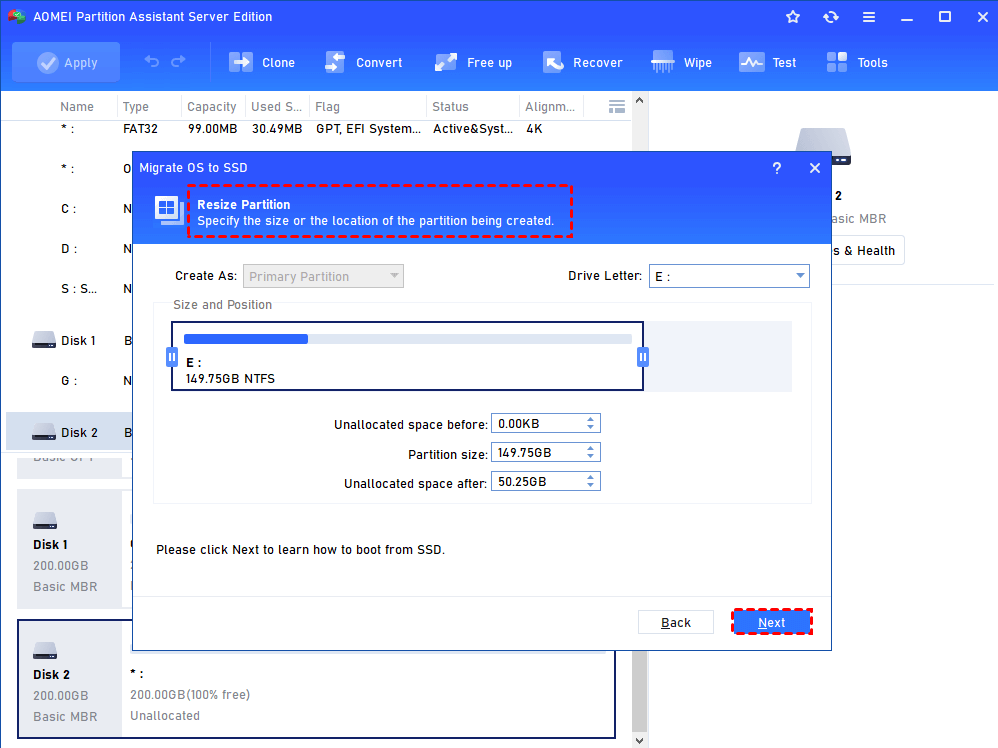
Step 3. Then you can adjust the partition size on the destination disk. Or you can keep the default settings and click on “Next”.
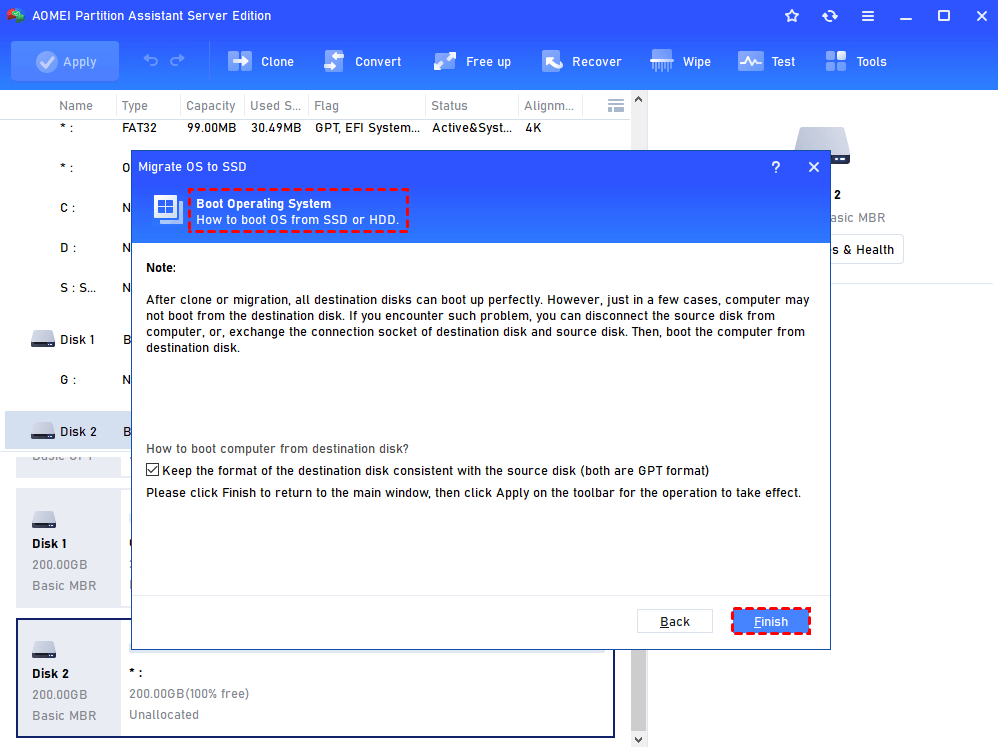
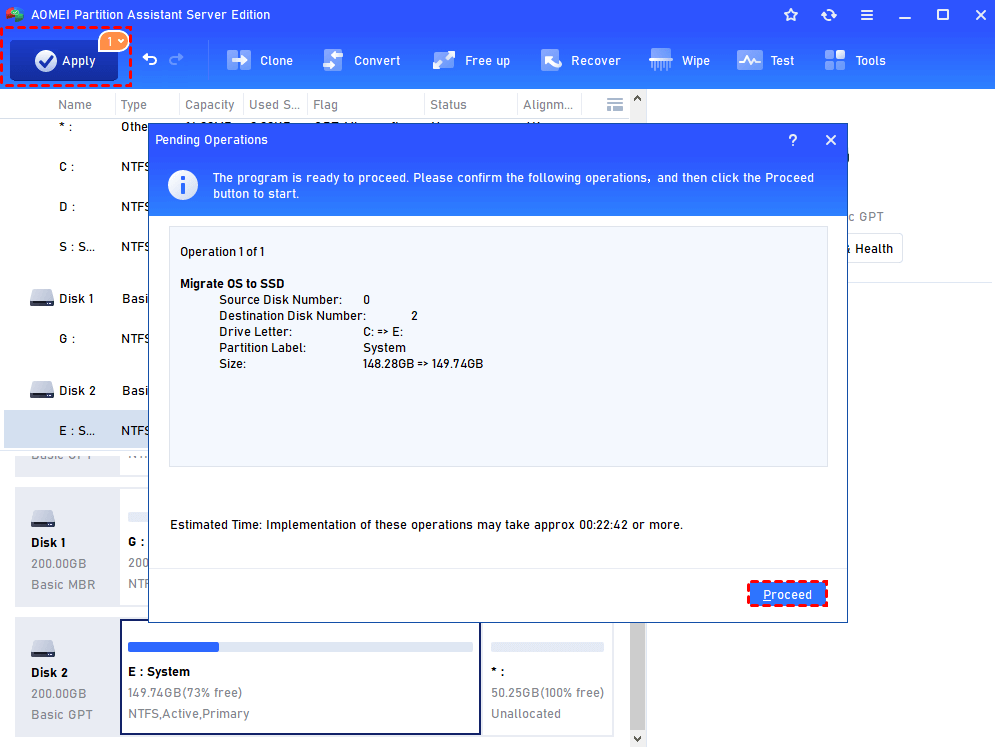
Step 4. Read the next boot note and click “Finish”.
Step 5. Click “Apply” and “Proceed” to commit the pending operation.
Besides, you can use the “Disk Clone Wizard” to clone all partitions on the current boot disk to another disk. Both methods can be applied to reinstall Windows Server 2025, 2022, 2019, 2016, 2012 (R2) and Windows 11/10/8/7 without losing files.
No matter which way you finally use to reinstall Windows Server 2012 R2, you can keep the data safe. To boot computer from the destination disk, you have to install it into the computer, enter BIOS, modify the boot order to make the target disk as the first boot device. If the source disk and destination disk are of different partition styles (MBR and GPT), you also need to switch the boot mode from Legacy to UEFI, or UEFI to Legacy.
Summary
All in all, to reinstall Windows Server 2012 R2 without losing data, you have to back up all data on the computer if you choose the clean installation. Or you can make use of the AOMEI Partition Assistant Server to directly move Server 2012 R2 to the new hard drive. Obviously, the second way is more recommended. Besides, the software is also able to align SSD partitions, recover lost partitions, convert MBR and GPT without deleting partitions, and more.
To install this wonderful program on an unlimited number of computers within one company to save money, you can try AOMEI Partition Assistant Unlimited. What's more, the Technician version is specially designed for technicians to provide billable services & unlimited for enterprise usage. And the Unlimited and Technician have a useful feature, Create Portable Version, which can create AOMEI Partition Assistant to a removable device.

